
How to Customize the appearance of Photoshop, 20 Tips
A lot of people don’t realize just how flexible Photoshop is. Let’s do a whole ton of tips really fast on customizing the interface, tools and much more.
Here is the time stamp for the video above.
- 0:00 Intro
- 00:08 2 Tool bar Tips
- 00:17 2 tips Viewing 100% / Fit to view
- 00:27 2 KB Shortcuts
- 0:34 Layer Panel Thumbnails
- 00:50 Channels in Color
- 1:15 Interface UI size
- 1:29 Light and Dark Mode
- 1:40 Highlight Color
- 1:50 Cycle Screen Modes
- 2:03 Show Hide UI elements with KB
- 2:15 Change Unit of Measurement In/cm/px etc
- 2:30 Tips for guides
- 2:53 Change Adjustment sliders in Lightroom
Change the toolbar on the left. Click to make it two column or single column. Of course we can tear it out and have it floating.


If you want to 100%, double click the magnifying glass.
Double click the hand tool for fit to view.
By the way, Cmd/Ctrl+0 and Cmd/Ctrl+1also, will do that.


What about the layers Panel?
Choose the options menu. Go down to panel options and we can make these thumbnails larger. Click OK.


That also works with channels.
Speaking of channels, notice the red, green and blue are all black and white.
Go to preferences under preferences. Choose interface and we can select the show channels in color and now you can see they display red, green and blue. Cyan, magenta, and yellow, if you’re in CMYK mode,

Let’s go back to the interface.
Put it back in black and white because it’s a lot easier to work with masks. That’s why it’s set that way. We can change the size of the font for the UI. You can make it smaller or larger.
We can also change the colors of Photoshop itself.
Notice we can go back to the old school bright or choose different shades.


And of course we can change the highlight color to blue if you want. Default is back to our Gray.

Cycle through screen modes.
Hit the F key.
We’ll hide a lot of the interface.
Hit the F key once again we’ll give us full screen
F key again toggles us all the way back.
If you hit the tab key, you can hide everything except for the working area.
Tab key will bring back menu bar and panels.
Just want to hide the panels, hold the shift+tab.

Changing the unit of measurement.
Hit Ctrl/Cmd+R for rulers, then just right-click on the rulers. And now you can go between pixels, inches, centimeters, whatever you want.

Speaking of, while we’re here, this is how we get guides. You just drag the guides out.
If you want to change the direction of the guide, hit the alt (Win)/ option (Mac) key and you can go from horizontal to vertical. Of course, you can change at any time. Just grab it, Hold the Alt/option key. Drag it from the left to pull it out. To get rid of the guides, just drag them off.

One more bonus one. When we’re working inside of Lightroom, in the develop module, see the sliders. They’re not very long. You want to grab the Left edge of the interface window

Drag it out. That will elongate the sliders and give you more control over your adjustments.

So how many of those tips did you guys know? Let me know in the comments and also do you have more tips to add on how to display and view things in Photoshop? Add that into the comments as well. By the way, if you’re new, welcome to Photoshop Cafe.
Great to have you with us.
See you at the CAFE
Colin
PS Don’t forget to follow us on Social Media for more tips.. (I've been posting some fun Instagram and Facebook Stories lately)
You can get my free Layer Blending modes ebook along with dozens of exclusive Photoshop Goodies here

6 thoughts on “How to Customize the appearance of Photoshop, 20 Tips”
Leave a Reply
In this tutorial we will share some techniques how to shoot and retouch for a high-key effect in architectural photography....
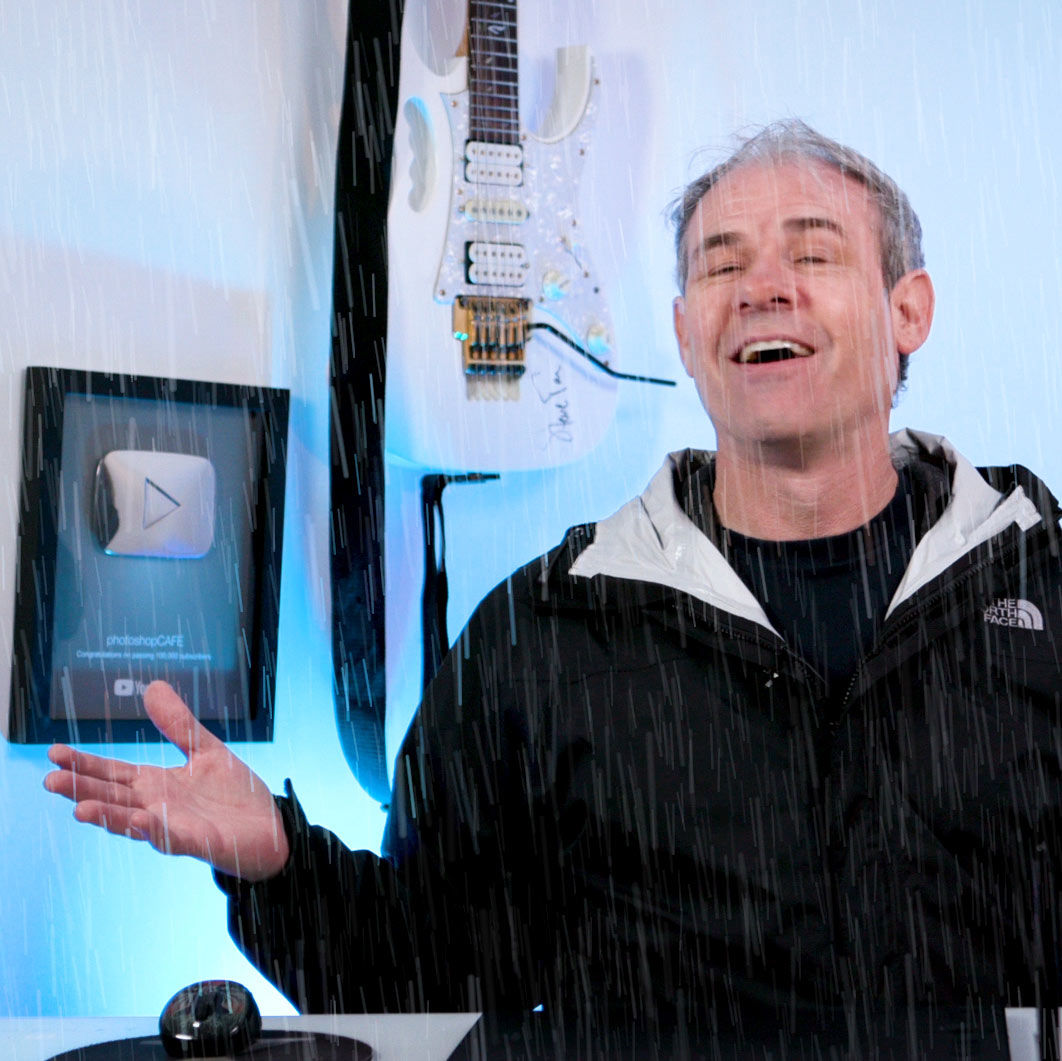
How to make realistic animated rain in Photoshop. Create raindrops and make them move in Photoshop, Control the density &...

How to combine photos and match the colors in Photoshop. Free photoshop tutorial for beginners.


For the folks working in any multi-shift, or multi-user shop, make your life easier by going to “Window” > “Workspace” and create/save your own personal menus/panels set-up that can be accessed after the “others” ruin EVERYTHING …
Thanks for sharing! Some I knew, others I forgot, some I never knew.
Is there a way to enlarge to Tools icons that you know of?
Only by changing your screen resolution. Widows may allow you to scale your UI
Thanks Colin. Practical and helpful. And I bet you know/use heaps more. When you have time, please put together another one or two of these Tips vids.
Colin I am learning so much from you. Its really hard teaching myself PS from your tutorials and I keep on having to go back to the beginning. For some reason cannot find your like button. But I LOVE the way you explain everything.
The like button is on youtube