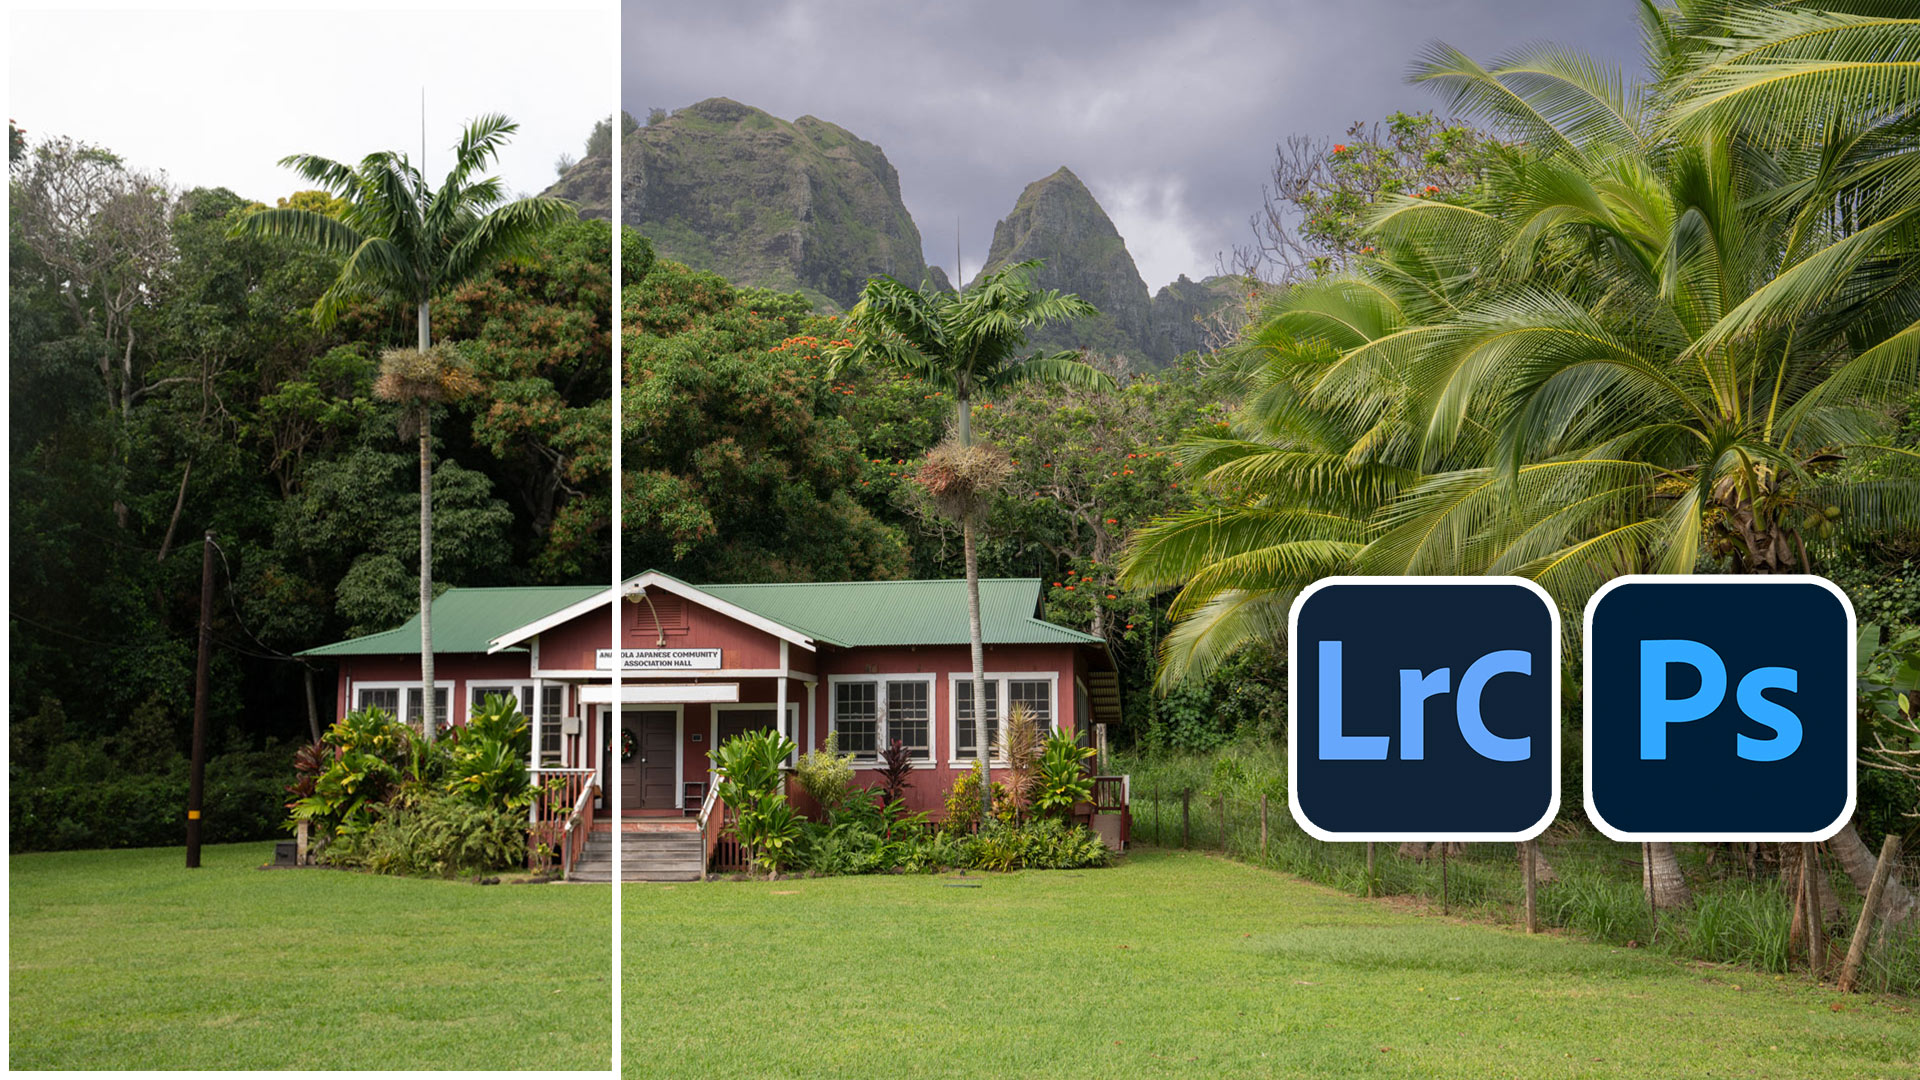
How to use Range Masks in Lightroom and Camera RAW – Luminosity Masks
Adobe Lightroom and Adobe Camera RAW have the ability to selectively mask areas of your images using Range Masks. There are 2 types of masks in Lightroom / ACR, luminosity masks and color range masks. Luminosity masks, using the brightness (Luma) of your images to selective remove or apply adjustments. Color range, allows you to target areas of specific color for transformation. Combined with the Auto mask, these tools enable you to make some pretty impressive targeted selections and adjustments.
The develop module in Lightroom is identical the the adjustments in Camera RAW. This tutorial works on both ACR and Lightroom. Please watch the video and see how you can use these essential tools to really level up your image editing.
PS Don’t forget to follow us on Social Media for more tips.. (I've been posting some fun Instagram and Facebook Stories lately)
You can get my free Layer Blending modes ebook along with dozens of exclusive Photoshop Goodies here

4 thoughts on “How to use Range Masks in Lightroom and Camera RAW – Luminosity Masks”
Leave a Reply
Extend detail in a photo in Photoshop and Lightroom. How to process the same image twice and then combine the...
How to use Repeat Transformation in Photoshop. Save time when making copies of objects and positioning them in Photoshop, this...
This tutorial shows you the fastest way to create digital art with textures in Photoshop. You have seen stylized photos...


This tip is another example of my reluctance to break out of my comfort zones. For me Bridge and LR are for global alterations and I typically use PS to adjust smaller areas of a photo. Your tutorial shows me it’s time to change. You’re getting great results using a technique that looks fast and easy. And the clincher is being able to continue the non-destructive method in PS. I can’t wait to start experimenting with it. Not in a million years would I have thought of using LR in this way. Brilliant!
I didn’t know Lightroom could use masking in this way. This is great and will save me a lot of time switching from Lightroom to Photoshop and back. Thanks for this useful how to.
This is a very informative overview. Where are these controls now in the latest version (13.1) of LrC?
They are at the bottom of the masks panel now