
English Tea can painting – metal etch Photoshop Tutorial

This is a fun tutorial, We will create a classic arts and crafts look. This is what you see emblazed on plates, metal tins, saucers and the like. I call it the English Rea-Can look, because it’s on the metal tins that English tea comes in.
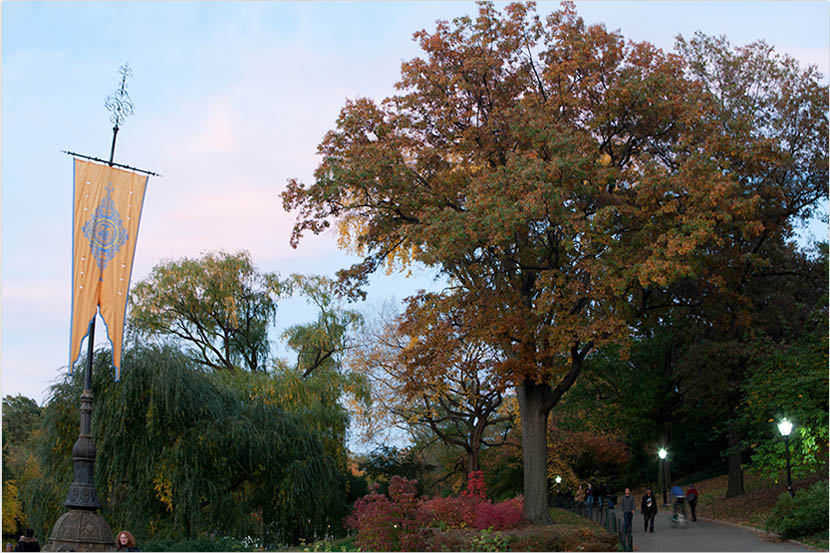
Step 1
Begin with a Photo.
If you like, you can right click on this image and use it. Bear in mind that the effect will appear different on images of different sizes. A larger image will produce finer lines.
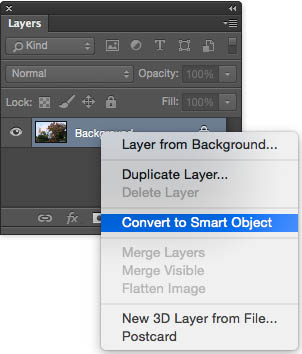
Step 2
The first thing we are going to do, is convert this to a Smart Object. This will ensure that we have maximum flexibility as well as a little trick we will be employing later on.
Right Click on the layer name and choose Convert To Smart Object.
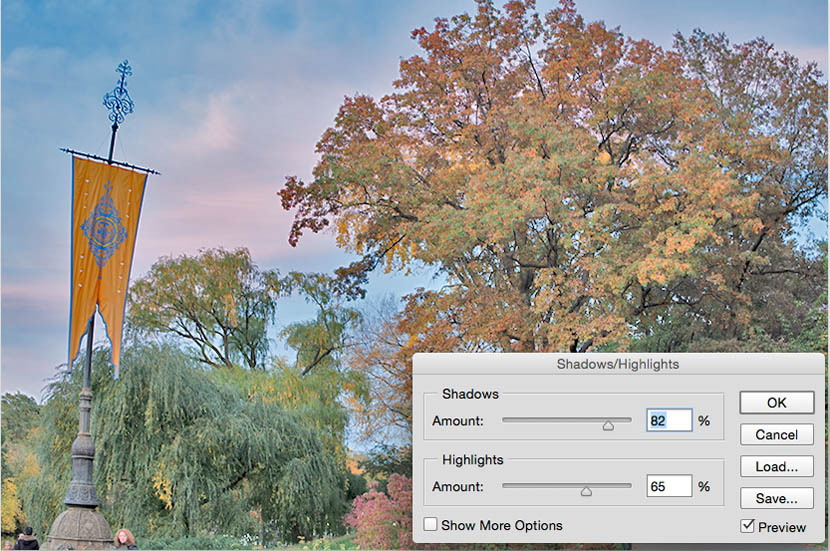
Step 3
The shadows are plugged up in this image so we will fix that right away.
Choose image>Adjustments>Shadow Highlight
Move the amount slider for Shadows to a very high amount. The image may look a little too bright in places but that doesn’t matter.
Also push the Highlights slider up to reveal color in the highlights.
Click ok
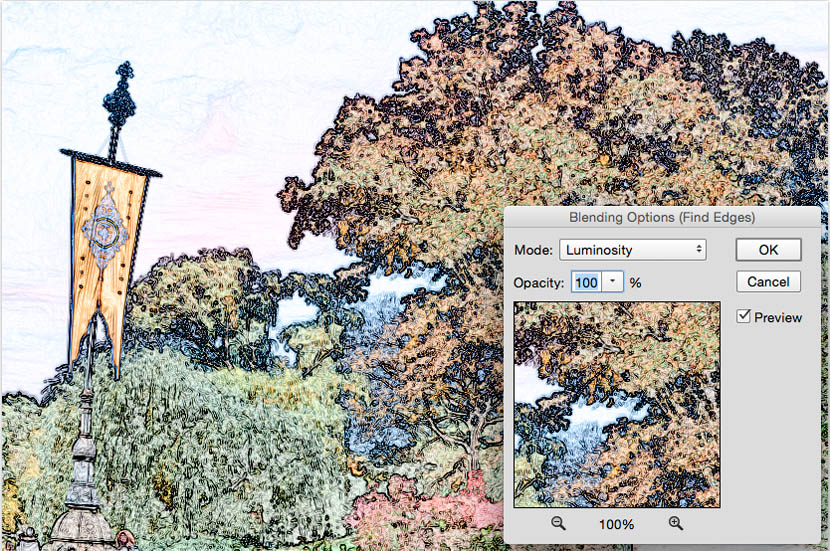
Step 4
Choose Filter>Stylize>Find Edges
All the edges will now become outlined. The color has gone a bit funky though. We’ll fix that and finish the effect in the nex step.

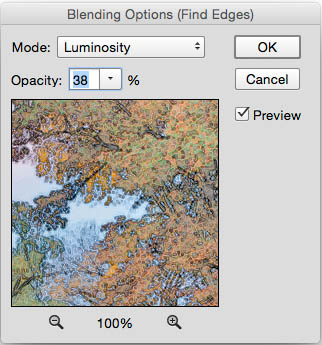
Step 5
Under Smart Filters (in the Layers Panel) you will see an icon of sliders to the right of the filter name.
Right click on the icon to the right of Find Edges,
Choose Edit Smart Filter Blending Options

Change the blending mode to Luminosity. This will restore the colors (Don’t close the dialog yet)
Here we have the image so far, with the original colors restored.
Step 6
We will now blend this image with the original to get the result.
Reduce the Opacity slider until you are happy with the result. I used 38 for this image.
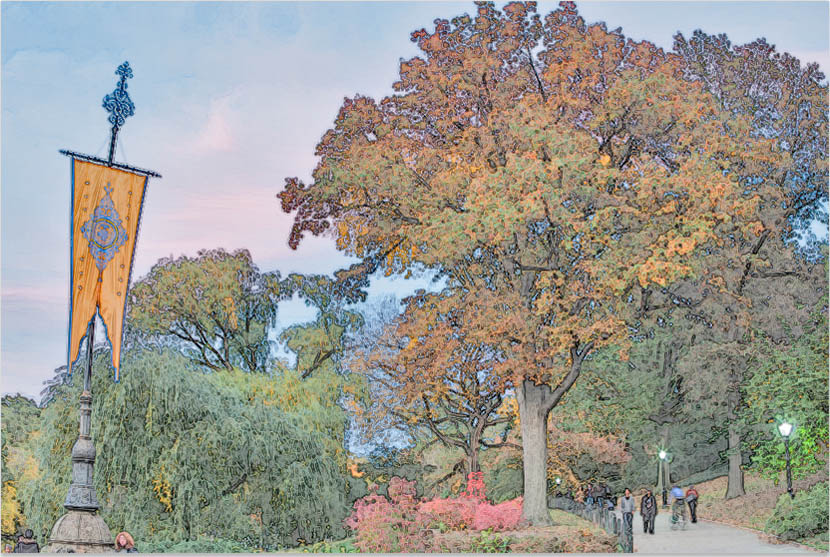
Click ok to apply
There you have it, in a few easy steps we have created a classic.
Extra Credit
Lets go a step further and make it looks like its embossed into metal.
Choose Filter>Sharpen>Unsharp Mask
The trick here is to have a moderately low Amount but a higher Radius.
Experiment to see what works for you.
Here we used Amount of 36 and a radius of 87.7
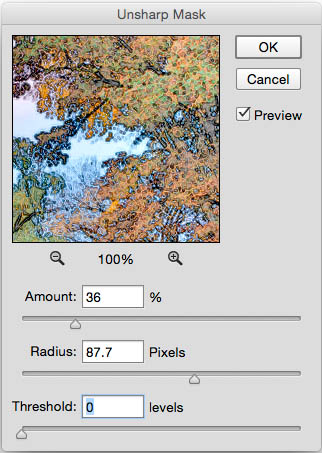
Notice how it produces and almost 3D effect.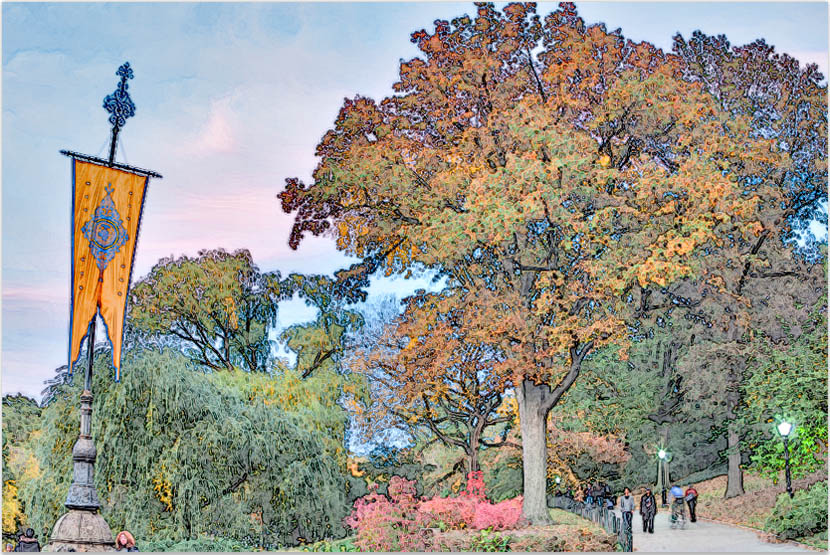
Thanks for checking out the completely updated tutorial! Don’t forget to comment and also share on social media.
See you at the CAFE
Colin
PS Don’t forget to follow us on Social Media for more tips.. (I've been posting some fun Instagram and Facebook Stories lately)
You can get my free Layer Blending modes ebook along with dozens of exclusive Photoshop Goodies here

3 thoughts on “English Tea can painting – metal etch Photoshop Tutorial”
Leave a Reply

How to get the best layer masks of your life in Photoshop. Layer masking a better way.
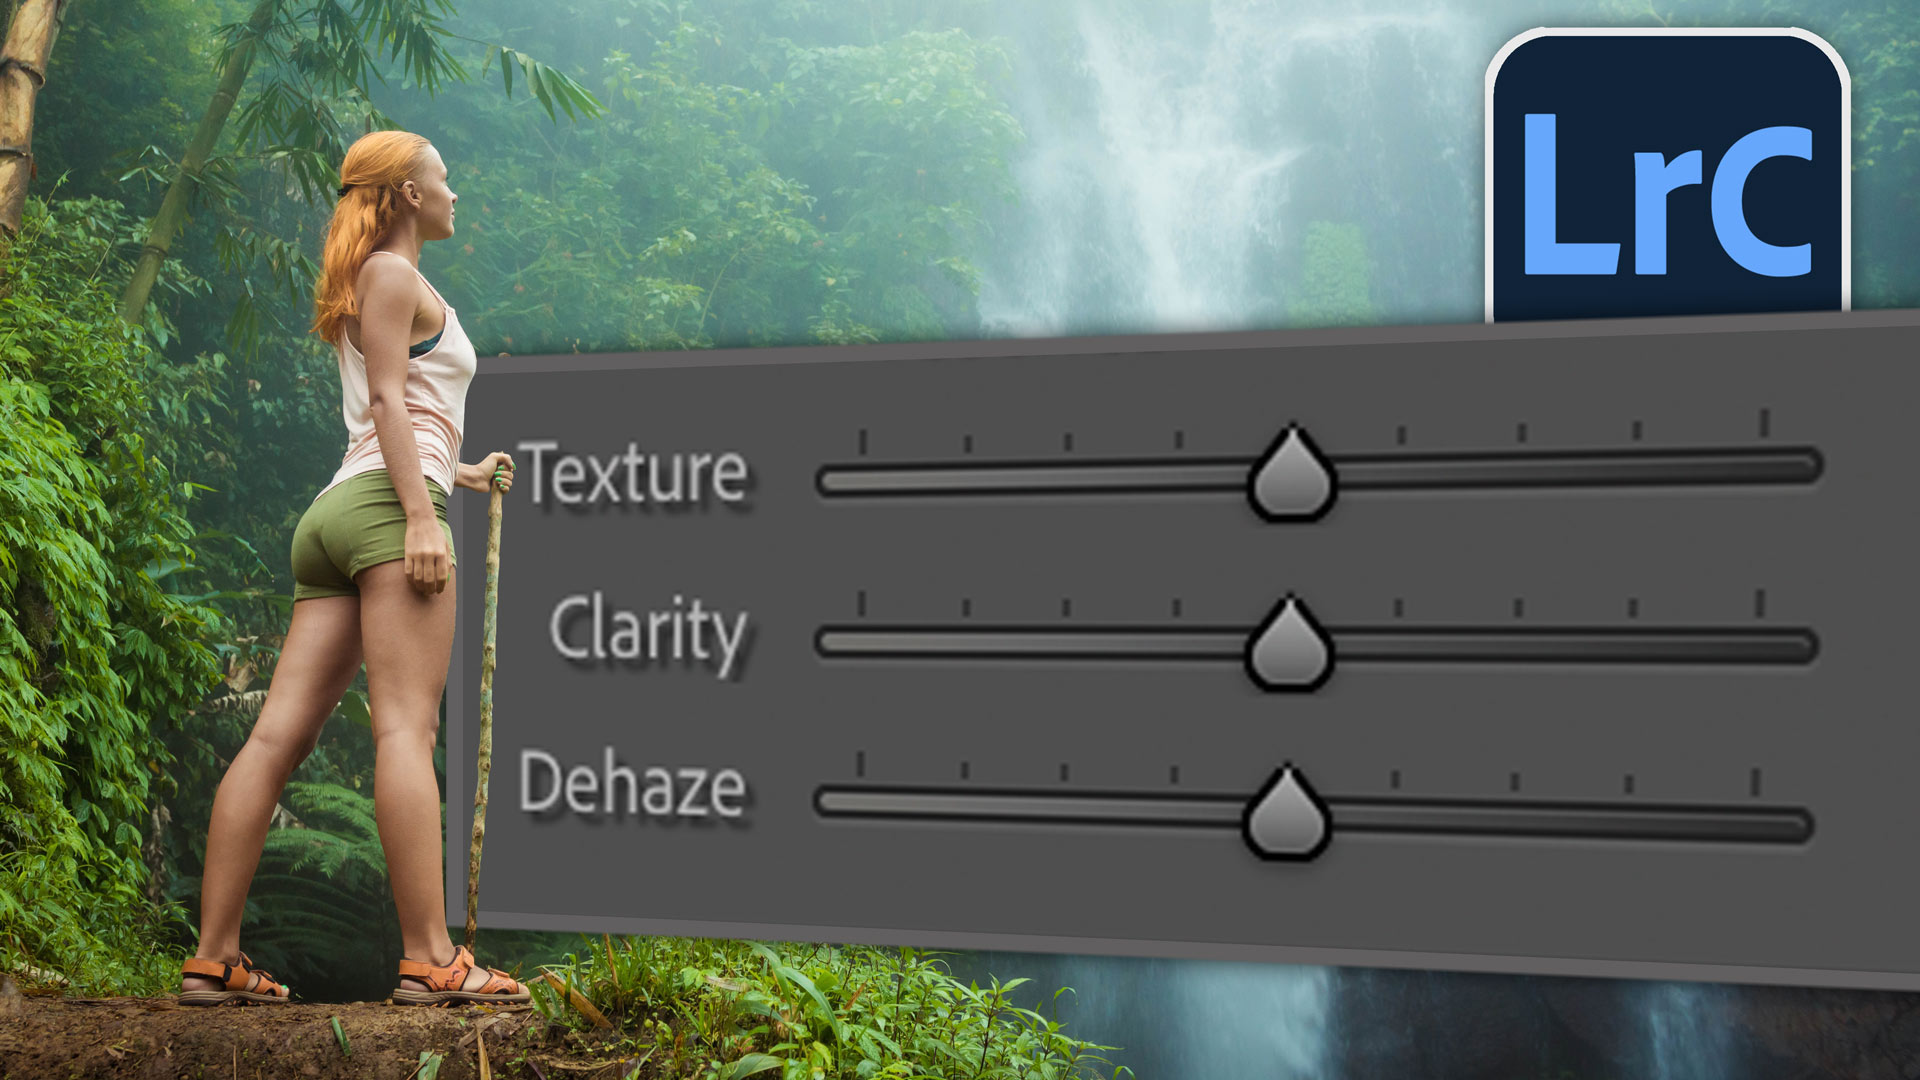
Real difference between Dehaze, Clarity and Texture in Lightroom and ACR. When to use them. Ultimate guide.

Here is a beginner to intermediate tutorial on how to use curves in Photoshop. Curves are feared by many, but...


Thank you for sharing your knowledge.
Wow – I really like that one! Could be used to create an image for beautiful notecards or small prints that have an artistic vs photo look! My only complaint, Colin, is that every time I think I’m getting a little smart with Photoshop and take one of your tutorials – all of a sudden I’m back to Photoshop-101 – ok, maybe “201”!
lol you are too kind 🙂