
Creating a cylinder in Photoshop Tutorial

Step 1
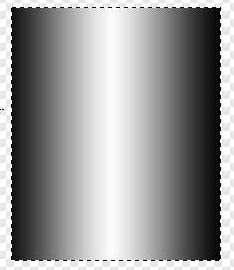
Begin with a cylinder. or make your own with the gradient tool.
If you make your own, set the gradient to reflected and linear.
Step 2
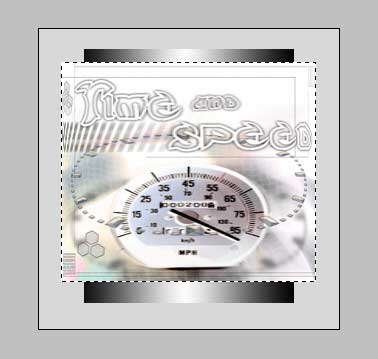
Open the object you want to wrap around the cylinder and put it on its own layer on top.
Step 3
Here is where it all happens:
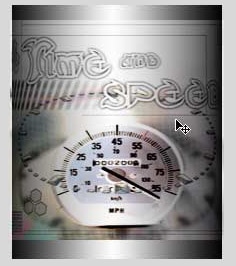
Filter>Spherize set the amount to 100 and change the mode to horizontal only.
Click ok
Step 4
See how it looks distorted?
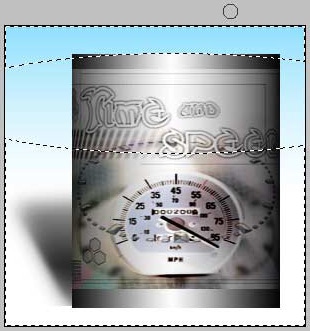
Step 5

Press Ctrl/Cmd+T for free-transform.
Drag the sides in until it matches the size of the shape.
Step 6
 This step will add a boost of realism.
Change the top layer to multiply mode. See how it appears to blend into the cylinder, and it shares the shadows and highlights.
Step 7
If you want a more rounded look on the ends of the cylinder:
Make a huge selection with the circular marquee tool.
Invert the selection. Ctrl/Cmd+Shift+I
Now use the eraser tool to erase the corners away.
PS Don’t forget to follow us on Social Media for more tips.. (I've been posting some fun Instagram and Facebook Stories lately)
You can get my free Layer Blending modes ebook along with dozens of exclusive Photoshop Goodies here


How to use the Selection Brush tool and Quick Mask in Photoshop, detailed guide.
When Photoshop changes your colors, Color Spaces explained

Create a hollywood style, spotlight effect. This tutorial came about as a result of a request from the forums. This...


