Time-lapse photography tutorial in Photoshop
Time-lapse photography is enjoying a spike in popularity. In this tutorial, you will learn what time-lapse is, how to shoot it and how to build a time-lapse video in Photoshop.
In this video, Colin Smith shows you how to create a time lapse sequence in Photoshop. How to shoot, arrange and export time-lapse video from Photoshop CC and Photoshop CS6.
Timelapse
Timelapse is when you shoot a number of photographs at a preset interval. When these images are converted to video they accelerate the passage of time. You have seen people that seem to skate by, rapidly moving clouds, flowers that open in seconds etc. In the video above, you will see an example of a time-lapse sequence that I created from a shoot at Times Square New York. The video also shows how to audition and assemble a time-lapse. I’m going to add more information here is the written text that isn’t included in the video as well as links to resources. This page will be come a living document and I’ll add to it over time. Also feel free to add your tips and 2c worth in the comments.
How to Shoot Time-lapse
Essentially, when you shoot a time-lapse. You will place your camera on a very stable shooting platform such as a sturdy tripod. This isn’t the time for the lightweight travel tripod. This is when you get your heaviest tripod and then add a camera bag to the hook or even some sandbags. While most types of muti-shot images such as panorama and HDR can get away with a little movement. ANY unplanned movement of the camera will ruin your time-lapse. I say “unplanned” because a motorized head or slider is an exception.
Once you have the camera nice and stable, make sure you have a full battery and an empty card for all the images. You don’t want to have to stop half way through and change batteries or card. You will probably bump the camera and ruin the time-lapse if you do this.
Carefully compose your image an set your camera to shoot either in raw or jpg. Choose Raw if you are sure you can fit all the images on the card. Set everything to manual including focus.
Dial in your intervalometer settings, if you have a built in one. Otherwise connect an external intervalometer to your camera. Now you will need to choose the intervals that you will shoot.
Intervals?
The whole Time-lapse works by shooting slower than real-time. The longer interval between shots, the faster time will appear to advance. Once you assemble the images into video there will be 24 or 30 images (times can very, but these are common frame rates ) for each second of video playback.
Often I use a 10 second interval between shots. Let’s see what this looks like.
One photo each 10 seconds = 6 per minute. If we are working at a final frame rate of 30fps (Frames per second) that means that I will need to shoot 5 minutes for each second of final footage.
Can you see how this compresses time? 5 minutes of action will appear to happen in 1 second to the viewer. If you want to compress that time to 10 minutes, you will need to shoot at an interval of 20 seconds.
At 10 sec intervals, it will take 30 minutes of shooting in real-time to make a 6 second clip.
Equipment needed for Time-lapse
Camera
Very sturdy tripod
Intervalometer. Many Nikon Cameras come with one built in.
External intervalometer for Canon. Use the Software that comes with your camera.
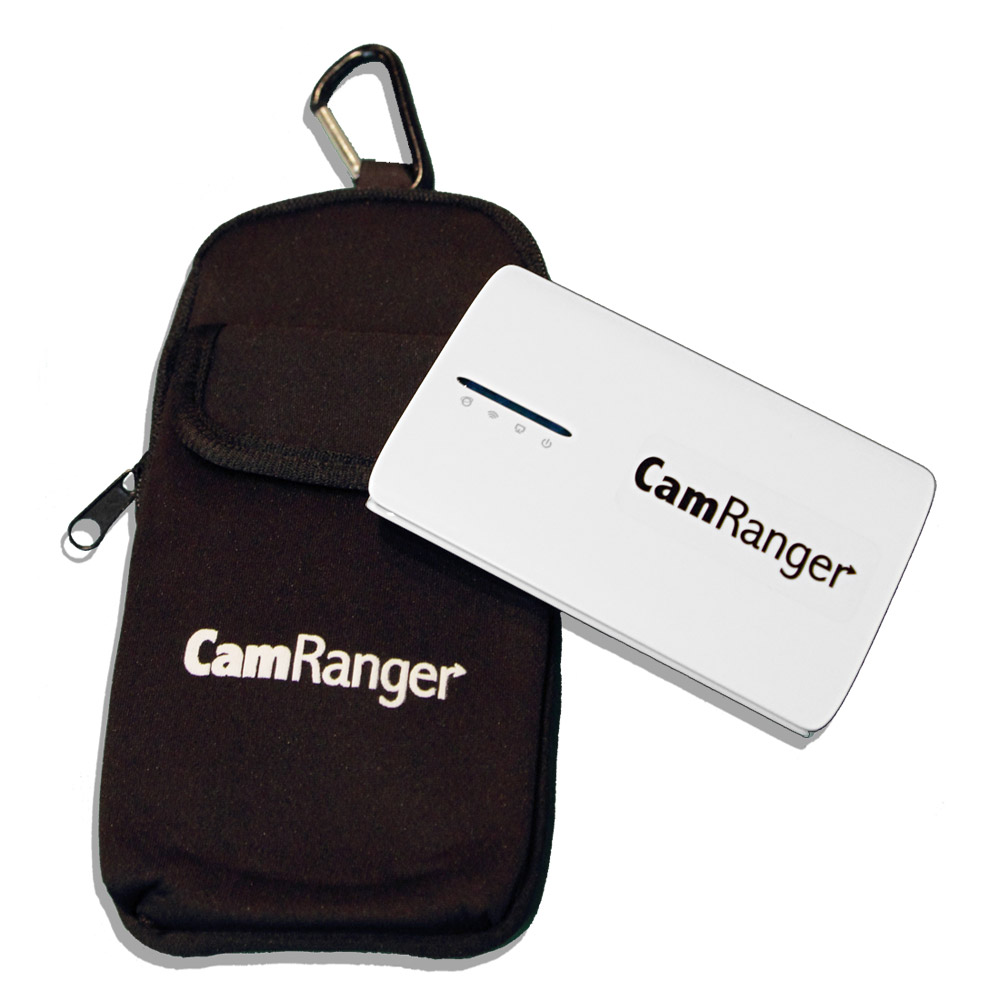
The CamRanger is a great option and the camera can be controlled wirelessly from a mobile device.
Once you have shot the entire sequence, import the images to a hard drive.
Processing
If you want to edit the images, open one in camera raw and make your adjustments. Save a preset. Go to Bridge and apply the preset by selecting all the images and right-clicking. Choose Develop Setting and choose your Preset, it will be applied to all the image. The other Option is to edit one of the images in Lightroom and them sync the settings to the other images.
In Photoshop, choose image>open navigate to your folder of images.
Choose the first image in the sequence only (don’t select all the images, or Photoshop will try to make a time-lapse sequence foreach of the images, and you will have a mess. )
Click the button at the bottom of the import dialog box that says “image sequence” (If the sequence is broken, the video shows how to repair the naming)
Click ok and select a frame-rate when prompted.
24|FPS is common for Cinema, what you see at the movies. 30|FPS is common for video and what you see on TV.
Open the Timeline (Window>Timeline) And press the spacebar of play button to view the time-lapse.
Producing the video
At this point you will choose Image>Export>Export Video to produce the final video. Accept the default H.264 and choose a preset if you are ready to upload the video or prepare it for consumption (viewing). If you are wanting to work on it further in premiere Pro or After Effects, you can choose Quicktime and Animation Codec for a lossless video, the files be very large for the lossless video.
That’s basically how to do a time-lapse, be sure to watch the video above to see the process.
PS Don’t forget to follow us on Social Media for more tips.. (I've been posting some fun Instagram and Facebook Stories lately)
You can get my free Layer Blending modes ebook along with dozens of exclusive Photoshop Goodies here

6 thoughts on “Time-lapse photography tutorial in Photoshop”
Leave a Reply
See the mind blowing ai smart masks and smart presets in Adobe Camera Raw and lightroom. This is unbelievable new...
File formats for Photoshop explained simply, including PSD, PSB, Tiff, Jpg, gif and png. What file type should I use,...
This Photoshop tutorial shows you how to turn day to night and add some nice floodlight effects on a brick...


you mention your next view to show a tilt shift effect, but there is no link and I cannot find it in searching
Wow, can’t wait to try this. I never noticed that “Image sequence” button. I was doing a long workaround, involving saving a layered .psd and importing it into flash (or premier, can’t remember now). This seems really quick and easy.
This might be out of date or for a Mac. Dunno. Good enough info that I was able to muddle through it and figure it out on the most current (Nov 2017) PS CC on a Windows box, so thanks!
Tried lots of times bring in the files from different locations and photoshop doesnt seem to get the idea! It is just opening the photo as if it where a single image. Anyone having the same problem?
Make sure you choose the image sequence checkbox. And make sure you have sequential numbering in the file names.
I had to do File -> Export -> Render video on Mac. Otherwise everything was still accurate in 2020!