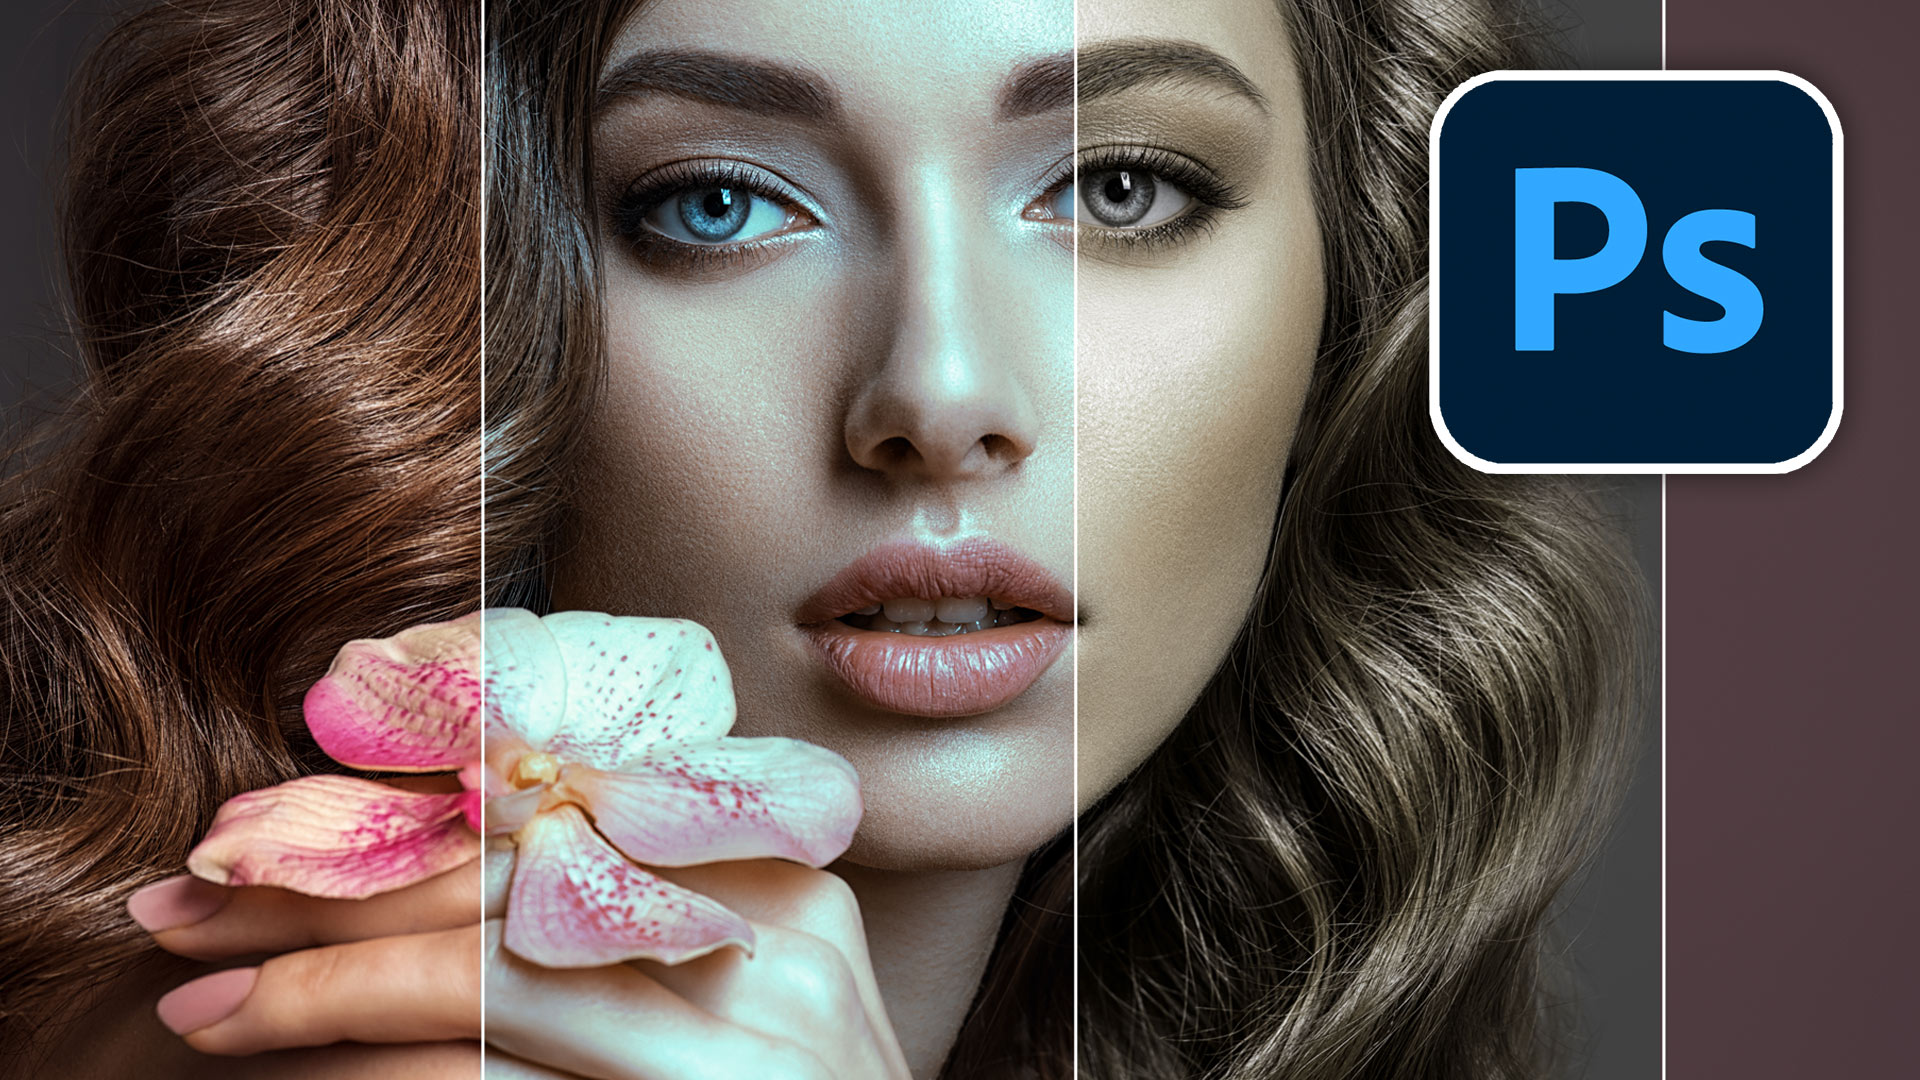
Sneaky Trick with Color Transfer in Photoshop for amazing color grading
Hacking Color Transfer, powerful new Neural Filter in Photoshop 2022
There are a number of ways to create color grades on photoshop in Photoshop and this way is very unique and really powerful.
Here is a great trick I discovered in Color Transfer in Photoshop. I love to experiment and try things that are a little off the beaten path. Ive discovered some really interesting ways of using Photoshop over the years with a little lateral thinking.
Install your Photographic Toning Gradients
This is a preliminary step if you don’t have Photographic toning gradients set up. It’s in Photoshop, but not installed by default.
Window>Gradients
Choose the menu on the top-right and choose Legacy Gradients.

Scroll down to Legacy>Photographic Toning.
Take a screen capture of the gradients. Cmd+Shift+4 on Mac (windows button + shift + s)

Just in case you had trouble making a screen capture, or you want to skip that step, here is one for you, just download to your desktop.

Hack Adobe AI to make pro looking color grades
Ok, let’s do the thing.
Duplicate your layer (Cmd/Ctrl+J)

Right-click on the top layer and choose Convert to Smart Object

Choose Filter>Neural Filters
Color Transfer

Click on Custom and click the folder to load in your own image

Choose the screen capture of the gradients. These aren’t gradients, but an image of them.

In the thumbnail, drag your mouse around one of the gradients to make a selection
It will be applied to your image It will probably be too strong at the moment, but don’t worry.
Click ok

Change to Color Blend Mode and lower the opacity to around 50%

Double Click the words Neural Filters to open the dialog box back up

Make a selection around a different gradient, or drag the existing selection to change the color grade. You should really watch the short video above to see this in action.

I hope you found this helpful. See you next week with another new photoshop Tutorial
Colin
PS Don’t forget to follow us on Social Media for more tips.. (I've been posting some fun Instagram and Facebook Stories lately)
You can get my free Layer Blending modes ebook along with dozens of exclusive Photoshop Goodies here

11 thoughts on “Sneaky Trick with Color Transfer in Photoshop for amazing color grading”
Leave a Reply
Learn how to create a transparent glass effect to text in Photoshop tutorial.
Here is another tutorial that has come about by a request from the forum. This is how you wrap something...
New features in Camera RAW 16 ACR in Photoshop 2024


This is a wonderful way to “color grade” and easily apply! Thanks for your continued support of photographers everywhere.
You may have possibly destroyed the rest of my day … probably a good thing! 🙂
Absolutely
BRILLIANT! Thank you!
Very slick, is there a way to save the gradients under custom so you do not have to go searching for them again?
You could move them or copy them over
Fantastic. Would never have thought of that. I am looking forward to using the technique on both my portraits and landscapes. Again, many thanks for the great work.
Why yes! Yes, you have discovered a great little “hack” there, Colin! Nice one, I will apply this right now, thank you.
Wizard, Colin, absolutely wizard!
That was very Cool!
HA! I had so many things to do this afternoon, but instead, I’ve been playing with this… FUN! Thanks Colin!
Awesome Colin, very attractive resource. Thanks a lot!