
Rotate object converts objects to 3D in Photoshop
Rotate object converts objects to 3D in Photoshop
Photoshop just introduced an ai powered feature that a lot of people have been missing for a long time—true 3D-style control, but in a much simpler and more practical way.
It’s called Rotate Object, and it lets you take a flat photo, convert it into a rotatable 3D object, reposition it, and then render it back into your image. If you’ve ever struggled to match perspective in composites, this is a big deal.
Right now, this feature is available in Photoshop Beta, so you’ll need that version installed to follow along. Let’s start simple, then build into a real composite.
Creating a Rotatable 3D Object from a Photo
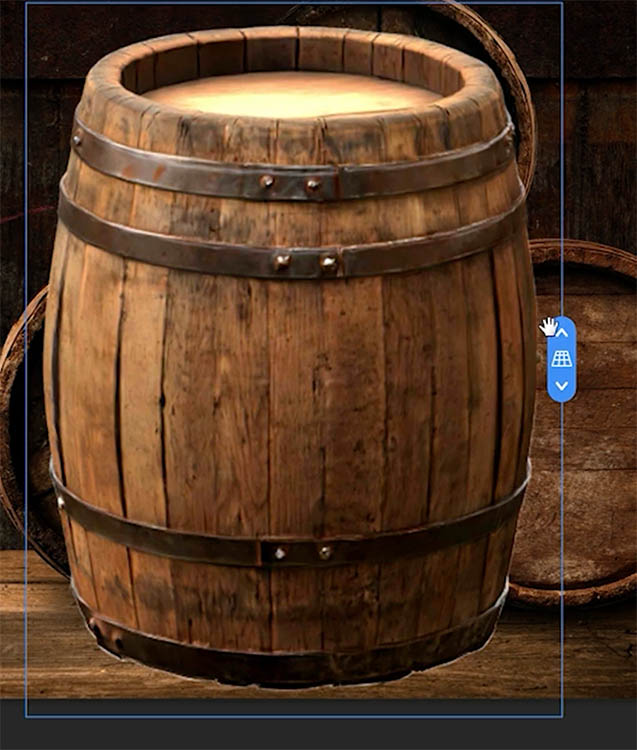
Open an image, we will use a Barrel.
To preserve the original, duplicate the background layer by pressing Ctrl+J (Command+J on Mac).
This feature will only work on a layer. Also make sure it’s in 8-bit Image>mode>8-bit color
Choose the Object Selection Tool
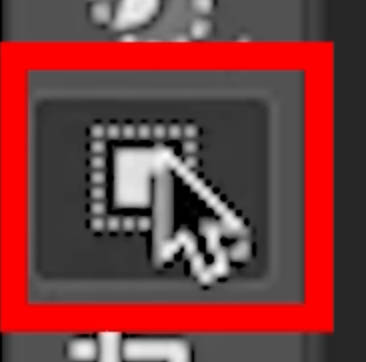
and drag around the subject you want to isolate.
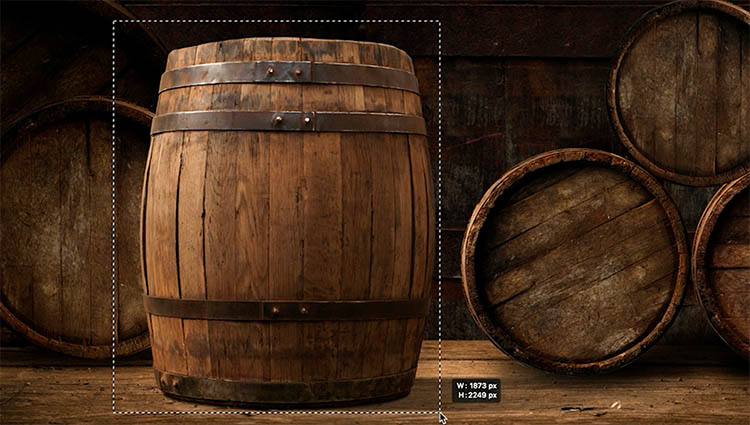
The object selection, will detect the shape. Hold the Shift ket to add to the selection and apply again if any parts are missed. in this case, at the bottom.
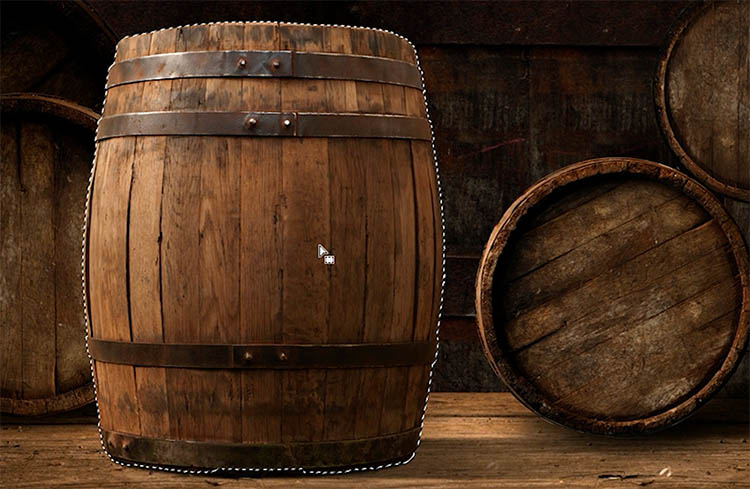
Once selected, click the Layer Mask icon to add a mask to the layer.

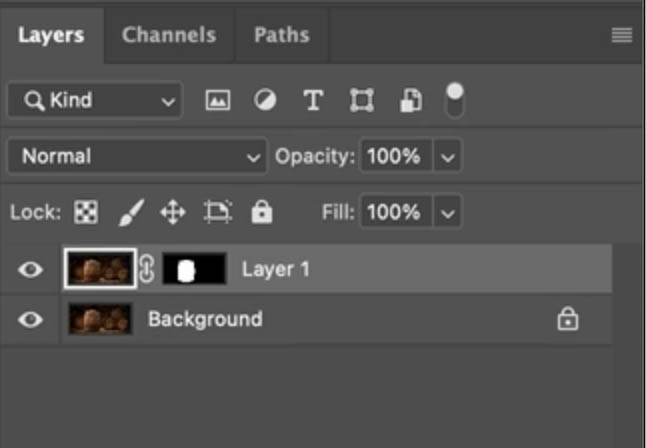
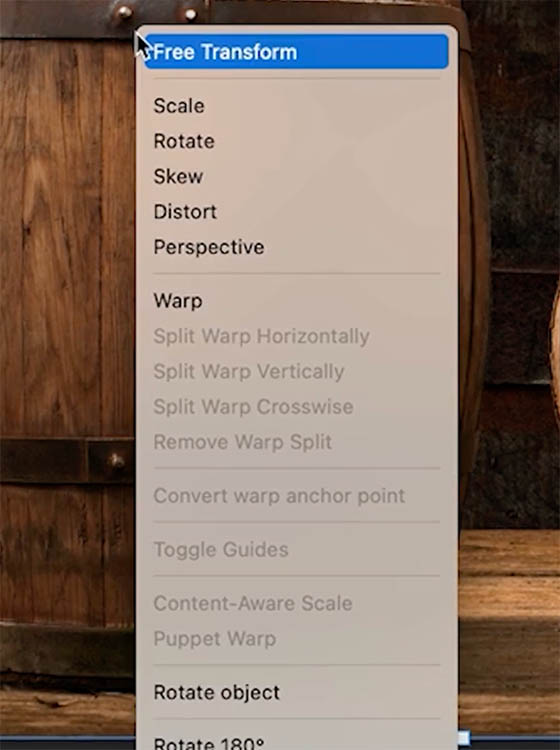
Now press Ctrl+T (Command+T) to enter Free Transform.
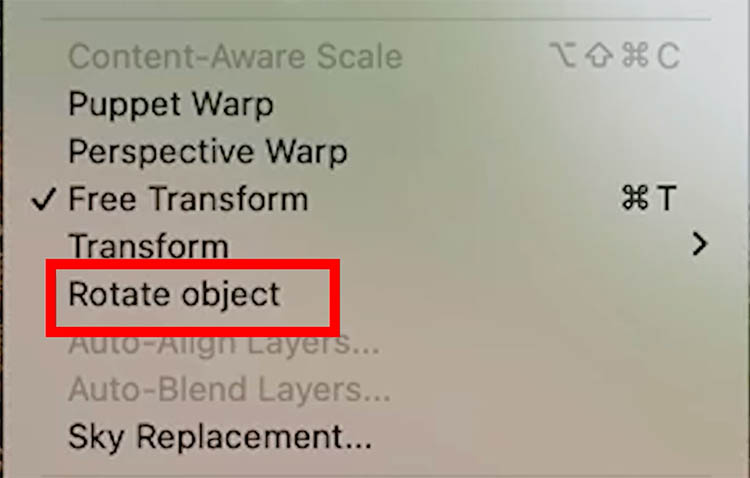
Right-click inside the bounding box and choose Rotate Object. You can also access this from the Edit menu.
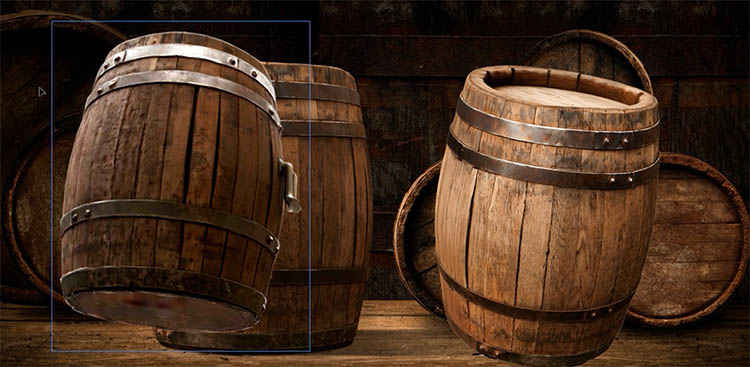
Photoshop will process the object and convert it into a rotatable 3D layer. You’ll notice a small 3D icon appear in the Layers panel.
While working, the preview appears lower resolution for performance, but don’t worry—it renders in better quality when you apply the transformation.
Rotating and Adjusting the Object
Once inside Rotate Object, you’ll see on-screen controls.
Click and drag horizontally to rotate the object around its axis. You get full 360-degree rotation.
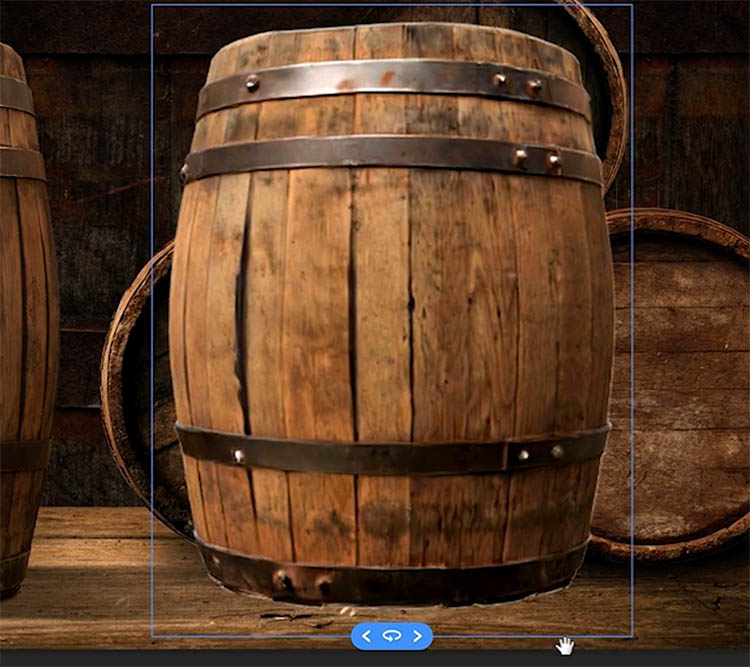
Drag vertically to tilt the object. This lets you see the top or underside.
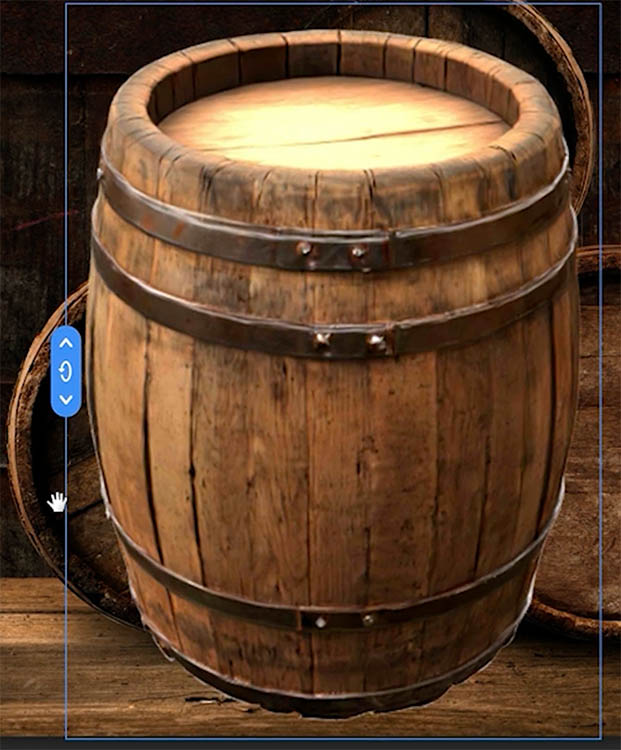
Use the Perspective control to simulate different lens angles. This is especially useful when matching a background shot with a different focal length.
If you want to reposition freely, right-mouse button- drag to move the object in space.
You can always click Reset to return to the original position.
Press Enter to apply. Photoshop will render a higher-resolution version of the rotated object.
Duplicating and Re-editing 3D Objects
Duplicate the rotated layer with Ctrl+J (Command+J).
Move the copy with the Move Tool.
Here’s something important: if you double-click the layer thumbnail, you’ll re-enter the Rotate Object workspace and can adjust the angle again at any time.
This makes the workflow non-destructive and very flexible.
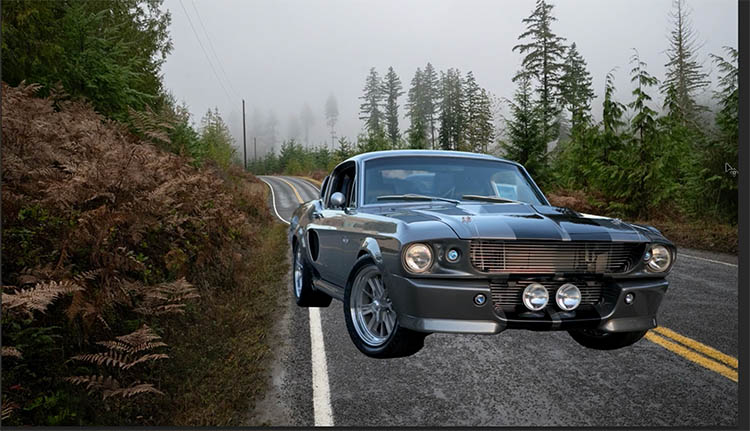
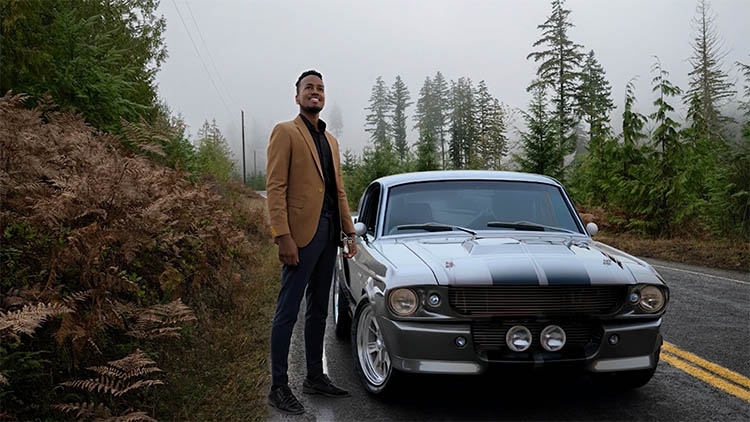
Using Rotate Object in a Composite
Let’s look at a practical example.
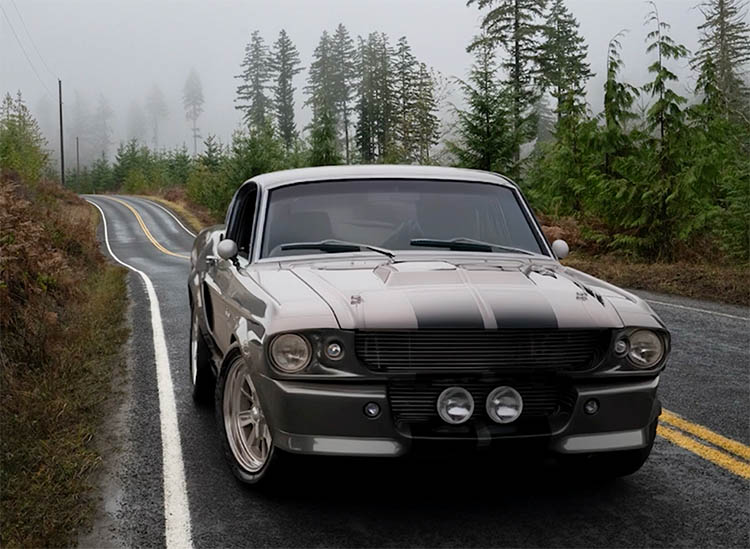
Open a background image (a road) and drag in a second image to combine—in this case, a car. (how to combine images in photoshop)
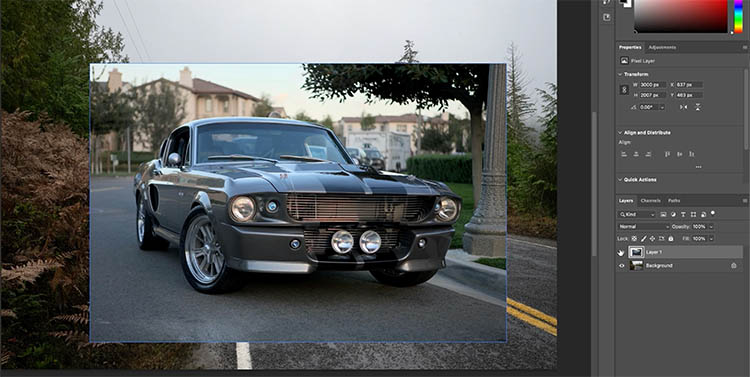
Use the Object Selection Tool to select the car and apply a mask, just as we did at the beginning of this tutorial with the barrel.
Press Cmd/Ctrl+T for free transform. Scale and position the car roughly where you want it.
As you can see, it needs some help to look correct.
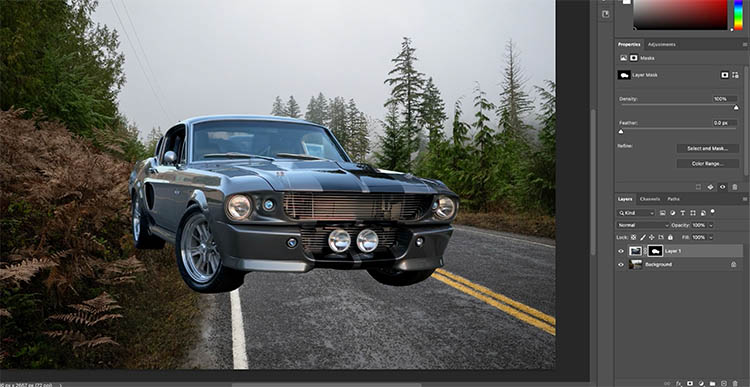
Now go to Edit > Rotate Object. (Or use Ctrl+T and right click, like we did earlier)
Inside the Rotate Object interface, rotate the car so it aligns with the direction of the road.
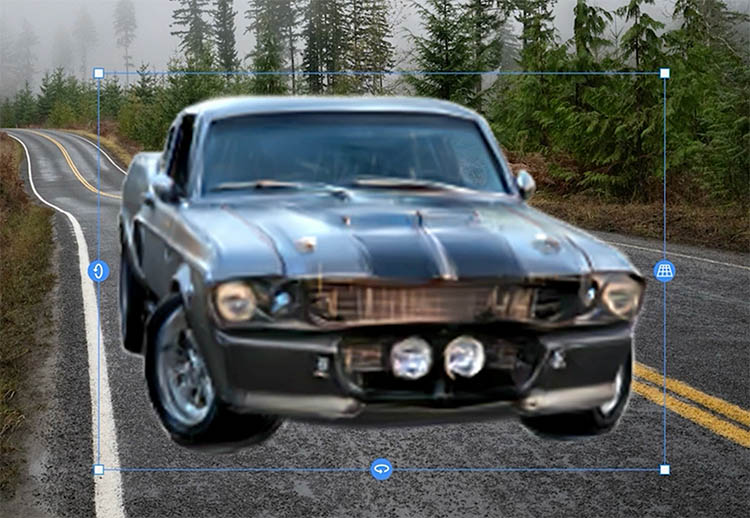
Adjust the tilt so it sits properly on the ground plane instead of appearing lifted. You can see all this in action on the video at the top.
Now refine the perspective. If your background was shot wide and your subject was shot with a longer lens, this step is critical to making the composite believable.
Press Enter to apply.
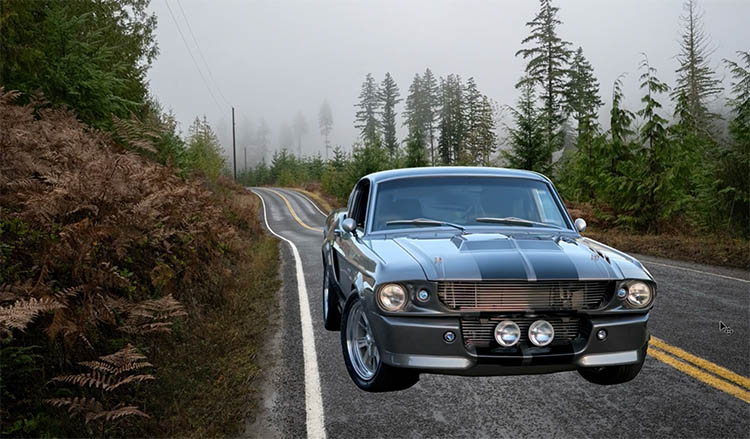
You’ll immediately notice the object now fits the scene much more naturally in terms of angle and perspective.
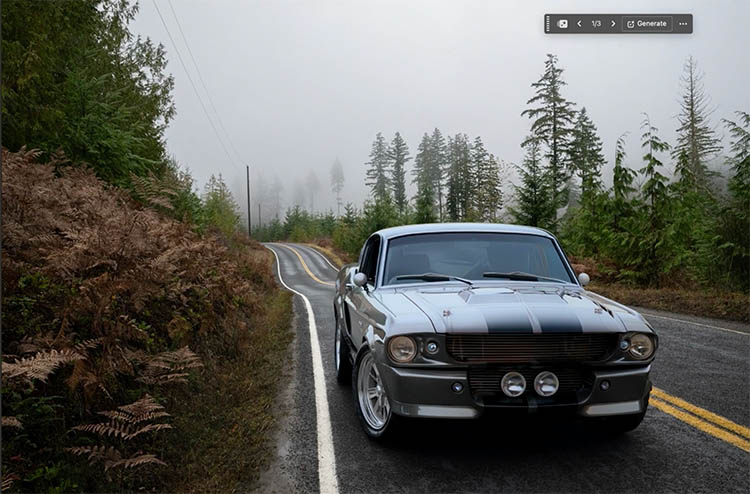
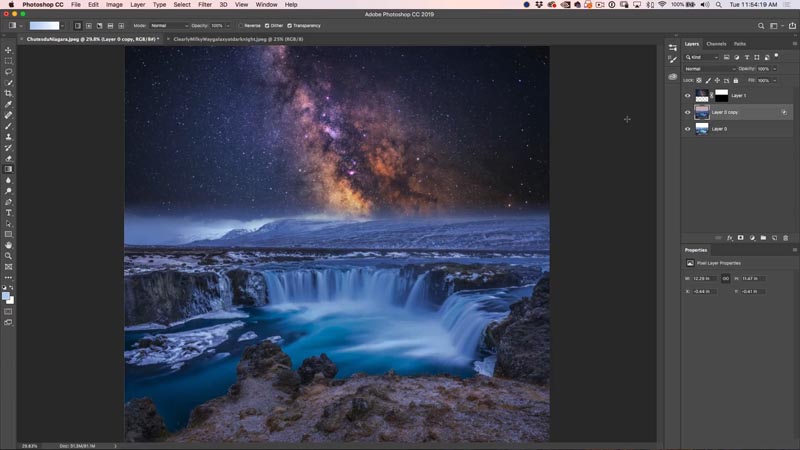
Blending with Harmonize to match the color and lighting
To integrate the object into the scene, use Harmonize.
This feature adjusts:
-
Lighting
-
Color
-
Reflections
-
Shadows
Click Harmonize in the task bar

It does a very good job of quickly blending elements together. However, sometimes the result can feel a little flat or desaturated.
Here is a little trick I use to blend the original with the harmonized version to split the difference.
- To bring back some original color, duplicate the harmonized layer.
- Turn off the top copy temporarily.
- Select the lower version and change its blend mode to Luminosity. This keeps the lighting and shading while preserving more of the original color.
- Turn the top layer back on and reduce its Opacity to blend between the harmonized result and the original color.
This gives you a more natural, controlled composite.
Working with People and Organic Subjects
Rotate Object isn’t limited to hard surfaces.
Import a subject, such as a person, and use Select Subject and a layer mask like earlier.

Ctrl/Cmd+T for free transform. Right-Click and choose Rotate Object the same way.
Adjust the angle and the perspective to match.
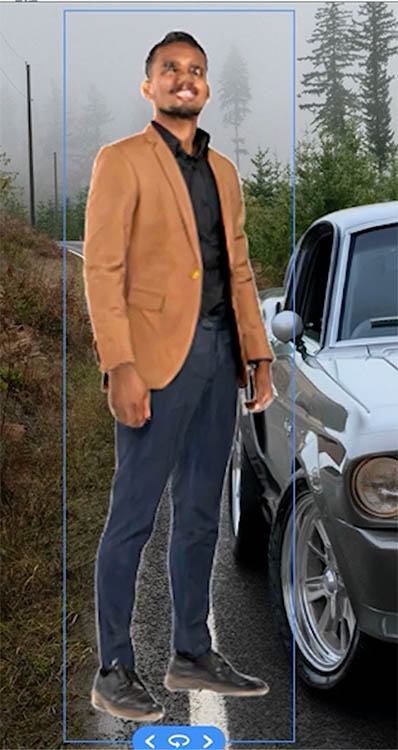
After applying, scale and position the subject as needed
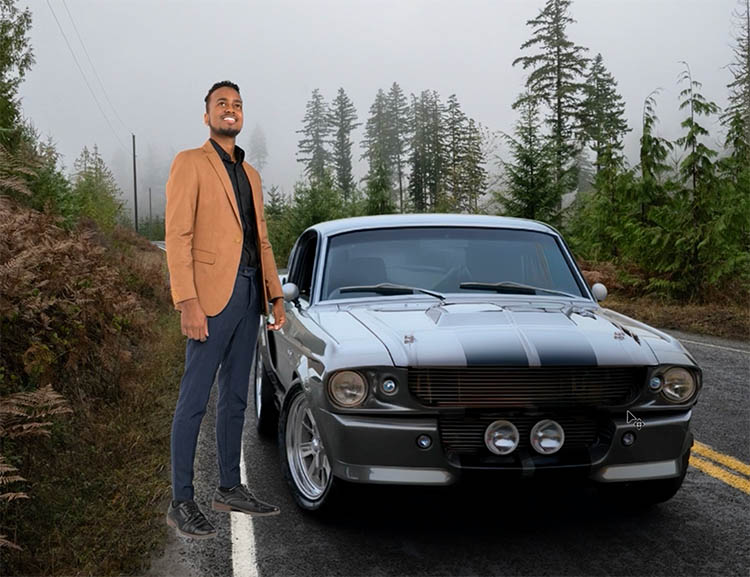
Use Harmonize to blend them into the scene.
Be aware that this feature, does consume generative credits since it’s using Generative ai. However, it only used credits on the initial conversion. None of the transformations, or even duplicating the 3D object use generative credits.
Now, you can simply rotate the object in 3D space until it fits. This dramatically reduces guesswork and speeds up compositing. And because you can re-edit the rotation at any time, it encourages experimentation instead of locking you into early decisions. It also works of part of an object, such as rotating a head.
I’m curious—how do you see yourself using this? Do you think it replaces some of your current compositing techniques, or is it more of a supporting tool in your workflow? Drop a comment and let us know!
It’s great to see you here at the CAFE
Colin
PS Don’t forget to follow us on Social Media for more tips.. (I've been posting some fun Instagram and Facebook Stories lately)
You can get my free Layer Blending modes ebook along with dozens of exclusive Photoshop Goodies here


6 thoughts on “Rotate object converts objects to 3D in Photoshop”
Leave a Reply

Updated ai selection tool in Photoshop is stunningly good now
How to combine photos in Photoshop and blend them seamlessly. How to match the colors between layers, Photoshop tutorial from...

How to use the Selection Brush tool and Quick Mask in Photoshop, detailed guide.


Wow, totally bonkers. Where’s it going to end?
I’m guessing you don’t have to use a mask on the car/person? You could just cut them out?
Love the site Colin.
It’s all very clever but it’s no longer photography!
No it isn’t, it’s more of a compositing tool. Photoshop is an invaluable tool for photographers for sure. It’s also used by other professions, the largest user base is designers.
It’s over forty five years since I lived and worked In Washington, but is it really legal to execute a U-turn on a road with a double yellow line as you suggest?
Since the car isn’t real, no laws broken. Just riffing, because I know someone would comment on the wheels not being straight.
This is great – but you have to have the Creative Cloud Pro plan to use it with your generative credits. Otherwise you can test it out on about 5 edits in the regular Lightroom/Photoshop plan and then it prompts you to upgrade.