
Photoshop has 5 INSTANT AI Cutouts. Including the hidden one.
5 Ways to Make Automatic Selections in Photoshop
Photoshop’s automatic selections are a huge timesaver. But what if the selection isn’t quite right? Believe it or not, there are five different algorithms inside Photoshop for making selections. In this tutorial, I’ll walk you through each one — and stay tuned for the last method, because it’s hidden and you probably don’t know it’s there.
Selection Method 1: Object Selection
Start by grabbing the Object Selection tool.
When you roll over the subject, you’ll see a small spinning wheel while Photoshop analyzes the image.

The objects will show an overlay as you roll over them

Click once, and Photoshop automatically creates a selection around the subject.

Press Control J (Windows) or Command J (Mac) to copy the selection to a new layer.
Selection Method 2: Select Subject
With the Object Selection tool, choose the dropdown menu by Select subject. For best results, choose Cloud.

Go to the top menu and choose Select > Subject.
![]()
Alternatively, you can choose select subject from the Contextual task bar

This creates another automatic selection, but it’s not identical to Object Selection.
See how to use Object Selection with difficult backgrounds
Selection Method 3: Select Subject Inside Select and Mask
Now let’s refine things using Select and Mask.
Go to Select>Select and Mask and set the transparency to 100%.
At first, you won’t see anything.
Click Select Subject inside the panel, and Photoshop generates a cut out

Click OK, then press Control J to copy it to a new layer.
Selection Method 4: Color Aware Mode
Let’s try a completely different approach.
Go back into Select and Mask.
Instead of the default Object mode, switch to Color Aware.

Now click Select Subject. Photoshop generates a selection based on color values, which gives you a noticeably different result.

Tip: You can refine all of these selections using the Refine Brush, especially around edges like hair. For this demo, I’m showing the raw selections so you can compare the algorithms directly.
Selection Method 5: Hidden Refine Edge
Now for the hidden gem.
Start by activating Select Subject using any of the three automatic tools.
Next, hold down the Shift key and don’t let go.
While holding Shift, go to Select and Mask.
Instead of the normal panel, Photoshop reveals the old Refine Edge interface that used to be in earlier versions of Photoshop.

This is your fifth selection method.
Bonus, 6th method to automatically mask in Photoshop, Remove Background
Another way to create a great cut out easily, is to use remove background.
With an image open, click Remove background from the Task bar, really easy.

The the results are great, especially with the updated algorithm

Refine the edges with Select and Mask
This is just the initial stage. You can also refine the results. I created 2 in depth tutorials on using Elect and Mask to add the finishing edge.
Select and Mask with Smooth edges
Refining hair and fur with select and mask
Final Thoughts
So there you have it —six different ways Photoshop generates selections, including a hidden Refine Edge option that most people don’t know is still there. Watch the video and see the results, note, the results are even better since this video because of an update.
Which of these methods do you find most useful in your own projects? Do you rely on Object Selection, or will you start using one of the hidden options? Share your thoughts in the comments.
It’s great to see you here at the CAFE
Colin
PS Don’t forget to follow us on Social Media for more tips.. (I've been posting some fun Instagram and Facebook Stories lately)
You can get my free Layer Blending modes ebook along with dozens of exclusive Photoshop Goodies here


13 thoughts on “Photoshop has 5 INSTANT AI Cutouts. Including the hidden one.”
Leave a Reply

Photoshop 2023 New features in the Object Selection tool. How to make instant AI powered selections in Photoshop
How to batch process multiple photos with Smart presets and ai masks in Adobe Camera Raw or Lightroom Classic
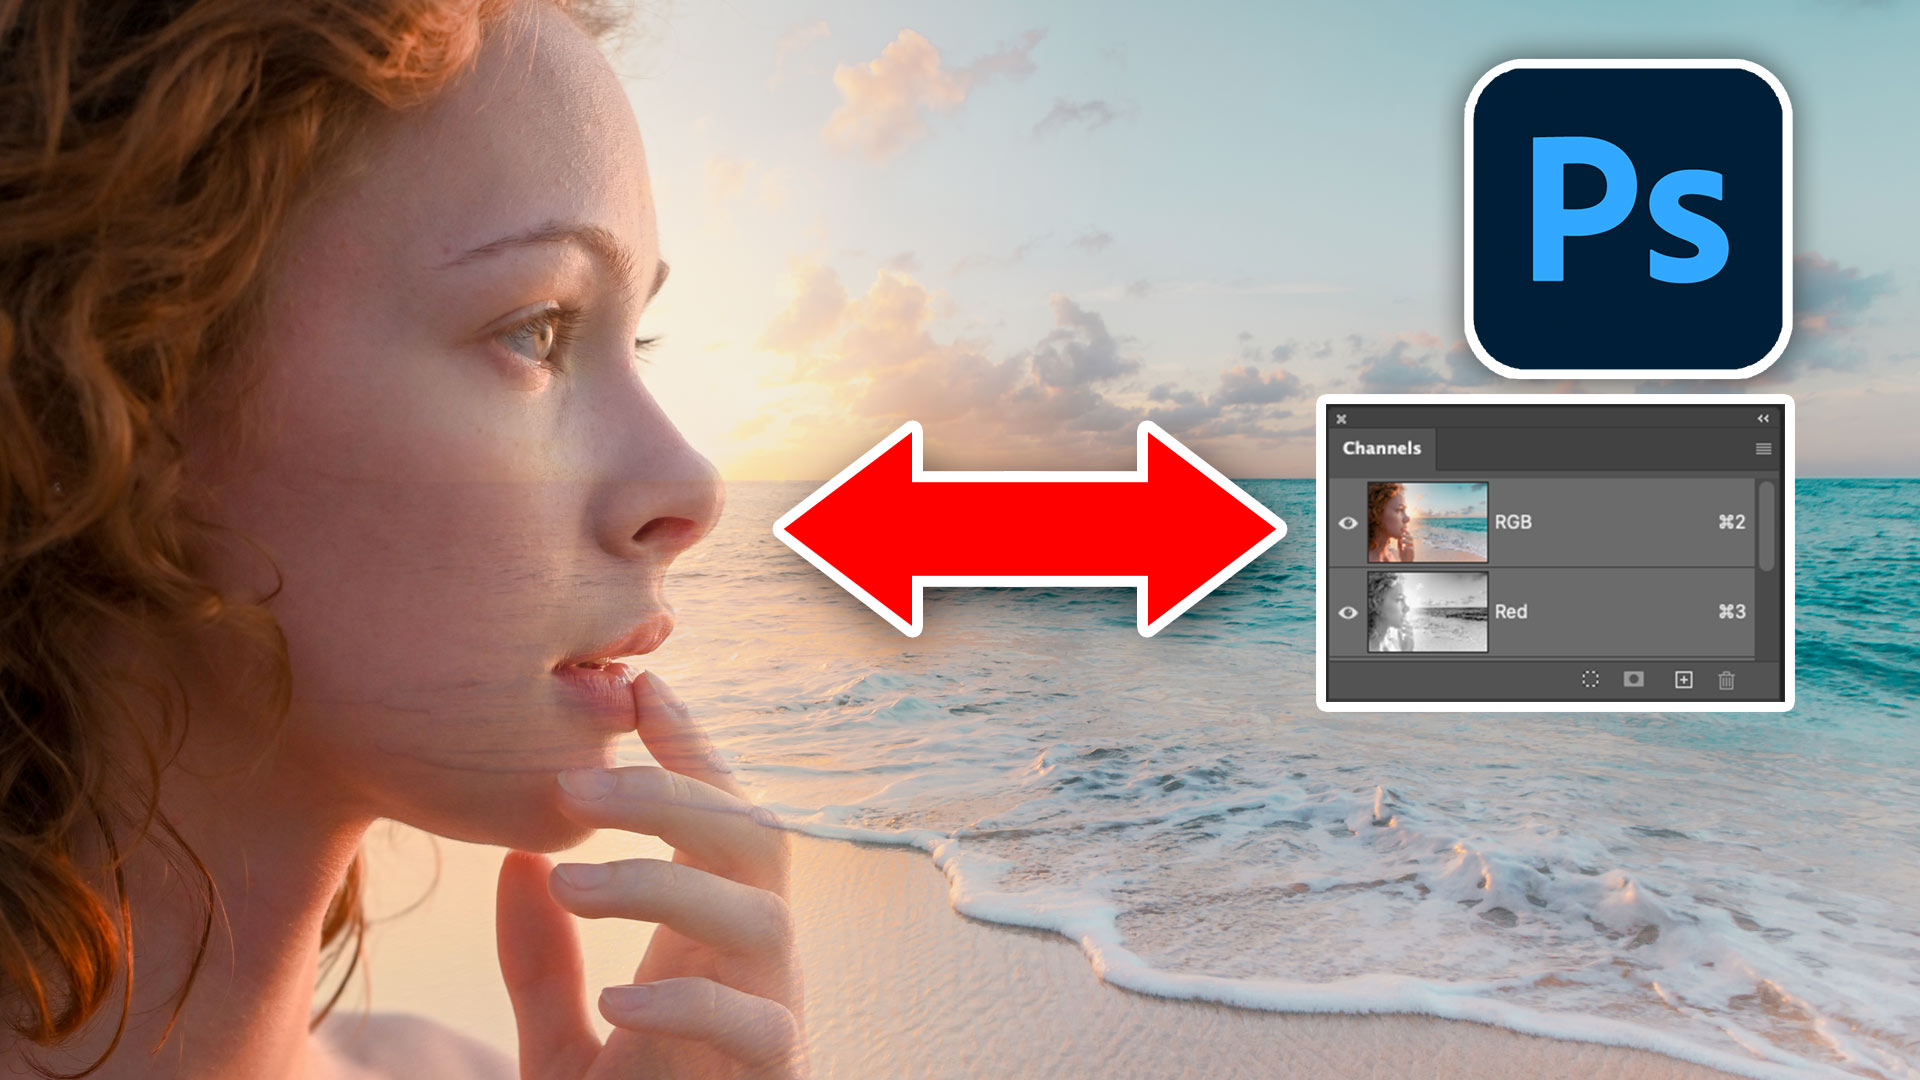
How to blend images in Photoshop to make a poster, using channels to select faces


Colin – These are your best tips ever! Love them!!!
Thank you for the nice tutorial.
Interesting,but useful? Please do a compare to see if the results are different and if one method seems to always be better? Or use any because they are all the same result? And/or are any of these better for further selection adjustments to get a better result? or are further improvements all done same way and have same results? or is there a best way to select and then improve the selection?
I’m in a sports project taking athletes in poses and then per the school’s request putting then on a complete white background. I’ve tried all 5 cutouts and for the most part, all have worked well with minimal adjustments. I’m having a nightmare of a problem that I cannot solve. I’ve trying to select a fencer but their sword is too thin, I cannot get it to give me a complete, straight blade. I’ve tried to add/subtract with the object selection tool, quick selection tool, erasing, painting, etc. I am a beginner using masks and have done fairly well with other sports with minimal difficulties. I just completed a hockey shoot and had some issues with the blade of the stick when it was on it’s side (thin) and the point of it with little contrast. Could you possibly reply with some suggestions. Thank you.
Use a brush on a layer mask. Set the size to the same as the blade. Click at the beginning of the blade, Hold Shift and click at the end of the blade and a straight libe will be drawn
Can you show what you do with all those layers of cutouts?
I love this tutorial!! I had no idea of the possibilities available for cutouts.
Where on earth do you find the OBJECT selection tool? I have the latest PS – cannot find it. To succeed as an instructor you need to ensure that those you wish to instruct can follow what you are doing.
Its under quick selection.
If you have restored an old desktop preset, it won’t show because that tool didn’t exist in the past. I have made tutorials on how to show the object selection tool. I can’t possibly offer trouble shooting at the beginning of every tutorial or no one would watch them and I’d get the “video starts at…” comments.
Wow Doug. Dry incoherent and rude response.
You have the tools. Do some comparison yourself and release a video.
Very useful tutorial. Thank you
Useful tips to help me become more aware of the tools at my disposal. Clear and to the point!
Thanks,
Ian
Really appreciate this quick overview. Knowing the choices, before-hand, helps to decide which selection-method might be best depending on the image, etc., . Thank-you!