
How to make the X-Men logo in Photoshop, 3D and 2D versions
I thought I was long overdue for more of a project based tutorial that designers can sink their teeth into. (There is a lot that photographers can use in this too). To my surprise, I couldn’t find any decent Photoshop tutorials on creating the X-Men logo, so here we go!
We begin by using the different shape layers in Photoshop to create the basic logo and an awesome tip for centering things that you will love. We then jump into layer styles and add a shiny bevel to the logo as well as giving it a metallic sheen. Then we will make a brushed metal backdrop.
This is where the tutorial gets interesting. I actually branch it off into 2 options. I will show you how to use the 3D tools in Photoshop to make a 3D version of the logo. I also show you how to do a 2D version of the same thing for those of you who don’t have a version of photoshop that does 3D, or you just want to see a different way of doing it. This first video shows the 3D version, while the second version shows the 2D version. Check out the one that interests you, or watch both! (The first half is the same on both, but the second part is completely different).
Then I will finish off the effect by adding a shadow and some light glints. I really hope you enjoy this tutorial.
How to Make the 3D X-Men Logo in Photoshop + How to convert any logo to 3D
How to Make the X-Men Logo in Photoshop (2D version)
I really hope you enjoyed this tutorial. I had a lot of fun making it.
Check out all the other free tutorials here on PhotoshopCAFE
See you at the CAFE
Colin
PS Don’t forget to follow us on Social Media for more tips.. (I've been posting some fun Instagram and Facebook Stories lately)
You can get my free Layer Blending modes ebook along with dozens of exclusive Photoshop Goodies here


How to add birds to a photo and make the background transparent without having to make selections. Add life to...
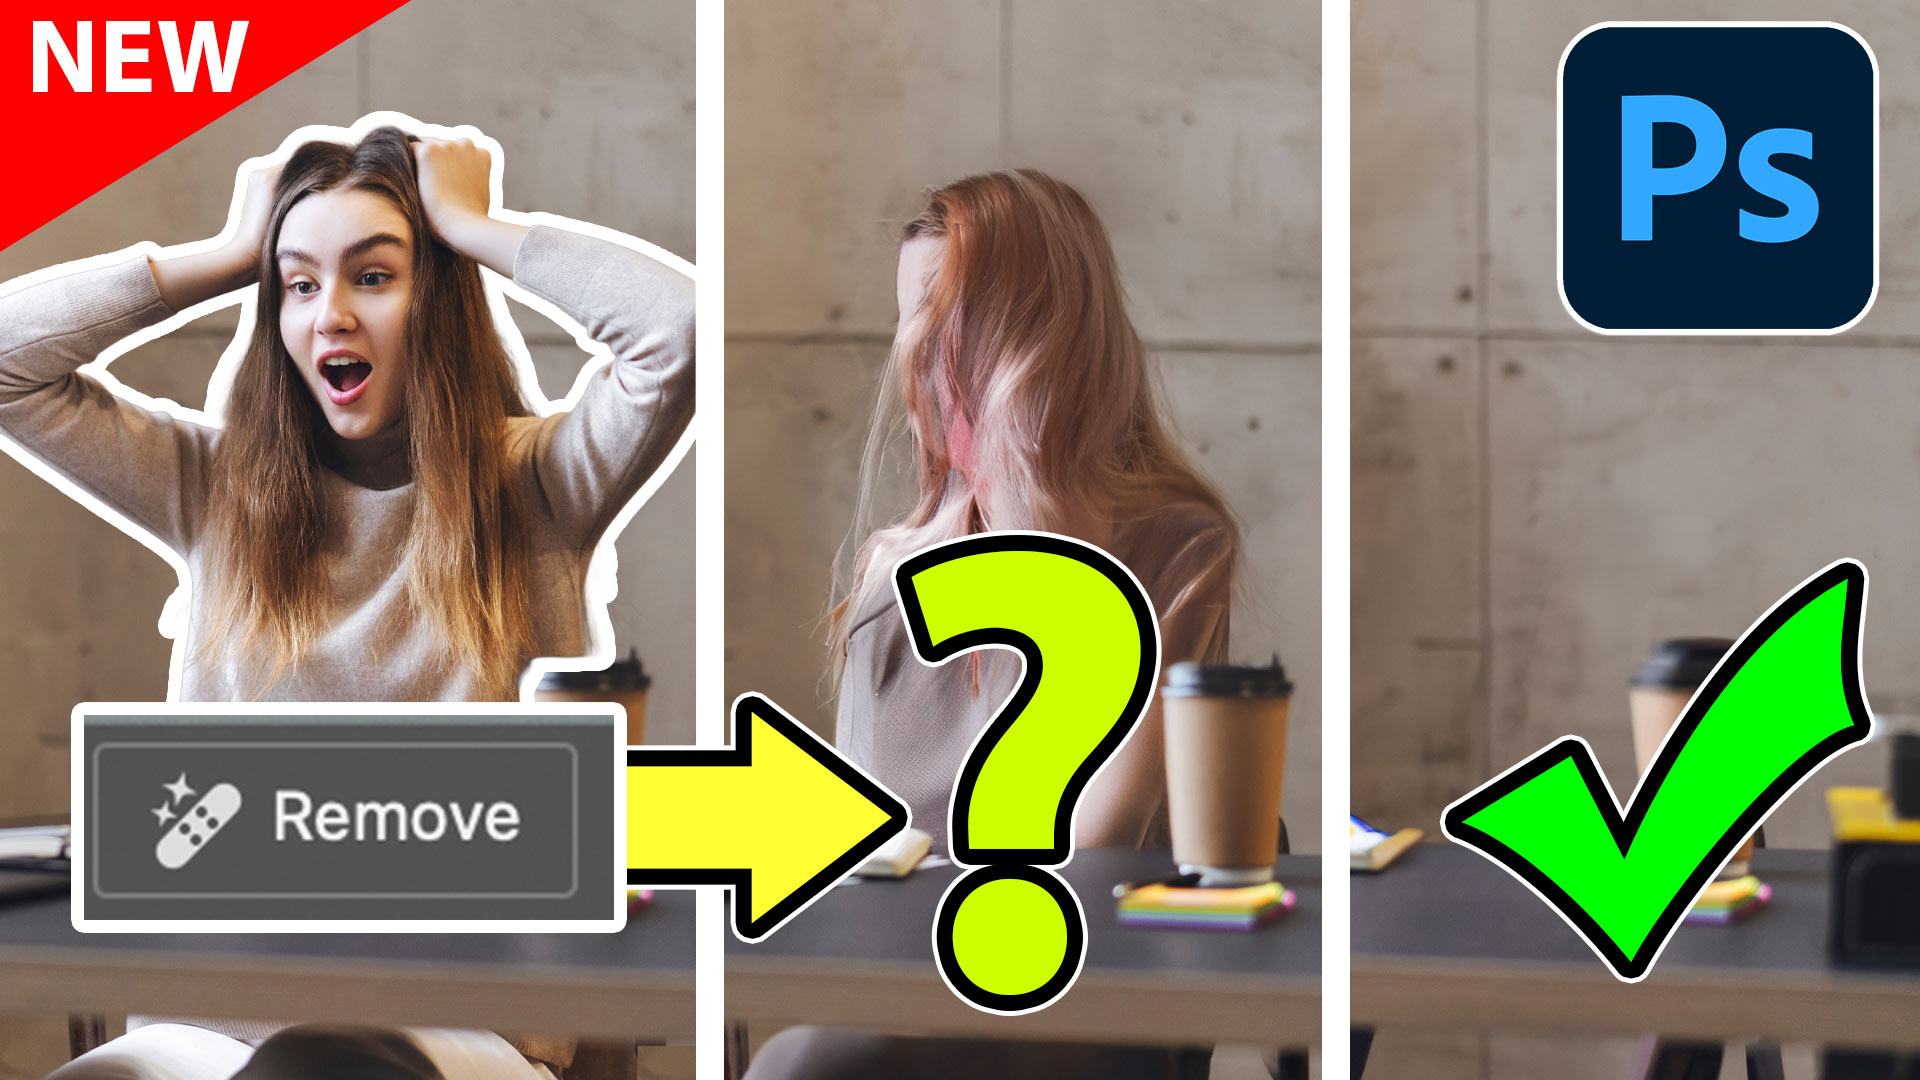
New tool in Photoshop removes anything in a photo instantly, new remove option in Generative Fill. Generative remove

Check out all the new Photoshop features in Photoshop 2024 July update


