
How to Make a realistic cast shadow in Photoshop, new way.
How to make a realistic looking cast shadow in Photoshop.
I have created a better way of making a cast shadow in Photoshop. Typically people create a drop shadow and put it on a layer, then work with masks to get the realism, this way if much faster and also more accurate. I suggest watching the video first and then, use the written steps as reference.
A drop Shadow is when the shadow is on a surface, parallel with the object, such as a person standing in front of a wall. A Cast Shadow is when the surface is at an angle from the object, such as a person on a street. There are 2 characteristics of a realistic shadow, if you observe them in the real world. As the shadow gets further away from the subject it becomes more transparent. As the shadow gets further away from the subject, the edges of the shadow become softer.
Let’s add a cast shadow in Photoshop right now.
Step 1.
Begin with the object you want the add the shadow to on its own layer. (How to cut out an object in Photoshop)

Step 2. Create a Gradient Overlay.
1. Choose the Layer Styles and select Gradient Overlay.
2. Make a Black to Gray gradient. Click the Gradient to open the Gradient Editor.
3. Click the gradient stop and select a mid gray tone. You should see the dark to lighter gradient over the image with the lighter part on top.
Click OK to apply. Click OK again to apply the layer style.

Step 3. Turning the gradient into a shadow.
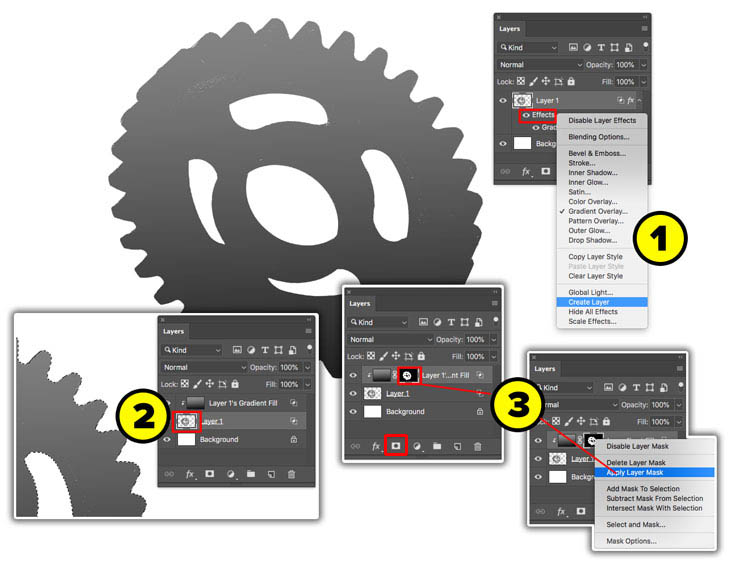
1. Right click on the word effects in the Layers panel. Choose Create Layer.
2. Cmd/Ctrl+Click on the original object layer to load its transparency.
3. With the Gradient layer active, click on the new Layer Mask icon in the Layers panel.
Right Click on the Layer mask and choose Apply Layer Mask.
Step 4.
Drag the Gradient underneath the object layer.

Step 5.
With the gradient layer selected press Cmd/Ctrl+T for free transform.
Drag down on the bounding box, (Hold Shift if on Photoshop CC 2019 or newer for non-constrained transform) and drag down to squash the gradient.
Right Click and choose Skew. Drag the top of the bounding box to the left to skew the gradient.

Step 6. Feathering the shadow
Now we need to feather the shadow, make it softer as it gets further away.
Choose Filter>Blur Gallery>Field Blur
1. Drag on the ring to change the softness of the blur. Make it nice and soft.
2. Click near the bottom of the object to add a second pin. The blur will feather between the 2 pins. Drag on the second ring to lower the blur.
Click OK

Now we have a gradient that is soft at one end. All we need to do to turn it into a shadow is change the layer blending mode to Multiply and the lighter gray will become more transparent than the darker gray. Here I placed it on a background so you could see the effect.

Thanks for checking out this tutorial, I hope you found it useful. Check out all the other tutorials we have here at the CAFE. If you haven’t subscribed to our mailing list and youtube channel yet, please take a second to so it now, so you don’t miss out on anything.
Good to see you here at the CAFE
Colin
PS Don’t forget to follow us on Social Media for more tips.. (I've been posting some fun Instagram and Facebook Stories lately)
You can get my free Layer Blending modes ebook along with dozens of exclusive Photoshop Goodies here


9 thoughts on “How to Make a realistic cast shadow in Photoshop, new way.”
Leave a Reply
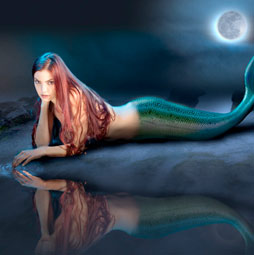
Learn how this mermaid composite was made. By combining photographs, 3D and Photoshop, you can create CG composites that defy...

This Photoshop tutorial shows you how to outline type and make it vector in Photoshop. If you want to preserve...
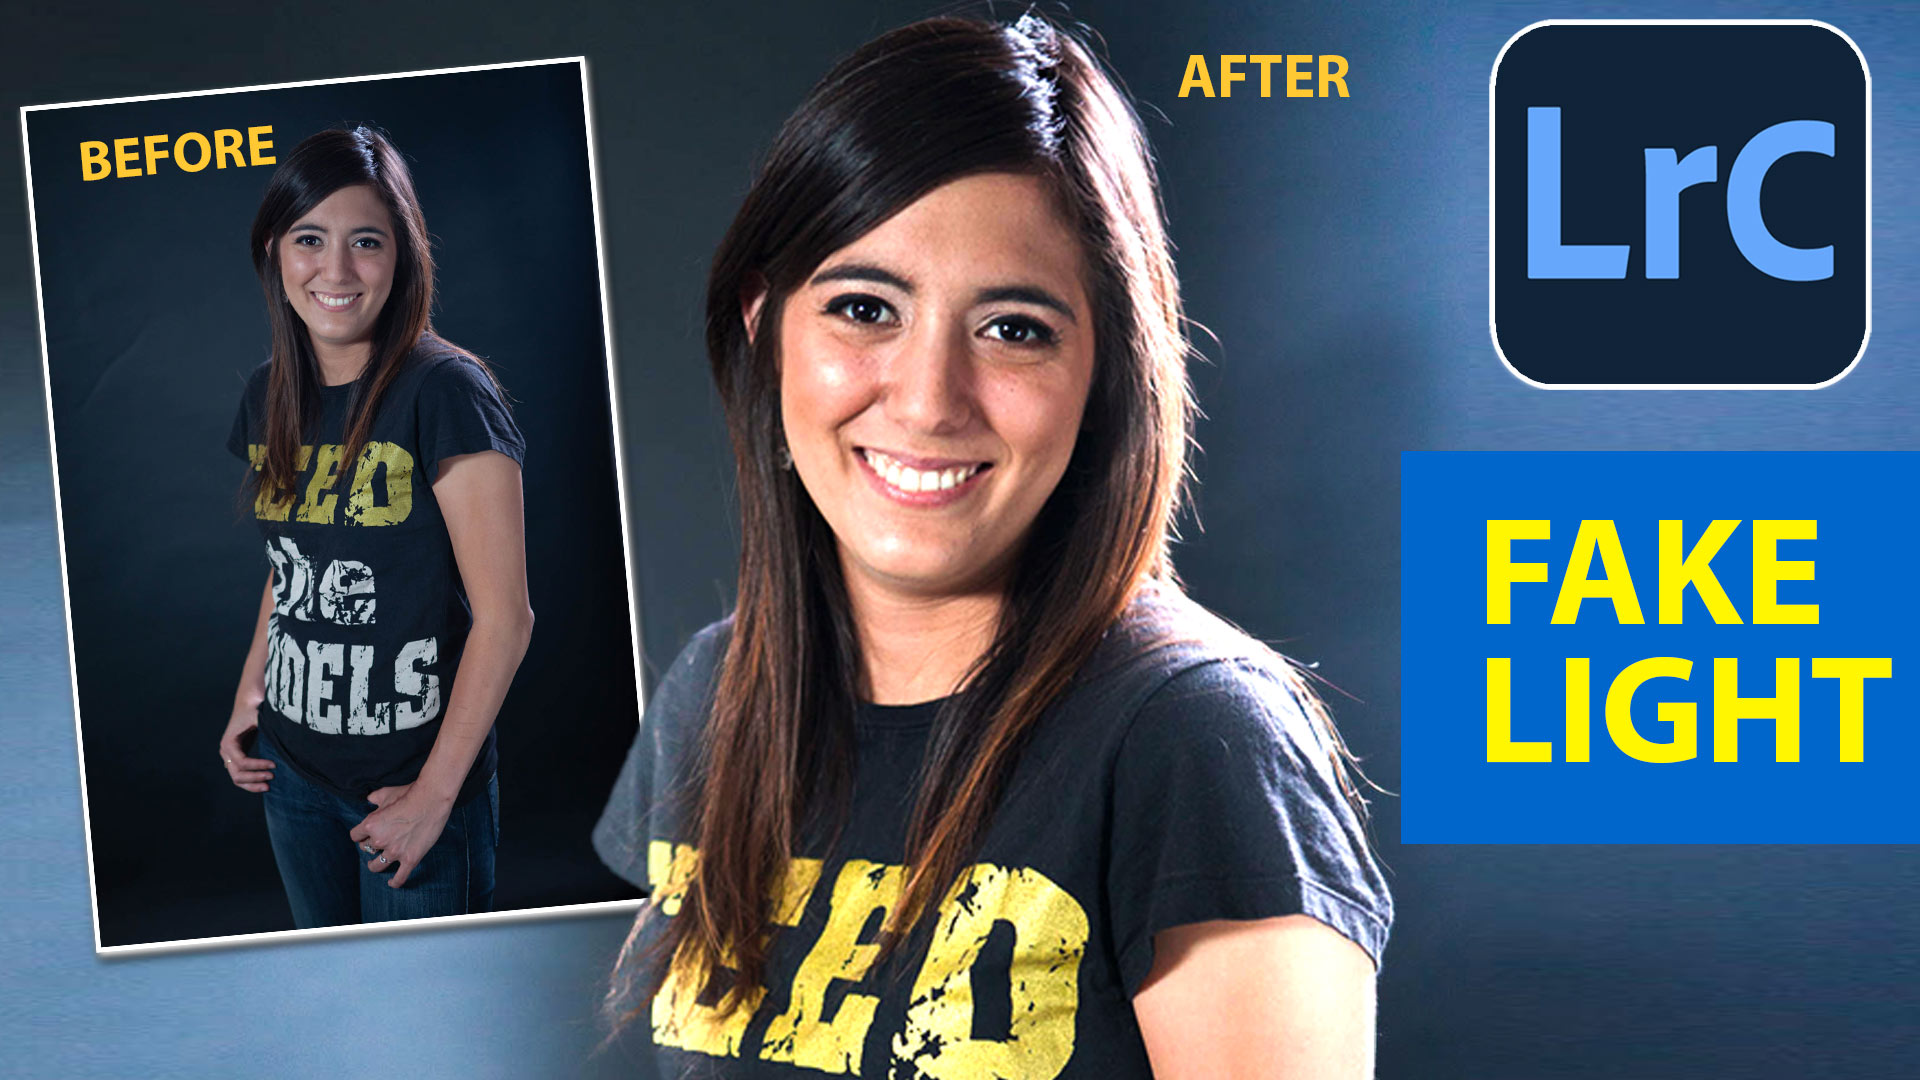
How to add edge light in Camera RAW and Lightroom using new ai powered masks.


Thank you so much for including written instructions. Seeing the video is one thing, but with only the video, one must write down notes to go through it at my own pace. Please keep doing that, as it is much appreciated.
Colin, Great video. Thank you for the written directions. Without them I would never attempt this lesson even though in the past I have made cast shadows using Linda Sattgast’s (Digital Scrappers) instructions from one of her classes. I recently upgraded to PS CC and your great tutorials are really helping me a lot. The videos that come with my new PS CC program are great but there are no written directions to back them up so I am having a hard time attempting to do them . Ugh! Love your tutorials!!!
Colin,
Thank you for sharing with us the “how to” info and offer the guidance on various subjects. This is the first time I watch the recording. I enjoy it very much. See you another time.
I’m new to your site and am REALLY enjoying your tutorials. A HUGE thank you for including written instructions as I’m furiously starting and stopping the video as I scribble your verbal instructions.
Love the tutorials visual and step by step. Most don’t do this. I’m subscribing asap
Very understandable
As I stated in the comments of your video, this is the best approach I’ve seen for getting these results. I’ve tried all of them (I think) and this one is the BEST!
Please continue the written statements and video series. It takes me many, many, hours to digest the material in videos. If I miss one point in your video it causes me a lot of grief. The written document enhances your video and makes the material easy to digest. Keep up the GREAT work.
Just found this when I was putting together a Labor Day instagram photo. Thanks it made it much easier.