
How to Interlock objects in Photoshop
How to use Layer masks and selections to interlock objects in Photoshop
This is a fun tutorial, you can use this technique to interlock, rings, text, anything really.
This seems so simple, but it can become an optical illusion very quickly, I challenge you to try this tutorial for yourself, no really, try it.
How to Interlock objects in Photoshop.
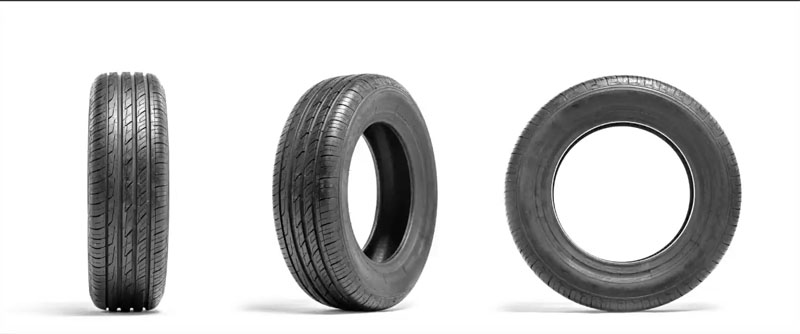
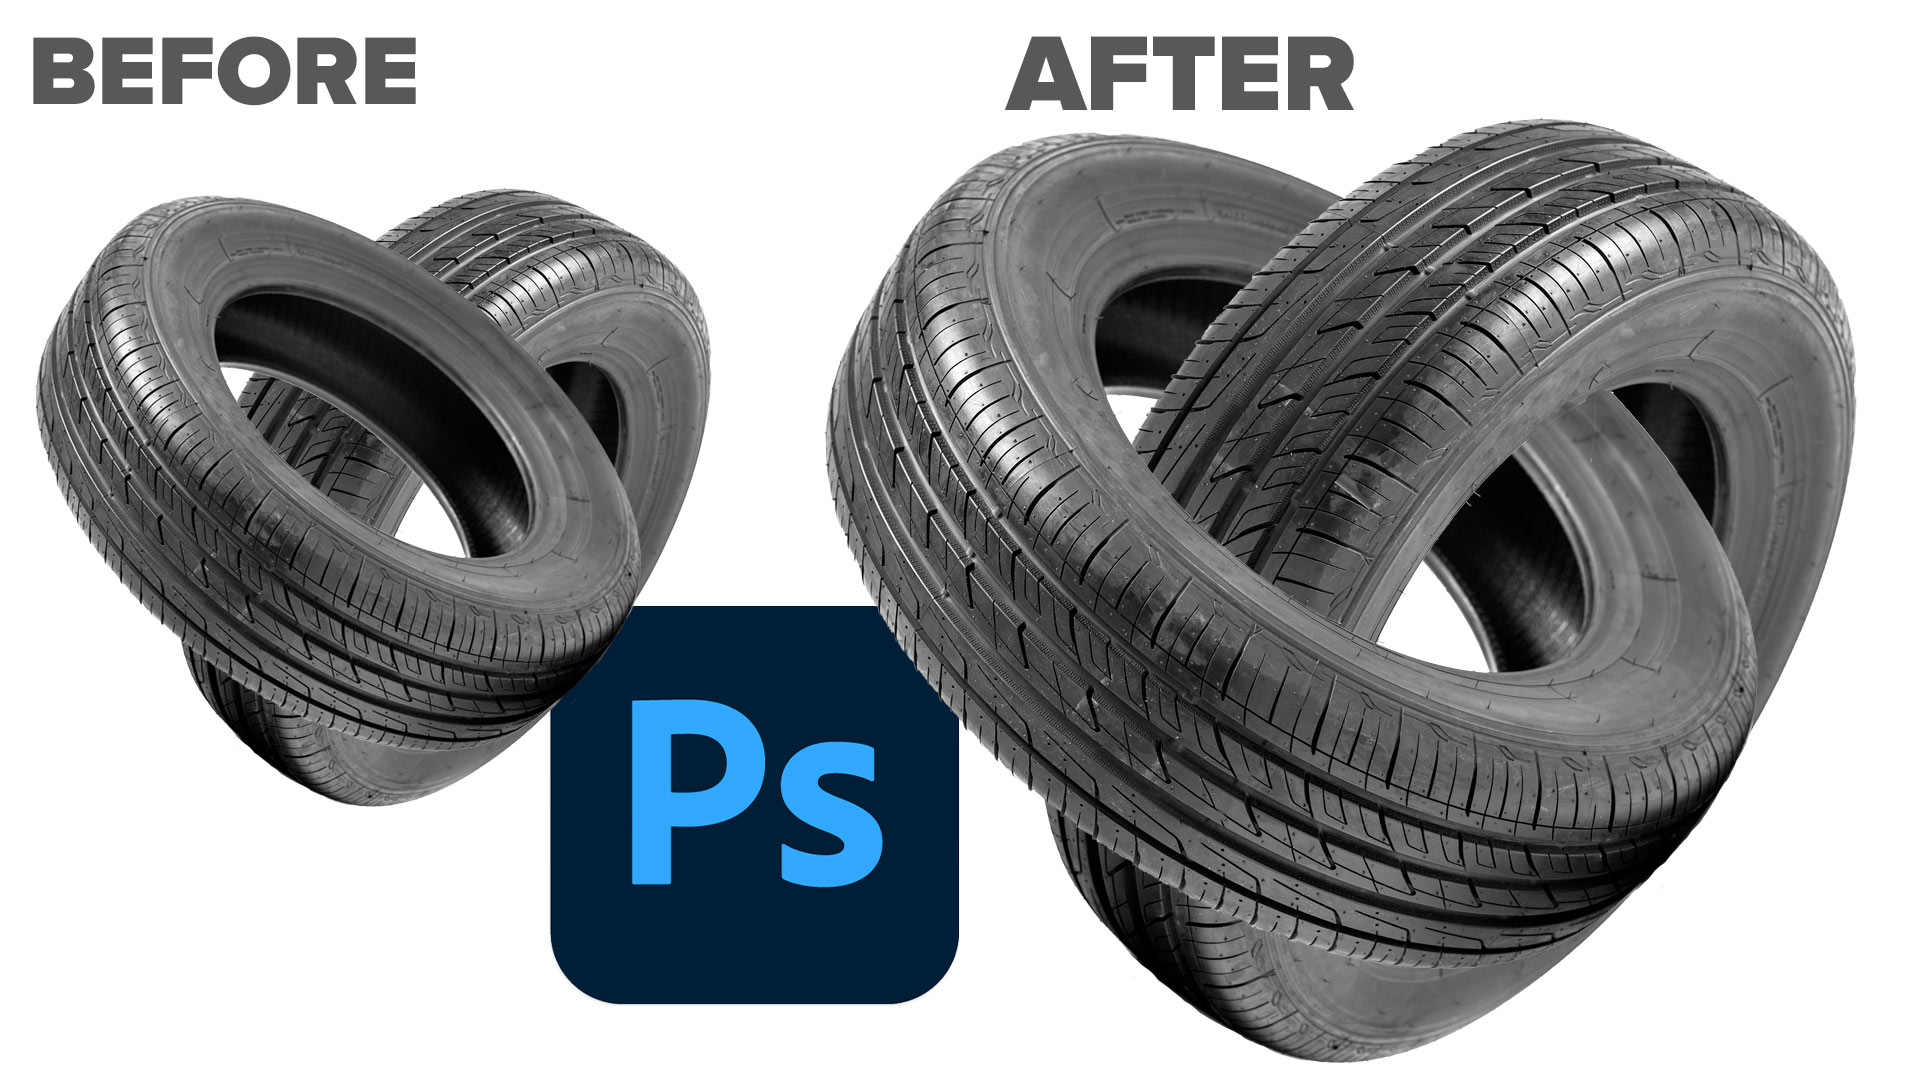
This tutorial shows you how to interlock rings in Photoshop. For this example, I thought we would have some fun and use tires.
I grabbed this image from Adobe Stock | I also show you how to quickly make a 3D donut in Photoshop on the video above.
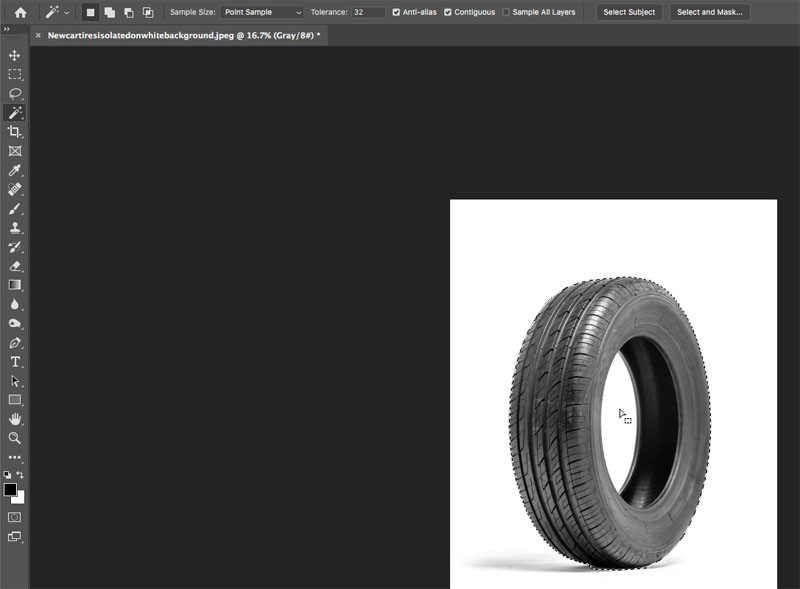
1. Remove the background in Photoshop
First thing is to remove the background. Choose the quick selection, Magic Wand or any of the selection tools.
Click Select Subject to select the tire
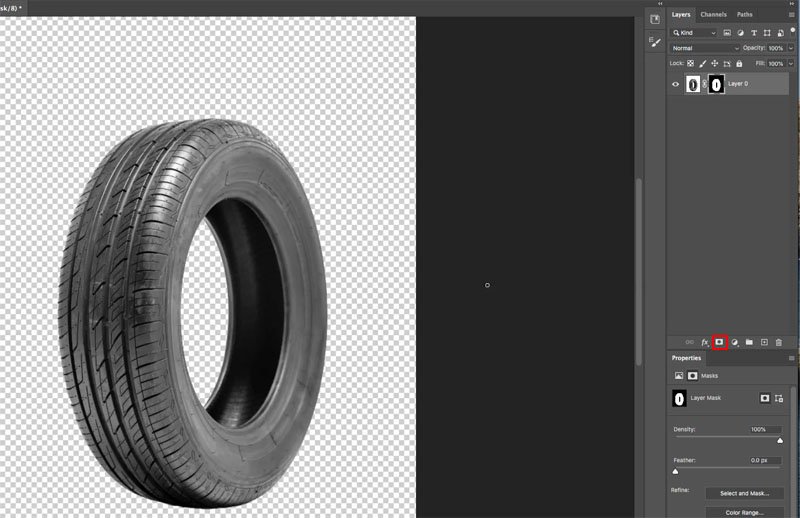
2. We still need to select the center
Hold the Alt/Option and click in the hole with the magic wand
3. Choose the move tool
Click on the layer mask tool to cut out with a layer mask.
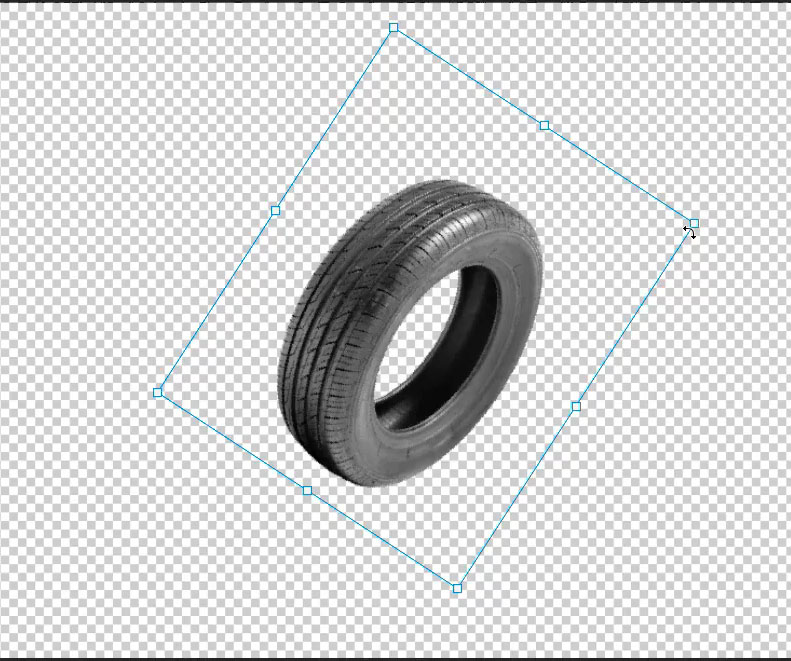
4. Press Cmd/Ctrl+T for free transform.
drag outside a corner to rotate
Press the Enter Key to apply the rotation
5. Press Cmd/Ctrl+ J to copy the layer
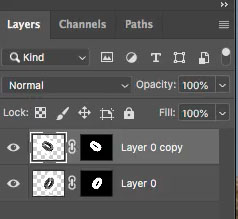
6. On the copy
Press Cmd/Ctrl+T for free transform.
drag outside a corner to rotate
Press the Enter Key to apply the rotation
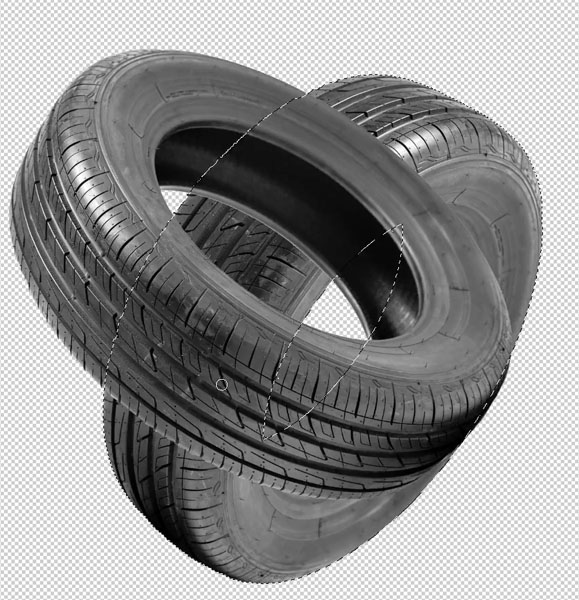
Good! They are in position, let’s interlock them.
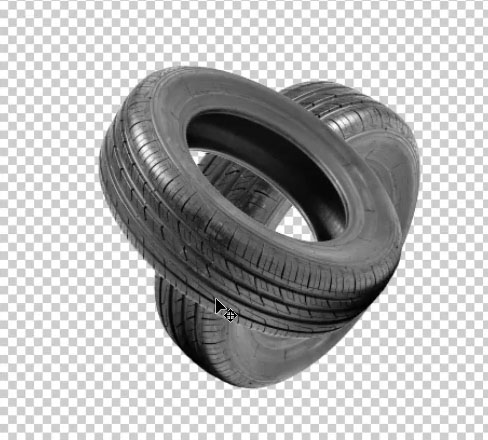
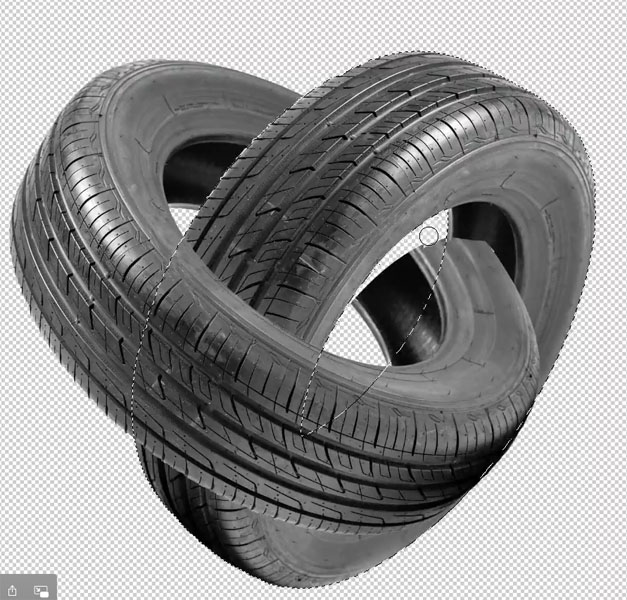
7. We are going to put the top layer inside the bottom tire.
We can load a selection from a layer, while painting on a different layer.
Click on the top layer mask
Ctl/Cmd + Click on the layer mask of the bottom layer
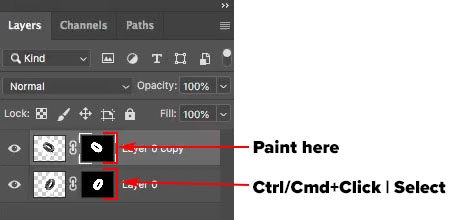
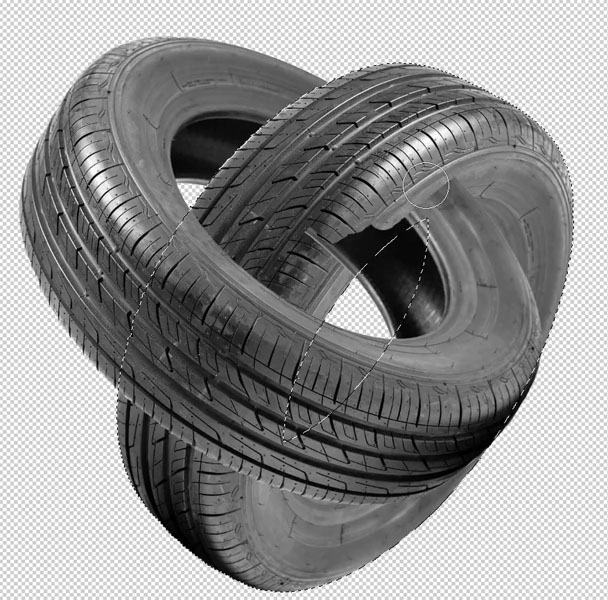
8. With the selection active, we will paint on the back part of the top tire to hide it.
9. Choose a paintbrush (B)
Choose a Black color
Paint on the tire. Use the selection as a guide to help you.
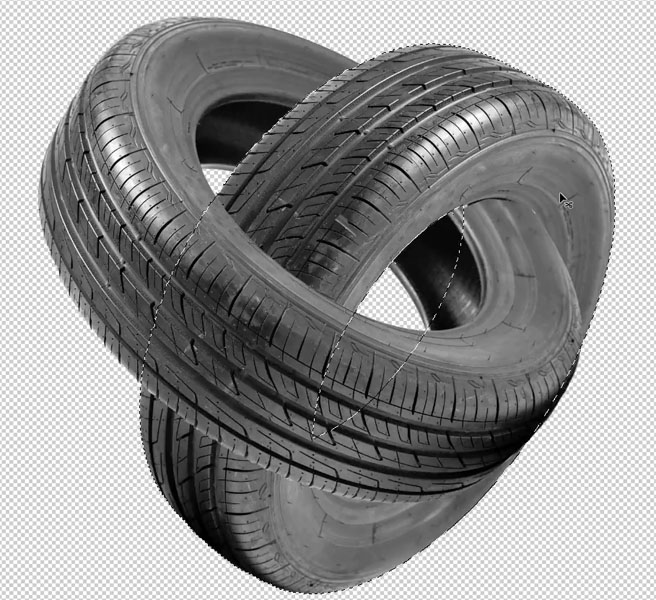
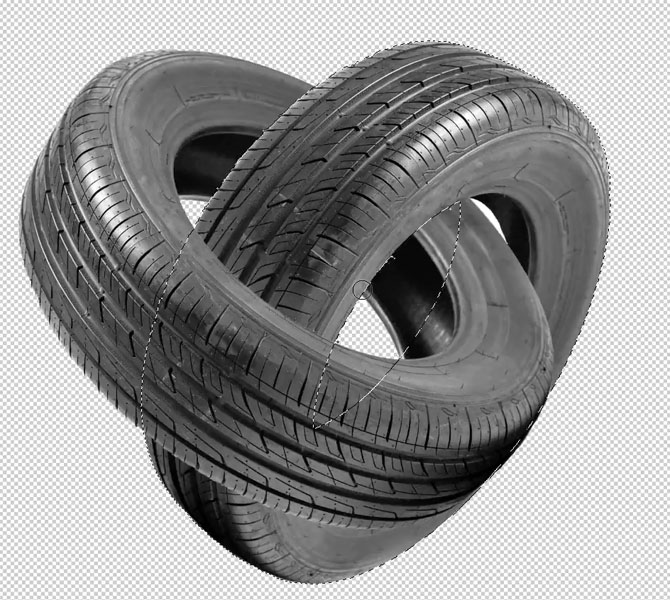
Here is the finished tire. Press Ctrl/Cmd+D to deselect.
10. What if we decide to reposition a tire? Try this as a good exercise and a chance for you to practice your masking.
Notice the interlock doesn’t match anymore.
11. Ctrl/Cmd+Click on the bottom layer mask to once again load the selection.
With the black brush, paint away the left side of the tire. (I really recommend watching the video at the top to see this and more masking tricks to accomplish this).
Notice that the tire is missing on the right side.
12. To paint back, change the brush color to white.
You will notice you still can’t paint. Thats because of the selection. Wait! Don’t deselect, let’s use that selection.
Press Ctrl/Cmd+Shift+I to Inverse the selection.
Paint the tire back, using the selection as a guide. If you are confused, watch the video.
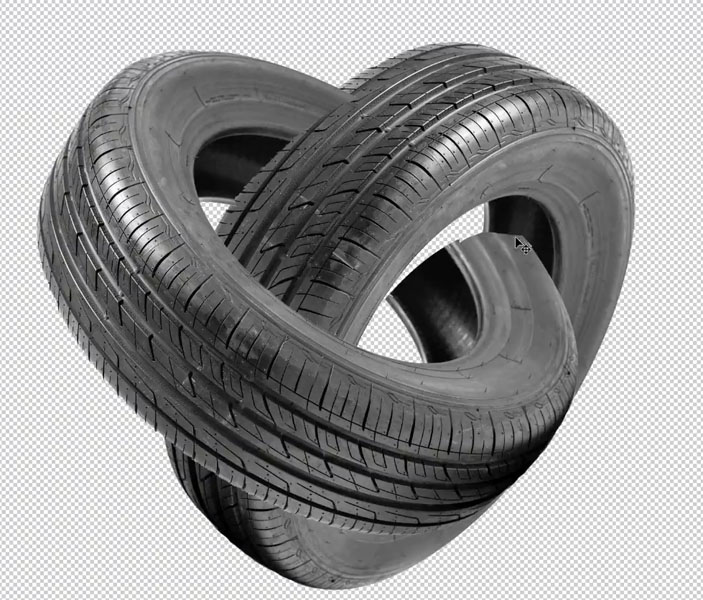
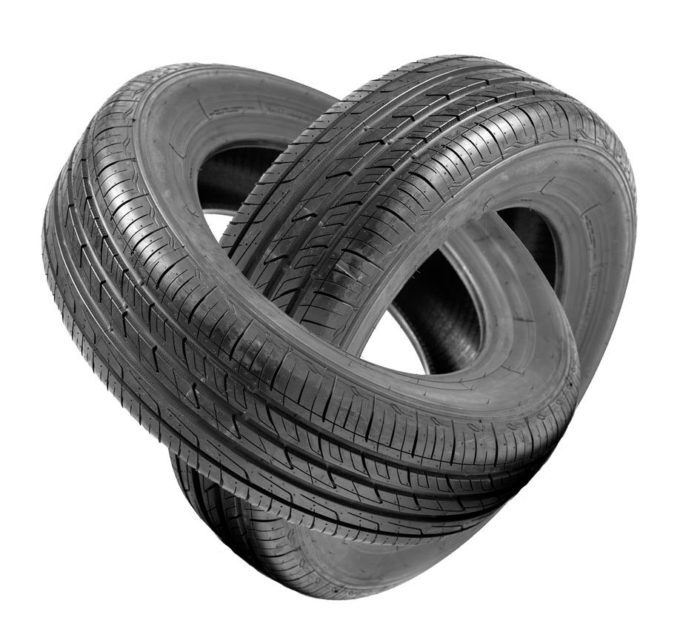
Here is the final image.
I hope you enjoyed this little tutorial.
Browse our hundreds of other free tutorials here, or search for what you are looking for in the search at the top of the page.
Great to see you here at the CAFE,
Colin
PS Don’t forget to follow us on Social Media for more tips.. (I've been posting some fun Instagram and Facebook Stories lately)
You can get my free Layer Blending modes ebook along with dozens of exclusive Photoshop Goodies here

10 thoughts on “How to Interlock objects in Photoshop”
Leave a Reply
how to design a folded greeting cards in Photoshop using a reusable smart templates

How to combine images and blend layers in Photoshop.

In this easy Photoshop tutorial, you learn how to make a cinemagraph from a video. You learn how to export...


I can barely read your text because it’s so pale. Could you darken it a bit?
There are settings on your computer under accessibility where you can do that and change the font sizes and weights on web pages.
This was a very good exercise! I enjoyed it. I work for a zoo and deal with photos of animals all the time. I’m trying to decide how I’d use this technique. If you have any ideas, let me know
Id love to have some animal photos to play with and see.
Great video. With some practice looking forward to sharpening my masking skills, which I use often. Thanks.
What does the 3D doughnut has to do with the rest of the tutorial?
Great video Colin. It’s easy to forget sometimes how easy masking can be if you use it in the right sequence. Thanks for sharing
Another great video and well explained. Looks like fun to try out and opens up a lot ways to create odd pictures. Thanks very much.
It took me several times of watching to get the hang of it.
Yes you are correct that this is one that I will need to watch several times to absorb it all. There are several things in there that can be applied in a variety of situations. I must say I’ve learned a lot from you. Just wish I was better at remembering it all. Now I’m off to order your Camera Raw course.