
How to use Color LUTs inside Lightroom and Camera Raw
LUTs inside Camera RAW and Lightroom Classic
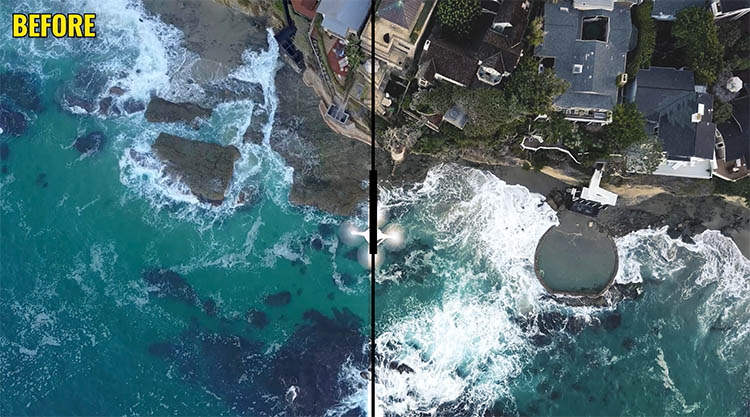
People love LUTs ([color] Look Up Tables) because of their versatility. A LUT is like a preset, but the same LUT works in Photoshop, Lightroom, Premiere Pro, After Effects, Final Cut pro, Motion and various other imaging and video editing tools. The LUT works on Windows or Mac.
It’s power enables you to make adjustments on your video and then get exactly the same “look” on your photos, so they match perfectly. When you apply a LUT the result is called a look.
A lot of people don’t realize you can use LUTs in Lightroom because it’s super hidden, let me show you how.
In order to use a LUT we have to make a Color Profile first. Don’t worry, it’s easy. We cannot Make a Profile in Lightroom, so we have to start in ACR (Adobe Camera RAW).
How to Make Color Profile
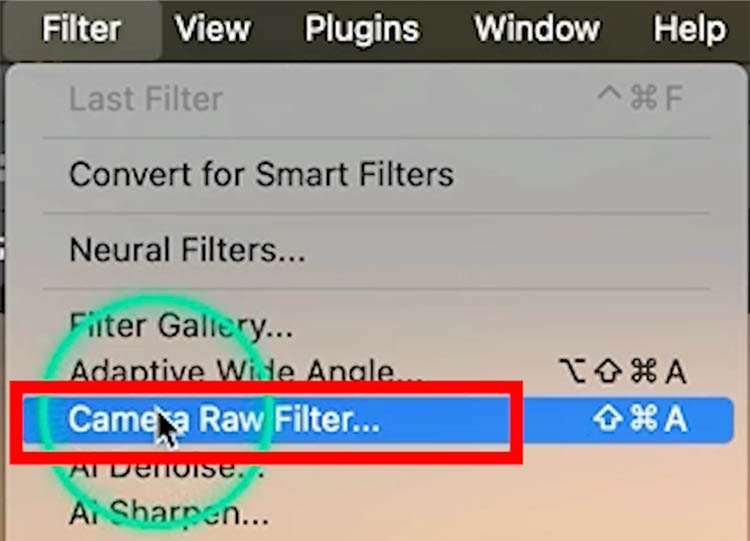
In Photoshop, open a photo and then choose Filter>Camera RAW Filter
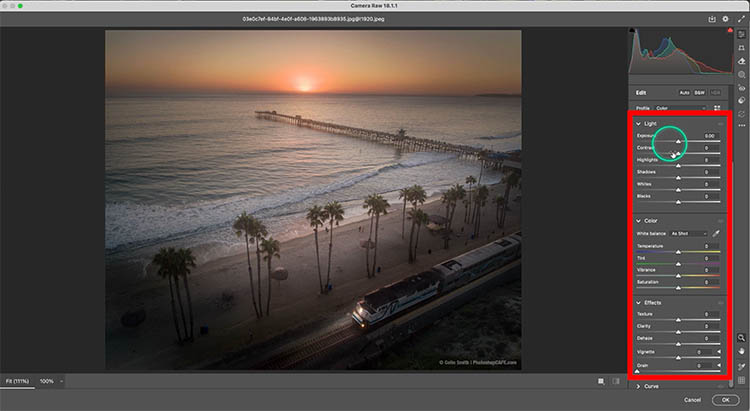
If you want to apply other adjustments to the Profile, make them now. In this example, we will stick to the pure LUT.
Click the presets button
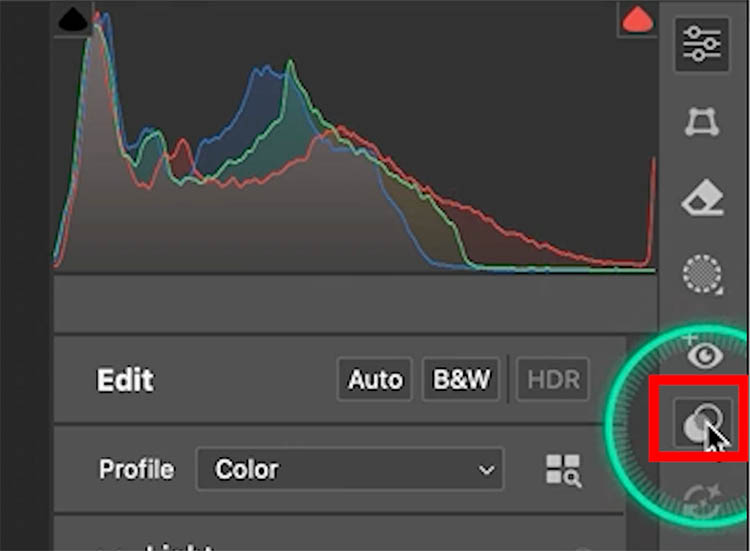
You will see the button to make a new Preset.
Hold down Alt/Option and click the button
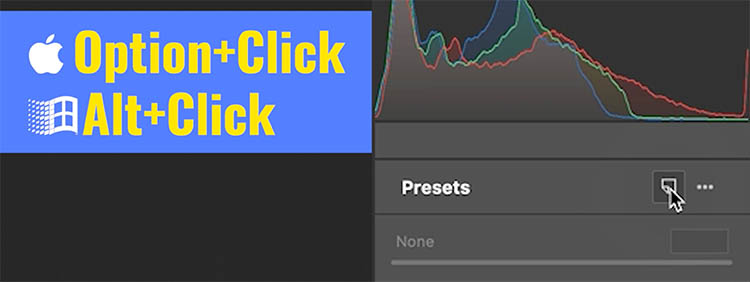
Because you used Alt/Option, the Create Profile box will open instead.
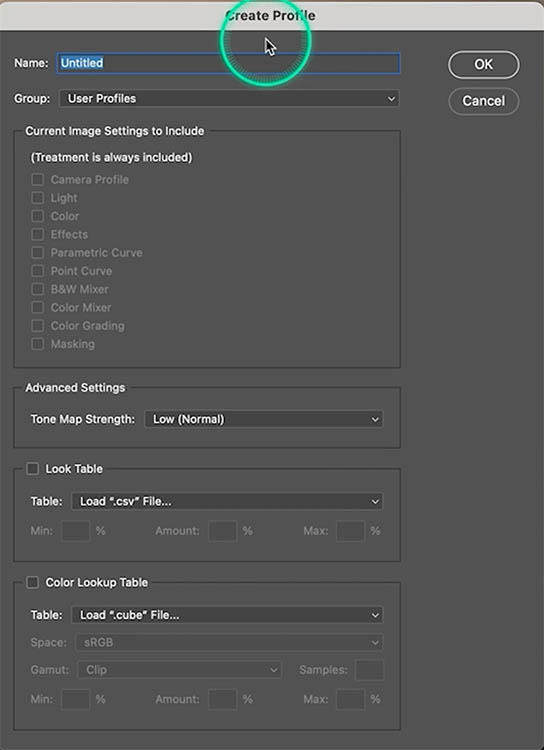
Scroll to the bottom and you will see Color Lookup Table. This is where the magic happens.
Click the box
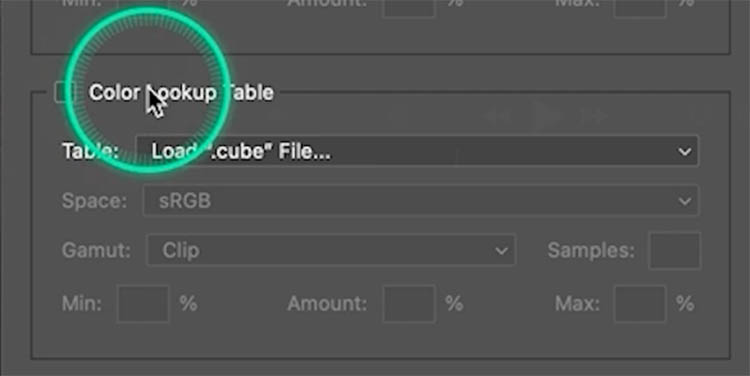
When you click the box the Mac finder or Windows explorer will open asking for your LUT.
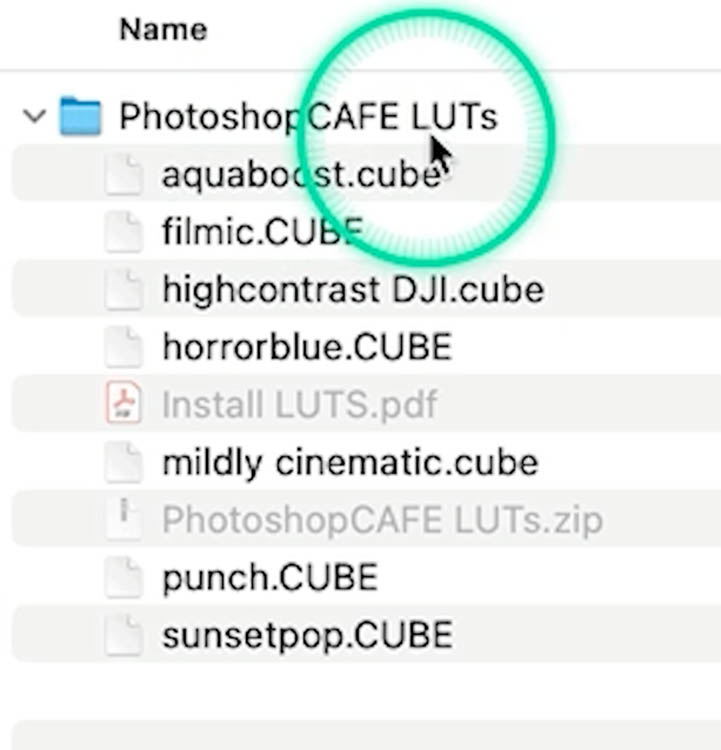
Navigate to your LUT that you want to load. Note, it must be in a .Cube format. You may have some LUTs that you purchased, downloaded or made yourself.
If you want the PhotoshopCAFE LUTs I’m using here, you can download them for free here.
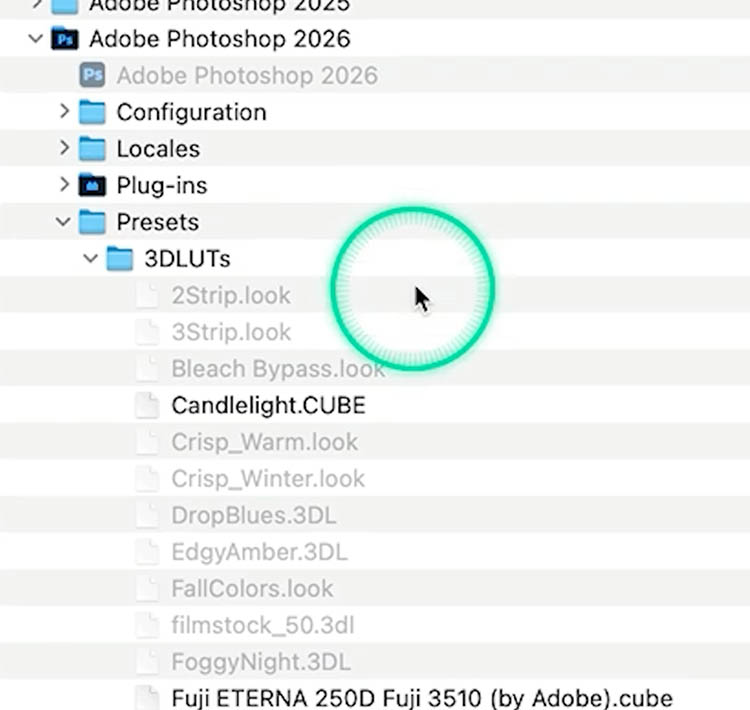
Photoshop also ships with some LUTs. You can find them here:
On Mac: Adobe Photoshop 2026/Presets/3DLUTs I think they are in a similar location on Windows. (drop a comment and let me know)
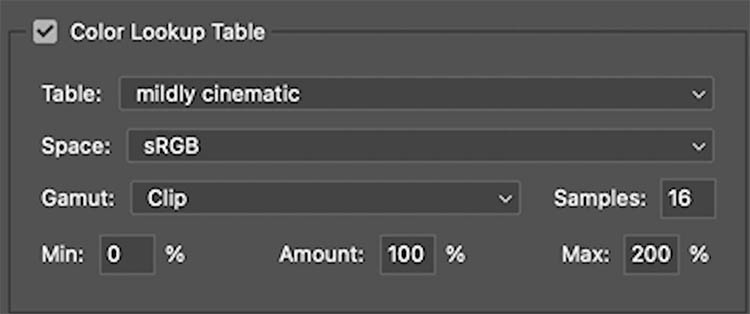
Here you can see the LUT is loaded up (Mildly Cinematic).
See the 3 boxes: Min, Amount, Max. Take a mental note they are here, we will discuss those in a moment.
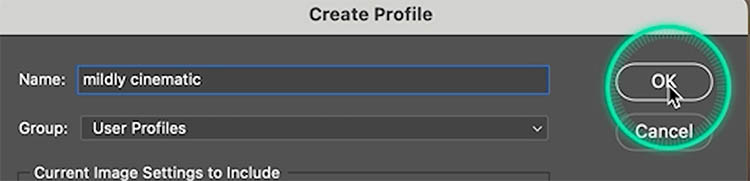
Name your Profile and Click ok.
It won’t change your picture yet. We have just made the Profile. Now we have to use it.
Using the Profile in ACR
Click the adjustments button
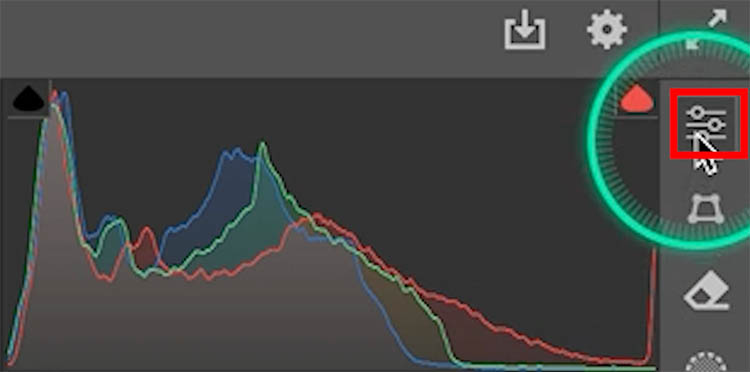
At the top, you will see an icon that looks like 4 small boxes
Click it
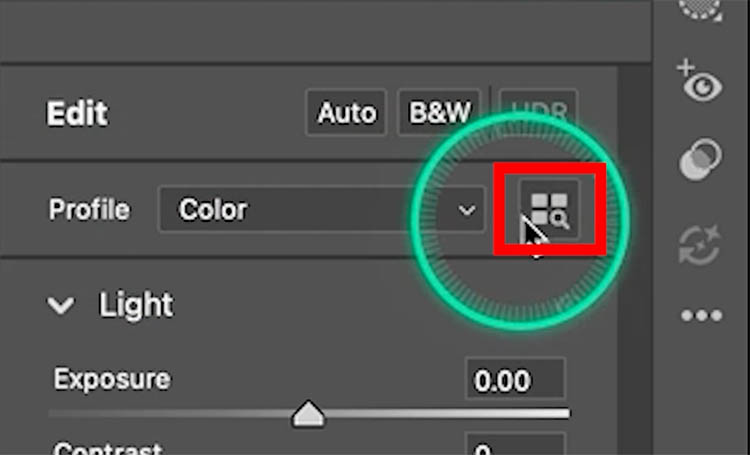
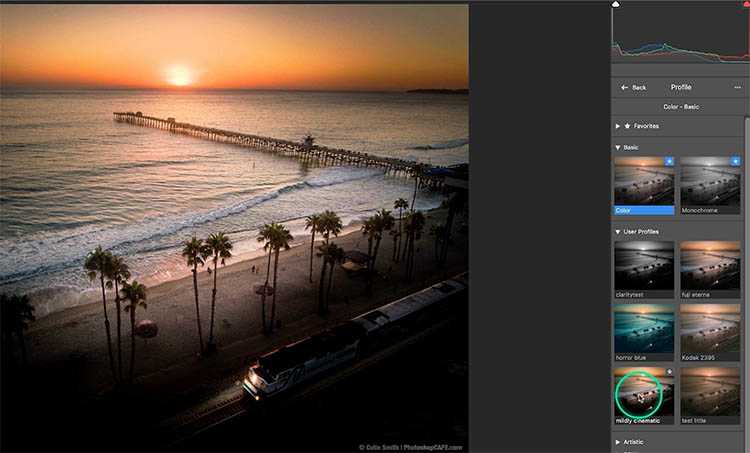
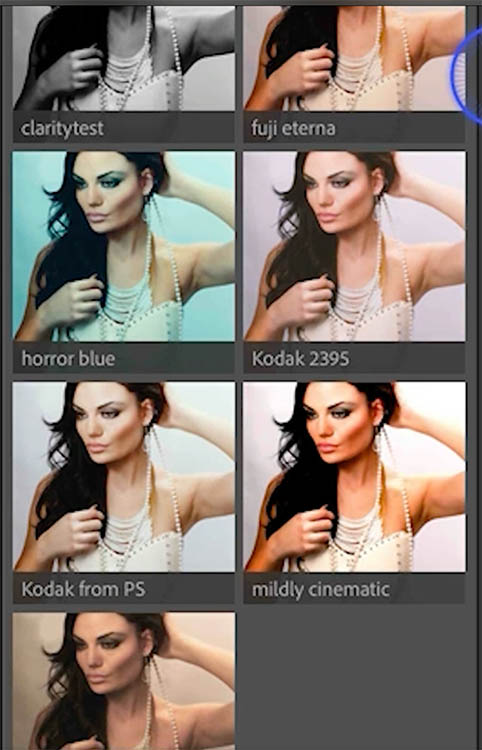
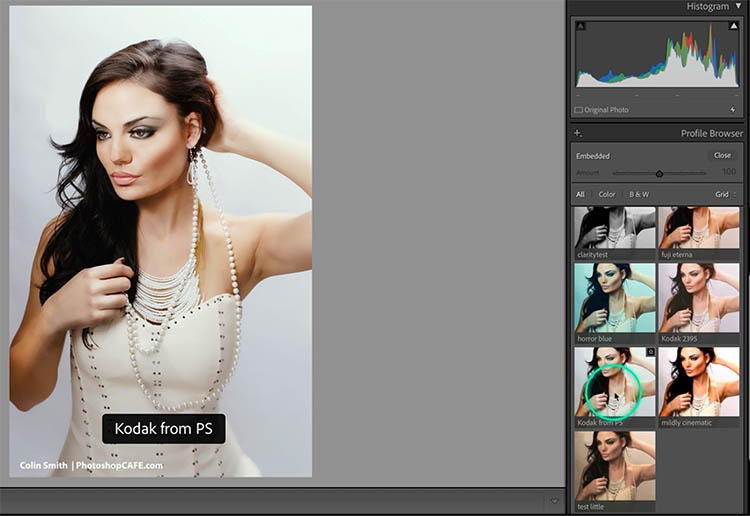
Now you see all the Profiles. Click on User Profiles.
As you roll over the thumbnails, you’ll see the photo change. Click on a Profile to apply it.
Because the Profile contains nothing but the LUT, you are actually applying the LUT to your photo.
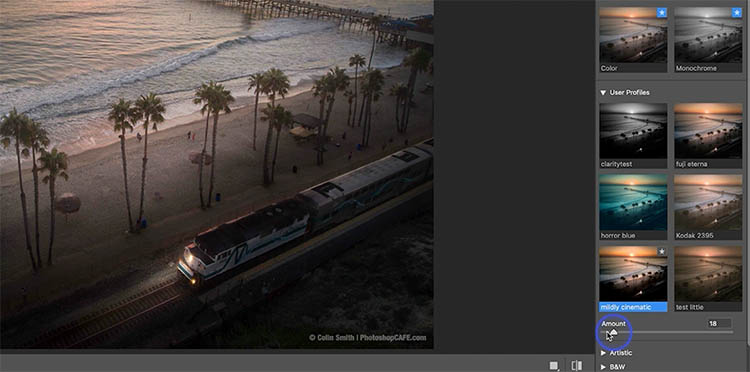
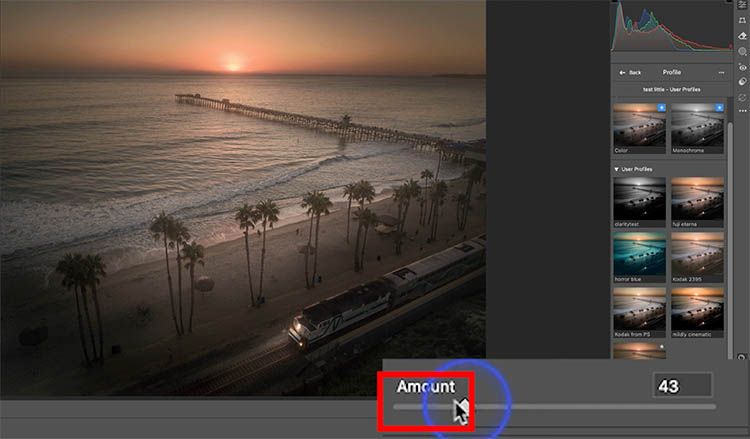
Use the amount slider to change the strength.
Setting the Strength of the Profile
By default the Amount slider goes from 0 (Min) to 200 (Max). That means from nothing to double strength. The Amount is set to 100% which means the LUT will initially be applied as normal.
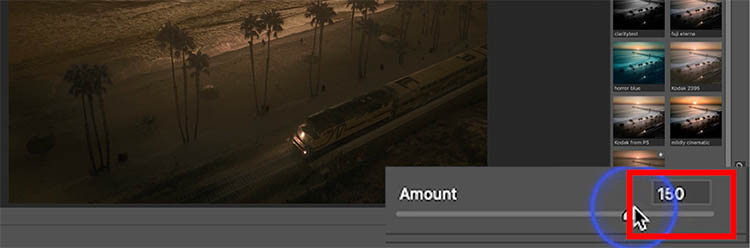
When you make your profile you can change these if you like. Remember the 3 boxes at the bottom I mentioned earlier?
Here is an example where I set min to 50 and Max to 150.
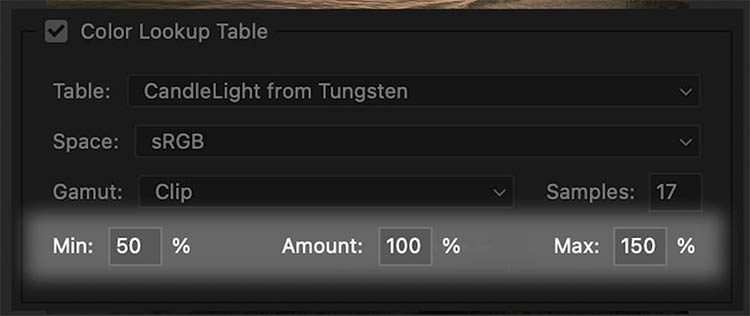
When you adjust the amount slider, it will go to 50% as a minimum, when you move the slider to the left of 50 nothing happens. (Its really easy to understand this, watching the video at the top)
Because the Max is set to 150, when you slide past 150, no more changes happen.
To remove the custom Profile, click on Profile and choose Color in the Edit panel.

I did mention Lightroom at the start. Because Lightroom and ACR share the same processing engine, it works the same in both, HOWEVER you CANNOT make a Profile in Lightroom. You have to make the Profile in ACR.
Using the LUTS (profile) in Lightroom.
In Lightroom Classic, choose the Develop module
In the Basic panel, you will see 4 boxes, click them to open Profiles.
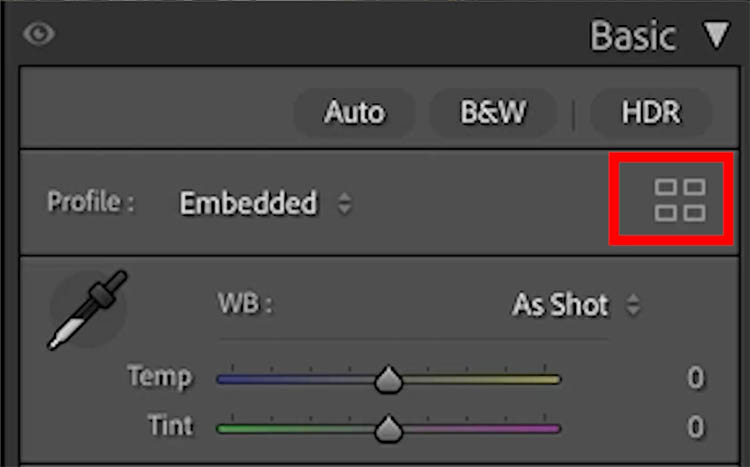
You can click on the Profiles to apply them, the same way you do in ACR.
The good news is when you make a Profile (or preset) in Camera RAW (ACR) it automatically will appear in Lightroom, they share presets. If you make a preset in Lightroom, it will also be in ACR.
Notice, there is also an amount slider in Lightroom.
You can also batch apply these to images in Lightroom if you choose to.
As you can see, it’s a bit of a workaround to use LUTs in Lightroom, but its possible.
To be honest, it’s not as difficult or time-consuming as it may seem. Once you’ve made a couple of profiles, it goes really fast, its really just 3 or 4 clicks.
You can grab the free LUT’s here, or you can make your own in Photoshop. Here’s a quick tutorial on how to make LUTs in Photoshop.
I also have a a cool workflow for video people. You can take your video in Premiere pro and them make a LUT in Photoshop and use it in Premiere pro.
I hope you found this useful! Let me know in the comments! (You can subscribe the our youtube channel at the top, under the video.)
Great to see you here at the CAFE
Colin
PS Don’t forget to follow us on Social Media for more tips..
(I've been posting some fun Instagram and Facebook Stories lately)
You can get my free Layer Blending modes ebook along with dozens of exclusive Photoshop Goodies here


19 thoughts on “How to use Color LUTs inside Lightroom and Camera Raw”
Leave a Reply

Top 10 Photoshop tutorials on 2019. best free Photoshop tutorials.
How to cut out things in Photoshop using the amazing tools in the mask panel, color range and select and...
How to replace a sky in a photo and remove the haze from edges with the powerful sky Brush in...


Very helpful and informative, though I am not sure why Adobe make it so messy to access something that has been around for many years.
Like the green circle around pointer. Makes it easy to follow your movements. Thank you for this tutorial. Talk about hidden features!!
So glad its helpful for you!
Another great tutorial, Colin! Question – I noticed in the ACR profile editor, when you chose color LUT, your “space” is set to sRGB. Does that matter? Should I set this to LRC’s native ProPhoto RGB colorspace to use with camera raw files if I’m applying the LUT / Profile in LRC?
Thanks!
noticed that there was a color space, in the your mildly cine LUT the color space was sRGB. How does the LUT work in RAW and other color spaces?
I like the cursor. Makes it easy to follow. Thanks for the extremely useful video.
Thanks for the feedback, Im glad you find it helpful
First, stay with the cursor outline — quite helpful. Would be nice if you could do a magnifying glass zoom for small slider and settings changes (ProMouse app?).
My question: I like using Adaptive Color as my Profile in LRC. Is there to use a LUT and still take advantage of Adaptive Color?
Really great question. Unfortunately, you can’t apply more than 1 profile at a time in LR or ACR, and there isn’t another way to apply a LUT. The only way would be to open in Photoshop and apply the LUT afterwards.
Thanks Colin. Another great tutorial and yep the cursor highlight is Grand!
I’m glad to hear you like the cursor!
Love the cursor addition. Very helpful.
Your LUTs are terrific! What a great video-demonstration, too. The cursor-outline really works!
I really like the new cursor circle. Very easy to follow. Thanks
Thank you for this great video. I have downloaded and installed the LUTS as profile presets in Adobe Camera Raw. However, when I go into the profile browser in Lightroom I do not have a “user presets” nor do I have the “Photoshop Cafe” group that I created when I created the profiles in ACR.
I do have the setting “Store presets with catalog” in Lightroom. Is it possible I need to copy the presets from some other folder into my Lightroom presets folder for the catalog?
Maybe import the profiles into Lightroom. Which LR are you using, I think it’s only automatic in Classic.
Yes, I really like the cursor highlight. It makes it so much easier to follow what is being done, in that no time is lost searching for the cursor location especially when you are new to PS.
Great tutorial, as always!
Thanks!