
Photoshop Dispersion splatter effect
The photoshop dispersion effect, splatter effect, shatter effect, whatever you want to call it is a very popular technique to use on photographs, particularly those with movement. Since this is such a popular technique, I figured I would take a stab at a tutorial, doing it my way. So here is a very simple way of getting this effect. I say simple, because the mechanics are actually not that hard. choosing the best brushes and where to use them does take a bit of practice to get decent results. So if you don’t get a good result the first time, don’t worry, just keep trying. In my example, I decided to go for a more liquid style result.
Step 1
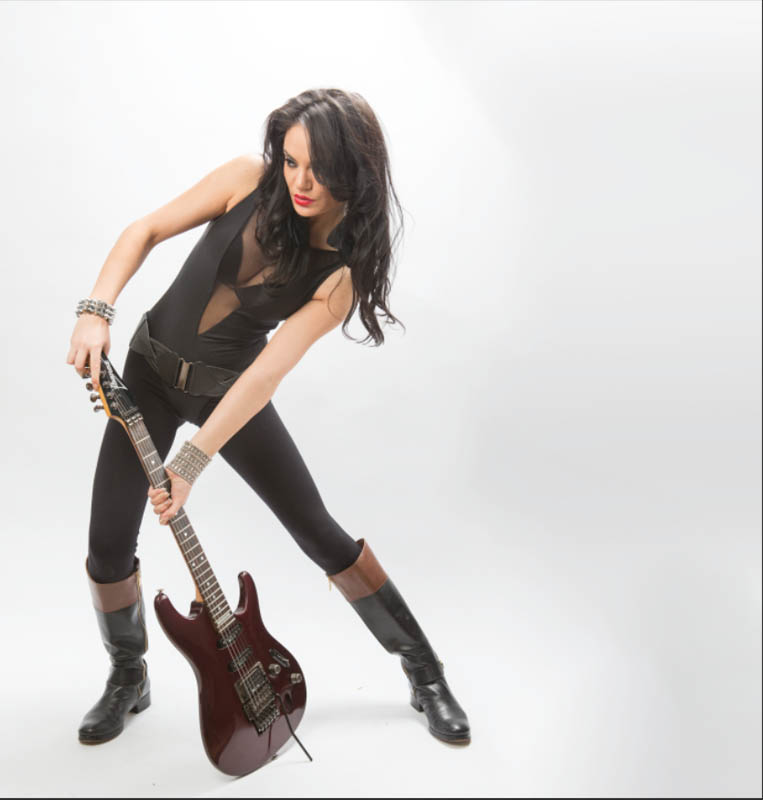
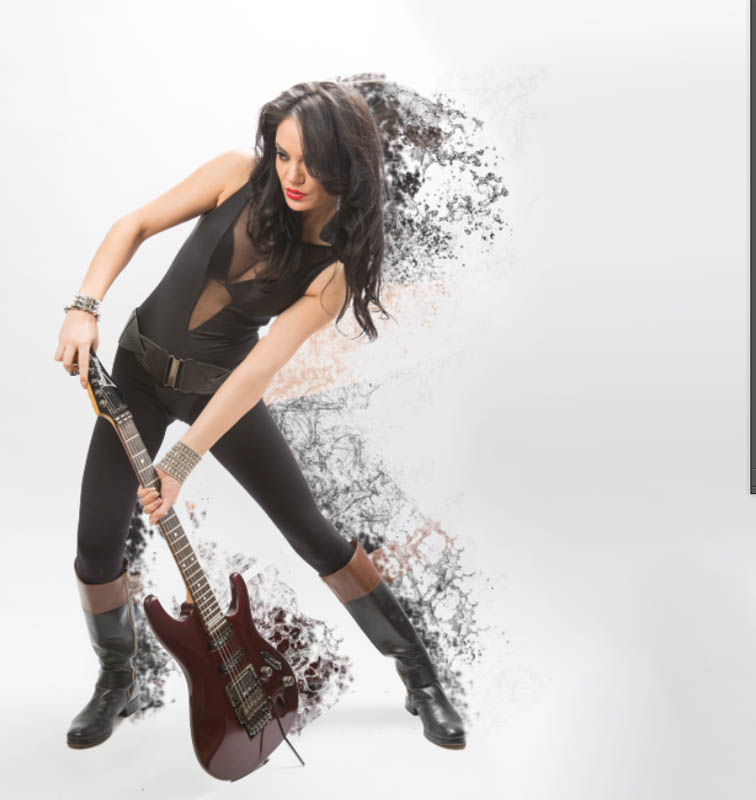
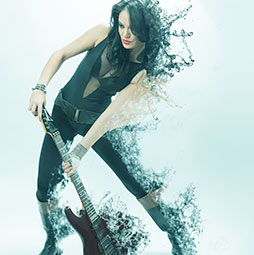
Start with a photograph that you think will work well with this, something with some action usually works best. In this case I chose a photo I shot of model: Lina. I used this one because of the boomerang shape of her body, that may create some visual interest and impression of anticipated movement.
Step 2
Cut out the object from the background and put onto its own layer. I have a tutorial that shows you how to do that here.
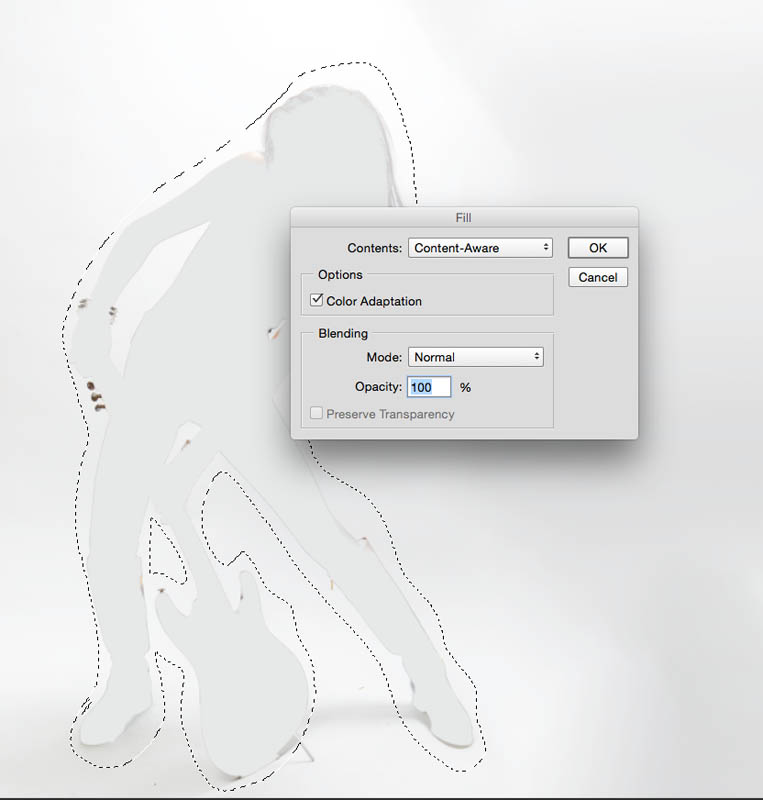
Make sure you fill in the area that the object used to be. Make a rough selection with the lasso tool and press Shift+Delete (Shift+Backspace Windows). This will open the Fill dialog box. Choose Content Aware. Repair these steps on smaller areas if you need to do some repair work. It doesn’t have to be perfect BTW. (You could also just move the cut out object to a new document if you prefer).
Step 3
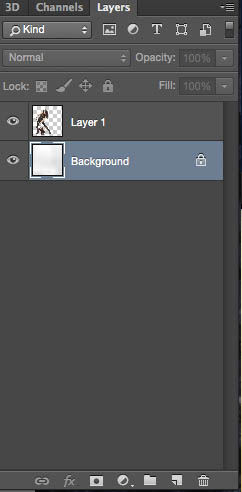
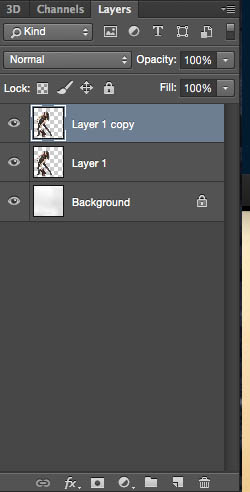
At this point you should have a clean background and your object on a new layer like shown. You are ready to begin.
Step 4
Duplicate the object layer by selecting it and press Ctrl/Cmd+J
step 5
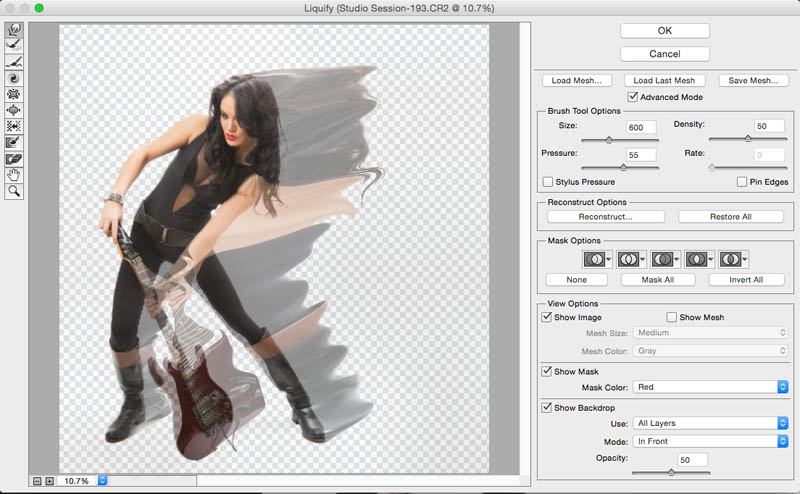
We need to provide some pixels for the splatter effect.
Choose Filter>Liquify to go into the liquify filter
Use the default tool (forward warp) make a decently large brush
Push pixels off to the left. so we have smudged out enough pixels for use to use in our effect as shown.
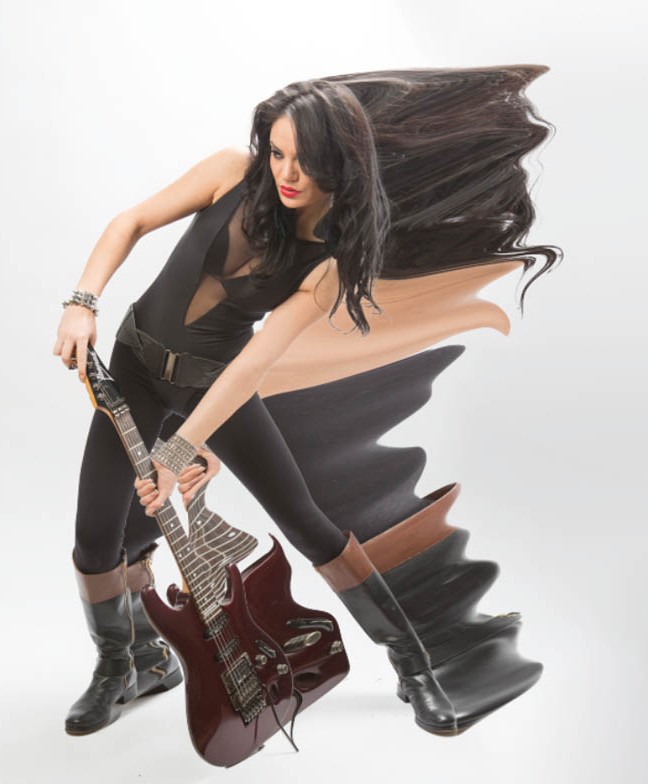
Step 6
Click ok to Apply and move the smudged layer underneath the object.
step 7
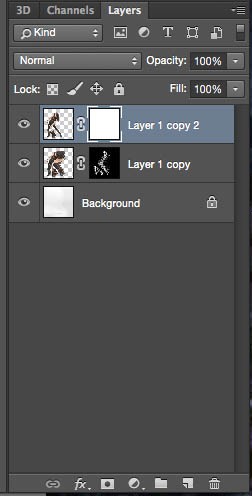
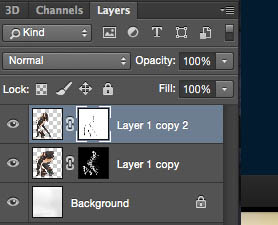
All the magic is going to happen with layer masks.
On our top layer, press the add layer mask button in the layers panel, a white mask will appear and have no effect on the layer.
On the Bottom (smudged layer) We want to create a mask that hides that layer. Hold down the Alt/Option key at the same time as the add layer mask button. This will add a black mask that hides the contents of the layer.
Step 8
Set white for the foreground color
Select the brush tool and choose a shatter or splattered brush from the brushes panel
There are many free photoshop brushes that can be found online in places like deviant art or brusheezy. Do a Google search for terms like "free photoshop splatter brushes" and you will find tons of them.
Set the brush opacity to 100%
Choose the layer mask on the bottom layer (smudged) as you paint, you will notice the contents of the layer will begin to appear. Change bushes ofter and dab rather than drag. Start to build up the splattering effect.
Step 9
Choose the top layer mask, select a black brush and begin to cut into the object with brushes, to remove parts of the image to make it look like they are exploding away.
Step 10
You will start to see a result that you may or may not like. The good thing about using layer masks is that you can always paint away the changes on the mask and try again, or work on little areas at a time until you like the result.
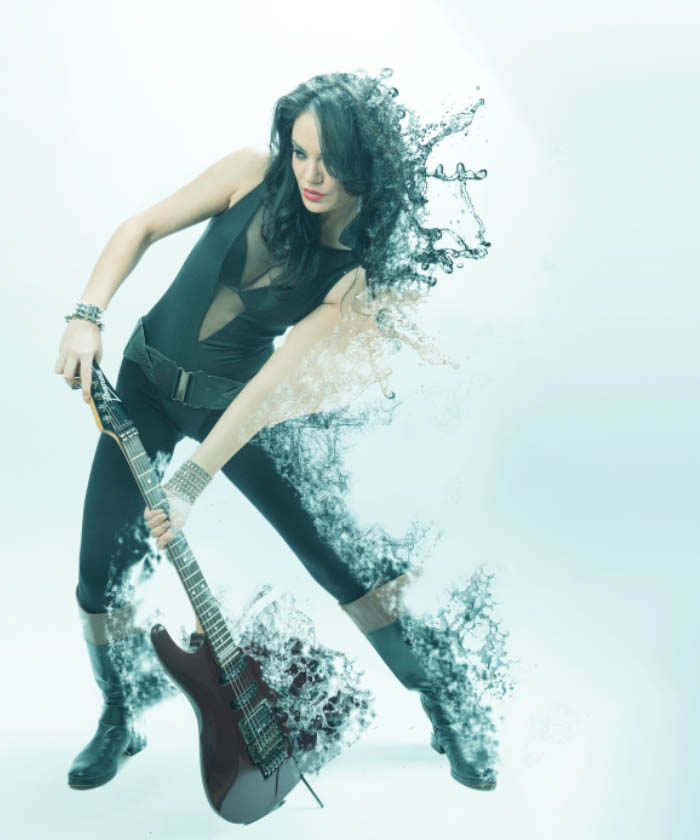
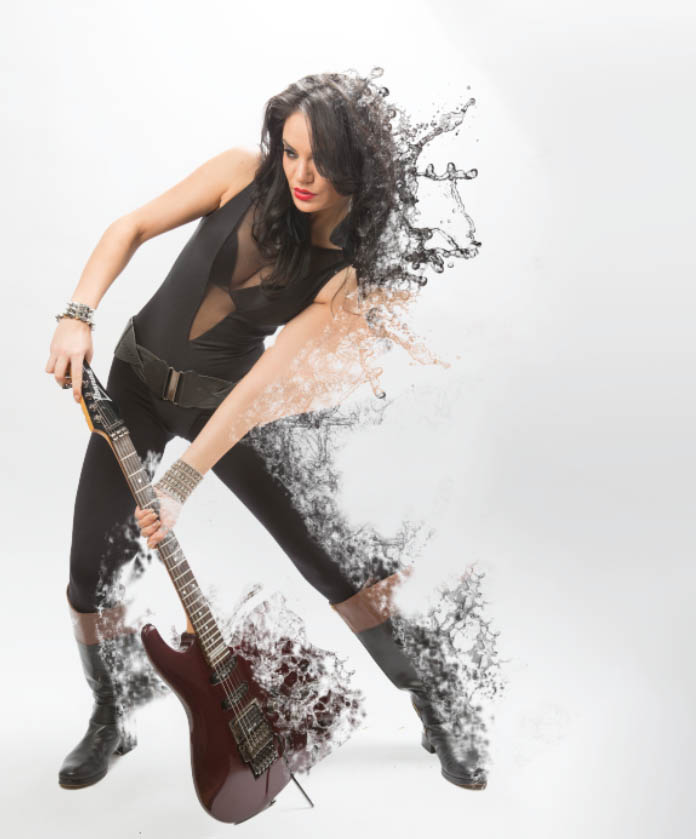
In the end, I have something like this
Xtra Credit
The result, is ok, but I want to give it bit of a coloring effect.
Select all the layers and Press Cmd+Shift+Option+E (Ctrl+Shift+Alt+E on Windows)
This will do a composite layer, or a stamp visible layer. (All the layers into 1 new layer on top without merging the layers beneath)
Choose Filter>Camera Raw (On CS6 or older, you will have to open the image from Bridge Right Click>Open in Camera Raw)
Go to split toning and play around with some settings like I have here
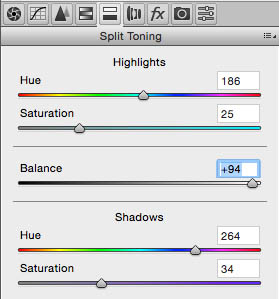
And we have a colored result.
Don’t forget to check out all the free photoshop Tutorials here at the CAFE, there are lots and we are adding more all the time!
PS Don’t forget to follow us on Social Media for more tips.. (I've been posting some fun Instagram and Facebook Stories lately)
You can get my free Layer Blending modes ebook along with dozens of exclusive Photoshop Goodies here

10 thoughts on “Photoshop Dispersion splatter effect”
Leave a Reply

This technique is a contrast/tone and color correction technique all in one. Once you run through this, you will see...
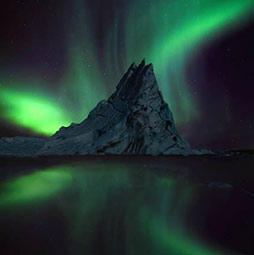
Photography workshops and tours in stunning Iceland

NEW features in Lightroom Classic 9.3 June 2020 HUGE update! Learn how to use all the new Lightroom Classic features.


I have a problem with “We want to create a mask that hides that layer” I cannot add the same layer mask as in the example 🙁 Mask show only image without filter liquify or image with this filter, never show only the filter effect as in the example.
I would suggest going over the instructions again carefully. Make sure you create a new layer and are masking the correct layer
After many days i got this kind of descriptive tutorial. Instruction is very clear. i have practiced it its really so comfortable to me.
Cool love it
Thank you, tat is sth new and interesting to try for me!
Hello I’m having trouble with step 7. Hold down the Alt/Option key at the same time as the add layer mask button. This will add a black mask that hides the contents of the layer. Can you please help?
alt=windows option=Mac
Don’t forget to share your images with the community on our facebook group https://www.facebook.com/groups/53878338135/
I tried a couple tutorials for this and yours is so simple and clear, Thank you!!
Wow, this looks awesome. I will play more in Photoshop from now on, I will replicate this effect. Thanks!