How to convert Photos to paintings in Photoshop with Generative Fill AI
Converting Photos to art with Ai in Photoshop
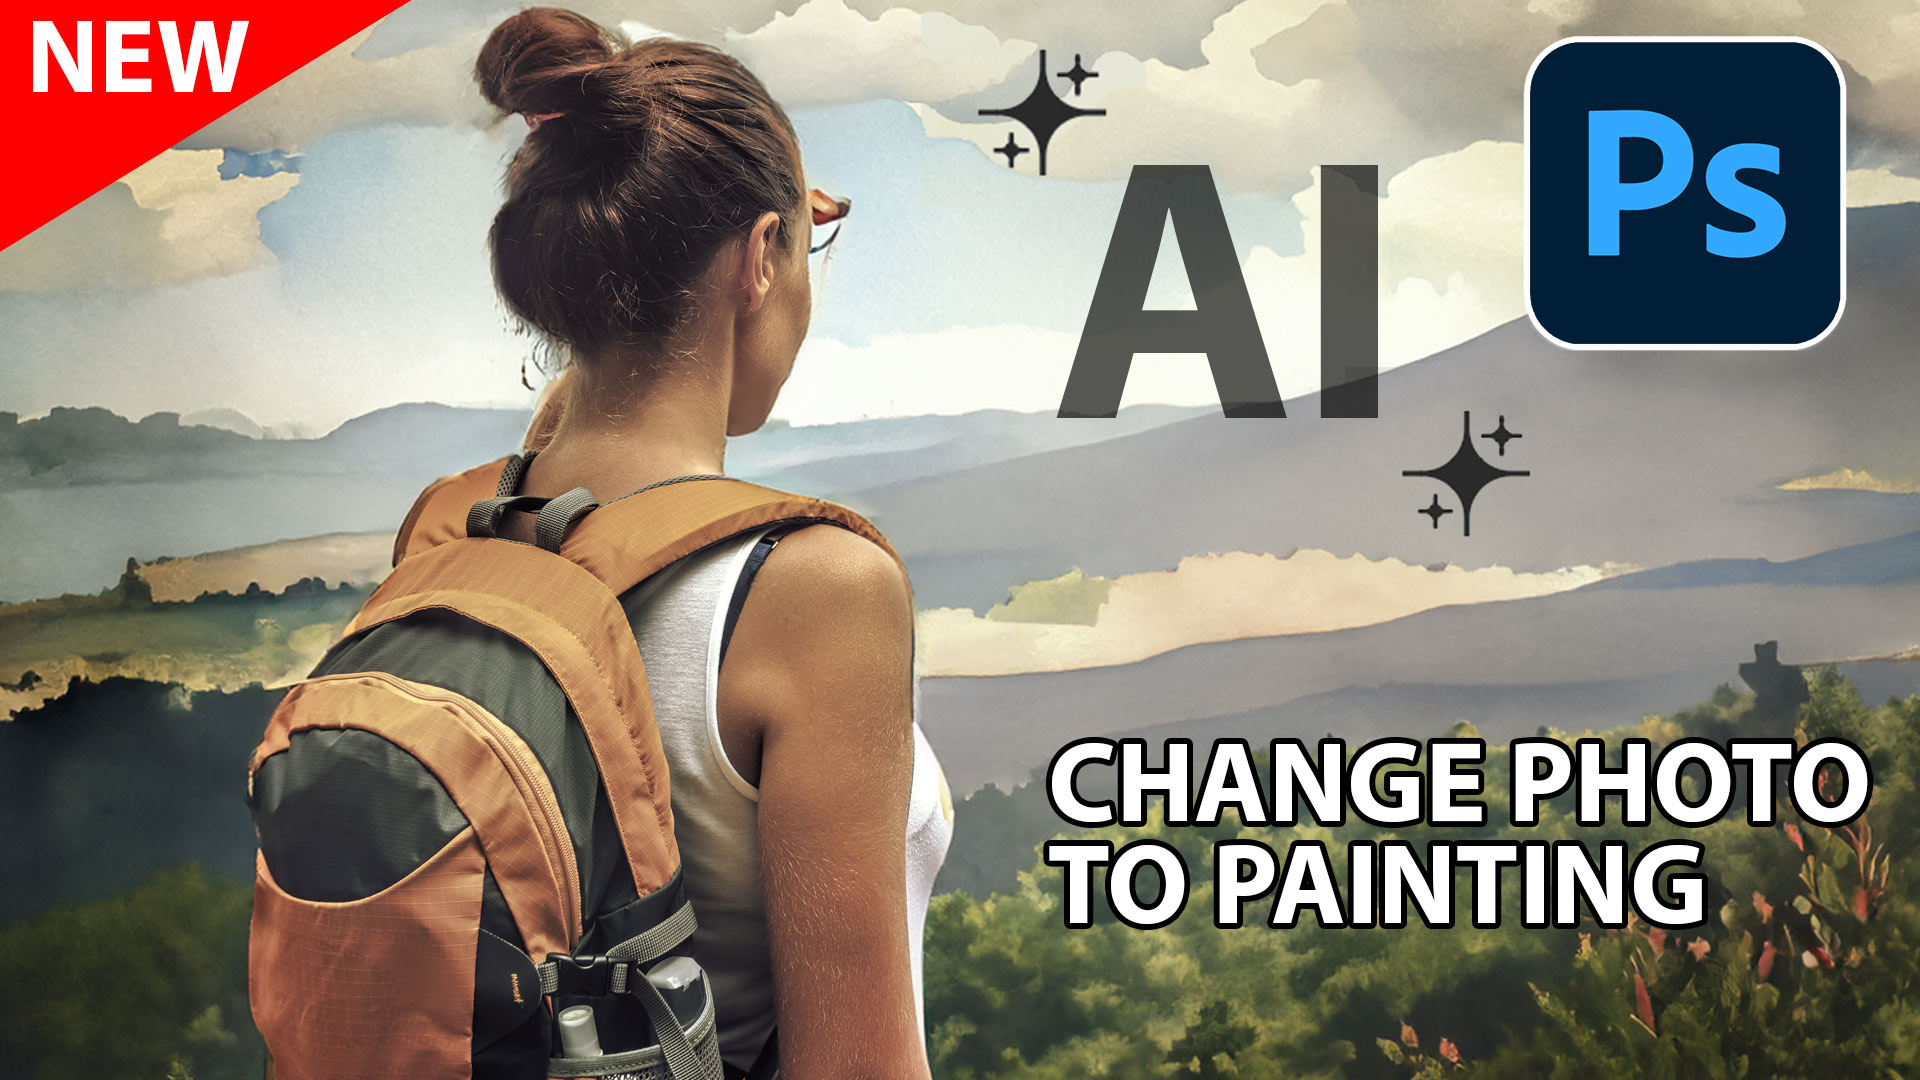
There’s a cool hack that allows you to convert photos to paintings and a lot more using Generative Fill and a 20% selection.
It was a well known hack, but I took it further. I encourage you to look at the tutorial as it shows a lot of detail and options not in this tutorial.
This stopped working somewhere with Photoshop 2024. The reason, density was broken in Generative Fill. The good news is, it’s working again in the Main Version of Photoshop (It currently does not work with Photoshop Beta). But there are some new features that work with this trick, that weren’t available before.
Set up Photoshop.
First thing, let’s get our settings right.
Double click the Quick Mask button

This Brings up the options. Choose Selected areas.
Click ok

Converting to a Painting using Quick Mask.
Let’s do an overall adjustment. We will start with Quick mask. If you can, read or watch ENTIRE tutorial. There is important info I don’t want you to miss and we are covering multiple techniques, it’s important for you to see it all.
Open your picture.

Choose Quick Mask. Q key

Click on Foreground Color.

Choose the (B) Option, this is Brightness. Enter 80. 80% White will give us 20% Black. This is the Density we are choosing: 20%.
Click OK

Fill with the Foreground color. Option+Delete on Mac, or Alt+Backspace on Windows
You will see a pink color.

Exit Quick Mask mode by tapping the Q key once again.
You probably won’t see the selection, Marching Ants because it’s less than 50% selected and they don’t show up, but the selection is active.

Click on Generative Fill in the Task Bar

Enter Painting (You could use other things, such as sketch, oil painting, watercolor etc.)
Click Generate

You will see we now have an art look over the photo.

Converting a Photo to art with the Selection Brush
Let’s look at the 2nd method, which will work fine for this simple example, but when we need more control later, I’ll point something out to you.
Choose the Selection Brush. Change the Opacity to 20.
Make the brush size really large. (Its the setting to the right of the Opacity.)

Paint over the entire image

Type in Painting to the Generative Fill and press enter.
As you can see, it’s really easy and quick using the Selection Brush, but only for a simple conversion.

Partial Adjustment
Now we are going to do a partial adjustment. We want to change the background to a Watercolor. We will start with the Selection Brush. You need to see what happens to learn something, then we will use the Quick Mask for this example and you will see why its better in this more complex adjustment.
Choose the Selection Brush and choose 20% for opacity and paint over the background.

Lets clean up the edges where we have gone over.
Choose the Subtract option for the brush and a smaller size.
Also increase the Amount to 100% because his is the cleanup brush.

Paint away the edges and clean up the mask.

Type watercolor in the Generative Fill box in the Taskbar.
Click Generate

The result looks good, but..

You may wonder why I didn’t use Select Subject, or any other selection tools to help?
When you use other selections tools, you need to first turn on those tools to make the selection, ok, Captain Obvious.
When you choose the Selection Brush, it converts the selected area into a Mask. Perfect.. BUT..
No matter what you set the Brush Opacity to, an active selection will always be 100% when you click on the Selection Brush. So, only selections painted with the Selection Brush can be a different opacity. Yeah, that sucks.

If you want to use other selections tools, you need to use the Quick Mask. (This is one reason, I’m not a huge fan of the Selection Brush. It’s better to use Quick Masks for anything but the most basic selections with the Selection Brush.
Using Quick Mask to do a Partial Effect
The Good news, its not hard to do this with the Quick Mask, Learn this and you will be set.
The First thing you need to do is ENABLE Quick mask, Either tap the Q key, or click the button in the toolbar.

We can use selections in the Quick Mask mode.
Choose the Object Selection Tool.

Click Select Subject.

It now selects our person.
If select subject can’t find a subject, do this: Open the Channels Panel. Click on RGB at the top. Now use object selection. When the selection is made, click on Quick Mask in the Channels again and continue.

We need to Inverse the selection and choose everything but the Person AKA our Background.
Press Ctrl/Cmd+Shift+I to Inverse (swap) the selection.

Choose a Foreground color.
Under the (B) set it to 80% like we did before.
Click ok.

Fill with Foreground color. Option+Delete / Alt+Backspace on Windows.
Notice the pink color fills the background, but not our person, because of the selection we made.

Turn off the selection by Pressing The Ctrl/Cmd+D key.
Leave Quick Mask Mode, tap the Q key.
In the task Bar, enter watercolor under Generate

Click Generate and now we have just the background converted to a water color, while our person remains a photo.

For the more complex tasks that require additional selections, use the Quick mask method.
The Selection Brush works fine for the simple tasks. (To be honest, I don’t see myself using the Selection Brush all that often, but we will see.)
I hope you found this tutorial useful!
Check out the New Photoshop features (July 2024)
Colin
PS Don’t forget to follow us on Social Media for more tips..
(I've been posting some fun Instagram and Facebook Stories lately)
You can get my free Layer Blending modes ebook along with dozens of exclusive Photoshop Goodies here

8 thoughts on “How to convert Photos to paintings in Photoshop with Generative Fill AI”
Leave a Reply
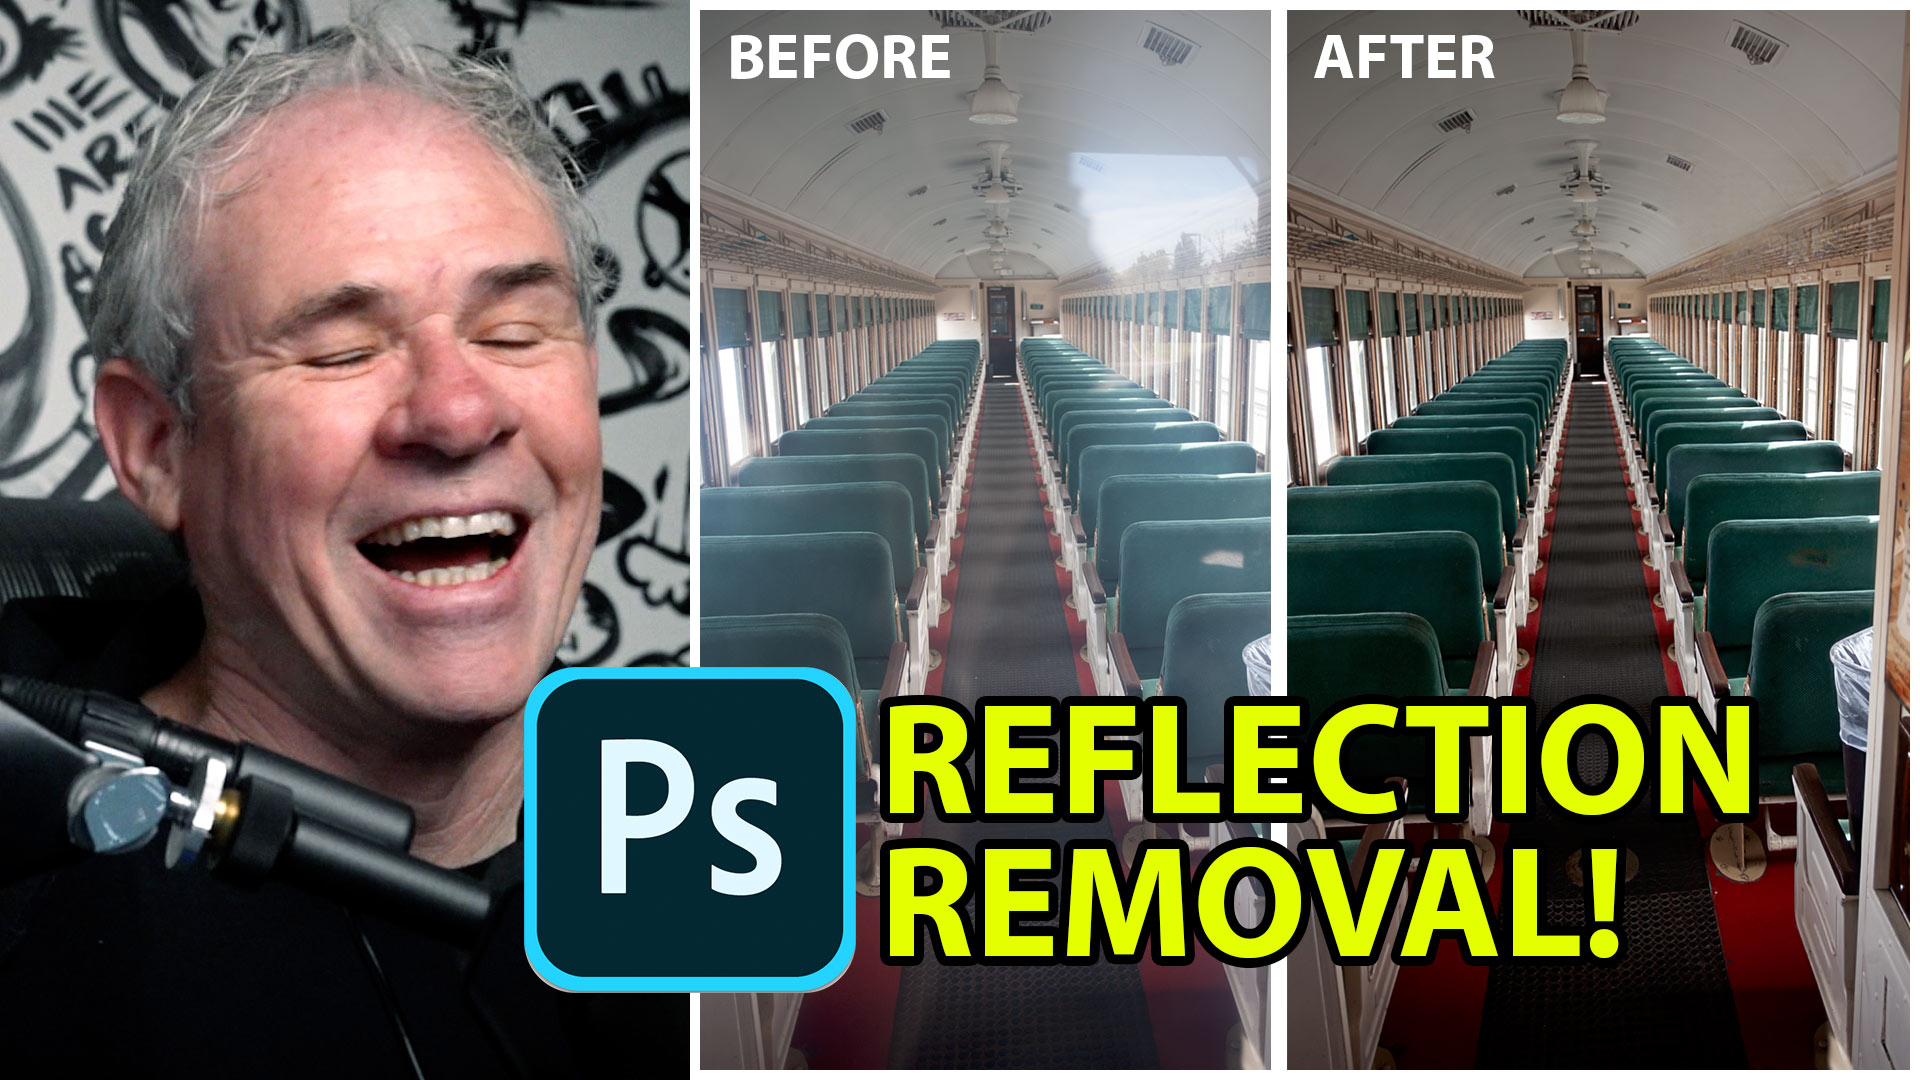
How remove reflections from glass in Photoshop, using ai Reflection removal in ACR
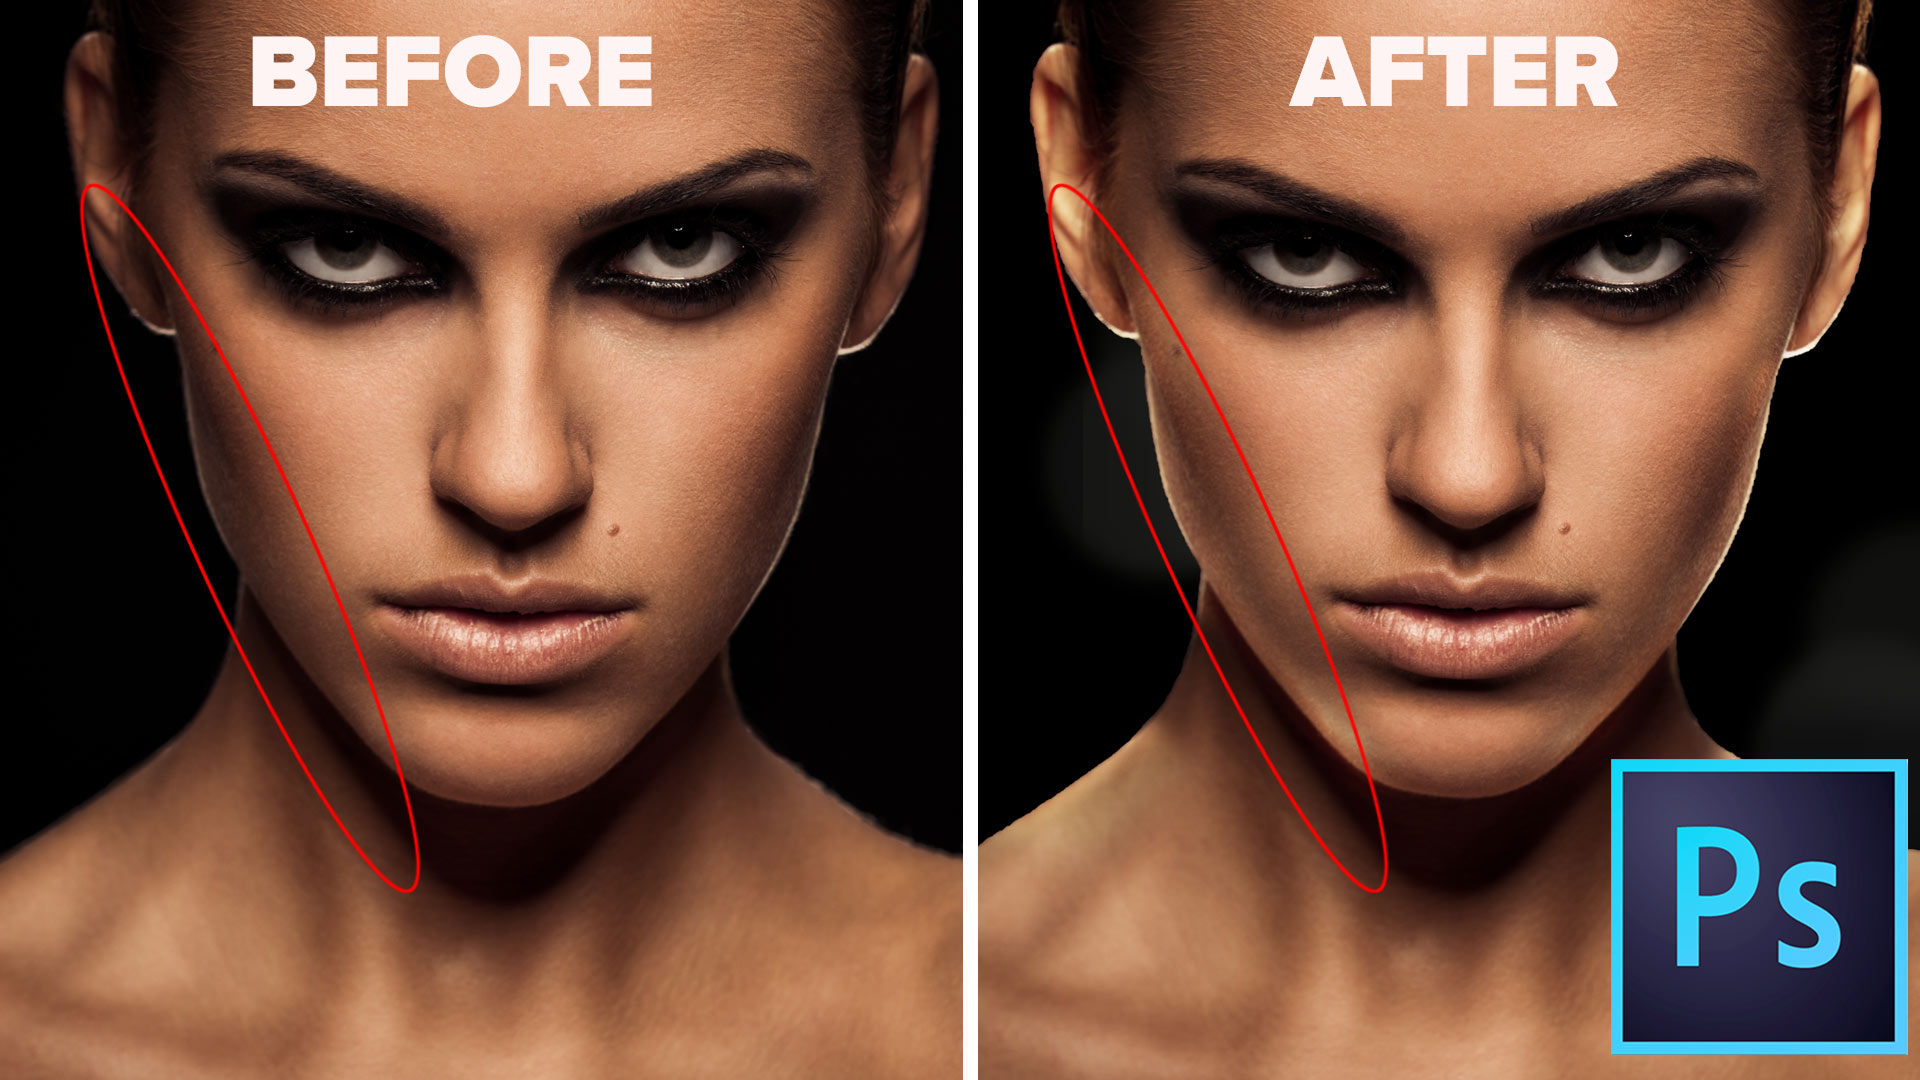
How to add a rim light to a photo in Photoshop. This Photoshop tutorial shows how to make a backlight...
How to use Adobe Lightroom Mobile on the Apple iPad Pro 2. Retouching with the apple pencil, edit your photos...


Fantastic. Colin you’ve done it again.
It’s quite enjoyable, yet I find myself missing Buzz Pro and their subsequent release. Revisiting Photoshop to check out the recent updates might be necessary. It’s regrettable that the creators of Buzz Pro didn’t deactivate the software verification upon closing their office, effectively taking our money and departing. Aside from that, it was an outstanding product for my purposes.
Hi Colin! love your videos, I have been learning so much! In this tutorial, I followed step by step and got things working except the partial effect. While in quick mask mode I went to the object selection tool and chose select subject. I get a message that “Couldn’t find a subject to select. There might not be prominent objects in the image”. I had the brightness of the foreground set at 80%, quick mask to selected areas, 50% with color yellow. I tried with a few different images and each one had good contrast between the subject and the background. These same images were found by object select when not in quick mask mode just fine. Sample all layers and hard edge were checked in the object selection tool. Oh I was using PS 2024 25.11.0 not the beta. Thank you 🙂
Great tutorial, clearly presented as ever. I tried your technique in an attempt to convert a photograph of my dog into a pencil sketch. The result was a pencil sketch of a dog drawing a pencil sketch, complete with pencil in his paw. Follow https://photos.app.goo.gl/AcCtufvzMb2kXMFb8 to view
I do have PS 25.11 installed on my Windows PC, but this does not work with any density below 50%! Or do I miss something? Frieda
Thanks for the updated tutorial. I am getting some strange results, however. I am running Photoshop 25.11.0 on a MacBook Pro 16-inch (2023) with Sonoma 14.6.1. Everything seems fine until I get to the step of filling in the foreground color. I hit Option+Delete and nothing seems to happen (no pink color). (I am running with B set to 80%, but the results are the same if I set B to 20%). I exit Quickmask mode, but at this point the Task Bar only shows the options Select subject and Remove background.
Strangely (?) if instead of Option+Delete, I enter Command+Delete, I get the pink color. When I then exit Quickmask, the pink color is replaced by a lighter shade. This time I get the Generative Fill option, and it seems to work., although it behaves as if the B value was set to 20%, that is, the density appears to be 80%.
I am utterly confused by this!
I got absolutely nowhere following this. The generative fill box does not even show up on my screen, and searching for it got nothing. I didn’t even get a pink screen, mine went opaque grey. I am up to date with versions, but not sure about the Beta thing – where is that written/detailed?
As stated in the tut. If you don’t get results, switch the 80 for 20