How to Use the Light Adjustment in Photoshop: In-Depth Guide
Recently Adobe updated Photoshop with some new features, (see my guide here). It’s time to go in-depth with the important features and the most important one to me is the Light Adjustment layer.
A lot of the adjustments that we found in Camera Raw and Lightroom are making their way into Photoshop. This latest addition gives us the ability to adjust the luminance (Perceived brightness of light) with simple sliders. This tutorial shows you how to use them, not just move the sliders, but the actual order and why you should move each one.
Where is the Light Adjustment Layer?
Create a new adjustment layer.
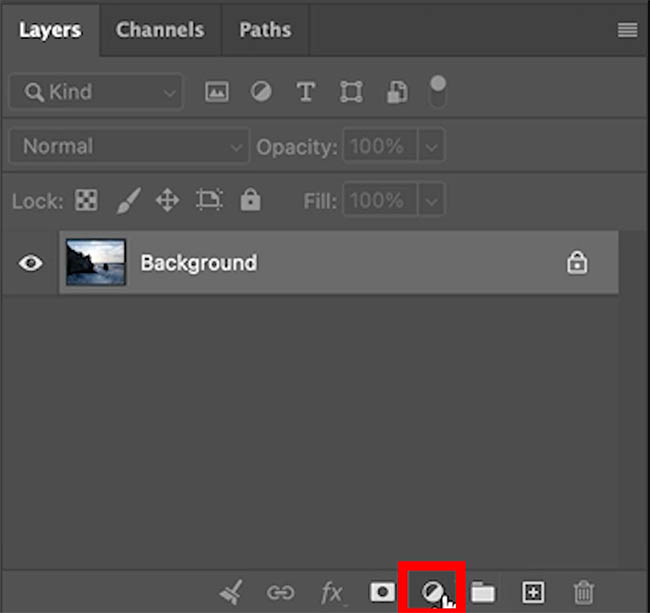
Choose Light
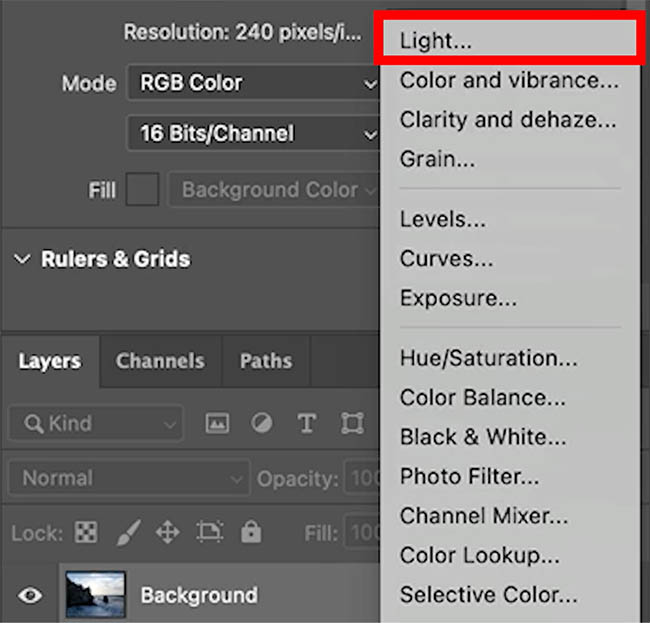
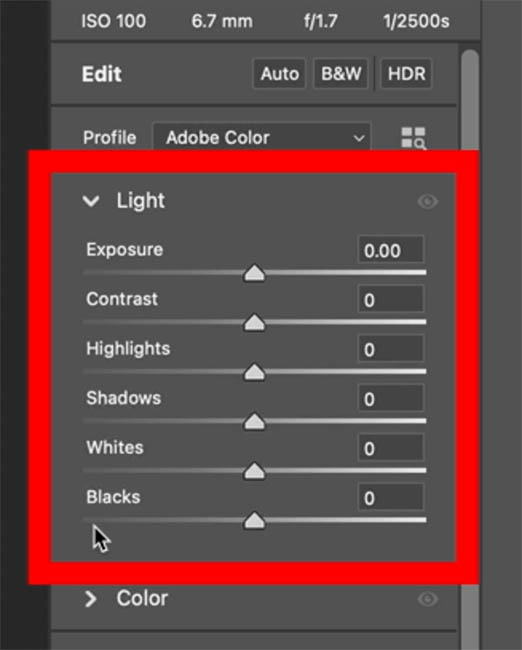
In the Properties, you will see the Light Adjustments
Areas affected by the Light Adjustment Layer.
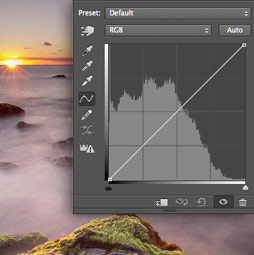
If they look familiar, that’s because they are the same as in Camera Raw (pictured.) Side note: if you are working on a RAW file, you should adjust it in ACR or Lightroom first, because you get more dynamic range, among other benefits of a Raw adjustment.
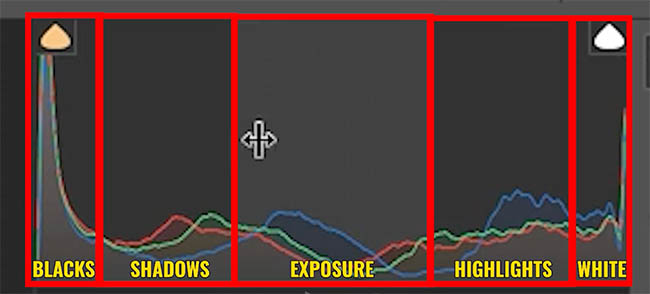
If we break up the histogram in ACR (Adobe Camera Raw) you can see where each of these sliders fits in the range. With the exception of Contrast, which we will get to.
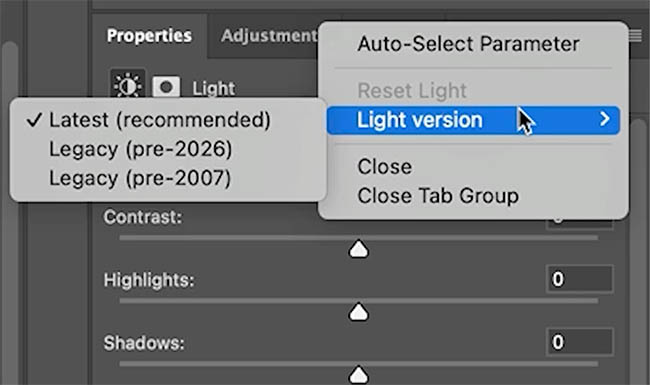
Reverting to the legacy controls
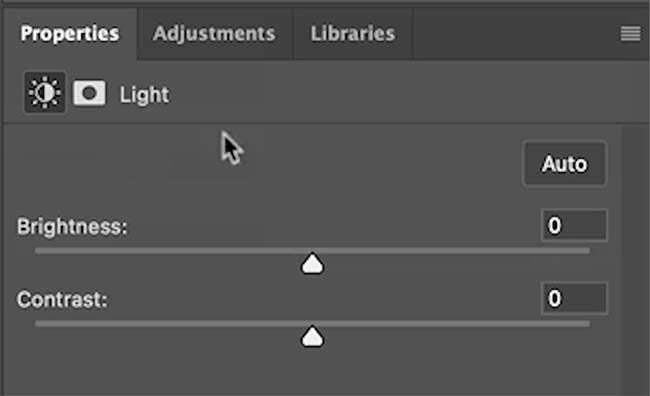
Back in Photoshop: If you prefer the old Brightness/Contrast adjustment layer, you can revert by clicking the menu at the upper-right. Choose legacy.
The old brightness Contrast comes back.
I prefer all the control on the light panel vs simple Brightness.
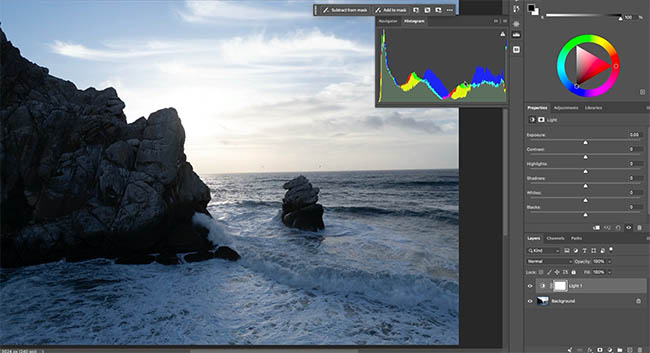
Making adjustments with the Light Adjustment Layer.
Here is the light panel ready to go.
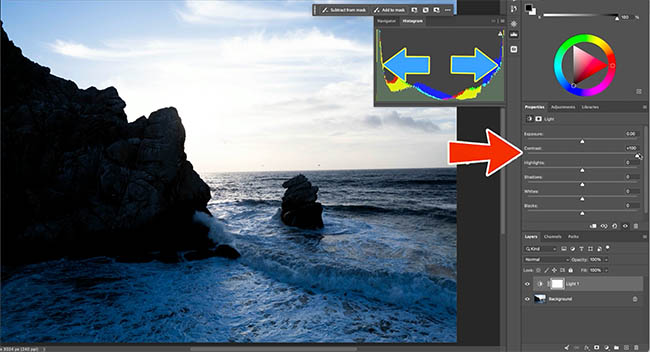
If you increase contrast, it brightens the brights and darkens the darks. It pushes the histogram out from the center and this gives the image more punch. We also lose visible detail in the dark and light parts of the photo.
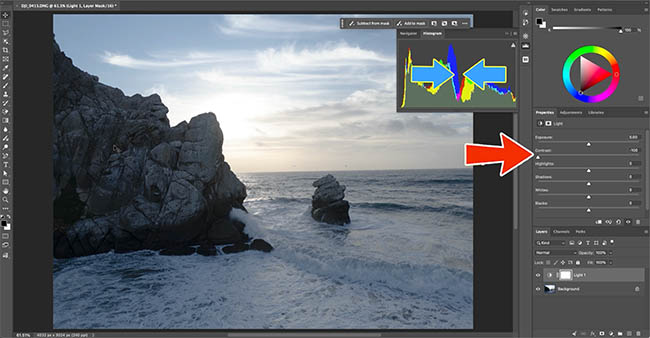
If we move the contrast to the left, it reduces the contrast. Now we see more visible details in the lights and darks, but the image looks soft and washed out. You can see the arrows indicate it squeezes the histogram in.
Increase visible detail.
Usually, I begin by lowering the contrast just a little. I use Sony cameras and I feel they add a little too much contrast (to make the images look punchy).
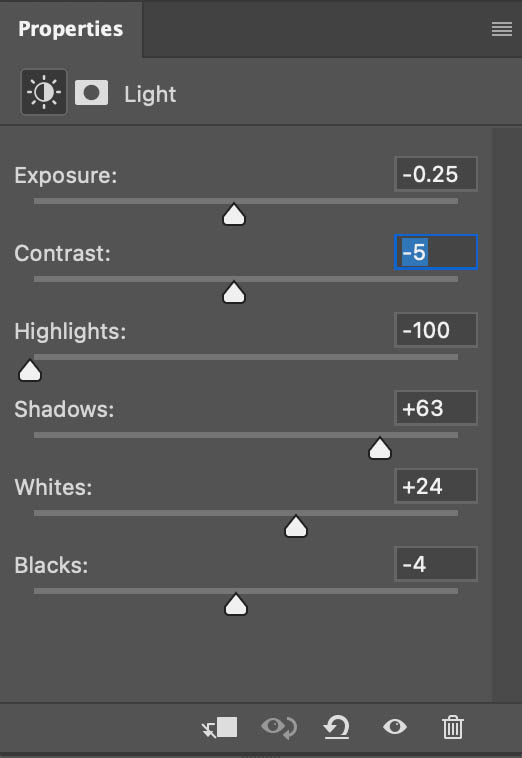
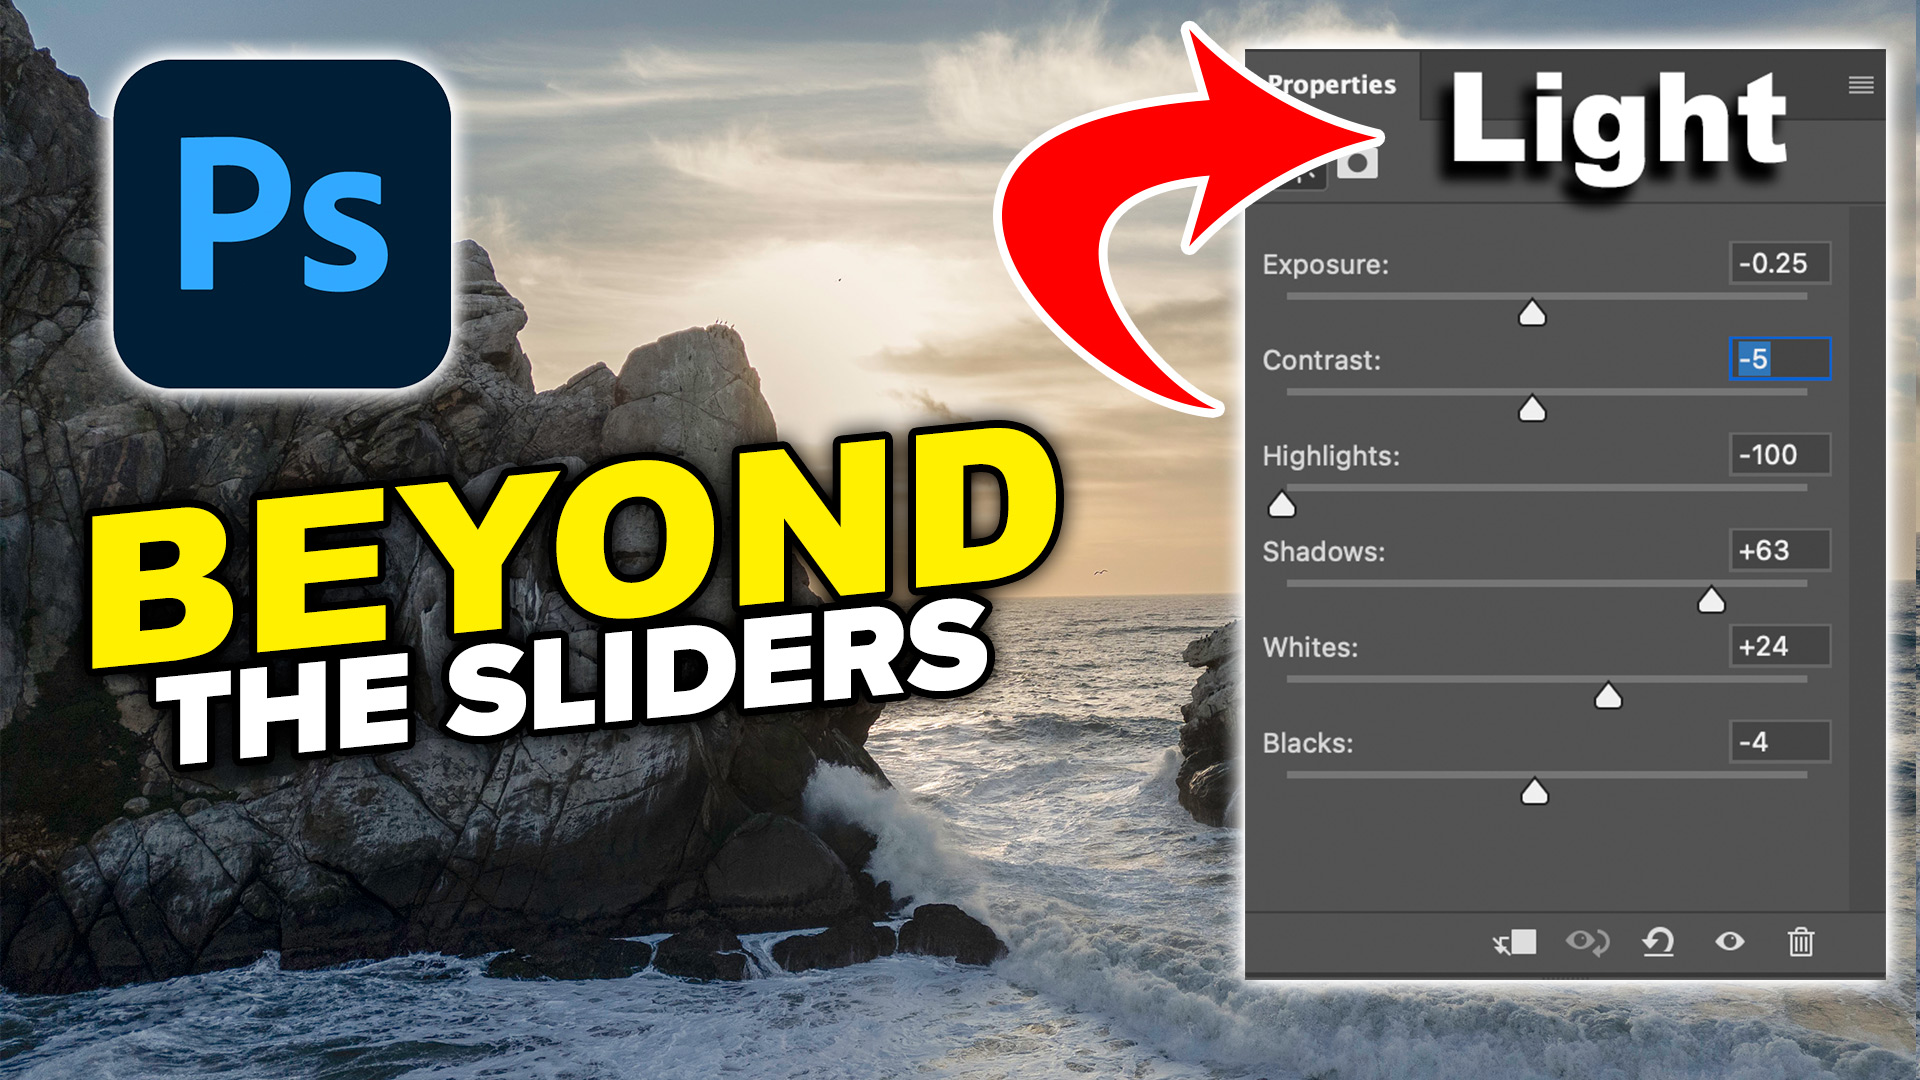
Lowering contrast by a small amount such as -5 is a good starting place.
Then I use the Shadow and Highlights as recovery sliders, reducing each.
Move highlights to the left to show detail in bright areas especially skies.
Move Shadows to the right to show detail in the very dark areas, such as these rocks.
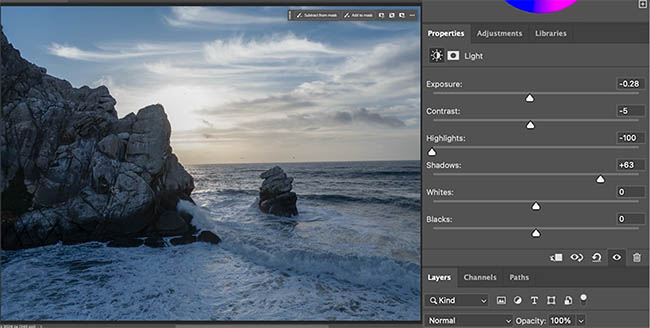
Now you can increase the whites and blacks to restore the contrast or punch.
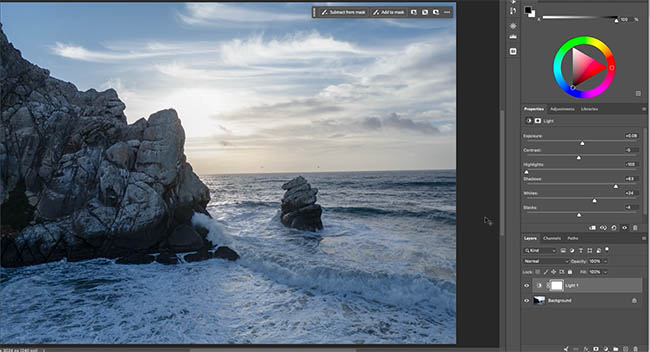
Advantages of Adjustment Layers – Double Processing
There’s a technique I call double processing, where I run the adjustments through Camera RAW twice to increase the effect. With Adjustment layers, we don’t have to do this. If the highlight slider is all the way to the left and I still want more, I can duplicate the layer and get double the effect.
Press Cmd/Ctrl+J to duplicate the layer.
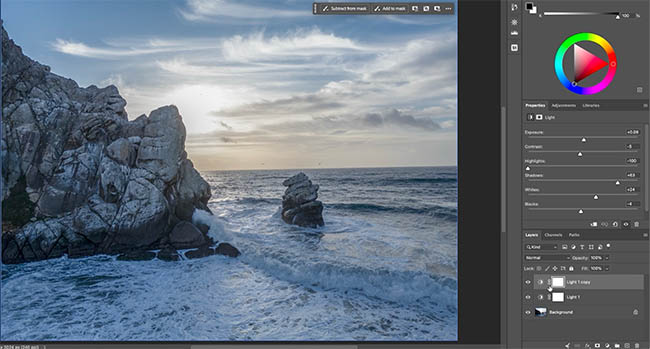
You can fine-tune the amount by lowing the opacity on the 2nd layer. Alternatively, you can use a layer mask to control exactly where you want the boost. You can see the steps in action on the video at the top of the page. But essentially:
Choose a black brush and click the layer mask (the white rectangle to the right of the adjustment in the layers panel).
Paint with black on the image where you want to remove the effect of the adjustment layer.
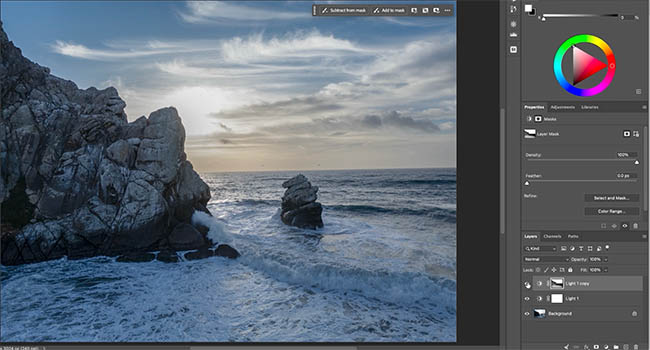
The display “glitch”.
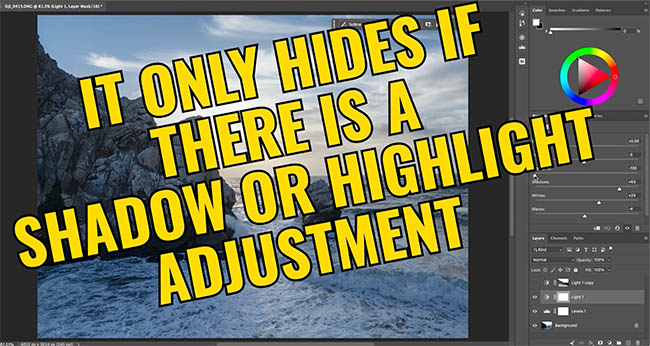
When you are using the light adjustment layer and you either paint or use an adjustment layer under the Light layer, the effect of the Light adjustment disappears while you are working. As soon as you release your mouse, the effect comes back.
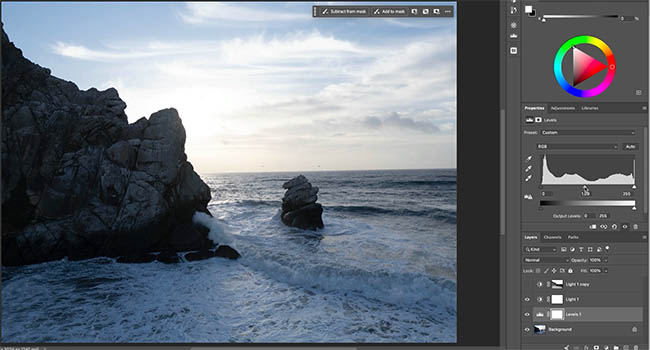
This only happens if you have changed the Shadow or the Highlights sliders in the Light layer. Adobe intentionally made it work this way for the sake of performance. Let’s hope they find a better work-around in the future.
And there you have the Light Adjustment layers. Let me know in the comments if this was useful for you and let me know if you have any questions, I read all the comments.
Great to see you here at the CAFE
Colin
PS Don’t forget to follow us on Social Media for more tips..
(I've been posting some fun Instagram and Facebook Stories lately)
You can get my free Layer Blending modes ebook along with dozens of exclusive Photoshop Goodies here

How to instantly remove people and wires from a photo using photoshop remove distraction ai tool

Use this trick to Fix color in any photo in 1 click in Photoshop, Lightroom or Camera Raw
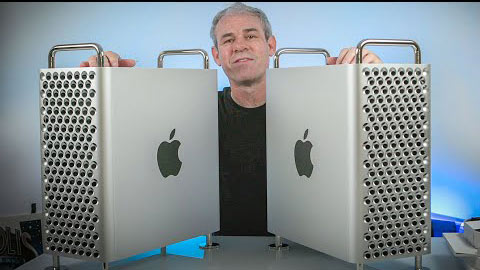
Full review and speed test of the 2019 Mac Pro: v 16" MacBook Pro, 32Gb Radeon GPU vs 8Gb. Tested...