
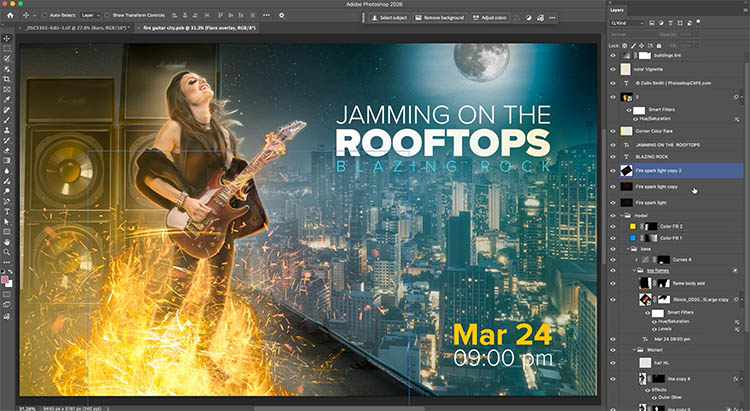
Photoshop Layer Tools You Should Be Using (Hidden Features Guide) Layer Filters
When just naming your layers isn’t enough.
When you are working with multiple layers, there are very helpful tools in Photoshop to help you organize and scan your layers panel. Especially if you have a composite or a design with a lot of layers. The problem is, most people aren’t aware of these tools, even though they are looking at them every day.
Photoshop features; Hiding in Plain Sight
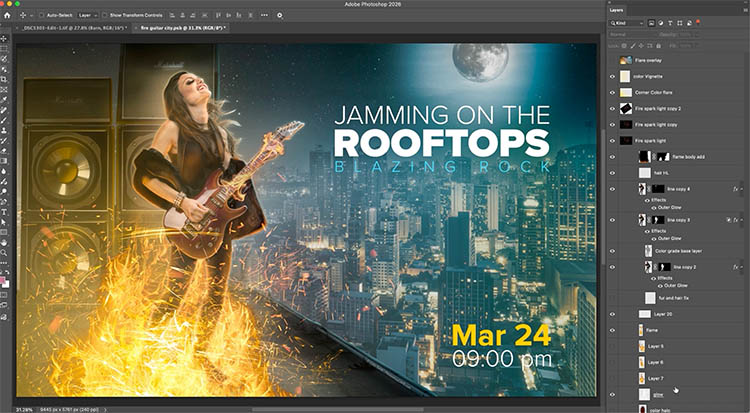
At the very top of the layers panel are a set of tools for Layer filtering. These tools can do quite a bit, and there are some tricks to using them to help you get organized fast! Today’s tutorial will reveal all of this to you. Make sure you watch the video, because it shows everything in action.
These written steps will be a reference and make sure you don’t miss anything. Some people learn better with written text and others learn better with video. Which are you? Drop a comment and let me know, it will help me plan future tutorials better.
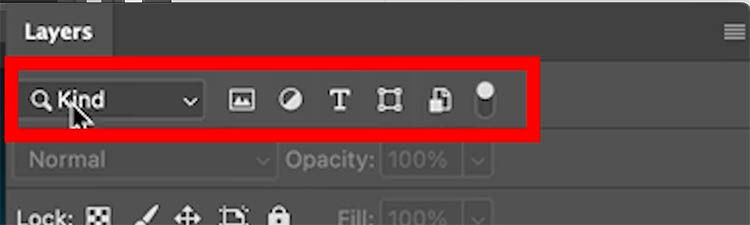
At the top of the layers panel, you will see Kind and some icons.
These all do something and there are more ways to search by clicking on kind and choosing one of the other 9 options.
Organizing all your type layers (text)
Sometimes, your text layers are scattered throughout and you want to place them together, maybe put them into a group.
After many years working in the industry, I’ve come across this need often. Maybe you need to make versions with and without text, maybe you need to make variations or localization in different languages.
Here is a trick that makes this oh, so easy.
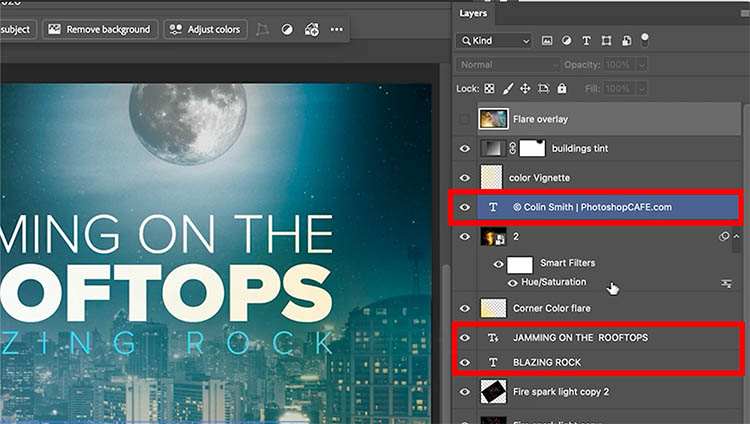
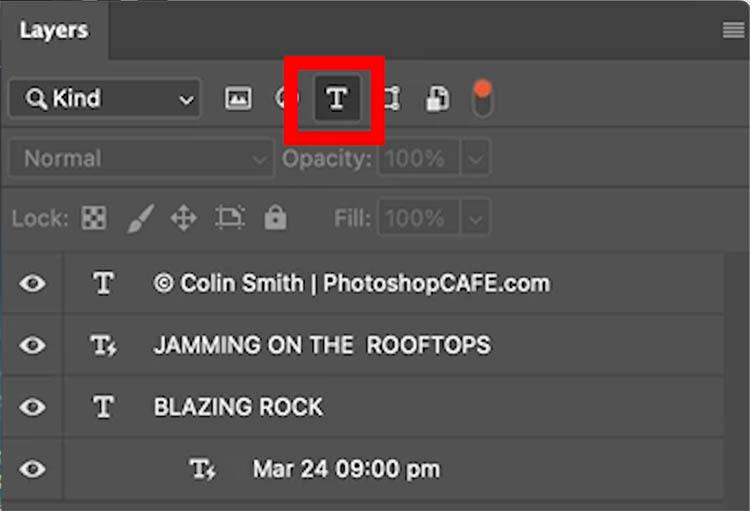
Click on the T button to filter by text (type).
Nothing changes in your image. this only changes the layers panel and filters out all the layers except the type layers.
To move them all together, no matter where they are on the layers panel, select all the type layers, except the top one. (Click, Shift+Click to select all layers between.)
Drag all the layers up until you see a thick blue line under the top layer. Release and they are all moved.
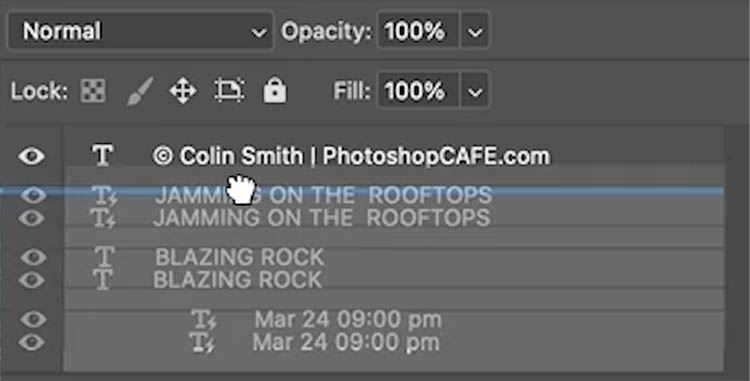
Click the T button once again
Now you see all the layers are together. Pretty neat huh?
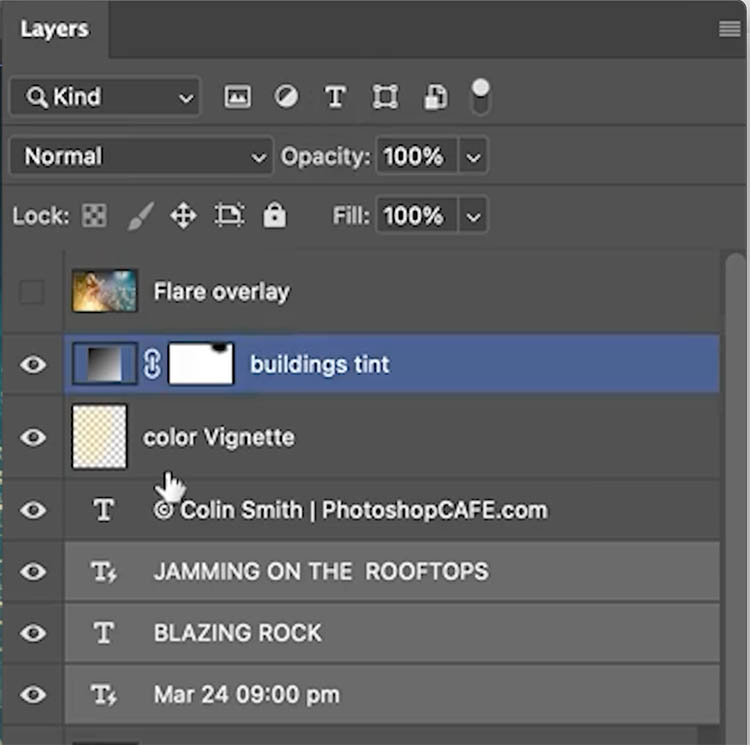
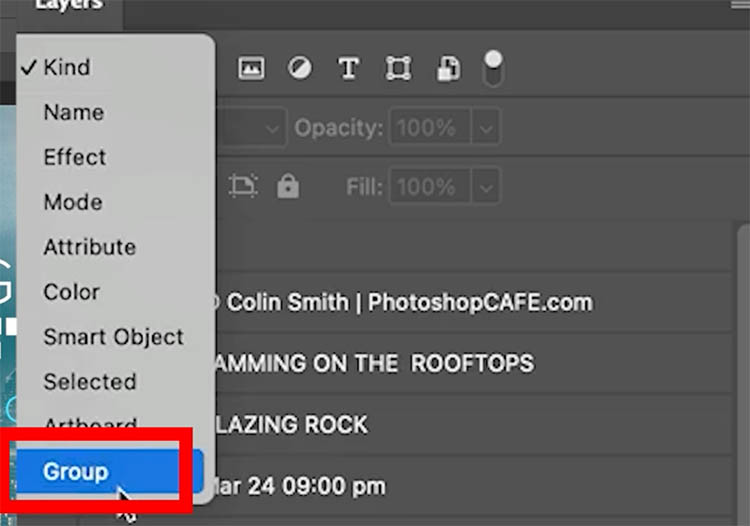
Select all the type layers and drag to the top of the layers panel and you’ll see that blue line again. You have moved them all together to the top.
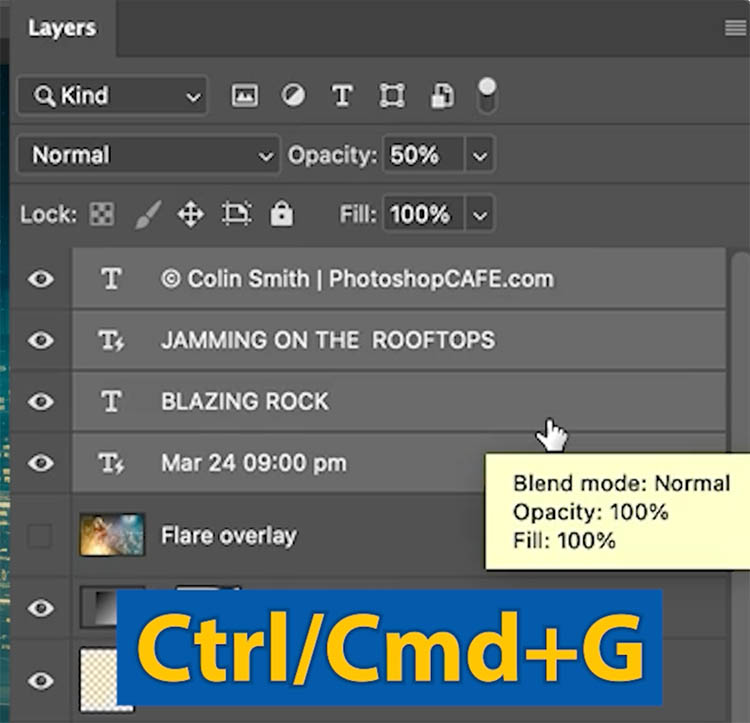
With all the type layers selected, Press Ctrl/Cmd+G to put them into a group. (It used to be called layer sets).
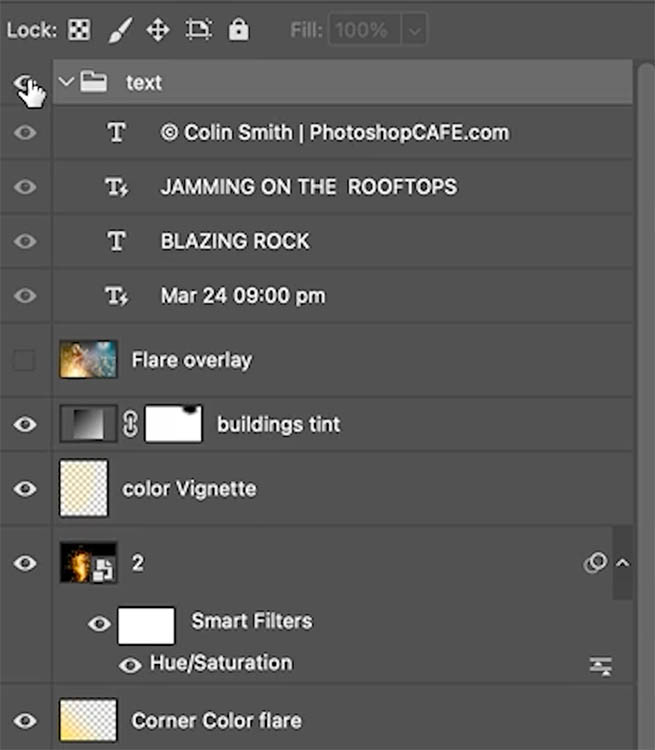
Click the little arrow to collapse or expand the group. I named the group “text”.
Filtering image layers
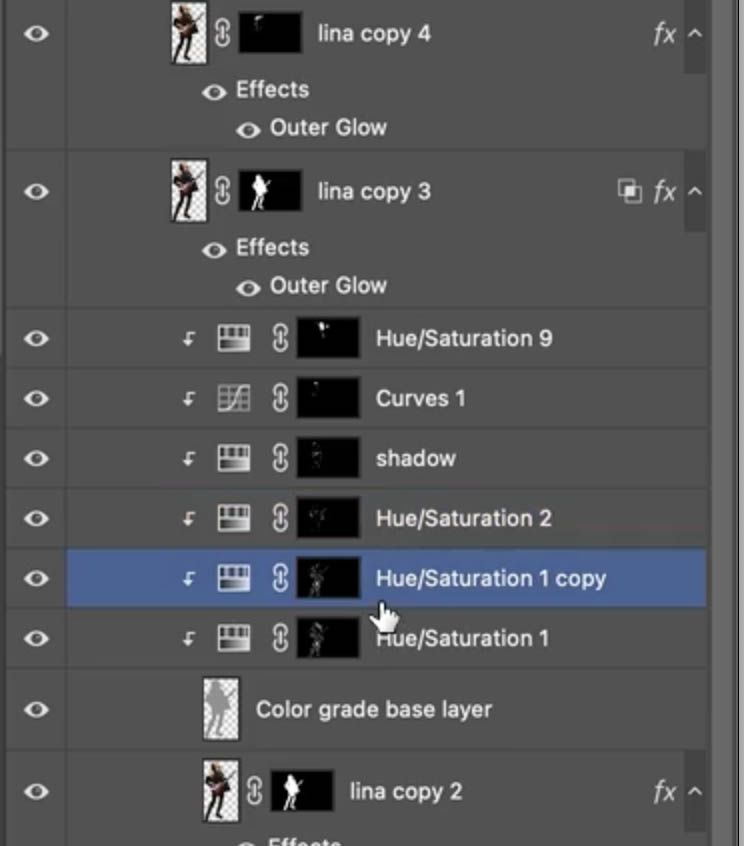
Another way we can filter is by pixel layers. Click the little picture icon, you new see just the image layers. Notice, when you filter, all the groups and sub-groups are hidden and you only see the layers you want. This is a big time saver.
Click the circle, and only the Adjustment layers are visible. This is great when you need to do some color and matching work.
Notice, you can select multiple Layer kinds at once. Each button is a toggle, it will stay on unless you click to turn it off.
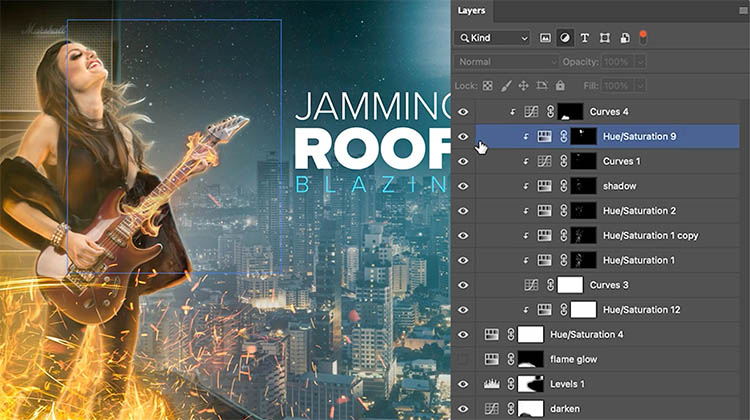
In the screen capture you can see that we have both pixel layers and adjustment layers selected.
This makes it easy to see what layers the Adjustments are clipped to and helps us with making adjustments.
I made a base layer to clip all the adjustments, for my relighting of the woman. This is with the adjustments off.
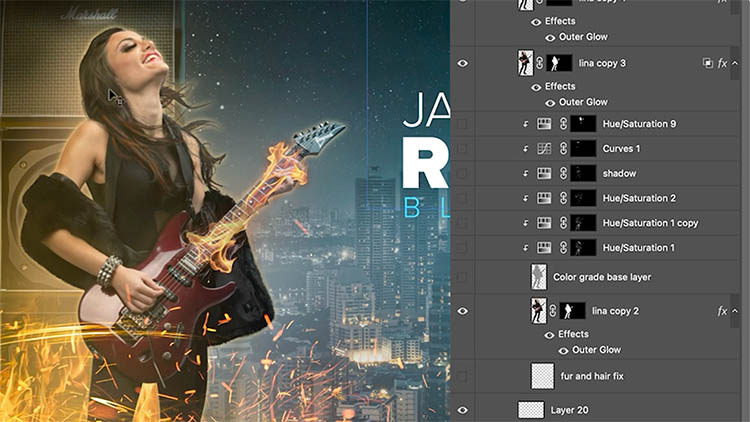
With the adjustments on, you can see I used these layers to apply reflected lighting from the fire.
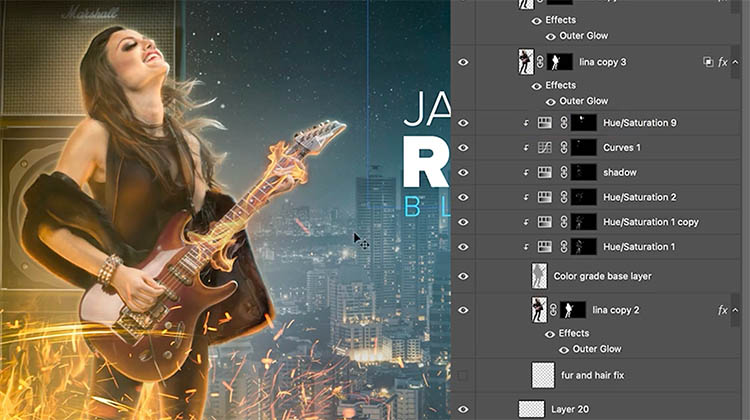
A closer look at the layers panel, if you are curious. See how I painted on each mask to apply the adjustments selectively. You can learn this kind of work in my shadow and light course.
Organizing Smart Objects
You can filter by Smart Objects.
This is a way to find all the base images that I may use for a composite.
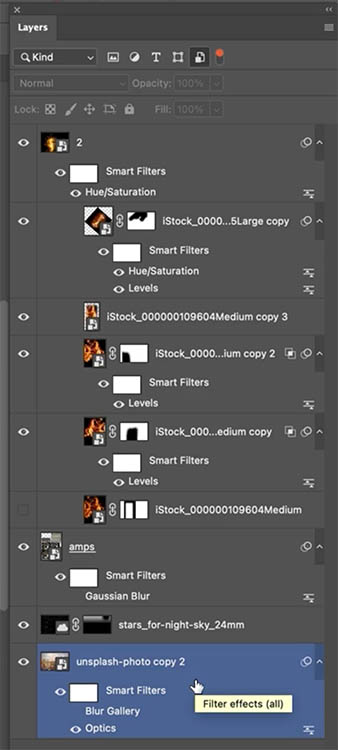
The good thing about Smart Objects, you can organize multiple images together without clutter.
Rather than flatten multiple layers, convert them to a smart object. When you double click the Smart Object in the layers panel, it opens in a new window. See all the layers used. They are all still directly editable.
Useful Filters other than Layer Kind.
Kind is just one of the filters available.
You could choose Group.
This only shows all the layers inside groups. It includes nested groups.
To collapse all the groups, Hold the Ctrl/Cmd key and click on the disclosure triangle on one of the groups.
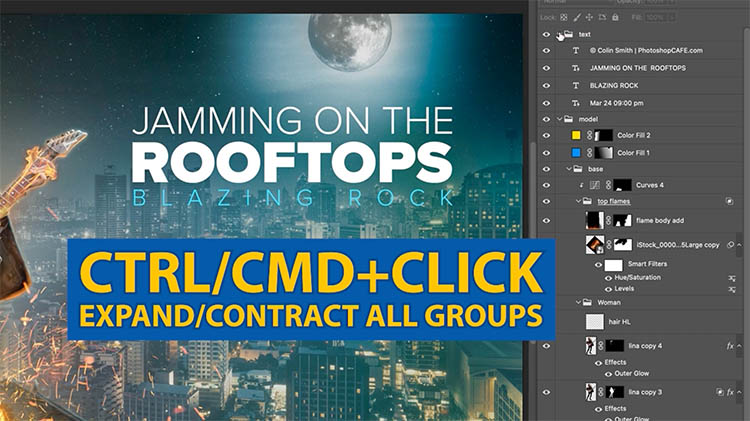
This cleans up the layers panel quickly. This is especially useful when working with limited screen real-estate such as on a lap top.
You can Ctrl+Click to expand the groups in the same way.

You can keyword search to find you layers
No, this isn’t a new ai thing. This has been in layers for a long time.
Choose name and search layers by name.
This is why it’s not so useful to have your layers named as “layer 1, layer 2, layer 3 etc.” Don’t worry, I’m guilty of that sometimes too. However, if you are collaborating with someone else, do them a favor and always name and organize your layers. You are actually doing yourself a favor too, because you will save a lot of time when you reopen the image in the future.
Type in fire and you can see some of the fire layers are showing. (I actually used about 10 layers to build up the fire, so I wasn’t great at naming the layers myself here.)

Easy clean up of layers
This one may be worth the time to read this tutorial right here. (when you do my tuts, you save more time in the long run that what it takes to do the tuts, so It’s a net win for you ;))
Choose Empty. And all the blank layers will show up. These can safely be deleted (Click and press Del) as they don’t have anything in them.

The trick to easily audition all hidden layers
When you are in the zone and creating, you experiment. This often leads to hidden layers. Maybe you tried something and decided not to use it, or maybe you have reference layers, or donor layers you are cloning from. You can check all these layers and decide which ones you may want to keep, as the file sizes can be inflated with unneeded layers.
Choose Not Visible.
Let’s try the Flame Glow layer
Click the eye to turn it on.
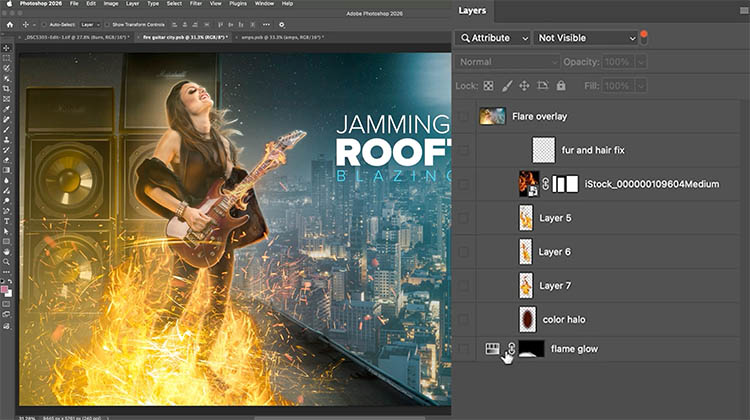
I definitely want to keep that layer and have it on, because it adds a colored glow to the ground that matches the fire.
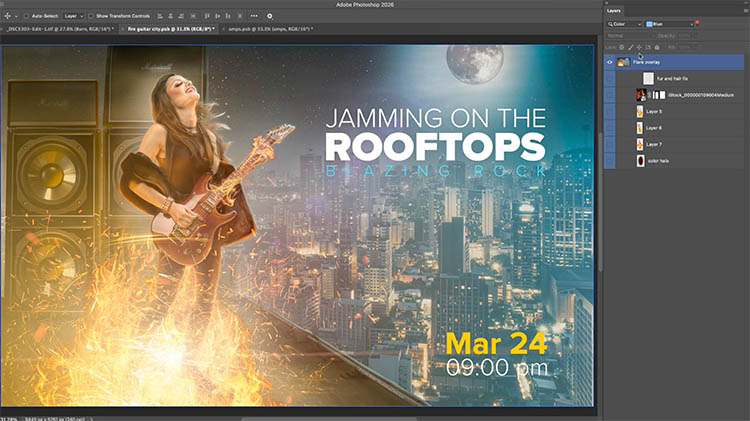
But f I didn’t want it, we have a problem. Because it’s no longer hidden, it doesn’t show in the filter anymore.

Here’s the trick
Turn on Not visible.
Select the layer and right click. Choose Color and choose a color for the layers, such as blue.

Now, filter by color and choose blue.
As you audition the layers by turning them on and off, they will stay in the filter now because we are using color and not visibility.
I think I’ll keep the top flare layer because it brings the art together in a hazy way for me.
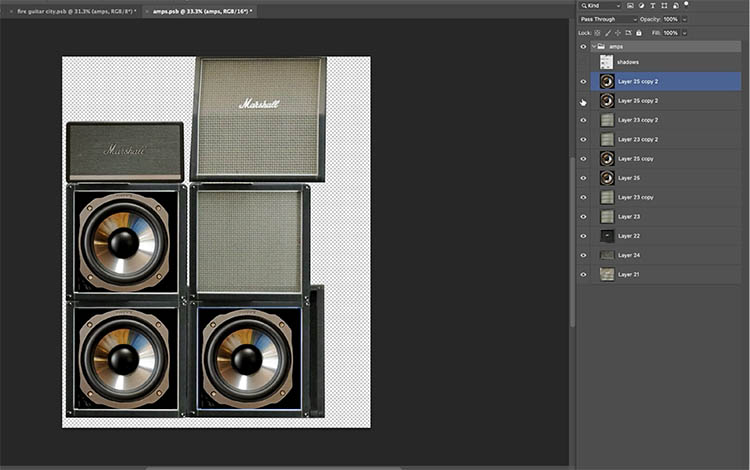
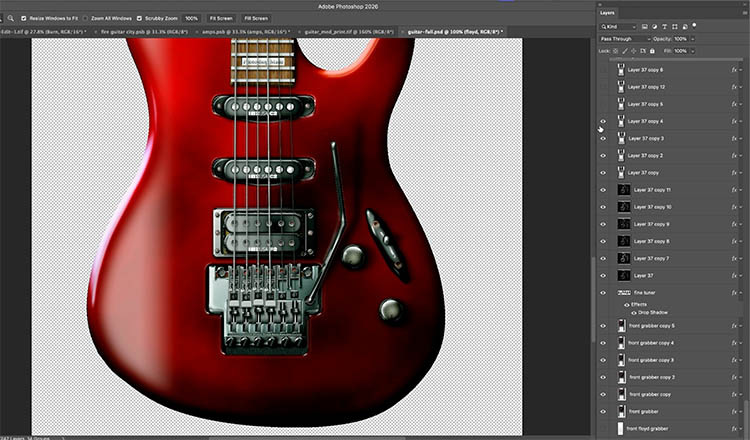
This kind of layer organization really comes in handy when working with lots of layers, such as my guitar illustration. Some people know me because of this kind of work, It’s 100% created in Photoshop from scratch, with no photos, scans, 3D or ai used. This image is close to 10o0 layers in total.
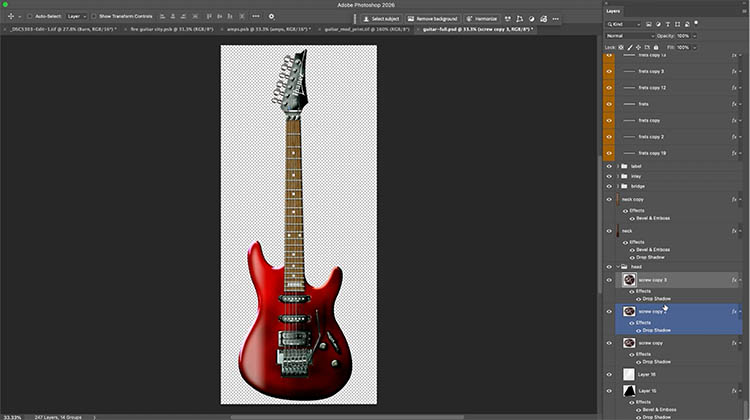
Here is a close up of the details and the layers panel. If you want to see more of more check out my gallery on this site here.
I hope you found this tutorial useful!
It’s always fun to look a little closer at Photoshop workflows sometimes.
If you want to learn more about Layers, check out my Layers in Photoshop course here.
Let me know in the comments if you learned anything new in this tutorial!
Great to see you here at the CAFE
Colin
PS Don’t forget to follow us on Social Media for more tips..
(I've been posting some fun Instagram and Facebook Stories lately)
You can get my free Layer Blending modes ebook along with dozens of exclusive Photoshop Goodies here


12 thoughts on “Photoshop Layer Tools You Should Be Using (Hidden Features Guide) Layer Filters”
Leave a Reply
New Features in ACR 17 Adobe Camera Raw 17 in Photoshop 2025
The basics of how layer masks work in Photoshop. How to use layer masks for non destructive blending of layers...

How to convert a video to an animated cartoon and composite into a photograph to make a living book style...


Great video and tips for using these features in PS Layer Tools! Packs in a lot to make a file look more professional and organized. I need to explore a bit more, … such as, can an adjustment layer be clipped and hidden, also, and then made visible?
BTW I read this post first, and then watched the video. Guessing the text was generated from the audio. Definitely could use a proof-read. Truth is, I prefer reading/scanning through the text first (as a learning-habit) but also appreciate the video details.
Your work is so Pro! It would be a treat to see the real billboard, with the fabulous work you did on this!
I actually typed out the text as I made the written tutorial. I’m a messy typist and didn’t proof read. I have corrected it and will try to proof read in the future. Thanks for letting me know, I didn’t realize it was so bad. 🙂
Thanks Colin, once again your videos are so very informative. This is one that will save me a lot of time looking around the layers.
Glad to help!
Superb as usual Colin! Many thanks for your tutorials !!!
You are welcome
I’ve been using Photoshop since it came out in the Nineties and have never used this feature! Thank you so much – it will make things a lot faster and easier for me.
It’s a great feature
I can’t find this feature in the Beta version but it’s there in the normal version. What do I need to turn on in Settings?
Are you sure about that? It should be in the beta.
Thank you, I never used the layer management bar before, but i will start to gather all layers into groups and kinds.
👍