
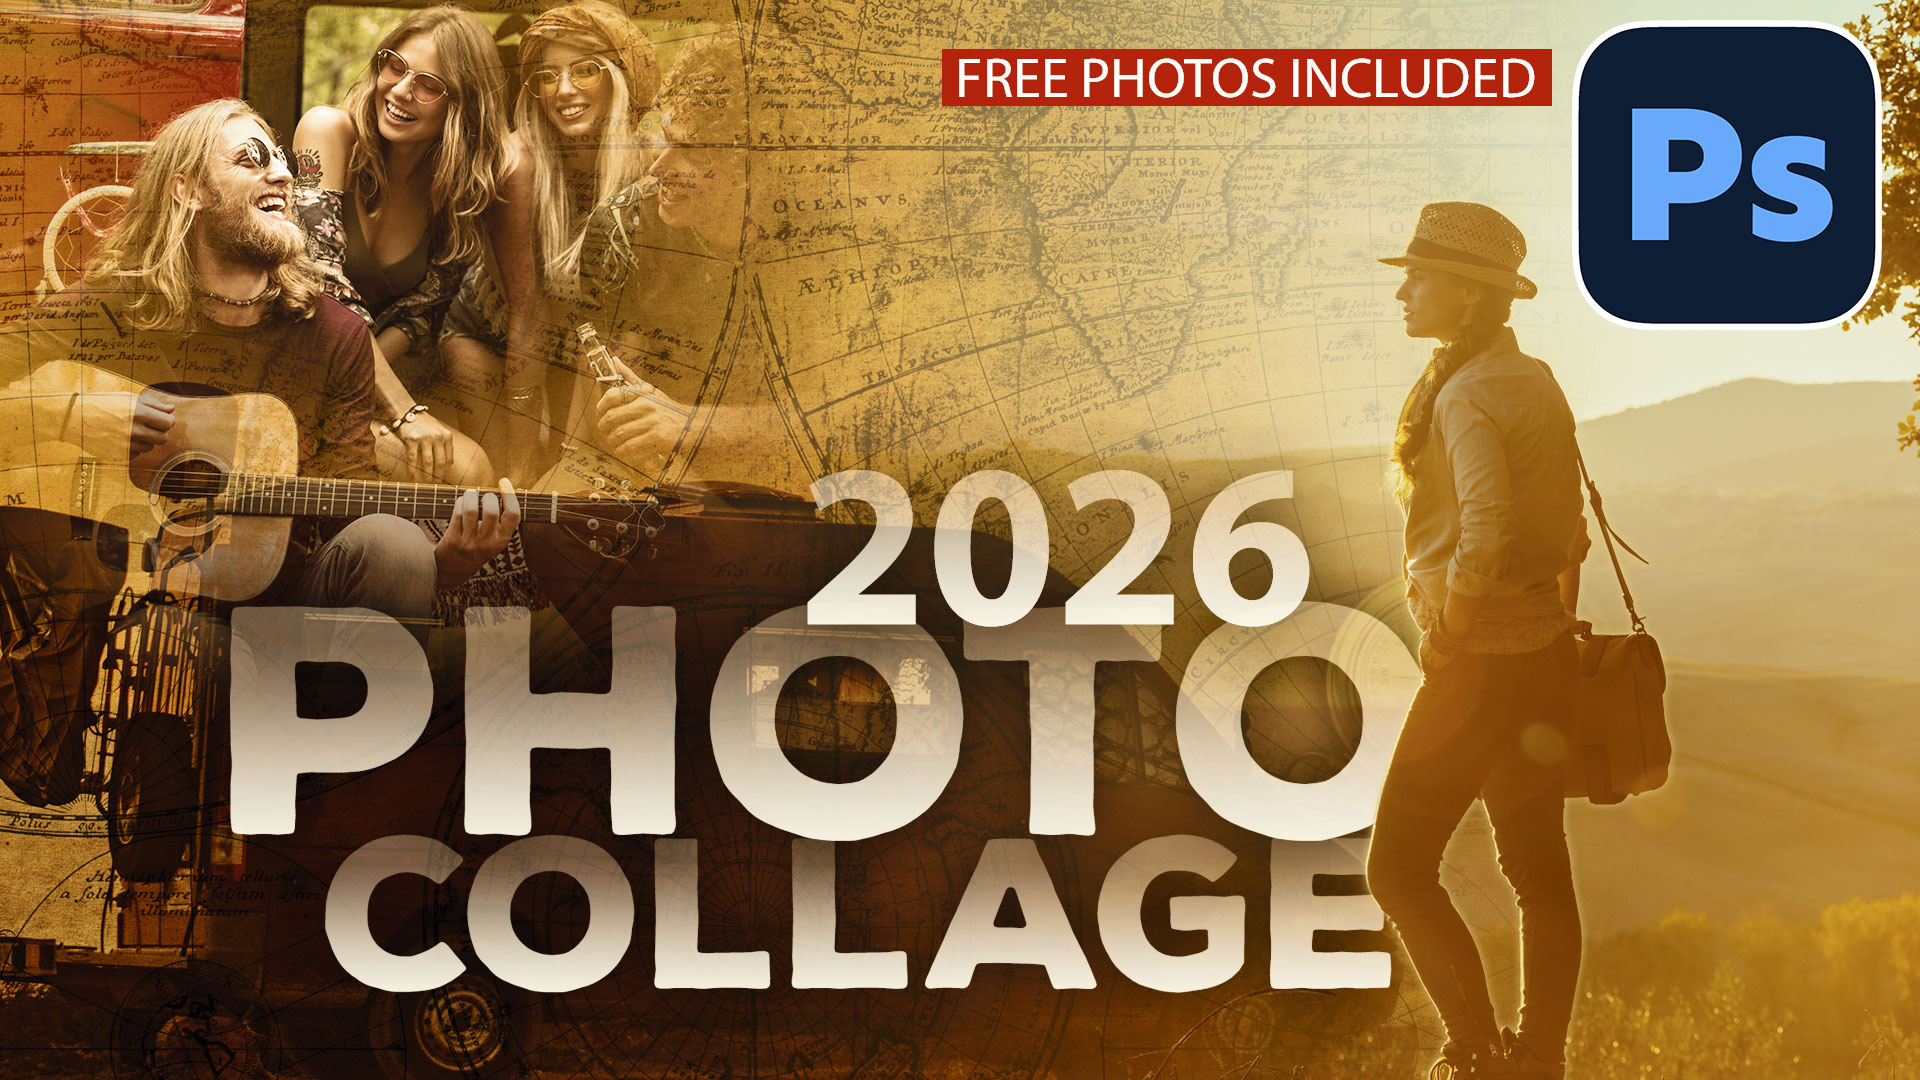
How to make a photo collage in Photoshop with free Adobe Stock photos
Using free stock photos to build artistic collages
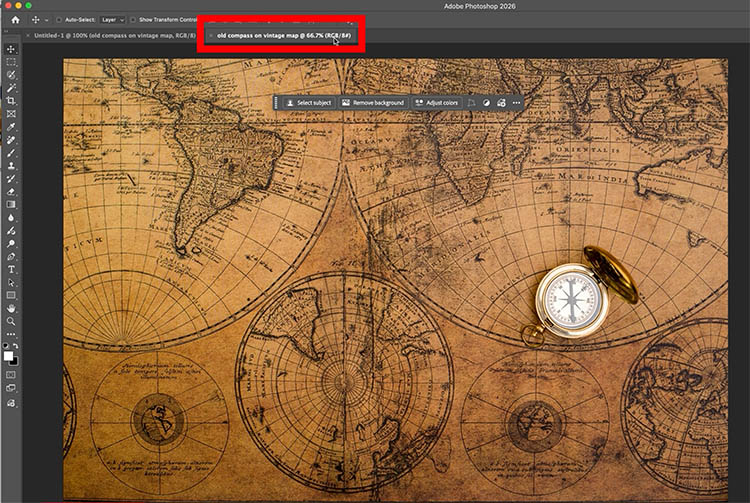
In the Photoshop 2026 update, Adobe have added free Adobe Stock photos inside Photoshop. There are 3 ways to access these photos. As I show you the different ways of getting the free photos let’s build a collage. Since you have access to the same images, why don’t you follow along and see if you can pick up a couple of new tricks! There is no ai used in this tutorial.
This is the collage we will make together.

To start, you have to make a new document, or open an existing one, you can’t start from a blank screen (hopefully they will fix this).
File>New I made this 920 x 1080. The size doesn’t matter at all, because I came up with a trick to use the original size of the photo.
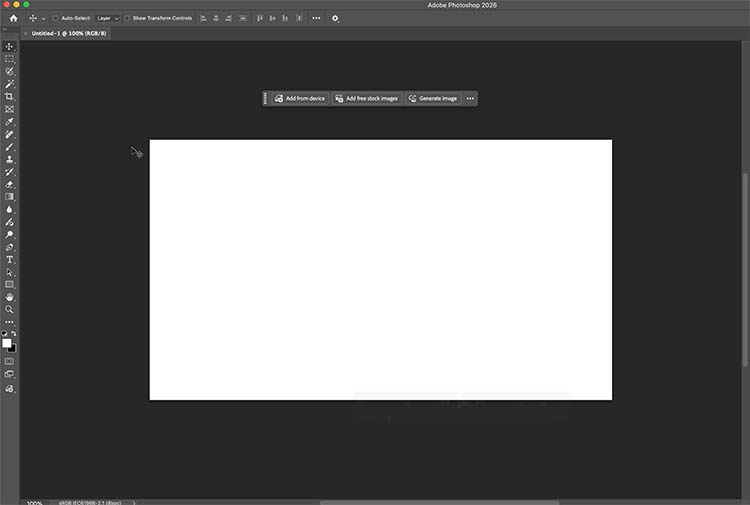
With the move tool active (v key) look to the Contextual Task bar and click Add free stock images. (If you don’t see it open the task bar Window>Contextual Task Bar, if you don’t see the button, use the other methods I show in this tutorial)

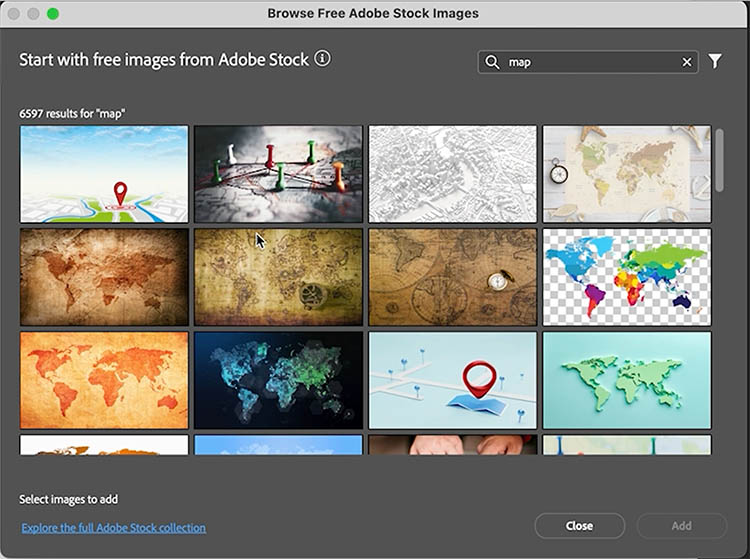
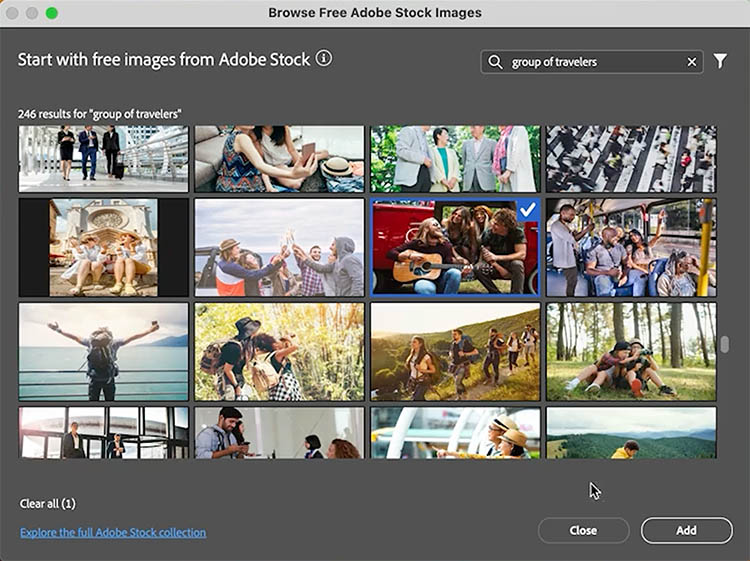
A window will open where you can browse thousands of free, royalty-free stock photos).
You can search, here we chose map.
Click add
Here we have the image added.
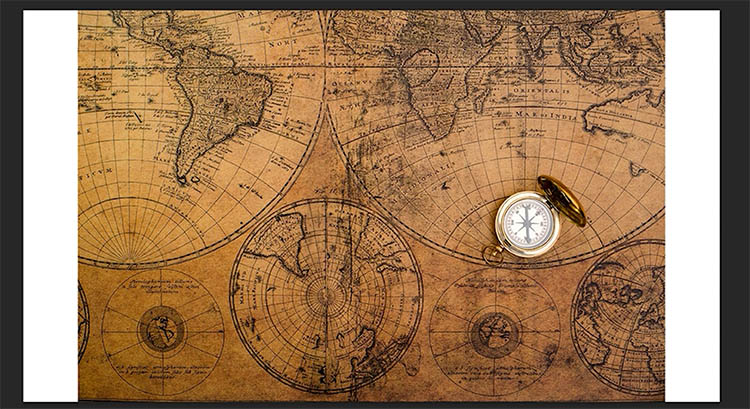
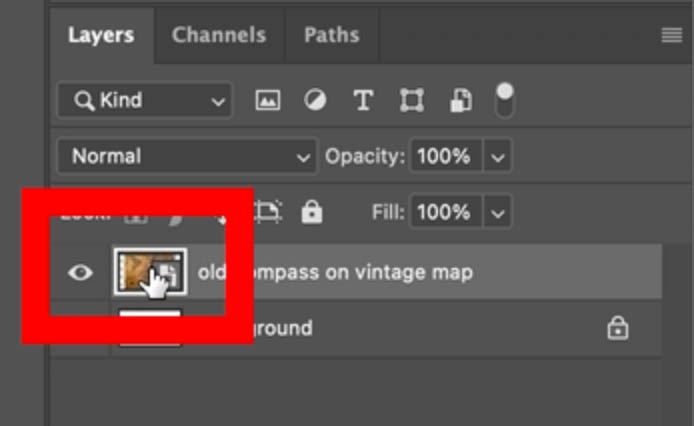
Let’s use the photo full size. Double-click the smart object in the layers panel.
It will open in a new tab. This is the original image and we will use this as our base to work off. Close the original tab, we no longer need it.
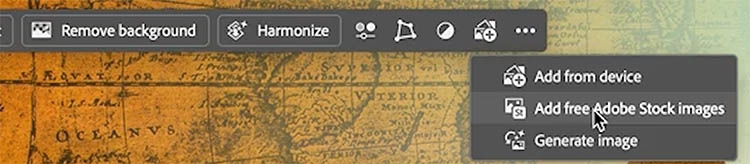
The 2nd way to add free Adobe stock is in the bottom of the toolbox.
Click add free Adobe Stock Images

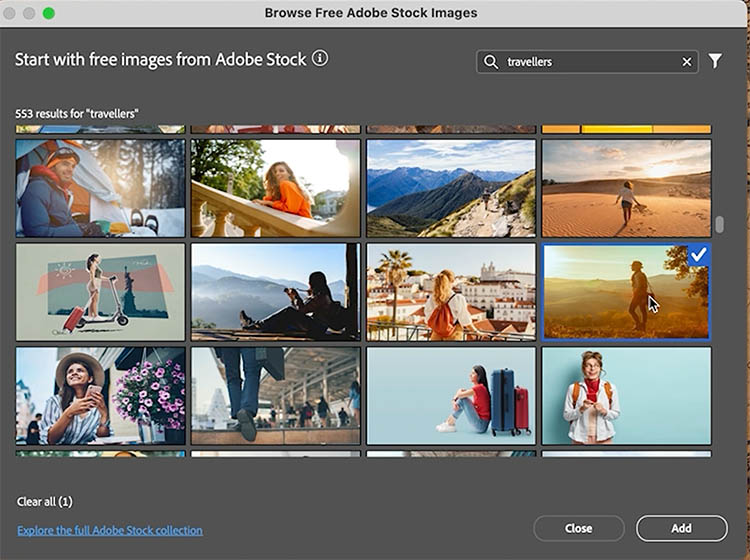
This time, we search for Travellers (I know, it’s a misspelling, but that’s what I used).
The woman in the field is a great photo to add.
Click add and additional to the image, it will appear as a new layer
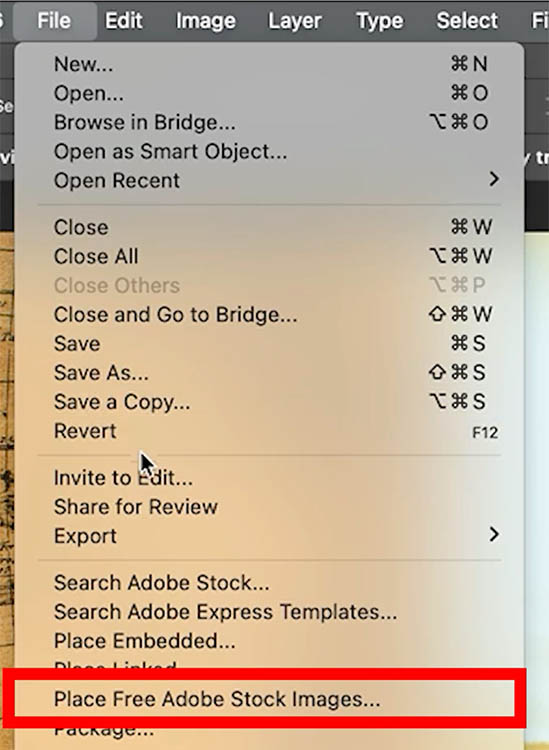
Let’s add a third image, and use the third way. Choose File>Place Free Adobe Stock Images
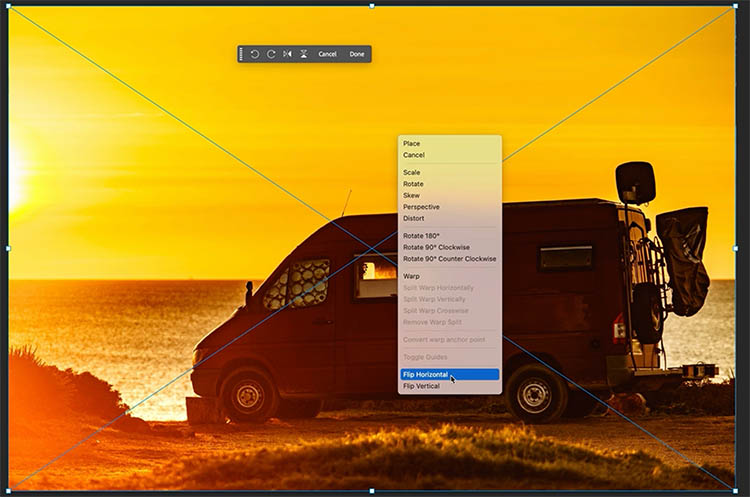
This time, search for Van and take the sunset silhouette image
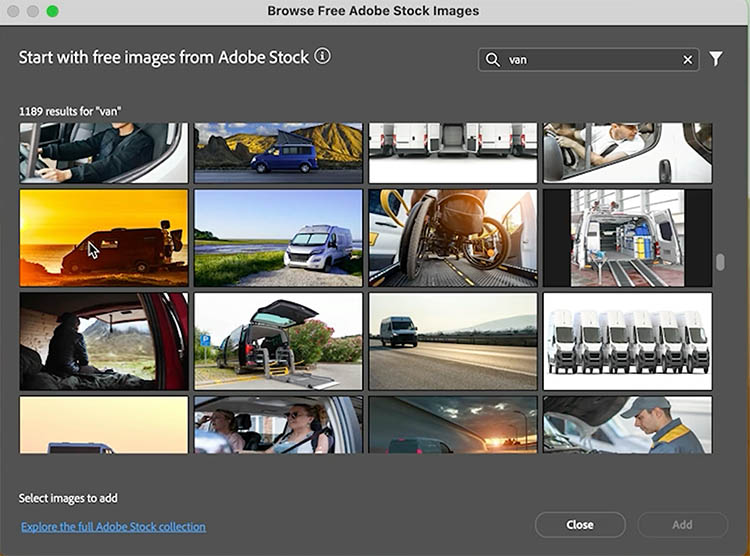
Let’s flip it around. Press Cterl/Cmd+T if you don’t see the bounding box. Right-Click and choose Flip Horizontal. (You could also use the icon in the task bar).
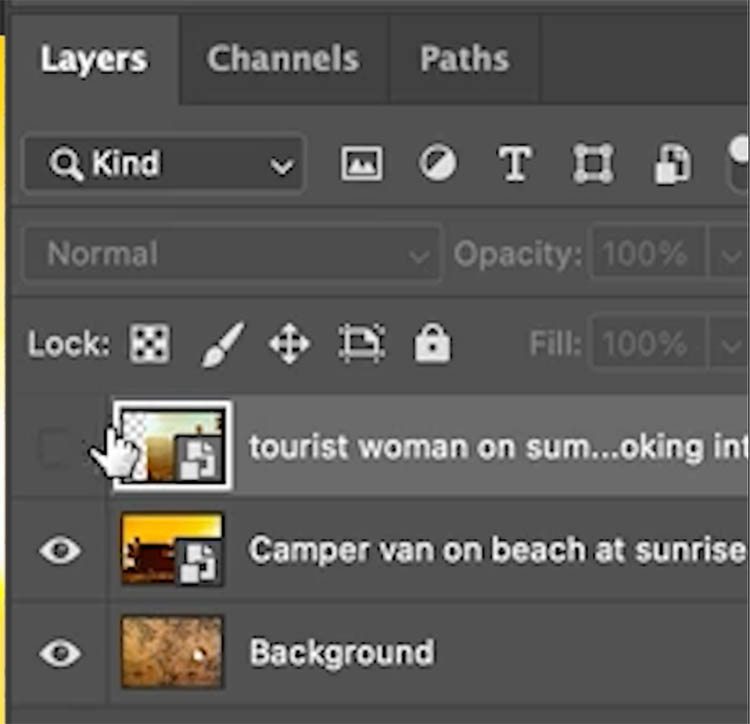
Drag to rearrange the layers, so that the Woman is on top and hide the layer, by clicking the eyeball.
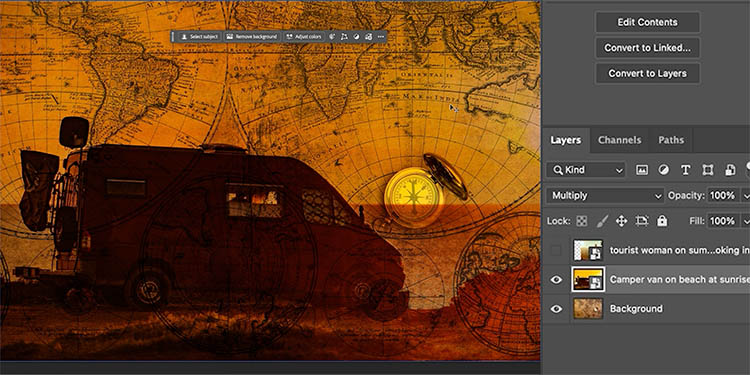
Choose the Van layer and change the layer blending mode from Normal to Multiply. See how nicely everything blends together.
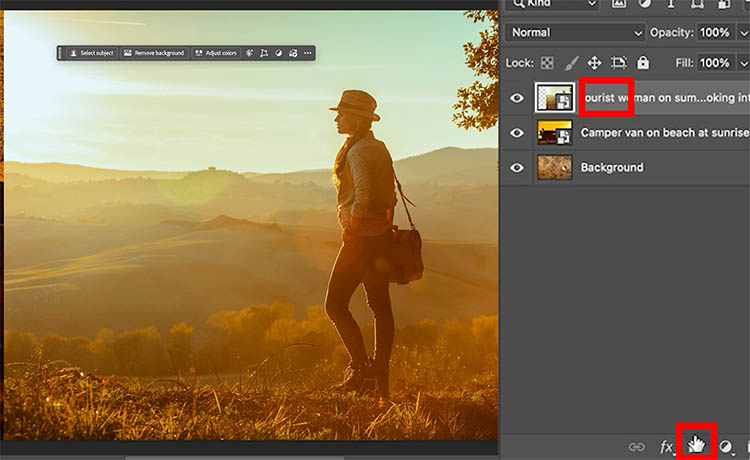
Turn the layer of the woman back on. We will make a smooth, gradual blend.
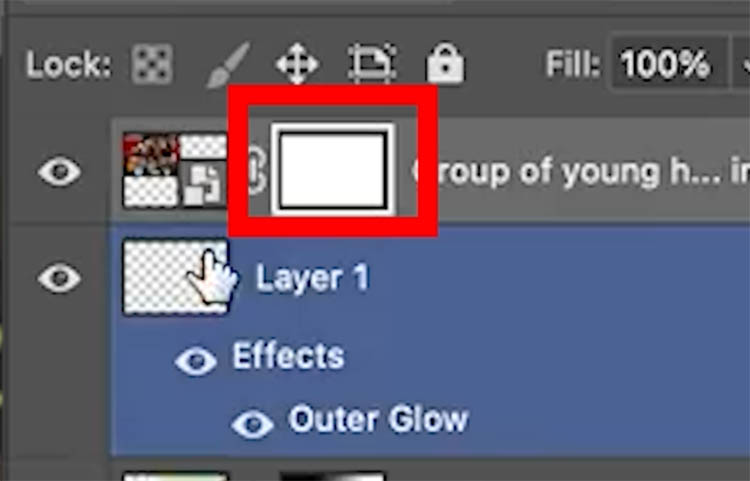
Click the layer mask icon in the Layers panel, to add a layer mask.
Choose the Gradient tool. Select black to white, linear (the first left one, out of the 5 gradient type boxes) and normal blending at 100% opacity.
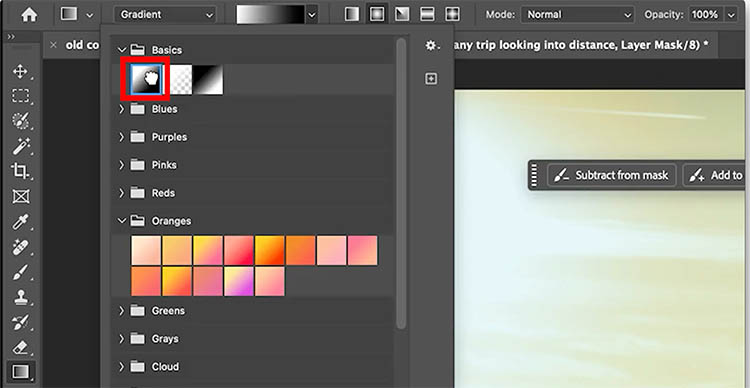
Drag the gradient across the image to blend the 2 layers together. Watch the video at top for more options.
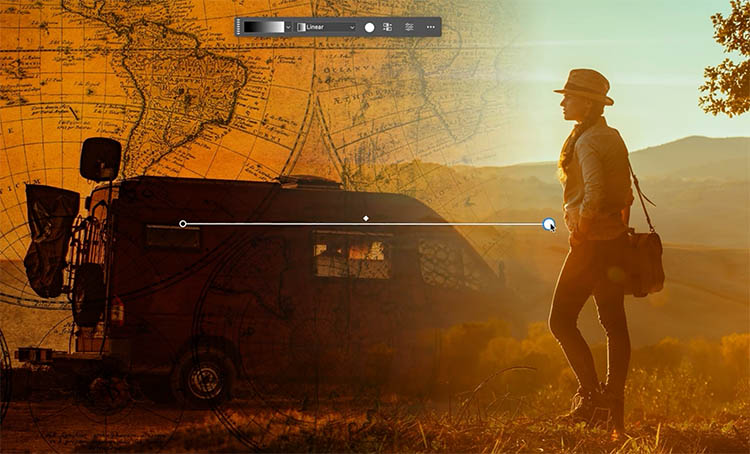
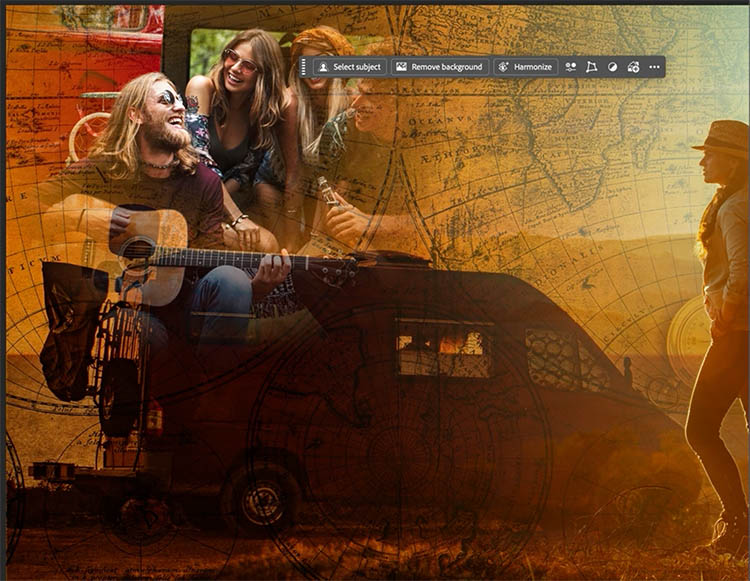
The blend is really nice, but I want to woman to be opaque.
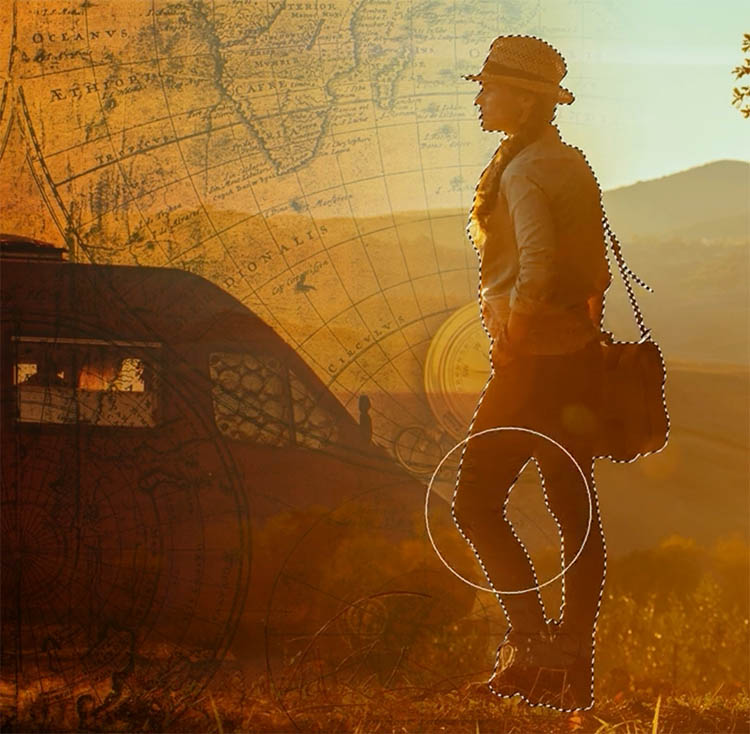
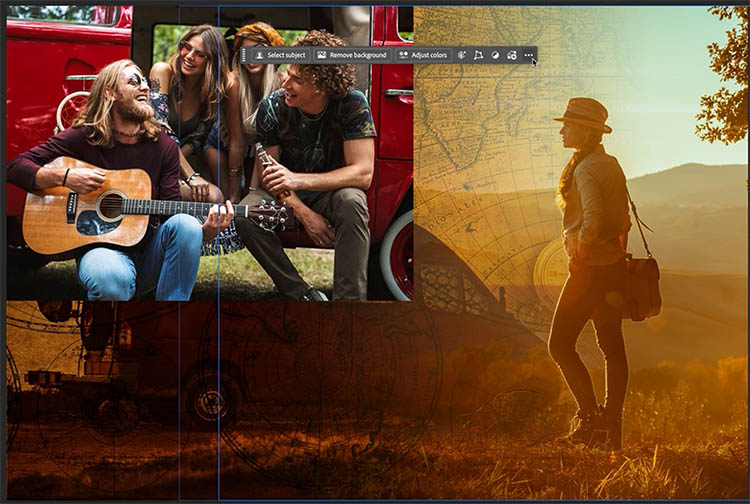
Choose the layer (not the mask). And click on Select subject in the task bar.
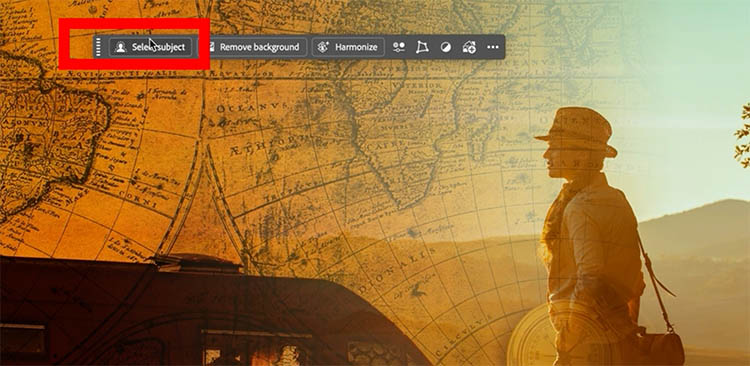
You will see a selection over the person.
Click back on the layer mask
Choose the brush tool and set the foreground color to white
Paint inside the selection to paint the person at 100% opacity.
Ctrl+D to turn off the selection.
Let’s add one more photo.
Look at the task bar, after you have placed a photo, the words aren’t on the talk bar anymore, instead it’s an icon. (This is still technically the 3rd way, but could also be seen as a 4th way of accessing the free Adobe stock).
Click the icon and choose the free Adobe Stock option.
This time search for Group of travelers
Here we will size the image up in the top left corner.
We need to blend the hard edges in.
Add a layer mask to the layer
Choose the gradient tool with the same settings as before. This time use the Radial option for the gradient, its next to the linear.

As you drag it blends from the center. (Click reverse in the top options bar, if yours looks different).
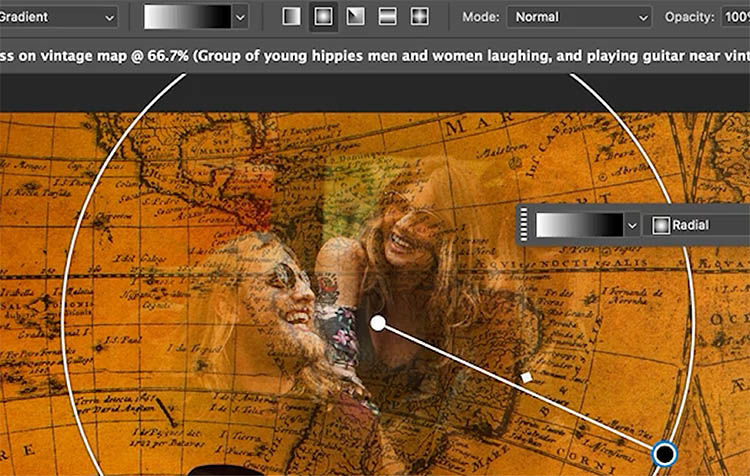
See how nice it blends.
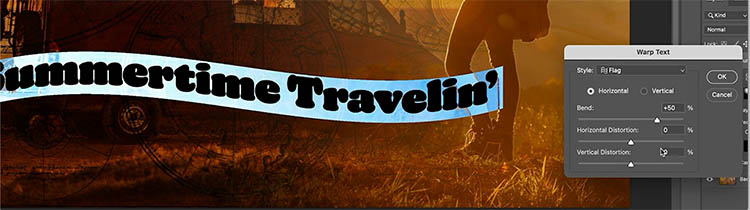
Add some text.

With the text selected, click the text warp button.

We are using the flag method, just to mix things up a little.
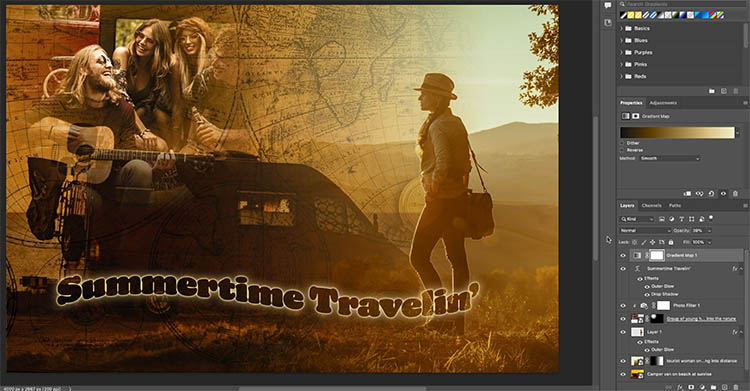
Let’s colorize the entire collage with a gradient map.
Choose the top layer in the Layers panel.
Create a new Adjustment layer and choose gradient map.
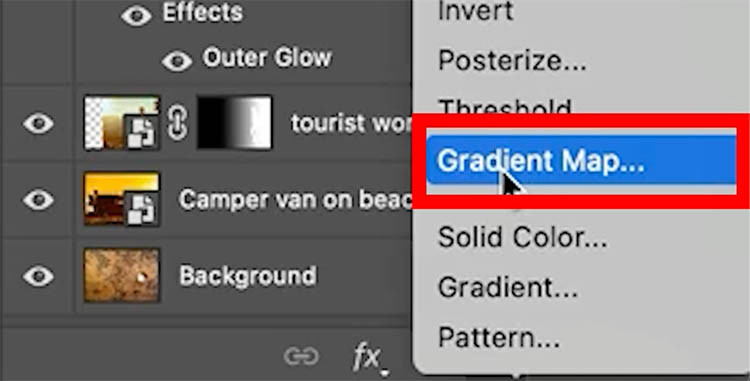
In the properties panel, Under the gradients, choose some from the photographic toning set. See how amazing they look?
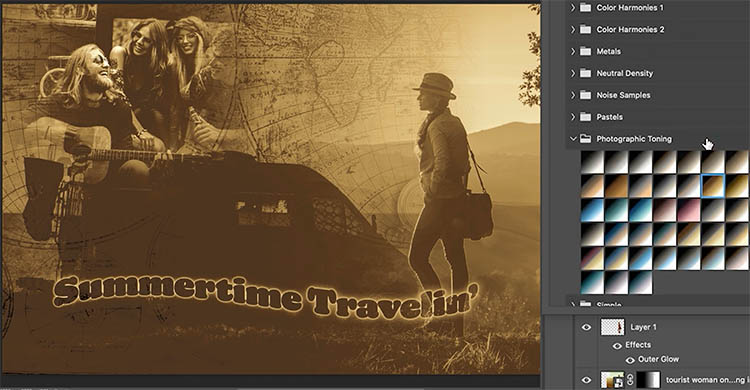
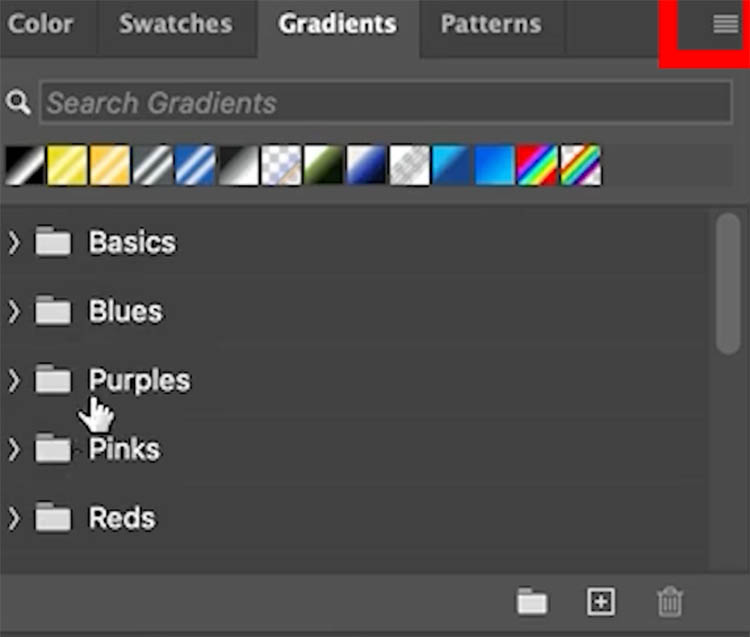
If you don’t see Photographic toning, open the Gradients panel. Window>Gradients
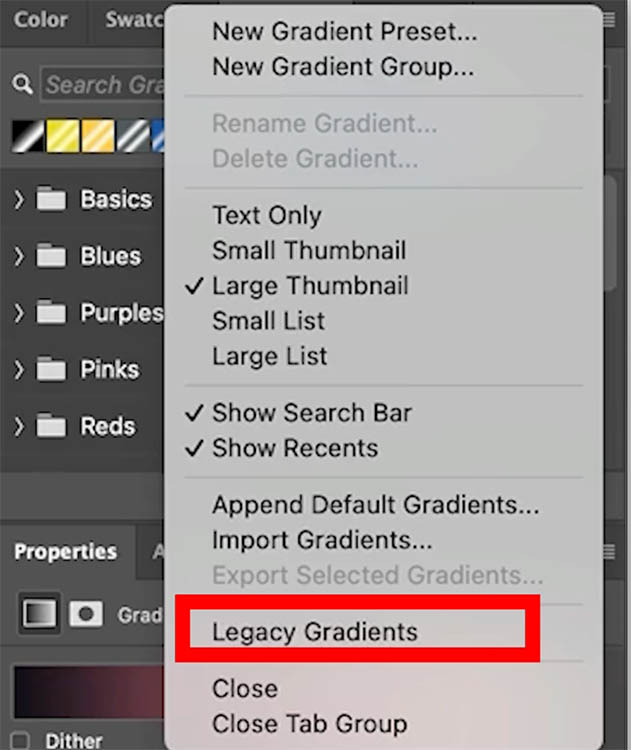
Click the top right menu.
Choose legacy Gradients and they will load in.
Here, I lowered the opacity of the gradient map to around 39, to blend it with the original colors.
I hope you enjoyed this little tutorial.
If you haven’t yet, check out my flagship course: Photoshop Secrets: Photoshop 2026 For Digital Photographers, this will teach you everything you need to know about working with photos in Photoshop.
Great to see you here at the cafe, browse our over 700 free photoshop tutorials.
Thanks
Colin
PS Don’t forget to follow us on Social Media for more tips..
(I've been posting some fun Instagram and Facebook Stories lately)
You can get my free Layer Blending modes ebook along with dozens of exclusive Photoshop Goodies here

6 thoughts on “How to make a photo collage in Photoshop with free Adobe Stock photos”
Leave a Reply
Photoshop CC tutorial, how to easily swap the background in a photo. Refine Edge in the latest version of Photoshop...
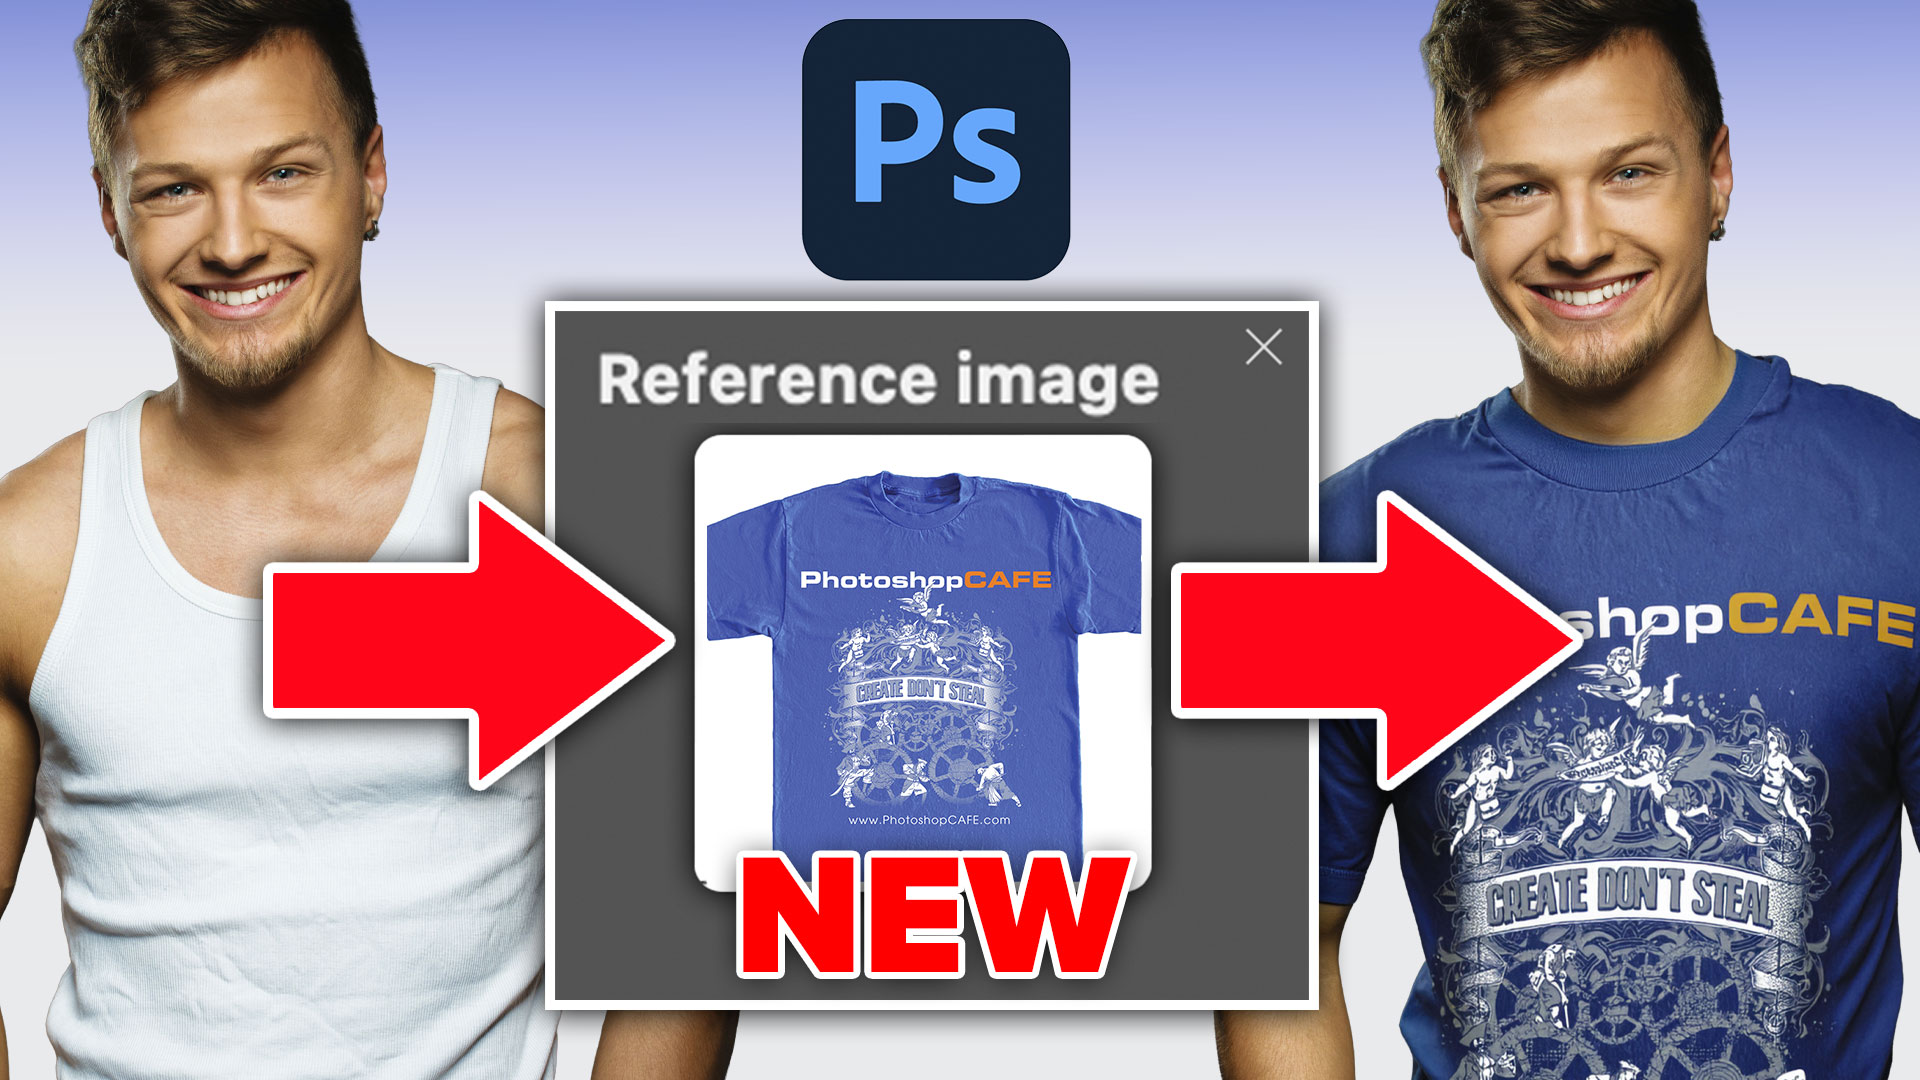
How to use new Reference images to generate ai in Photoshop.


Wow ! now your tutorial is in my own language, Dutch (Belgium) ! Amazing above all your hints ! Thx
Oh wow, YouTube translated it?
Can i ask where you got the Photographic toning gradients, love them.
Great tutorial, Thanks Colin.
Oh! and i found the Legacy folder, so please disregard my asking where to find.
No problem
Great thanks to you!!! And thank you for free photoshop tutorials, it’s a big deal for those who can learn sth new but can’t afford paid courses. It’s a pleasure to bring joy to our families and close friends!