
How to create a realistic rainbow in Photoshop
Easily make a rainbow in Photoshop with new Gradient tool
The new gradient tool makes it really easy to do things that were difficult before. I figured a rainbow is a good way to explore these features and I have a few tips to throw in too.
Adding more hidden gradients
We will be using Legacy gradients. These are additional Libraries that are in Photoshop but hidden. Lets load them now.
Choose Window>Gradients to open the Gradients panel.
Choose the top Right menu and select Legacy Gradients. This will load the gradients.
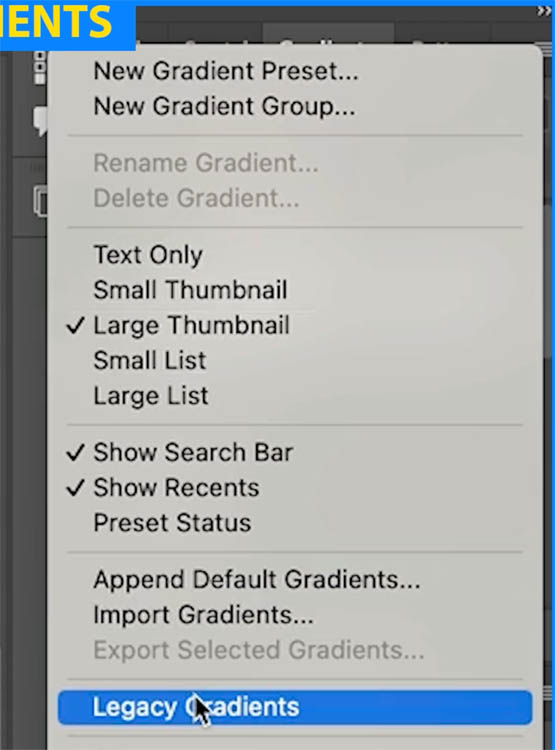
Making the Rainbow
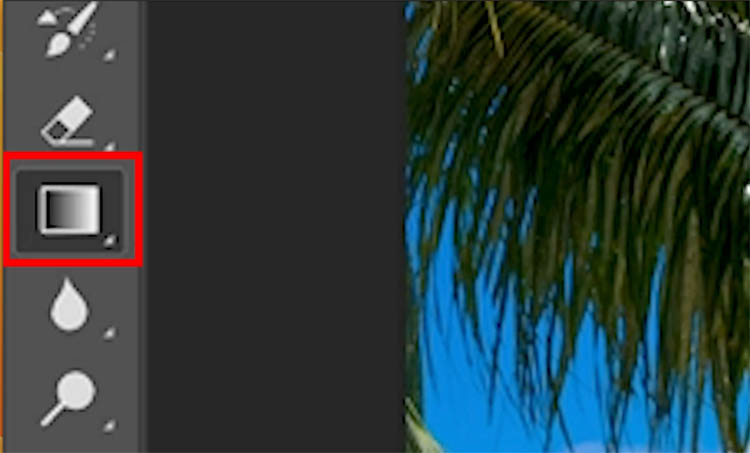
First of all, select the Gradient tool and choose radial.
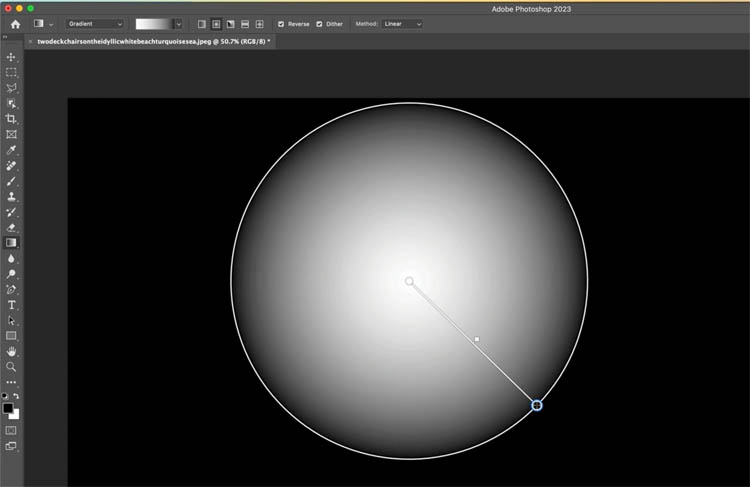
Drag on your image to create a circle.
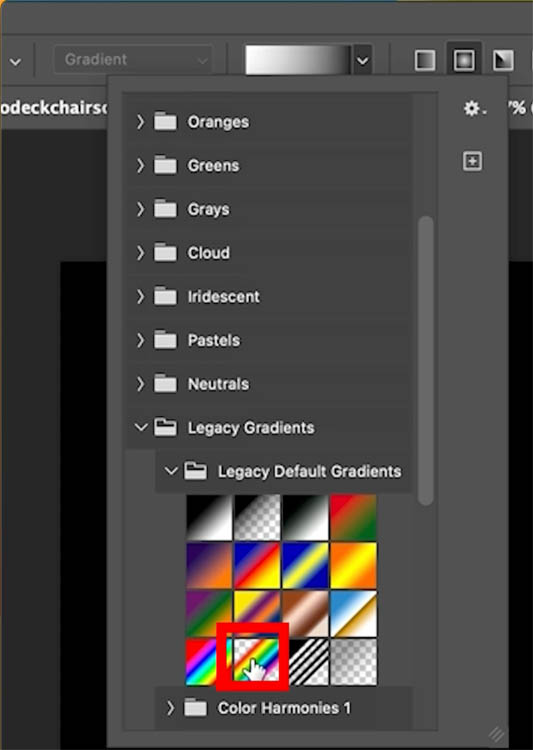
Click the arrow by the Gradients to choose a new gradient.
Go under Legacy and select the spectrum preset.
You will see colored concentric circles.
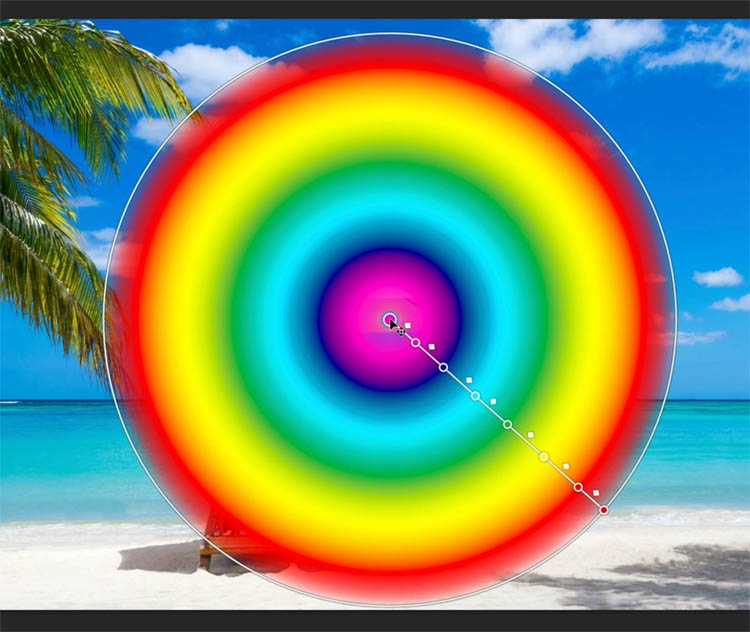
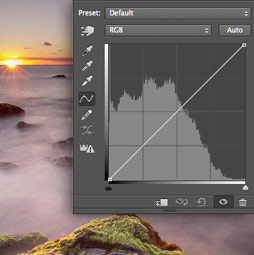
Choose the Properties panel and drag the colors closer together on the left side of the Slider.
We want to make then even closer, but notice how bunched up they stops are. We need more space to work.
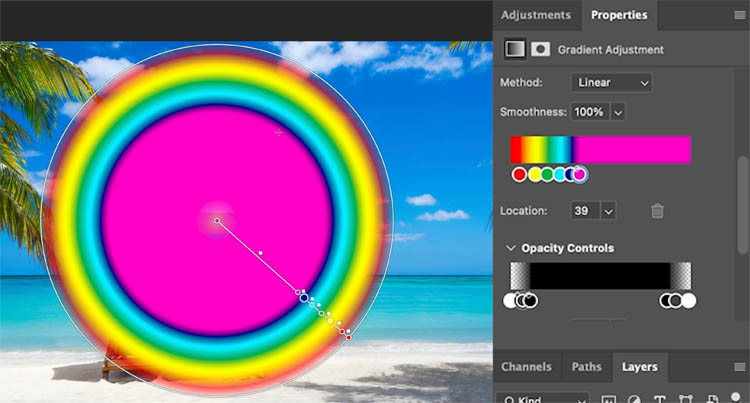
Grab the tab of the Properties panel and tear it off.
Drag out the panel until it stretches the bars. Look at that! Way better.
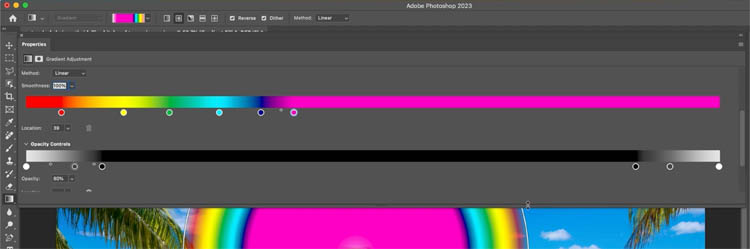
You will see a transparency bar.

Drag the points sway from the bar to remove them.
Get rid of all of them except the 2 end white ones and the 2 black ones on the left
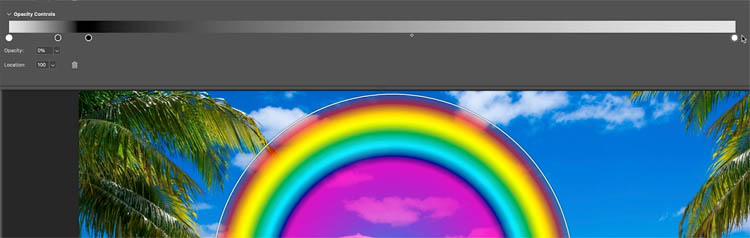
Drag the Right-white slider to the left. As you slide it, notice in expands a transparent area over the center.
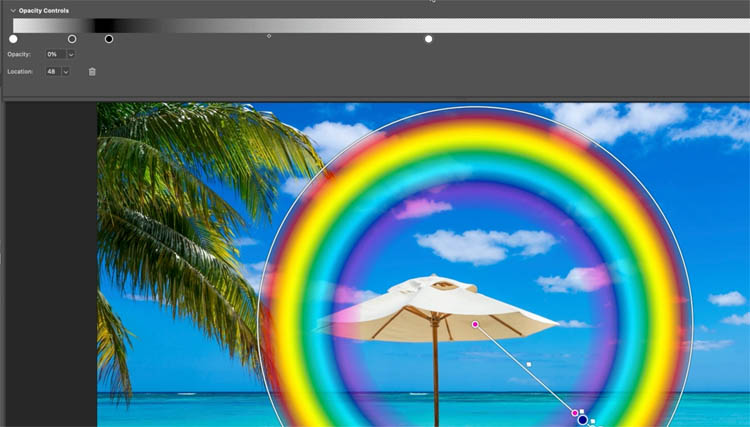
Remove the gray slider, so we just have 2 white ones and a black on in between.
Adjust until you have a narrow band around the circle’s edge
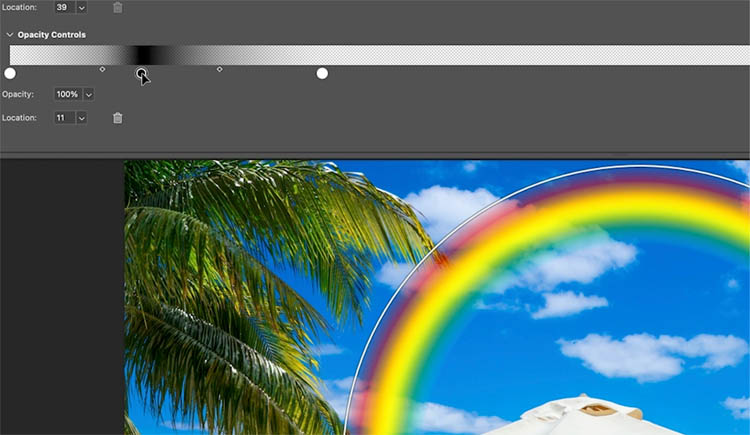
Move the colored sliders until you are happy with the spacing.
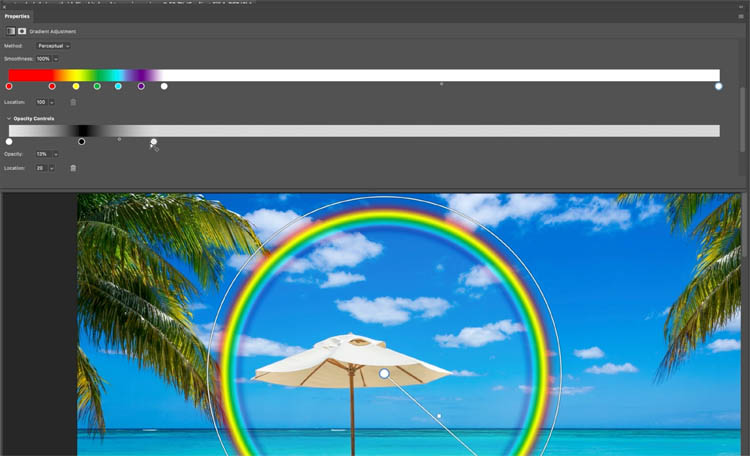
Dock the properties panel.
Adjust the size to resize your rainbow
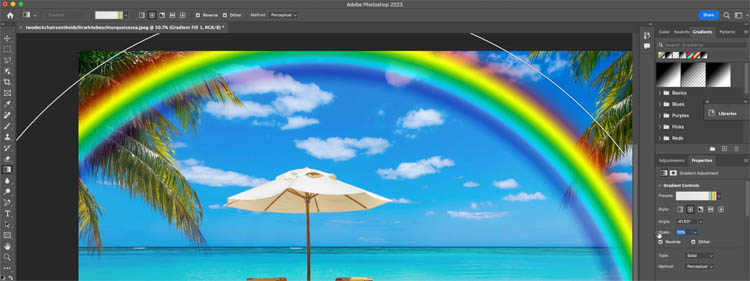
Drag the center point to reposition
We need to fade the edge into the horizon.
In the layers panel, Click the layer mask on the gradient layer
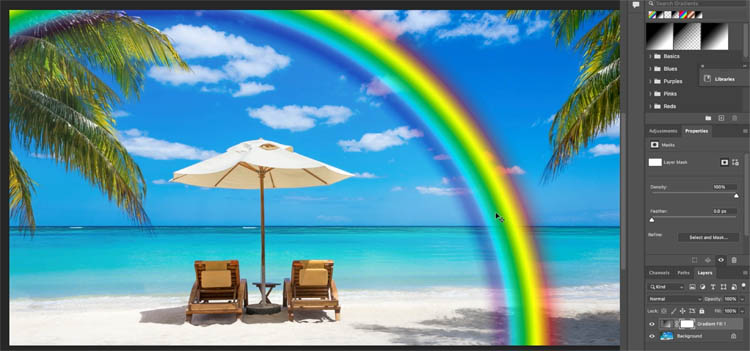
Choose a black to white linear gradient

Click and drag on the end of the rainbow to face the end (no pot of gold here).

If you want to make it more subtle, change the Layer blending mode to Screen
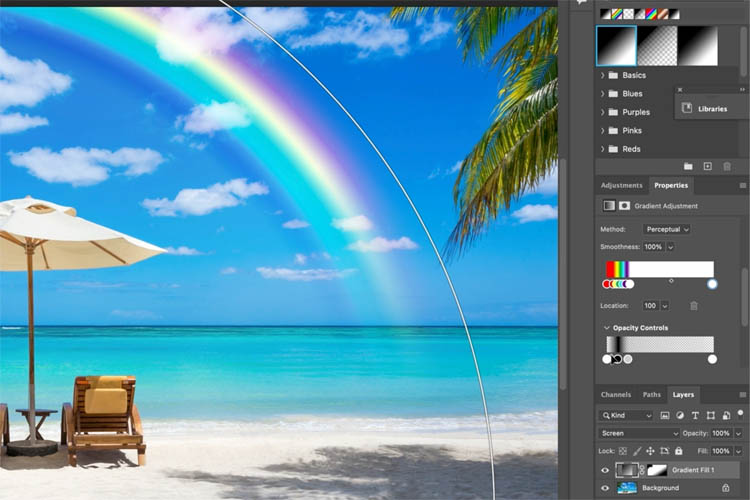
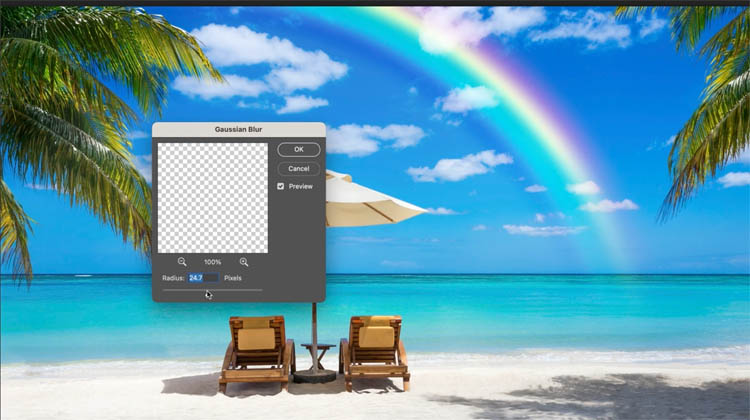
If you want to soften the rainbow you can add a blur.
Right-Click on the layer name and choose Convert to Smart Object
Choose Filter>Blur>Gaussian Blur and set the amount that you like
I hope you found this tutorial useful. I actually made this a 2 part tutorial on the new Gradient tool. Check out the addition tutorial on creating the floating head effect used on movie posters
Drop a comment and let me know if this was helpful.
Browse the other free photoshop tutorials here at the cafe
Download 100s of dollars worth of Photoshop adds on for free here at the Vault.

Also follow me on Instagram, Tik Tik, Threads and Twitter. for shorts and reels.
See you next time!
Colin
PS Don’t forget to follow us on Social Media for more tips.. (I've been posting some fun Instagram and Facebook Stories lately)
You can get my free Layer Blending modes ebook along with dozens of exclusive Photoshop Goodies here
One thought on “How to create a realistic rainbow in Photoshop”
Leave a Reply
How to create animation in Photoshop. Learn how to create movement and animate an object in Photoshop.
Tutorials on creating metal type abound online, as do variations on simple liquid effects. Most are fairly short, offering a...







I sat down to reproduce what you created and gave instructions on. It was a good lesson to execute Colin!