
How to Emboss a logo or icon in Photoshop
Embossing and adding 2.5D depth in Photoshop
In this Photoshop tutorial you will learn how to use lighting effects filter with alpha channels to create photo realistic depth and embossing that rivals 3D.
Check out this video that will walk you through every step of 2 projects and then use these written instructions as a reference you can come back to
When I first discovered this technique over 20 years ago, I decided to see how far I could push it. That experimentation led to me creating a series of Photorealistic illustrations entirely made in Photoshop .Click here to see more of my Photoshop Illustration work
Unfortunately, the Lighting effects filter has recently been retired. This tutorial shows how to get lighting effects with new Gradient features. The effect on this page is no longer possible in the newest version of Photoshop.
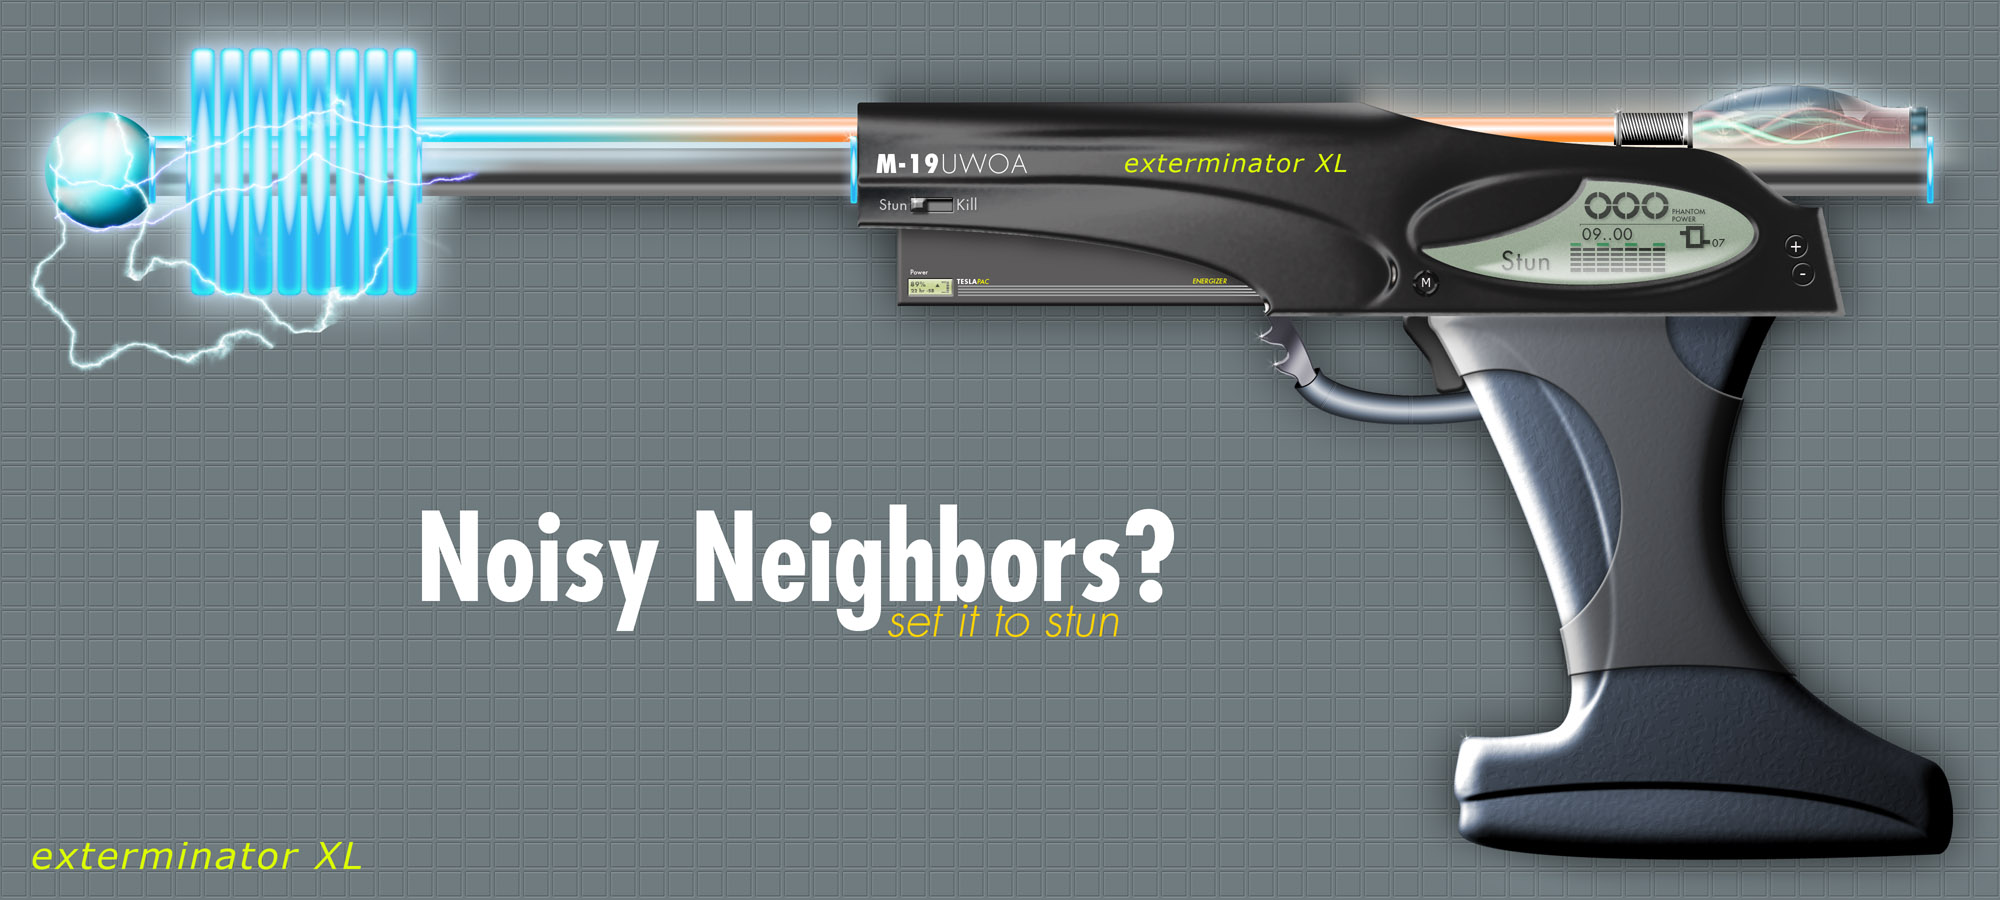
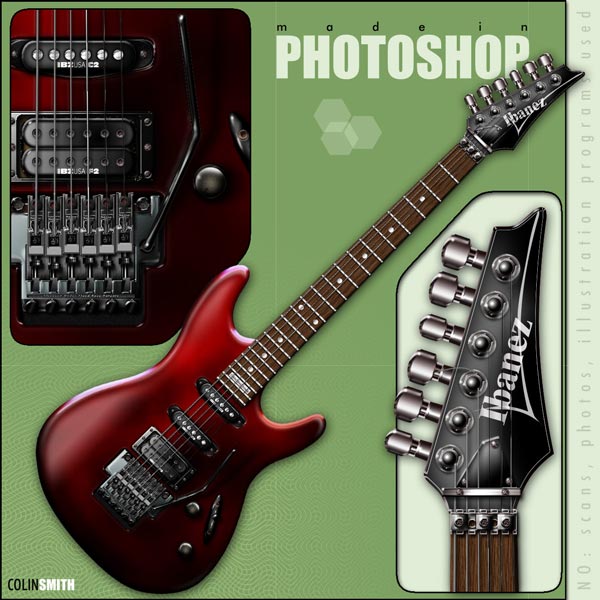
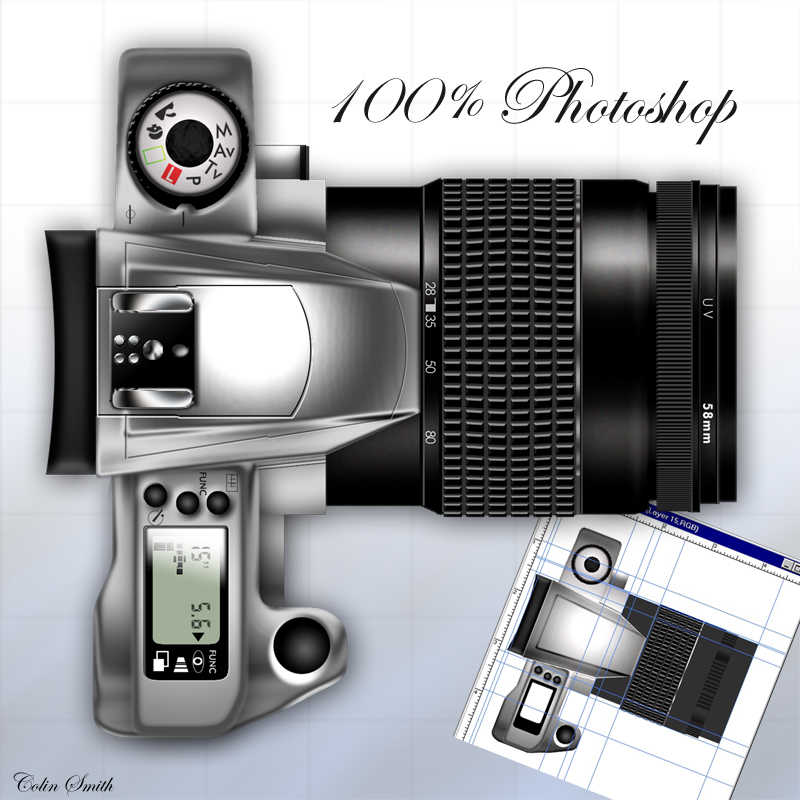
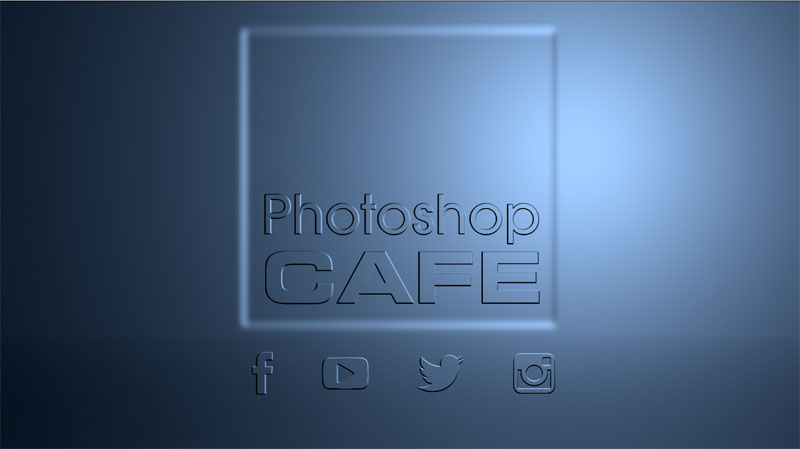
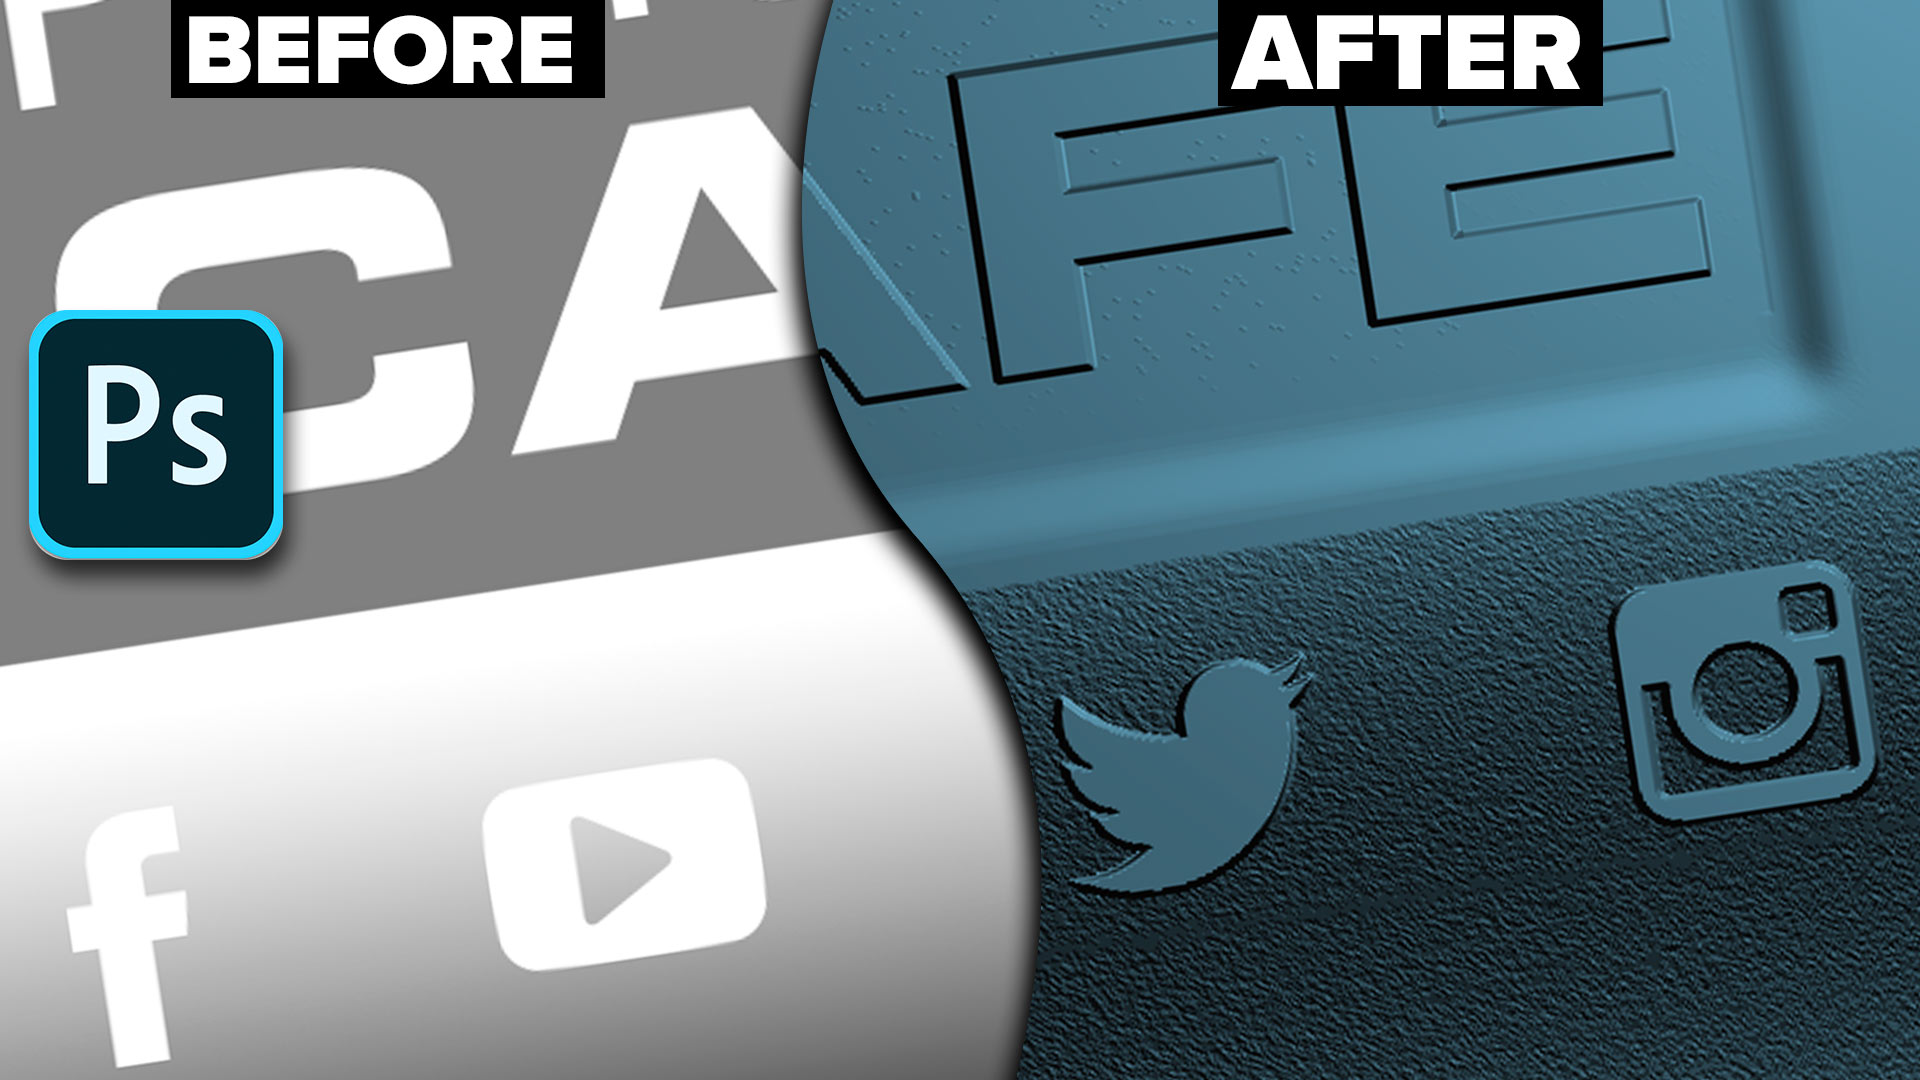
This is what you will create from a simple flat image, it’s quite amazing really.
Step 1.
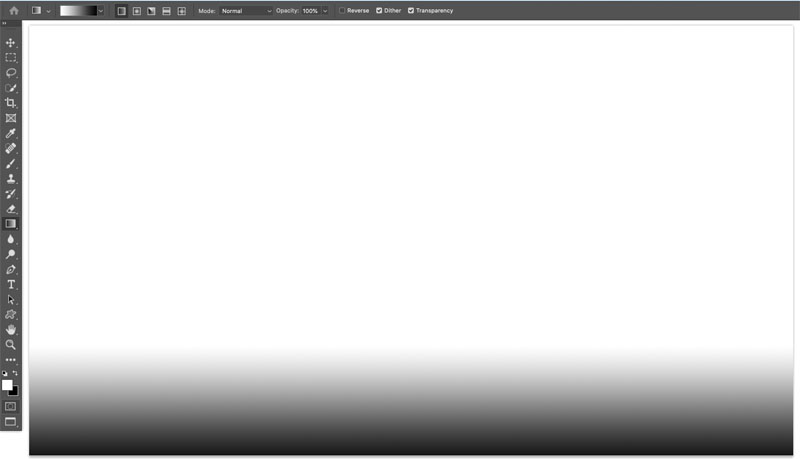
Start with a new document. I chose 1920 x 1080 as its HD screen size and it will work perfectly for Youtube end screens or other video projects.
Optionally, you can add a gradient to part of the image. I added a small white to black linear gradient by dragging with the gradient tool.
Step 2.
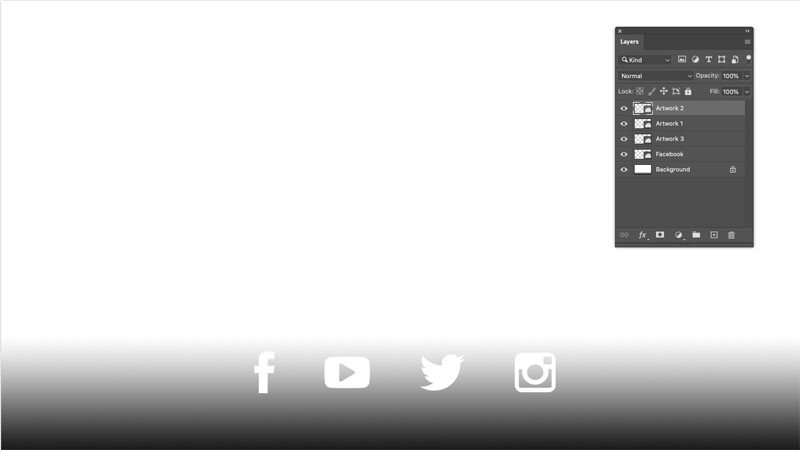
Add your icons or text. I found the social icons online. Easy to find with a quick google search.
Step 3.
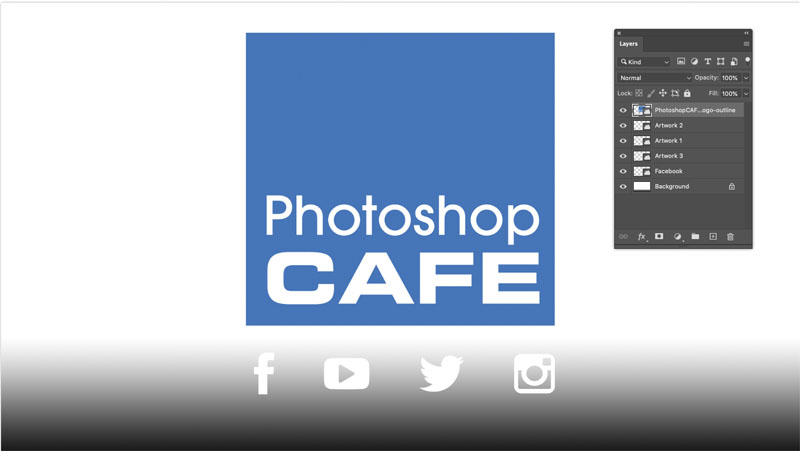
Just to personalize it a bit, add your logo. (Of course this page can be anything you like.).
Step 4.
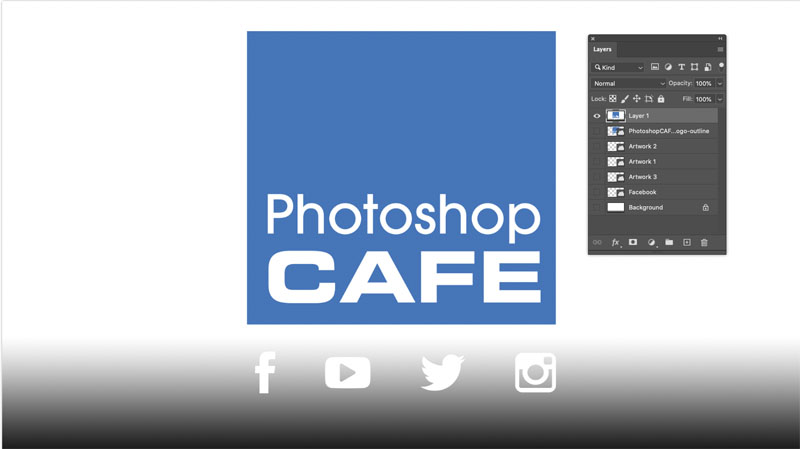
We need to put everything into a single layer.
You could flatten the document. But it’s better to keep the layers in case you want to change something later. Press Ctrl+Alt+Shift+E (windows) / Cmd+AOption+Shift+E (Mac)
This creates a flattened layer on top.
Step 5.
Press Cmd/Ctrl+A to Select all.
Press Cmd/Ctrl+C to Copy to clipboard.
Step 6.
Choose the channels panel
Create a new alpha channel by clicking the new channel button
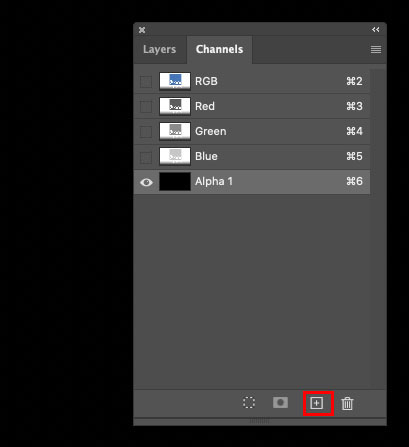
Step 7
Paste into the channel. Ctrl/Cmd+V
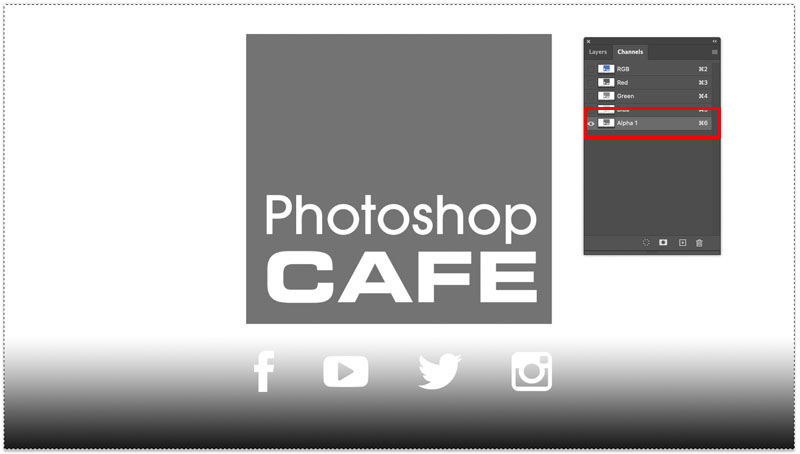
Step 8.
Click on the words RGB.
Red Green and Blue channels should be back on and Alpha 1 not showing. If you see a reddish color its because the Alpha channel is still on (click its eyeball to turn it off.)
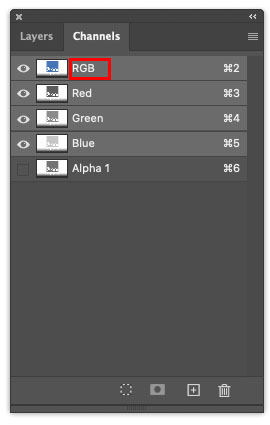
Step 9.
In the Layers Panel, create a new layer
Press Shift+Delete on Mac (Shift+Backspace on Windows).
When the fill dialog opens, choose 50% gray for contents.
Click ok.
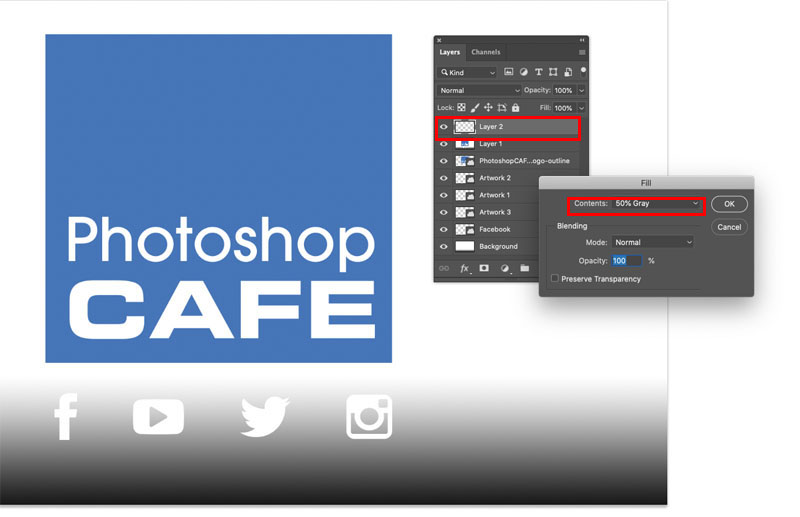
You will now have a gray filled layer on top.
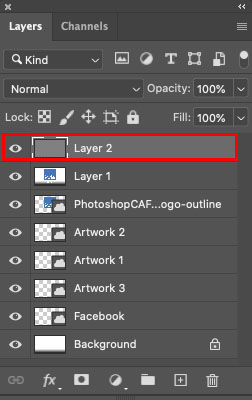
Step 10.
Choose Filter>Render>Lighting effects
(If it’s grayed out, make sure your image is RGB and 8-Bit under the Image>mode menu. Also go to Preferences>Performance and make sure Use Graphics Processor is on. If that still doesn’t work, try restarting.)
In the lighting effects, choose Blue Omni from the presets.
We are wanting the Omni light as it works best for this effect. Watch the video though above for some interesting variations.
(Press Ctrl/Cmd+H if you don’t see the tool overlay).
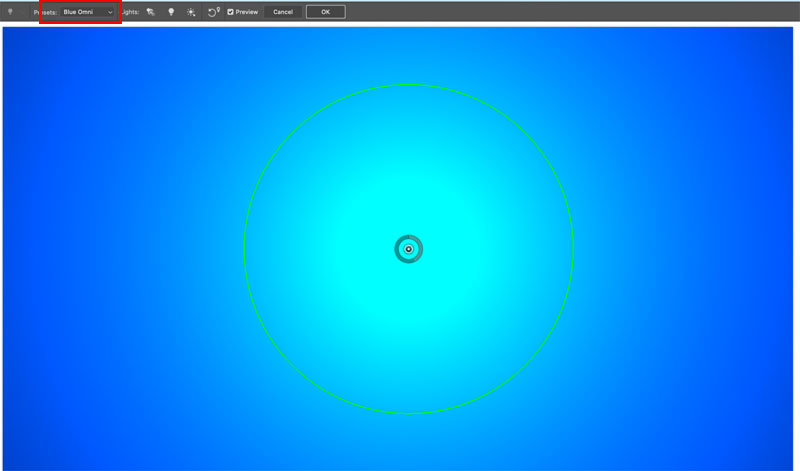
Step 11.
You will see a field called Texture in the properties on the right.
Choose Alpha 1 from the list.
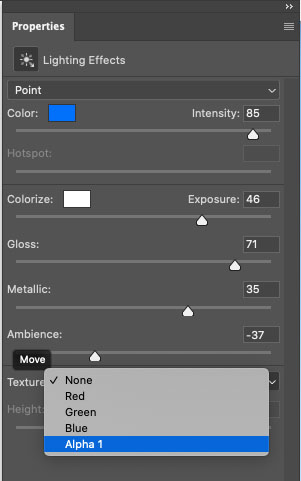
and BOOM! you will see your channel embossed. (The height slider changes it)
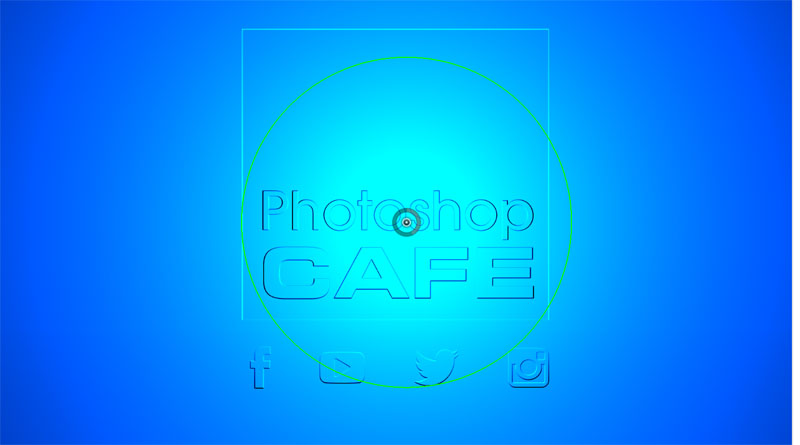
Step 12.
You can drag in the little wheel in the center to change the brightness, reducing it makes the color more even.
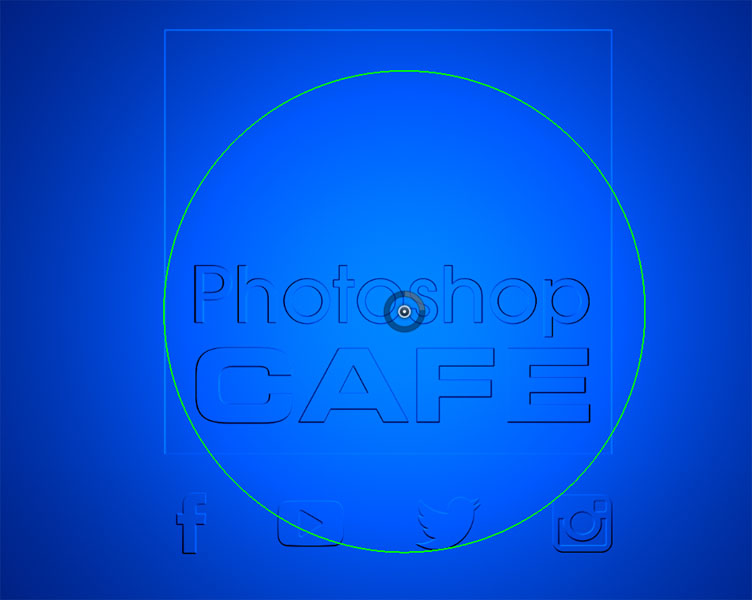
Step 13
Increasing the height makes the effect more pronounced.
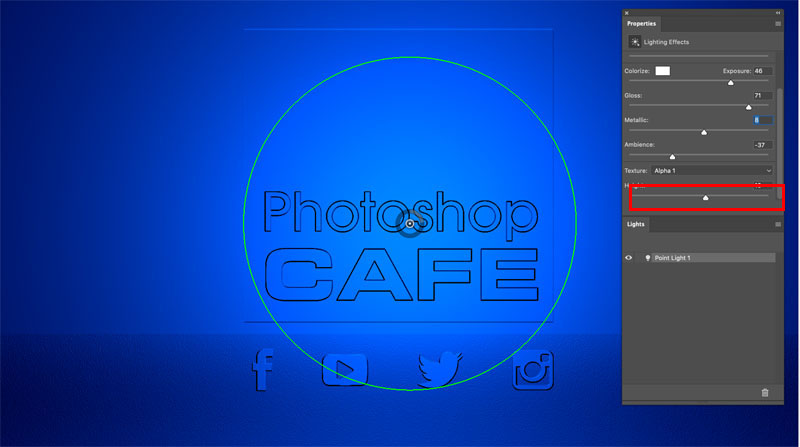
Step 14.
If you move the slider to a negative number the emboss will become an inset. Interesting huh?
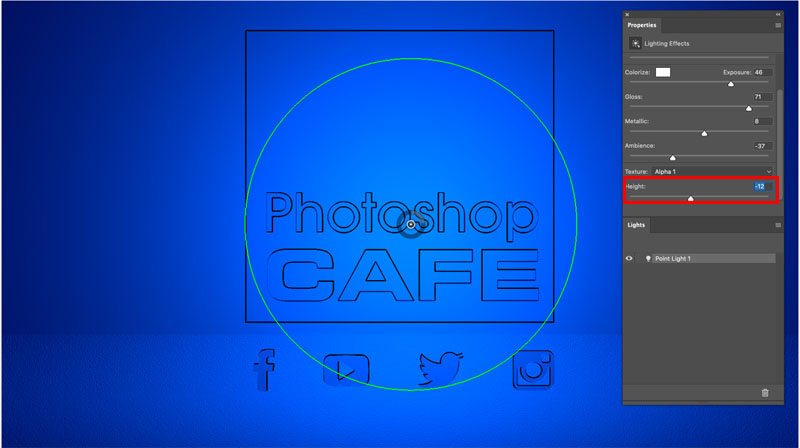
Step 15.
You can change the color by clicking on the rectangle by color.
The color picker will allow you to choose a different color.
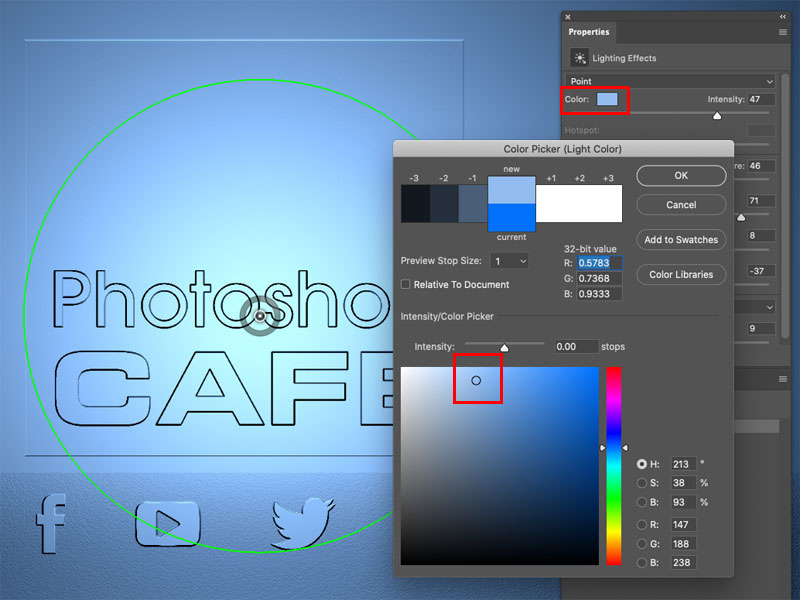
Step 16
You can also get a different result by dragging the light source to a different area.
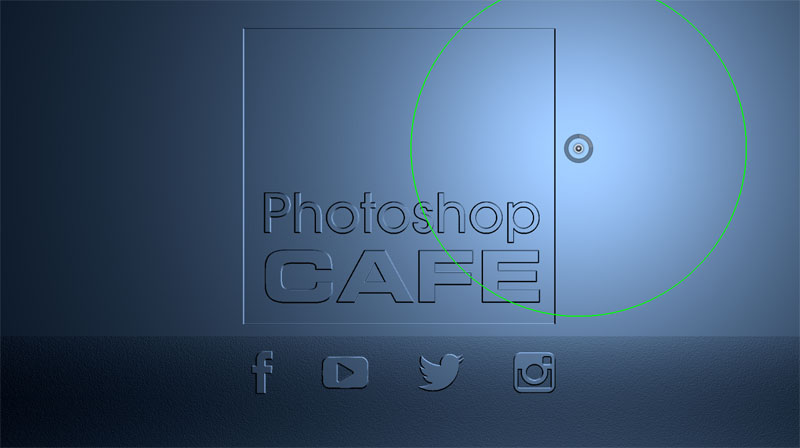
Click on to apply. I think thats so real you can almost touch it. But wait, theres more, keep reading.
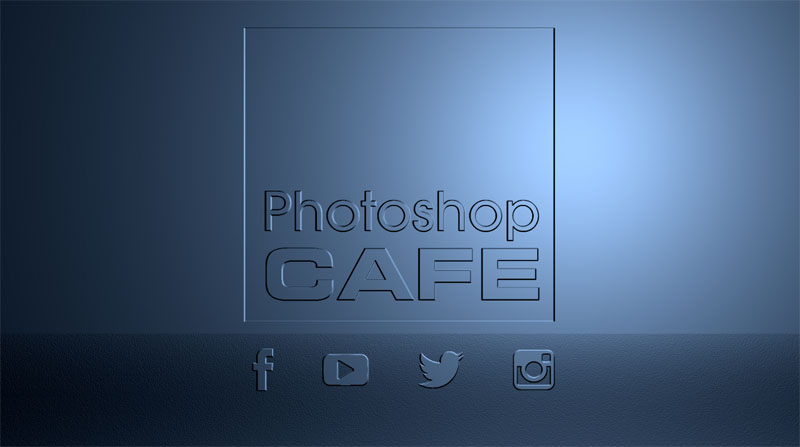
Everything is nicely chiseled, but what if you want a rounded edge?
Step 17.
Go to the channel panel and click onAlpha 1, let’s change the image in the channel.
Using the rectangular marquee tool, make a selection around the logo.
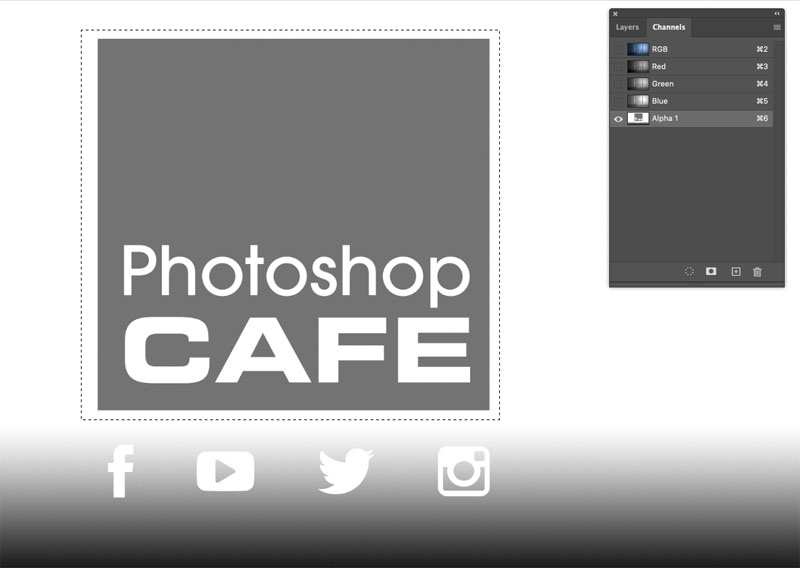
Step 18.
We only want the edges of the box, not the writing selected.
Hold down the Alt/Option key and select around the type, this takes away from the selection.
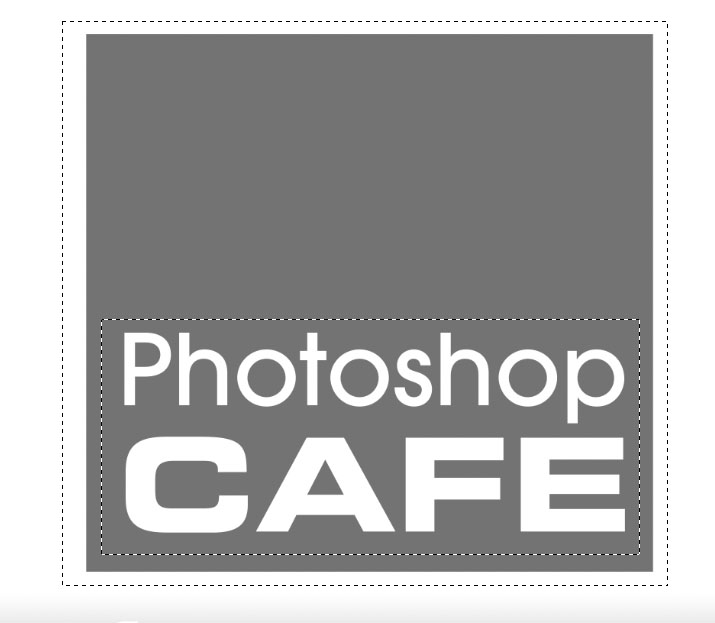
Step 19.
Choose Filter>Blur>Gaussian Blur
A radius of 7.8 works here.
Click OK
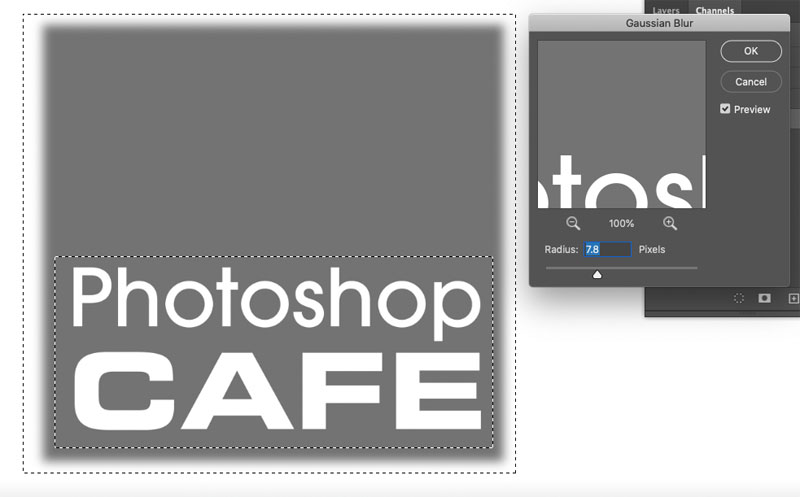
Step 20.
Click on RGB to turn the RGB channels back on.
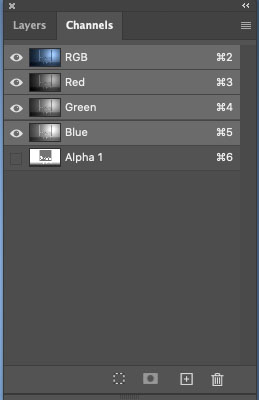
Step 21.
Create a new layer and fill with gray, just like we did in step 9.
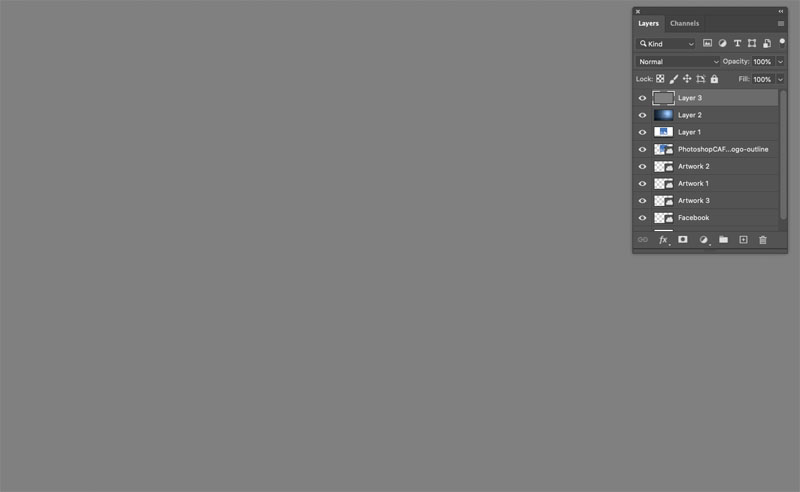
Step 22.
Choose Filter>Render>Lighting Effects
You will notice the blur creates a rounded edge. (This is actually how we made bevels before Layer styles, but don’t tell anyone I’ve been using Photoshop that long, oh wait, I started when I was 5 ;))
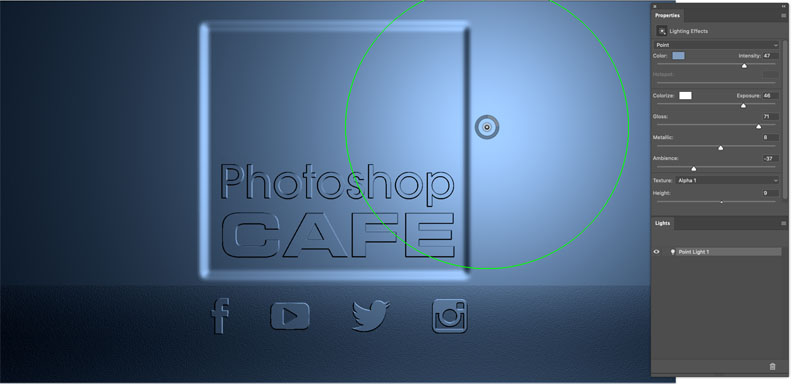
Step 23
If we reduce the Height, you can get an even softer effect.
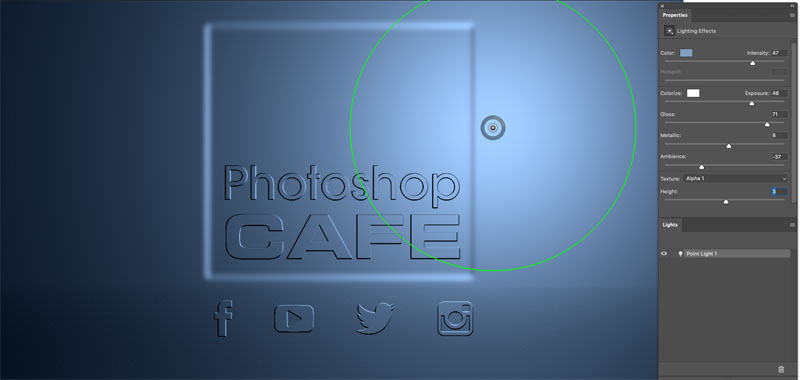
And the result.
Don’t forget to watch the video as it also shows how to hyper realistic rock effects and more.
This is part 3 of a series I’m making on Lighting effects.
If you enjoyed this please share it on social media
Great to see you here at the CAFE
Colin
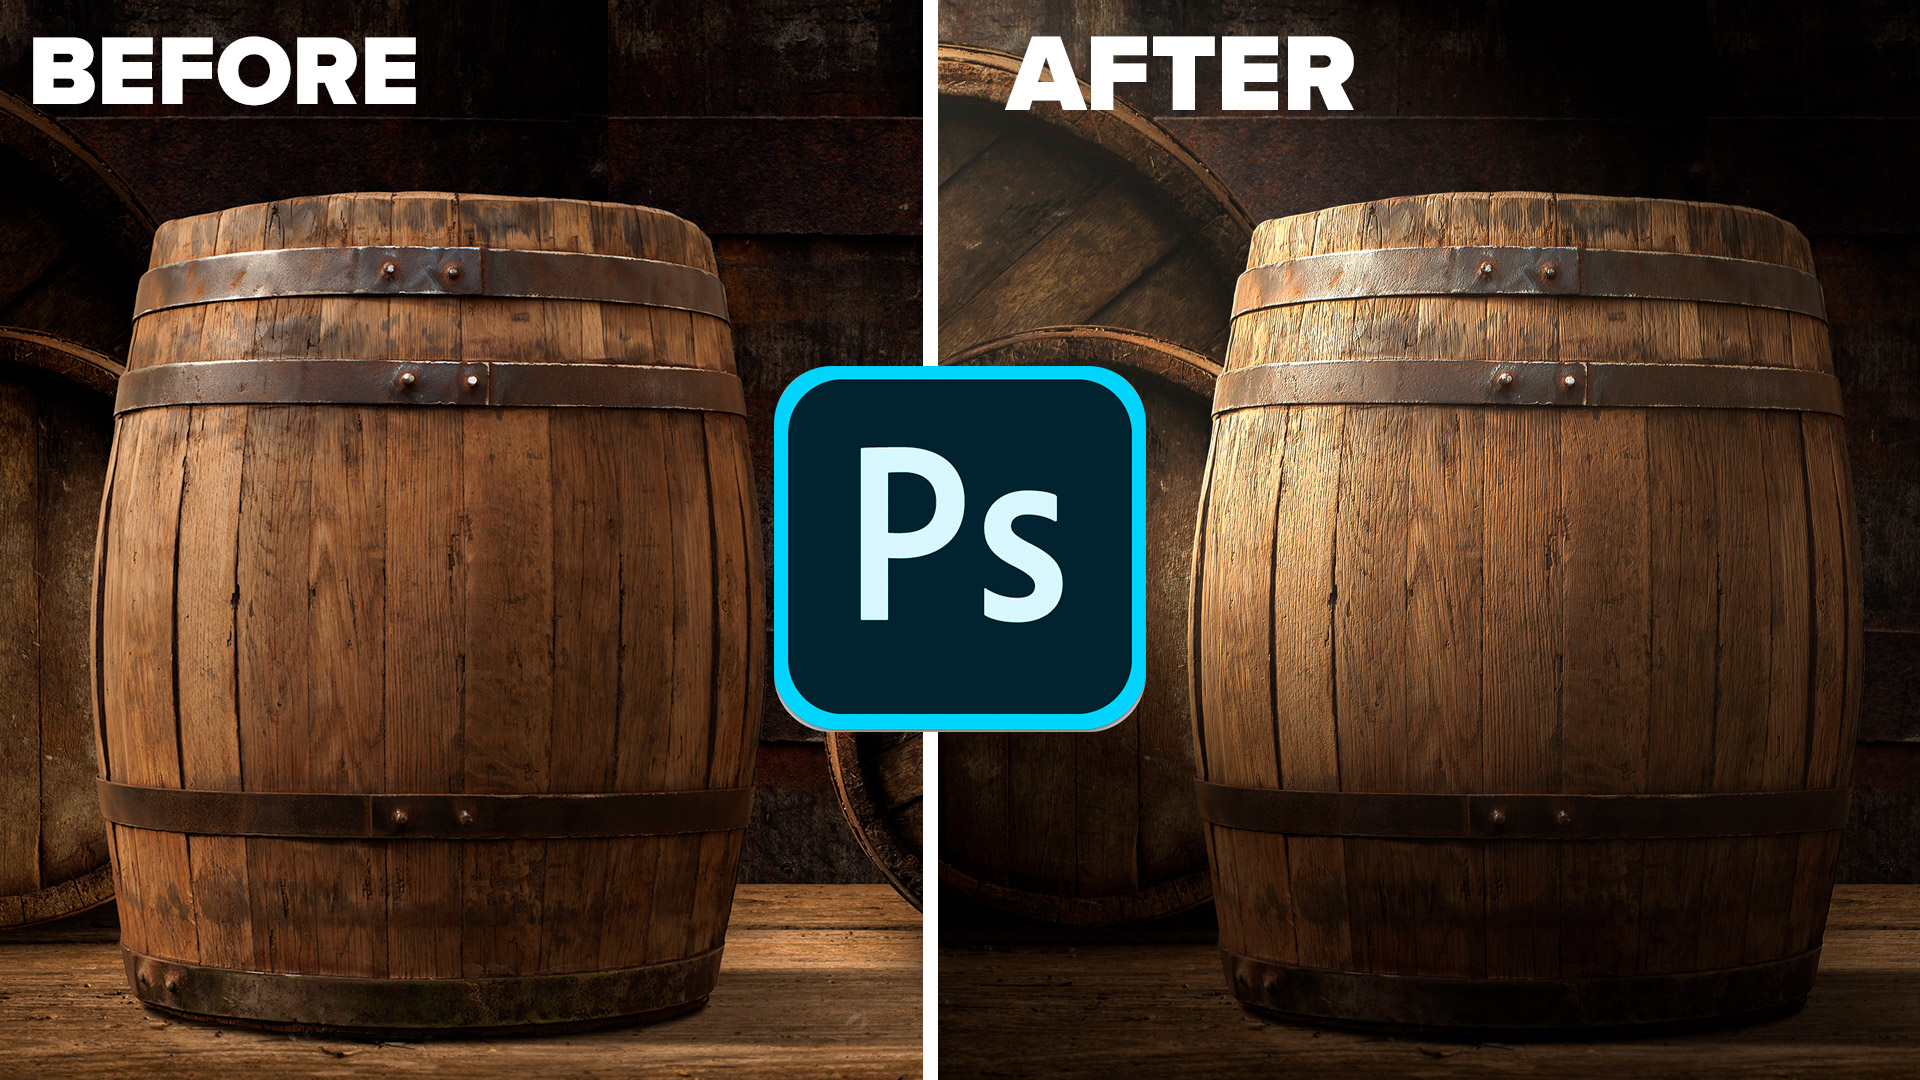
Check out part 1 here for the basics and using a color channel for texture.
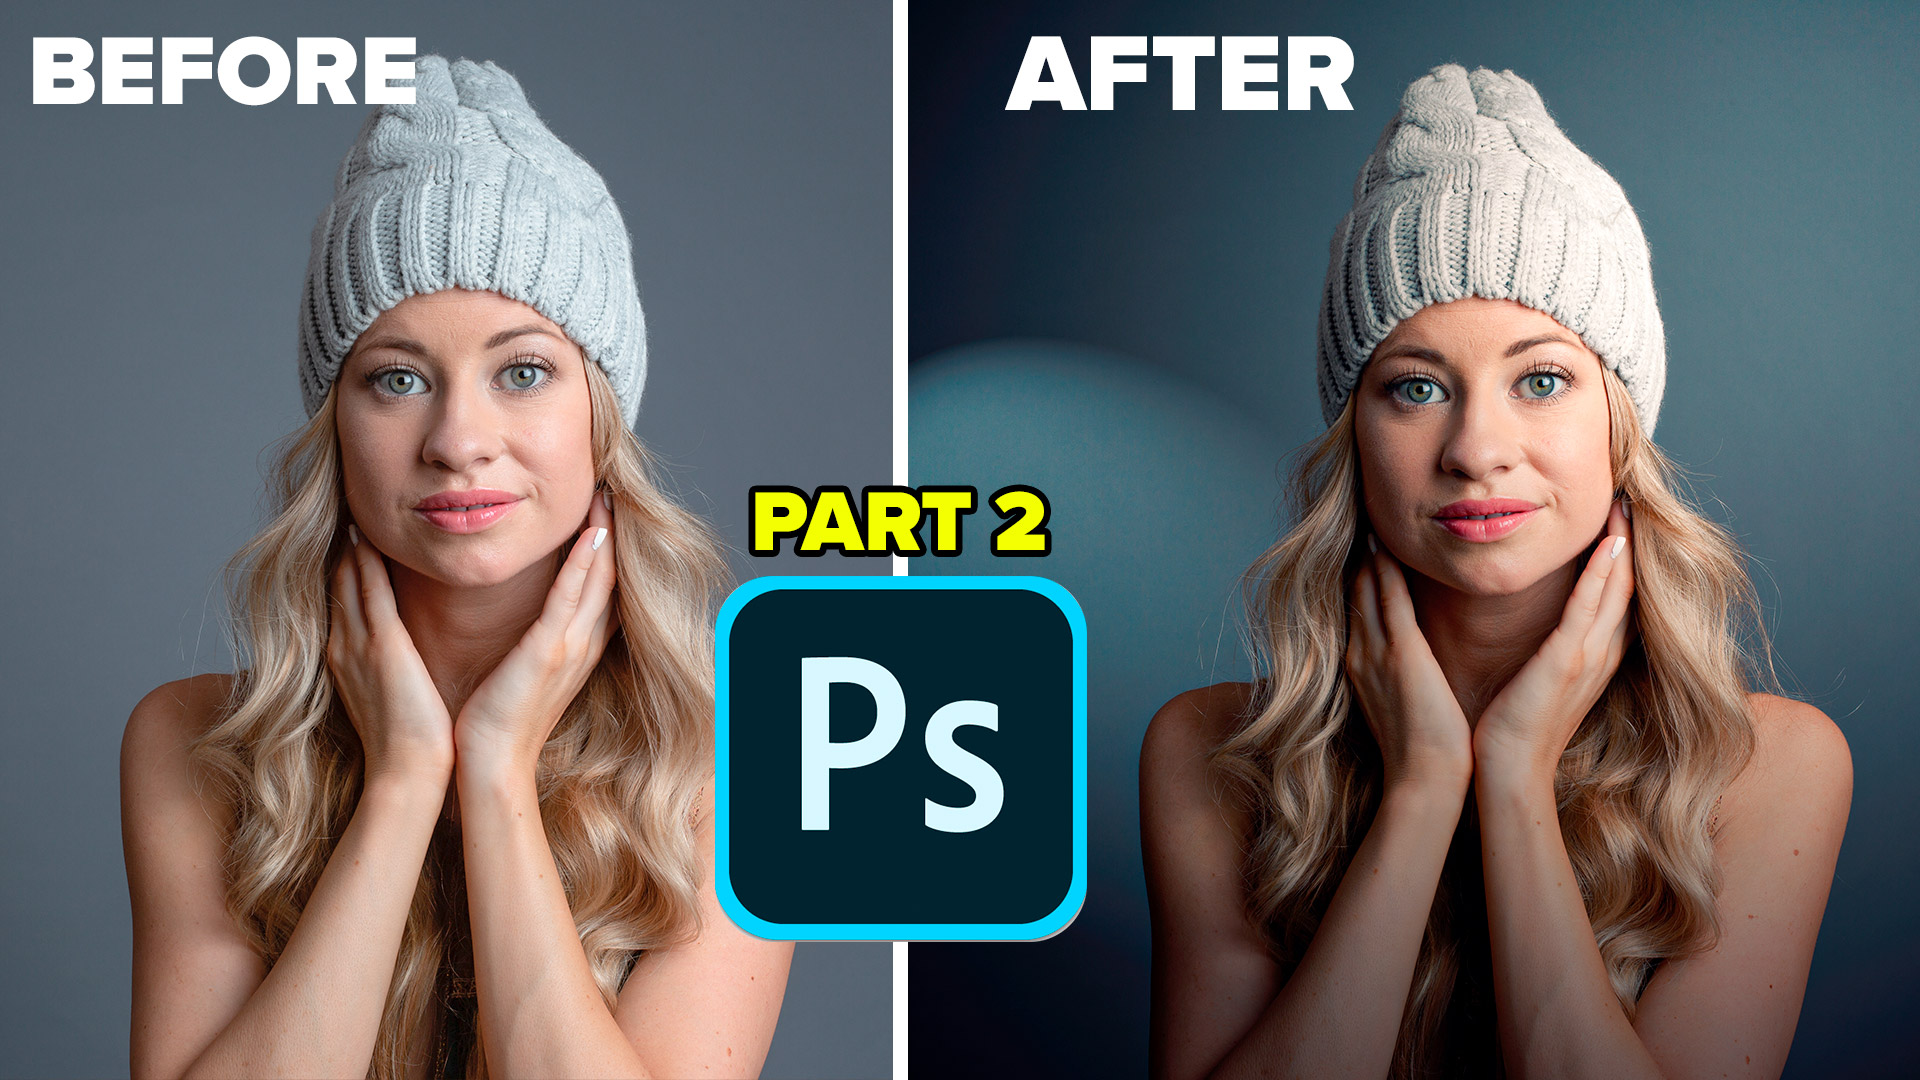
Part 2 is lighting a portrait
Browse our hundreds of other free tutorials here, or search for what you are looking for in the search at the top of the page.
Great to see you here at the CAFE,
Colin

Free for you
The Photoshop Vault
Get my free Layer Blending Modes ebook along with dozens of exclusive Photoshop goodies: actions, brushes, presets and cheat sheets.
You're on the list, so your free goodies are waiting for you in the Vault.
Get Free Photoshop Goodies Open the Vault
Keep Growing with Premium Courses
When you're ready to go deeper, Photoshop 2026 for Digital Photographers takes you through Photoshop step by step.
3 thoughts on “How to Emboss a logo or icon in Photoshop”
Leave a Reply

How to get the best layer masks of your life in Photoshop. Layer masking a better way.
How to make realistic animated rain in Photoshop. Create raindrops and make them move in Photoshop, Control the density &...

What do you do when a drop shadow isn't realistic enough? Create a cast shadow. When you see an object...






This is neat. It is going to take some practice to master this effect but should be very useful
I follow your tutorials and save them for later reference. Love your work. Bought your books. This tutorial doesn’t work with PS 25.1.0. I’m wondering if Adobe has removed critical features necessitating a different choice of tools.
Thanks, yes, they have been retiring this tool unfortunately.