
How to make a vintage Toy camera effect in Photoshop Tutorial
The Lomography toy Camera Instagram effect
I’m pretty sure that Instagram was inspired by the lo-fi (Lomography) toy cameras of the past. In this tutorial I’ll show you how to create this look and go a bit further, to reproduce an accurate toy camera effect that resembles a Holga / Diana style.
Quick History.
There were a couple of cheap plastic cameras, that really were toys made in Hong Kong. These types of cameras were so unique in their quality (or lack there of) that they had massive cult followings. People are still seeking them out.
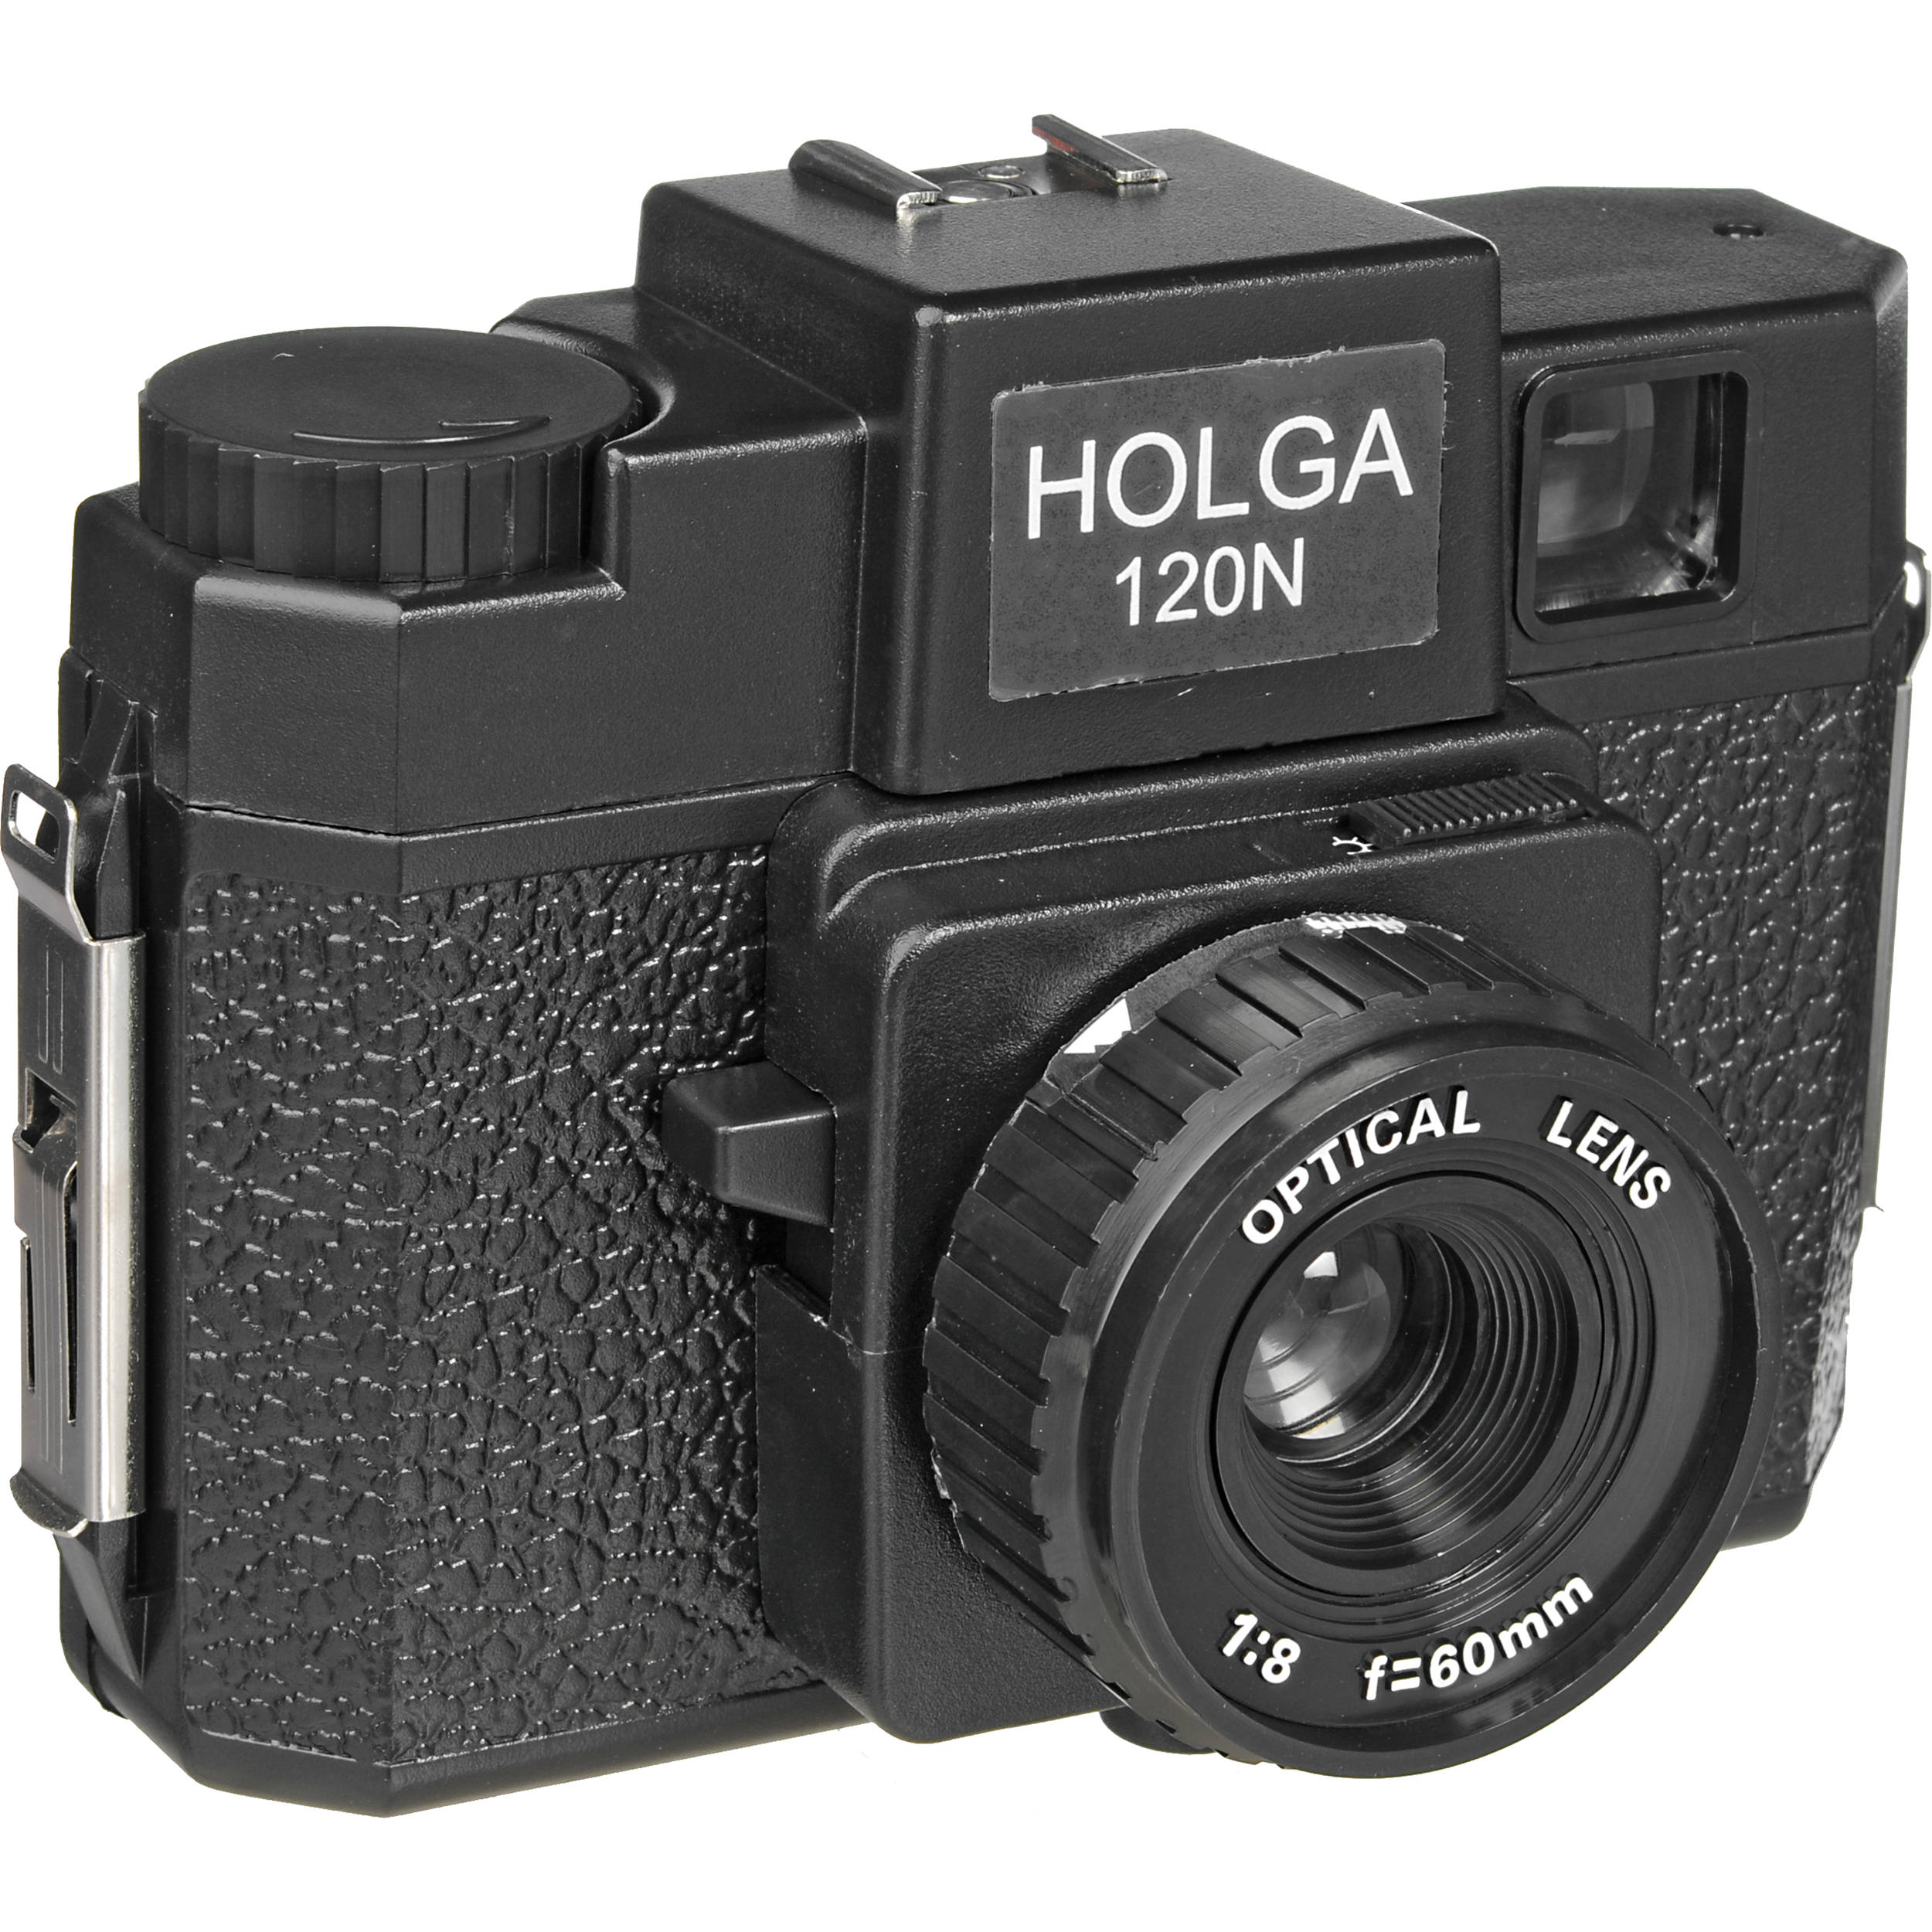
The original was the Diana, Made in Hong Kong and later surpassed by the Holga, also from Hong Kong. The Holga camera was designed by T. M. Lee in 1981. Tokina had shutdown the factory that produced Holga cameras Nov 15th 2015. There are also a number of Russian toy cameras that are popular with enthusiasts. I’ll show you how to reproduce that look now in Photoshop.
Watch the video here, and check out the written tutorial for extra info
Lomography, Toy Camera (Holga) look
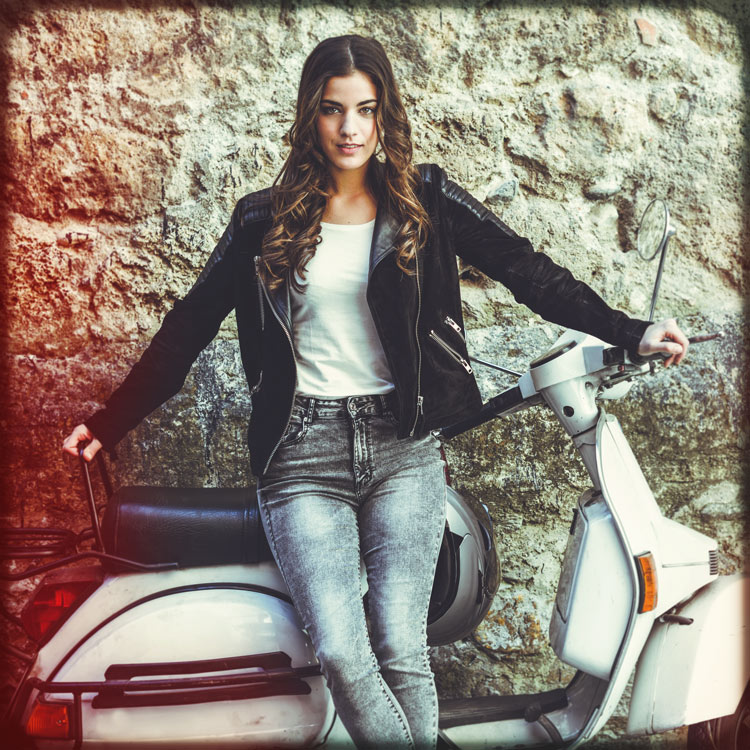
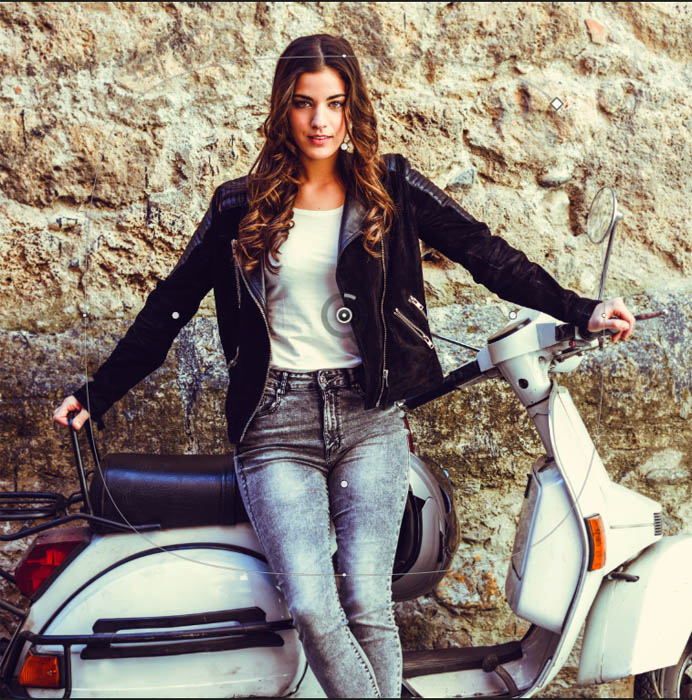
1. Start with a Photo.

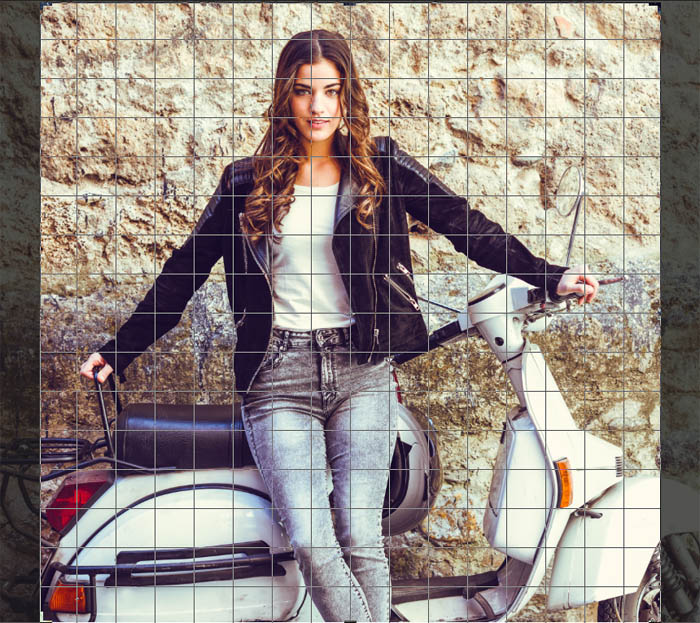
2. Crop as a square
This step is optional, but the original Diana and Holga were square formats.
Choose the crop tool and select 1:1 (and delete Cropped Pixels) from the size option at the top left
![]()
Position the square where you want to crop the photo.
Press Enter to apply the crop
3. Adding contrast
This type of camera shoots a dense photo, let’s replicate that.
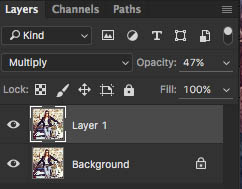
Copy the background layer (Ctrl/Cmd+J)
Change to Multiply blend mode and lower the opacity to 47% (set for your photo, they are all different)
Here is the result so far.

4. Cheapen the lens to plastic by adding a blur
There are many ways to do this, but here is the way I chose
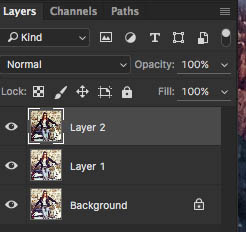
Option A: Select The 2 layers (Background and Layer 1) and combine them into 1 layer. You could merge them down if you want to do it quick, or convert to a smart object.
Option B (what I did): Select The 2 layers (Background and Layer 1) Press Cmd/Option/Shift+E (Ctrl/Alt/Shift+E on Windows). This makes a composite layer (or stamp visible if you prefer to call it that)
Choose Filter>Blur Gallery>Iris Blur
I made a very subtle blur around the edges, you could go a bit stronger if you like.
If you don’t have CS6 or Photoshop CC, just use a Gaussian blur instead.

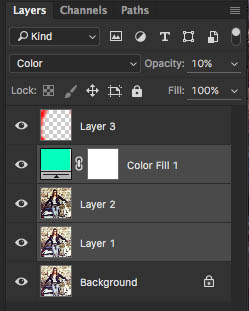
5. Add a color cast
These cameras don’t take very accurate colors, so lets add a color cast.
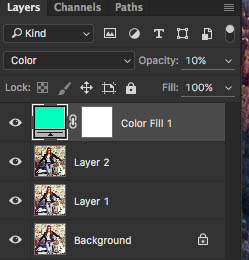
In the Adjustment layers in the Layers panel, choose Solid Color
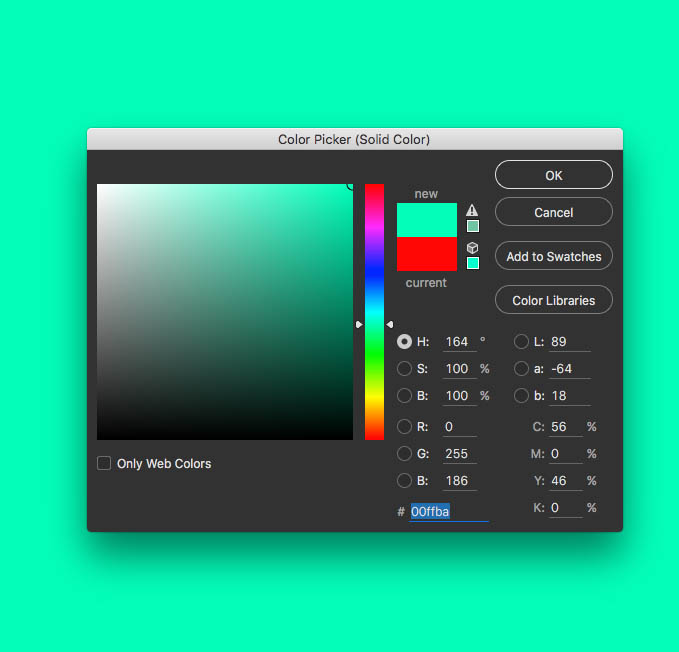
Select a bluish green color, not quite aqua, slightly more on the green side
Change to Color blend mode and drop the opacity way down. Here I used 10%
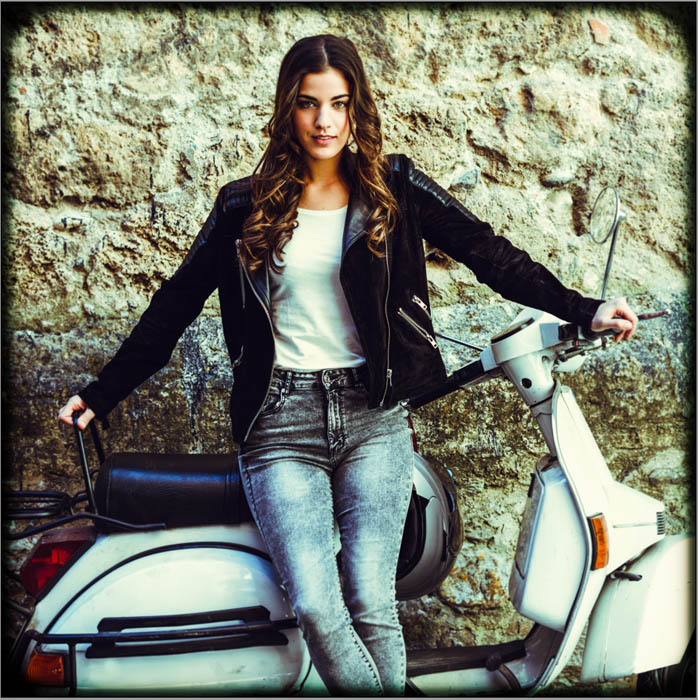
The result so far. Right now it looks very Instagram. You could actually stop here for certain effects, but for the the toy camera, we will continue.

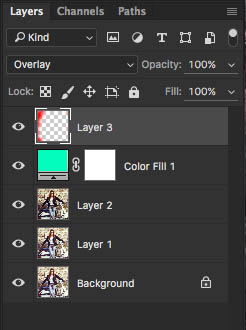
6. Adding Light Leaks in Photoshop
One of the hallmarks of the Holga was a poorly sealed back which allowed light leaks to tarnish the film. This is also one of the awesome things about it.
Create a new layer
Choose a large soft brush and set the color to red.
Paint around the edges in a random way to simulate the light leaks
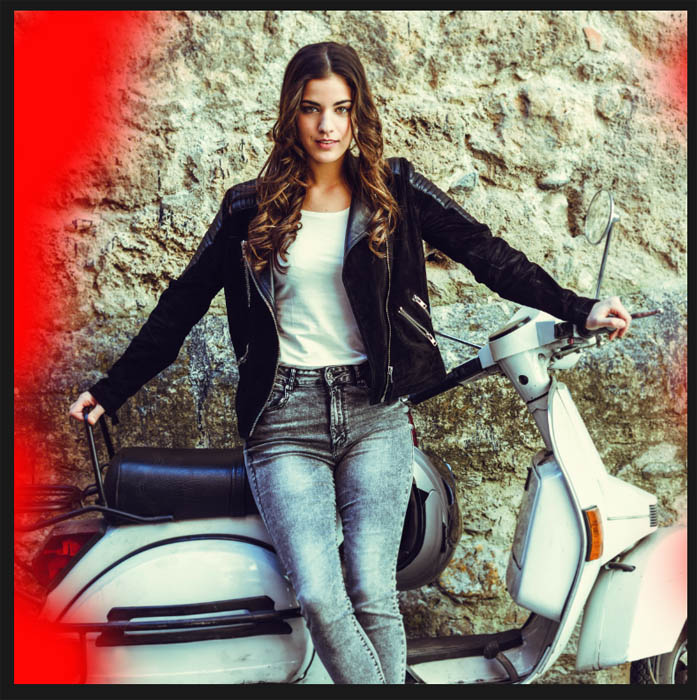
Change the blend mode to Overlay (Or soft or hard light, depending on the desired look).
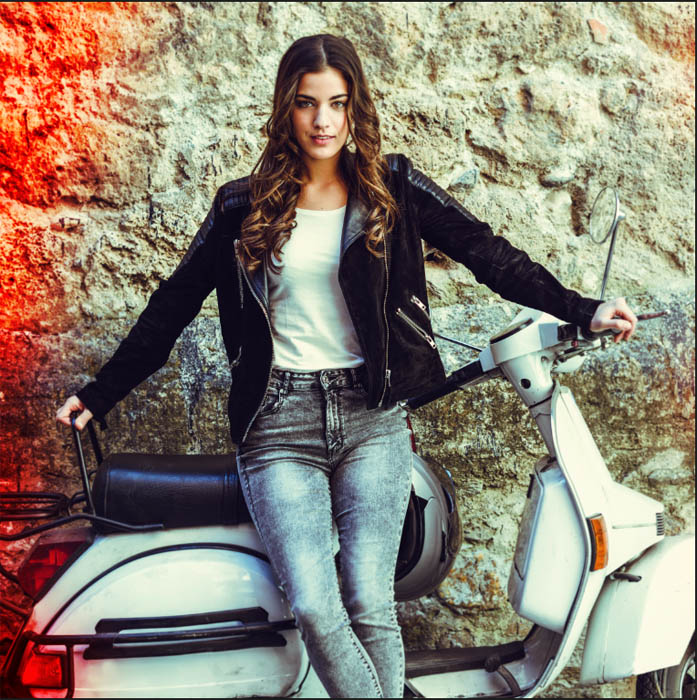
Here we have our colored light leaks. Almost there, hang on a bit longer
7. Adding a vignette
We need to add a vignette (and a couple of finishing touches) The best place to do this is in Camera Raw. (NON CC users, will need to save the image as a Tiff and then open it in Camera Raw by right clicking in Bridge. CC users follow along this next step)
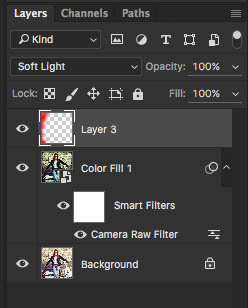
(CC) Select The working layers (Not the Light leaks layer) from the layers panel
Right click and choose “convert to Smart Object”
You will see the other layers are now nested, so we can apply a filter to them all at once.
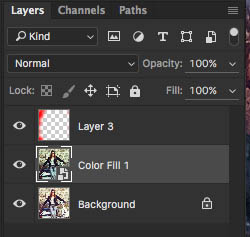
Choose Filter>Camera Raw
(NON CC users, do this from Bridge and you can now join us in the rest of the steps)
Choose the fx tab: Go to Post Crop Vignette and enter similar settings
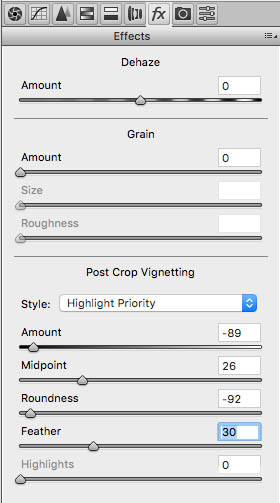
We have added a thin dark vignette around the border.
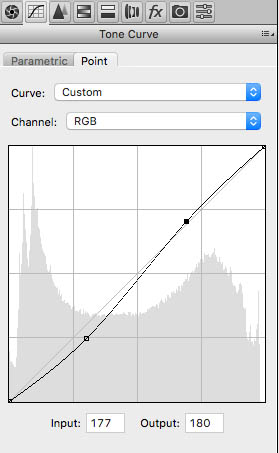
8. Final Touches
Don’t close out of Camera Raw just yet. (These next 2 steps are optional)
Under curves, add a little bit of contrast with a slight S curve as shown
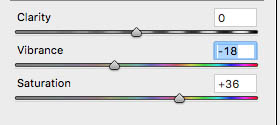
Just for a bit of color fun, increase the Saturation slightly and lower the Vibrance
Click ok to apply the changes in Camera Raw
9. Wrapping it up
Just for appearances and variety, try changing the light leaks layer to Soft Light. Depending on your photo, it may look better, try color, hard light or overlay as well. Each photo is unique and sometimes a different variation will look better.
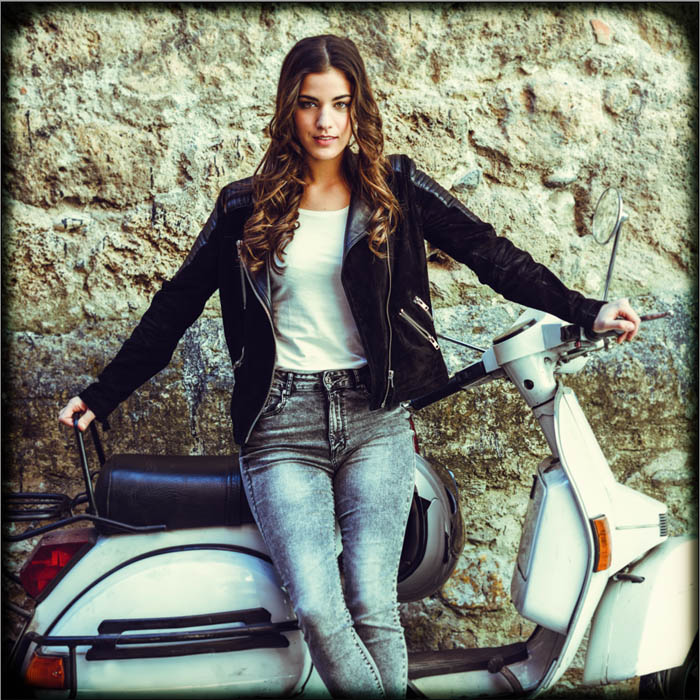
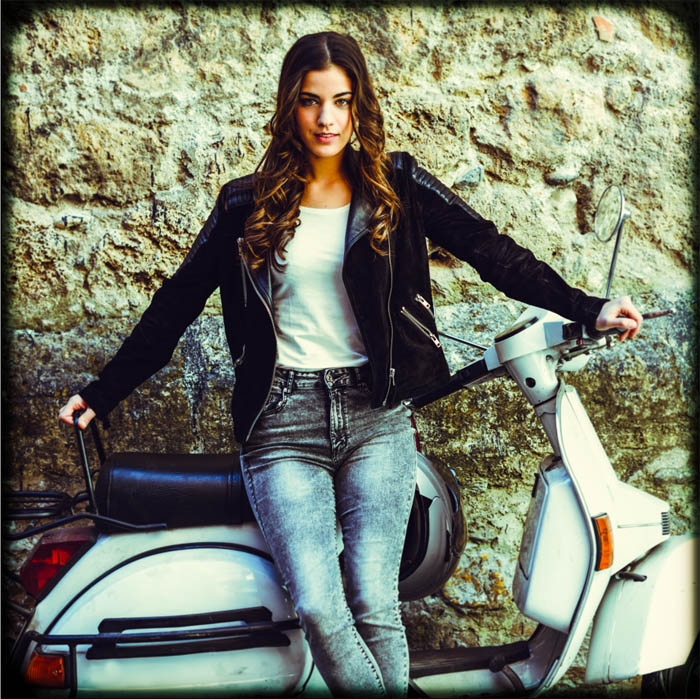
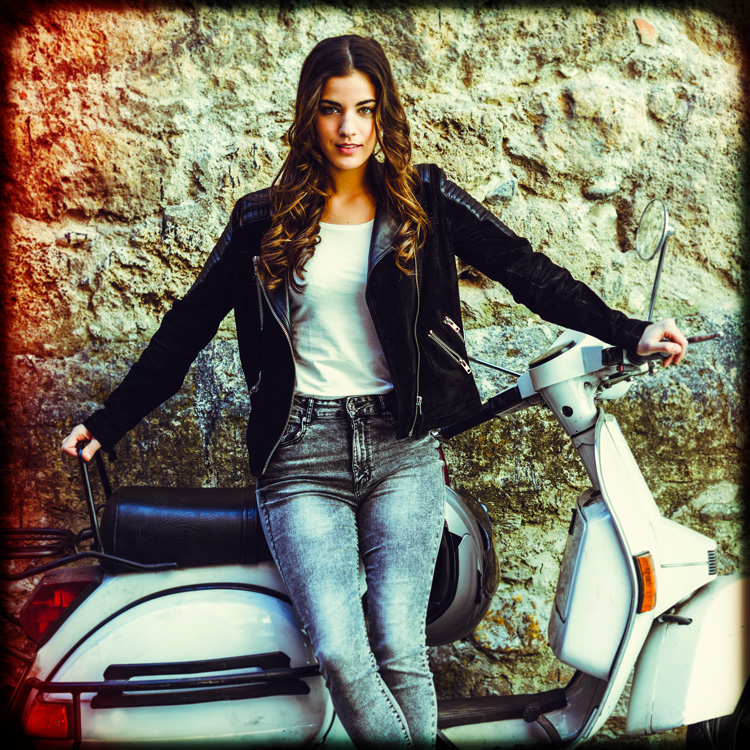
And here is the final image!
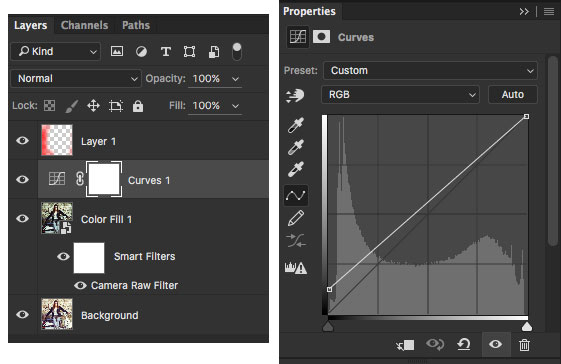
Optional: If you feel like the image is too dense (Dark) you can do this to create a variation
Create a Curves adjustment layer
In the bottom left of the curve, pull the point up a little bit to reduce the shadow density.
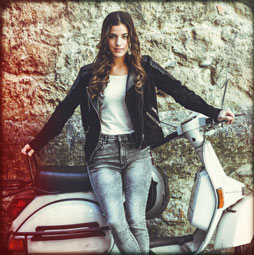
Here is the variation result.
See you next week with another new tutorial!
Colin
PS Don’t forget to follow us on Social Media for more tips.. (I've been posting some fun Instagram and Facebook Stories lately)
You can get my free Layer Blending modes ebook along with dozens of exclusive Photoshop Goodies here

One thought on “How to make a vintage Toy camera effect in Photoshop Tutorial”
Leave a Reply
How to Update Photoshop without losing anything. This tutorial shows you how to update Photoshop, what do do before updating...
Testing brand new On Device Processing for select Subject in Photoshop

Here we will learn how to get realistic mirror reflections in photoshop. This will work for any object, not just...


Thank you very much @Colin. It is an excellent tutorial. Such a camera effect tutorial is very learnable. I request you to keep creating such type of content about vector drawing or vector illustration. Thanks in advance!!!