
Turn photo into Comic Book Effect in Photoshop Tutorial Cartoon in Photoshop

How to turn a photo of a person into a comic book in Photoshop
A really fun effect, is when we turn a photo into a comic book illustration. There are many different ways to do this and I have other alternative tutorials here at the CAFE. I saw the Spider-man Into the Spider-verse movie and liked the effect there. Here are really easy steps where you can get a similar result. Watch the video for detailed instructions and use the written steps for quick reference. Bookmark and share this tutorial!
The picture used come from Adobe Stock, you can grab it here.
How to turn a photo into a comic book illustration, easy written steps.
Step 1
Start with a photo that has a clean background, use this tutorial to clean up the background if you need to and replace it with a solid color.

Step 2
Duplicate the layer by pressing Cmd/Ctrl+J
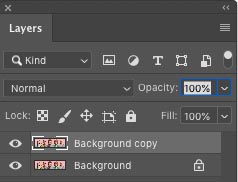
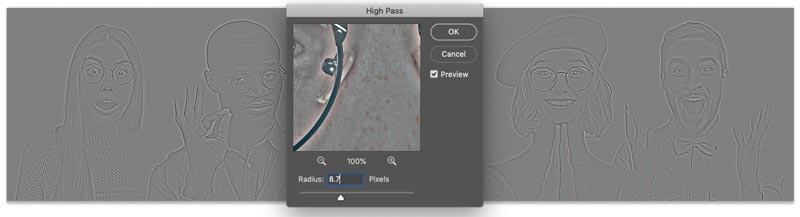
Step 3
Choose Filter>Other>High Pass
Adjust until you see an outline. 8.7 in this case.
Click Ok
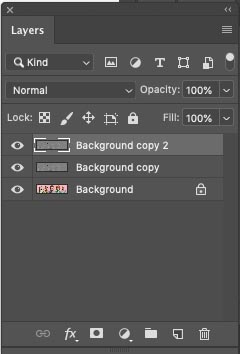
Step 4
Duplicate the Layer (Ctrl/Cmd+J)
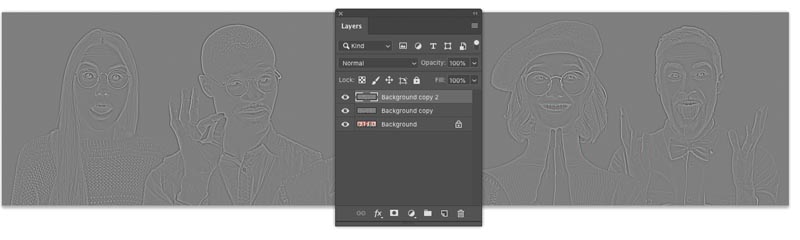
Step 5
Invert the top layer (Ctrl/Cmd+I)
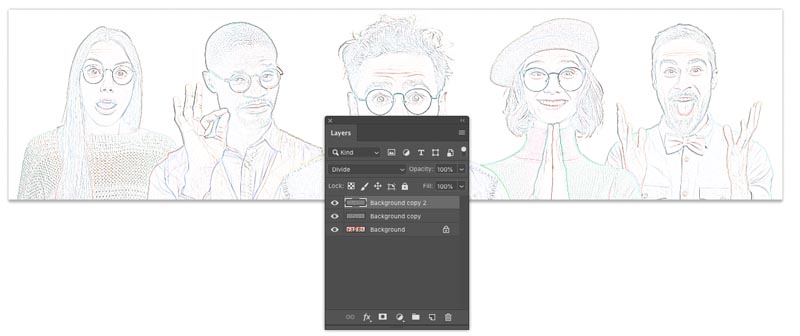
Step 6
Change to Divide Blending mode. You should see something that’s starting to look like pencil sketch. (Free Blending Mode ebook here– over 1,000,000 downloads so far!)
Step 7
Merge the 2 top layers. Here is how…
Hold Shift and click on the second layer, so that the 2 top layers are selected.
Press Cmd/Ctrl+E to Merge the 2 top layers.
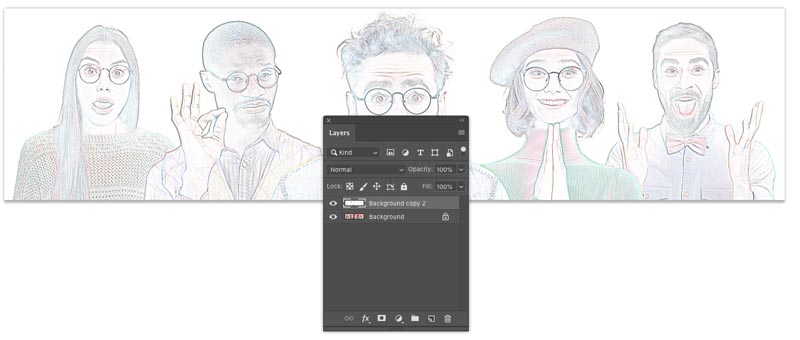
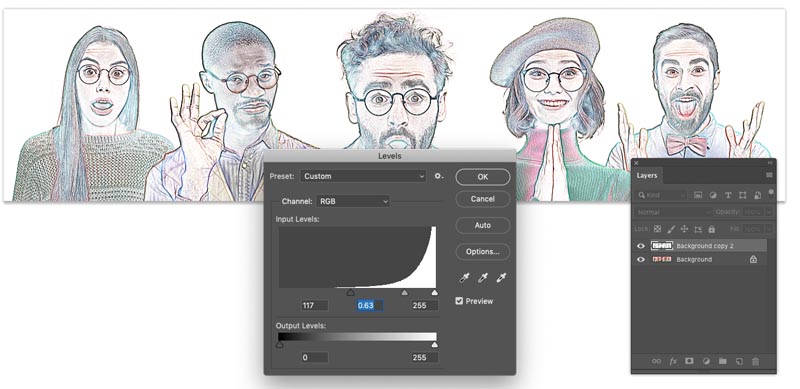
Step 8. Squeezing the details.
Press Cmd/Ctrl+L for Levels. (Or create a Levels adjustment layer)
Slide the black slider to the left until is hits the white area of the histogram (117)
Move the gray, mid tone slider to the right until the image looks like below. (.63)
Click ok
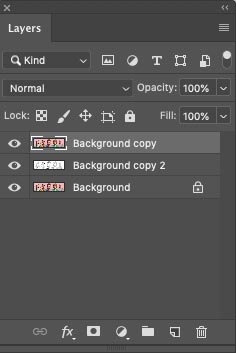
Step 9
Duplicate the background (Ctrl/Cmd+J) Drag the new duplicated layer to the top of the layers panel
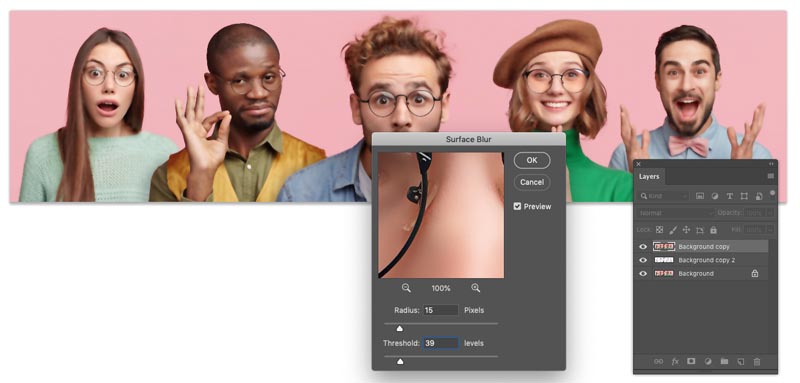
Step 10
Choose Filter>Blur>Surface Blur
I chose: Radius 15 / Threshold 39 (Your settings may vary if you are using different resolution images)
We are looking for a nice smooth look to the surface color and texture and still keeping outline detail.
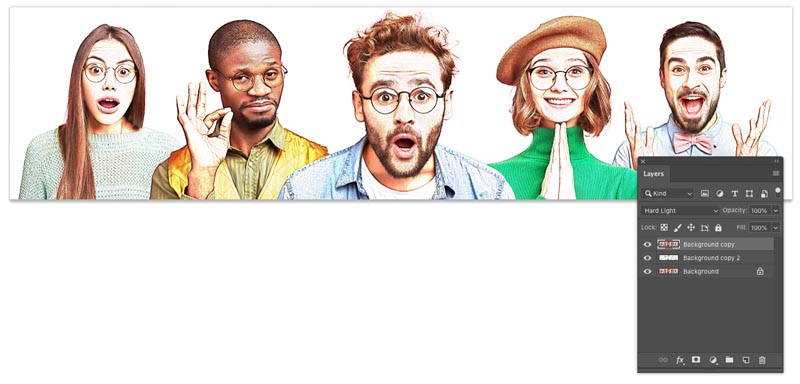
Step 11
Now we have options, depending on the result you want.
My preferred option is to choose Hard Light mode, by changing the where it says Normal in the Layers panel
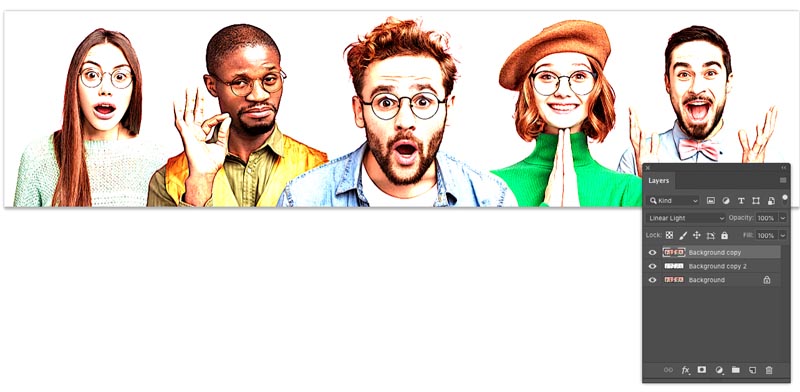
This is what it looks like in Linear Light mode
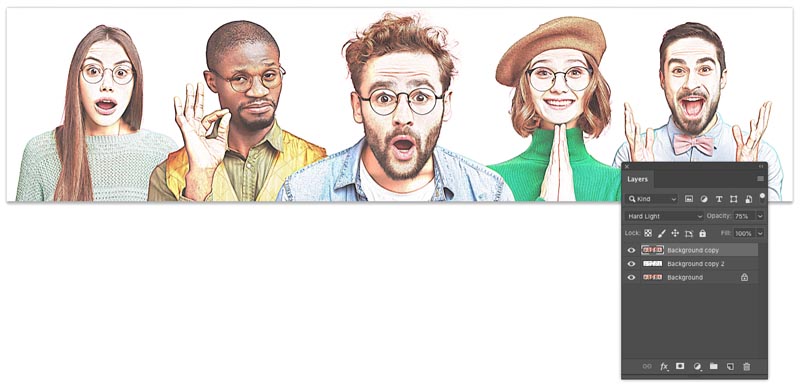
Optional Step: Variations of the style
If you like, you can adjust the opacity for a variation
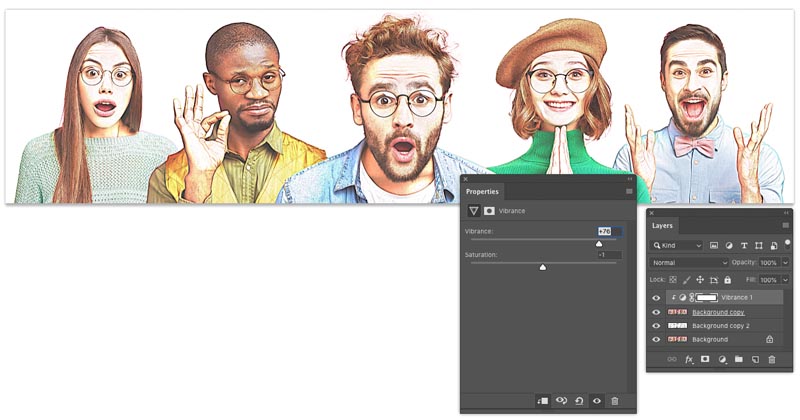
Also consider adding a Vibrance adjustment layer to boost the colors.
And, that’s it! I hope you enjoyed this weeks tutorial here at the CAFE!
Drop a comment and see you next week!
Colin
PS, remember, create, don’t steal
Be social with Colin And PhotoshopCAFE
► INSTAGRAM:
► YOUTUBE
► FACEBOOK:
► TWITTER:
PS Don’t forget to follow us on Social Media for more tips.. (I've been posting some fun Instagram and Facebook Stories lately)
You can get my free Layer Blending modes ebook along with dozens of exclusive Photoshop Goodies here

29 thoughts on “Turn photo into Comic Book Effect in Photoshop Tutorial Cartoon in Photoshop”
Leave a Reply
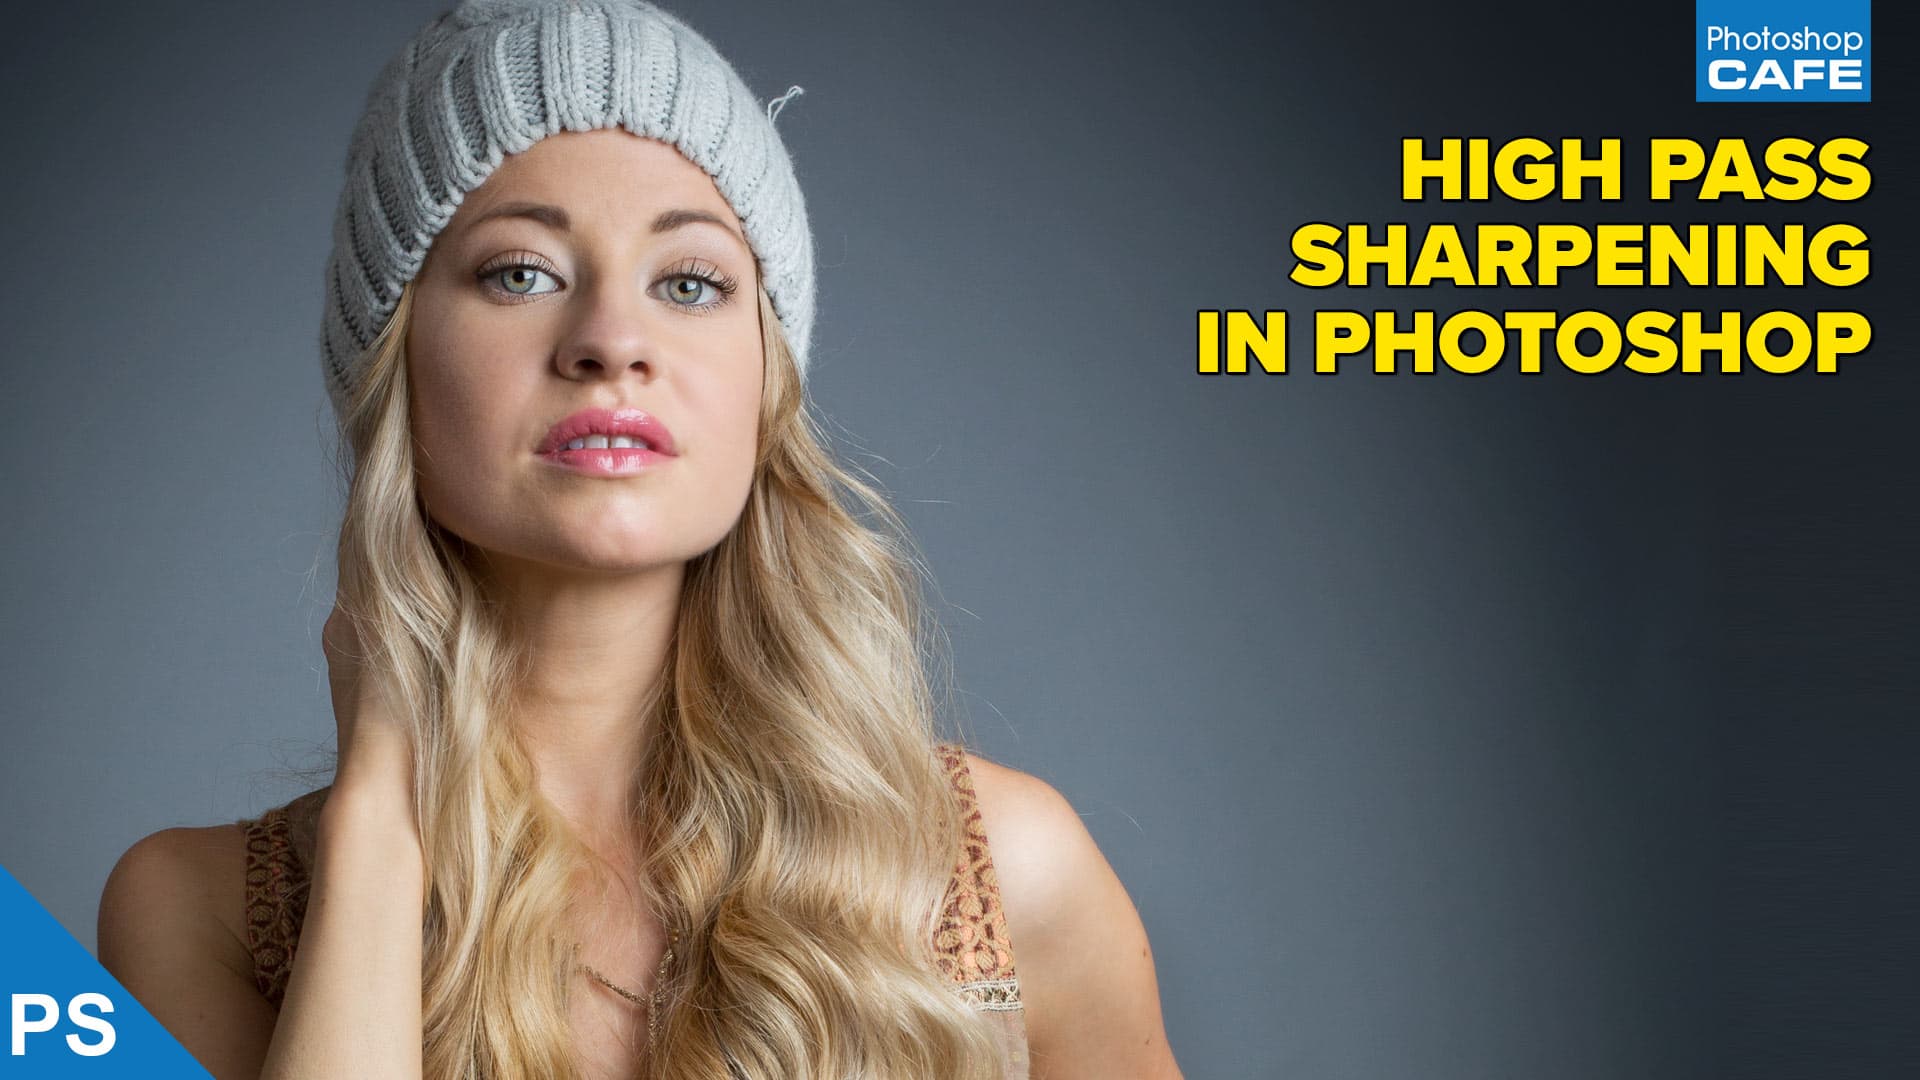
How to use High Pass sharpen in Photoshop. The best way to selectively sharpen photos in Photoshop. This tutorial shows...

You are able to work with merged HDR images in ACR and Lightroom , meaning that you have a lot...
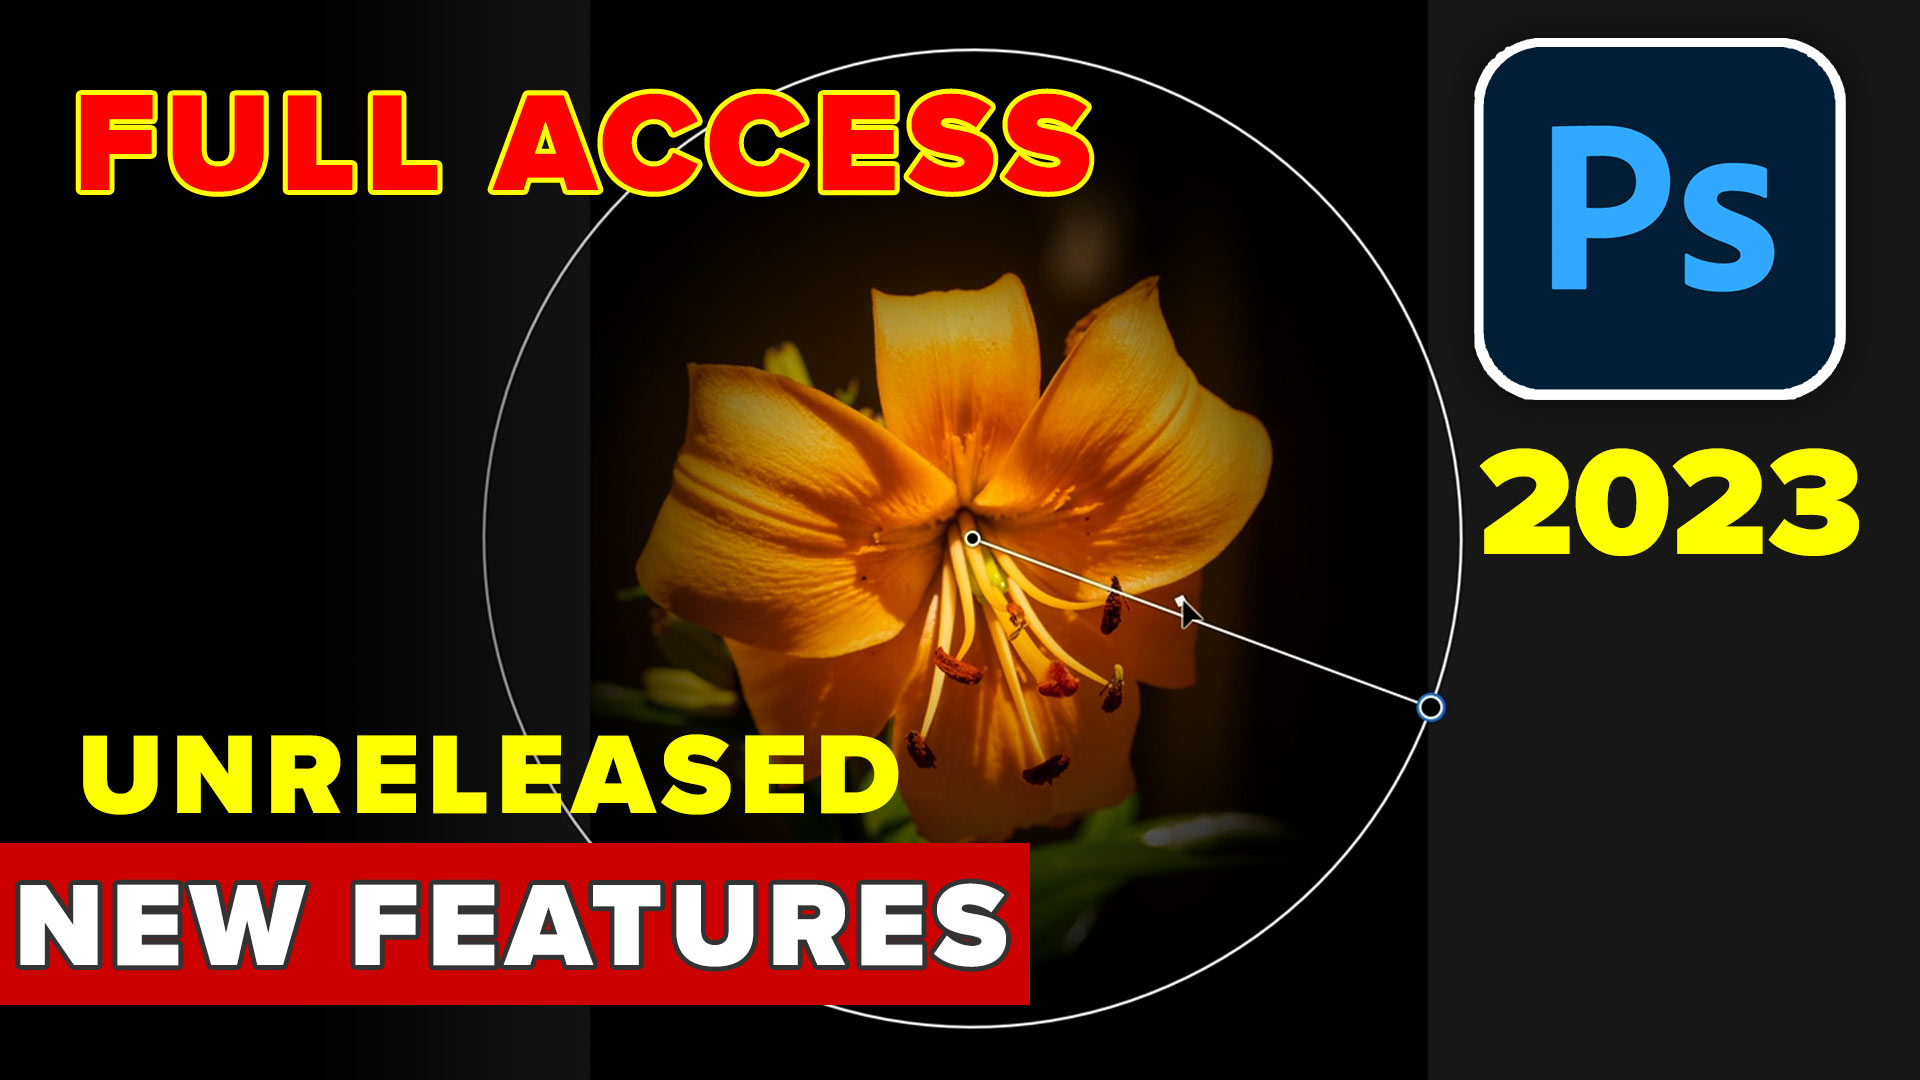
Hidden new features in Photoshop 2023, how to use them and how to get access


So fun! I will need to try this… Thank you, Colin!
what happens in the optional (opacity) step if I don’t lie? (you can delete this after you see the typo).
Thanks for the heads-up, Im terrible at tipying 😉
Super cool, learned new skill. Grateful for all the great content.
Creative technique to turn photos a person into a comic book in photoshop. You are so creative.
I’ve seen a few variations on this effect over the years but this method seems to produce the coolest results. Kudos!
Would welcome an explanation from Adobe why the appearance of the merged blend modes changes… that’s not supposed to happen, right?
Hey, where there are “bugs” and you can use them to your advantage, I say go for it 🙂
Thank you Colin, as usual, your class is again so useful! I do enjoy its simplicity and great result!
Tutorial sucked. Did you even follow your own directions. I used your picture and nothing was right.
Can you give me more specifics?
I got confused at the Invert the top layer step 5. I am using CS6 but when I click invert nothing happens. It has always been my experience that something must be selected to invert but you don’t say what to invert.
Loved how creative and fun this can make photos. I’m sure I’m missing something but woudl love the feedback. Thanks!
Click on the layer as shown in the screen capture and then press Ctrl+I and it will be inverted
I had problems with how to merge the layers
I am having trouble with step 7.
My outcomes are not upto the mark.
I am following the steps right
I am unsure about
the measurements though in
high pass
Adjustment
and finally Surface Blur
Could you help me with the same file I worked on?
I take photos of people at museums photographing the art. I’d like to make part of the photo cartoonish but not all of it. Will your method work with part of the photo? I haven’t tried it yet.
yes, just use a layer mask to apply it where its needed
nice one
Hi looks easy and great results but I am stuck on the blending mode part! At part 6 I should change the blending mode to divide, I don’t appear to have that . Any help gratefully received! Thank you
I Loved the comic book tutorial! I was wondering if you could do an off-shoot of this tutorial to make custom emojis for use on a smartphone for text and email messages? I guess that could also apply for using them on Facebook. I’m not sure what format they would have to be in or how to import them into the smartphone.
This was great. thank you.
Thanks, this was fun!!
Hi, thanks for the tutorial but I’m stuck at step 6 because I’m not seeing ‘divide’ in the drop down menu? Please help!
Sorry! I just found ‘divide’ in the drop down menu. DOH!
Again, thank you for this fun tutorial! I loved the results.
Using CS3 … doesn’t seem to be a divide mode. Where to go from there?
There isn’t, just got with the main tutorial and skip that optional step
Hi Colin, can this method be used on an iPad (with keyboard) or is it just desktops
If those blending modes are present, then yes
This is brilliant . I just used it on a photo of my granddaughters and they will love it. Thank you.