
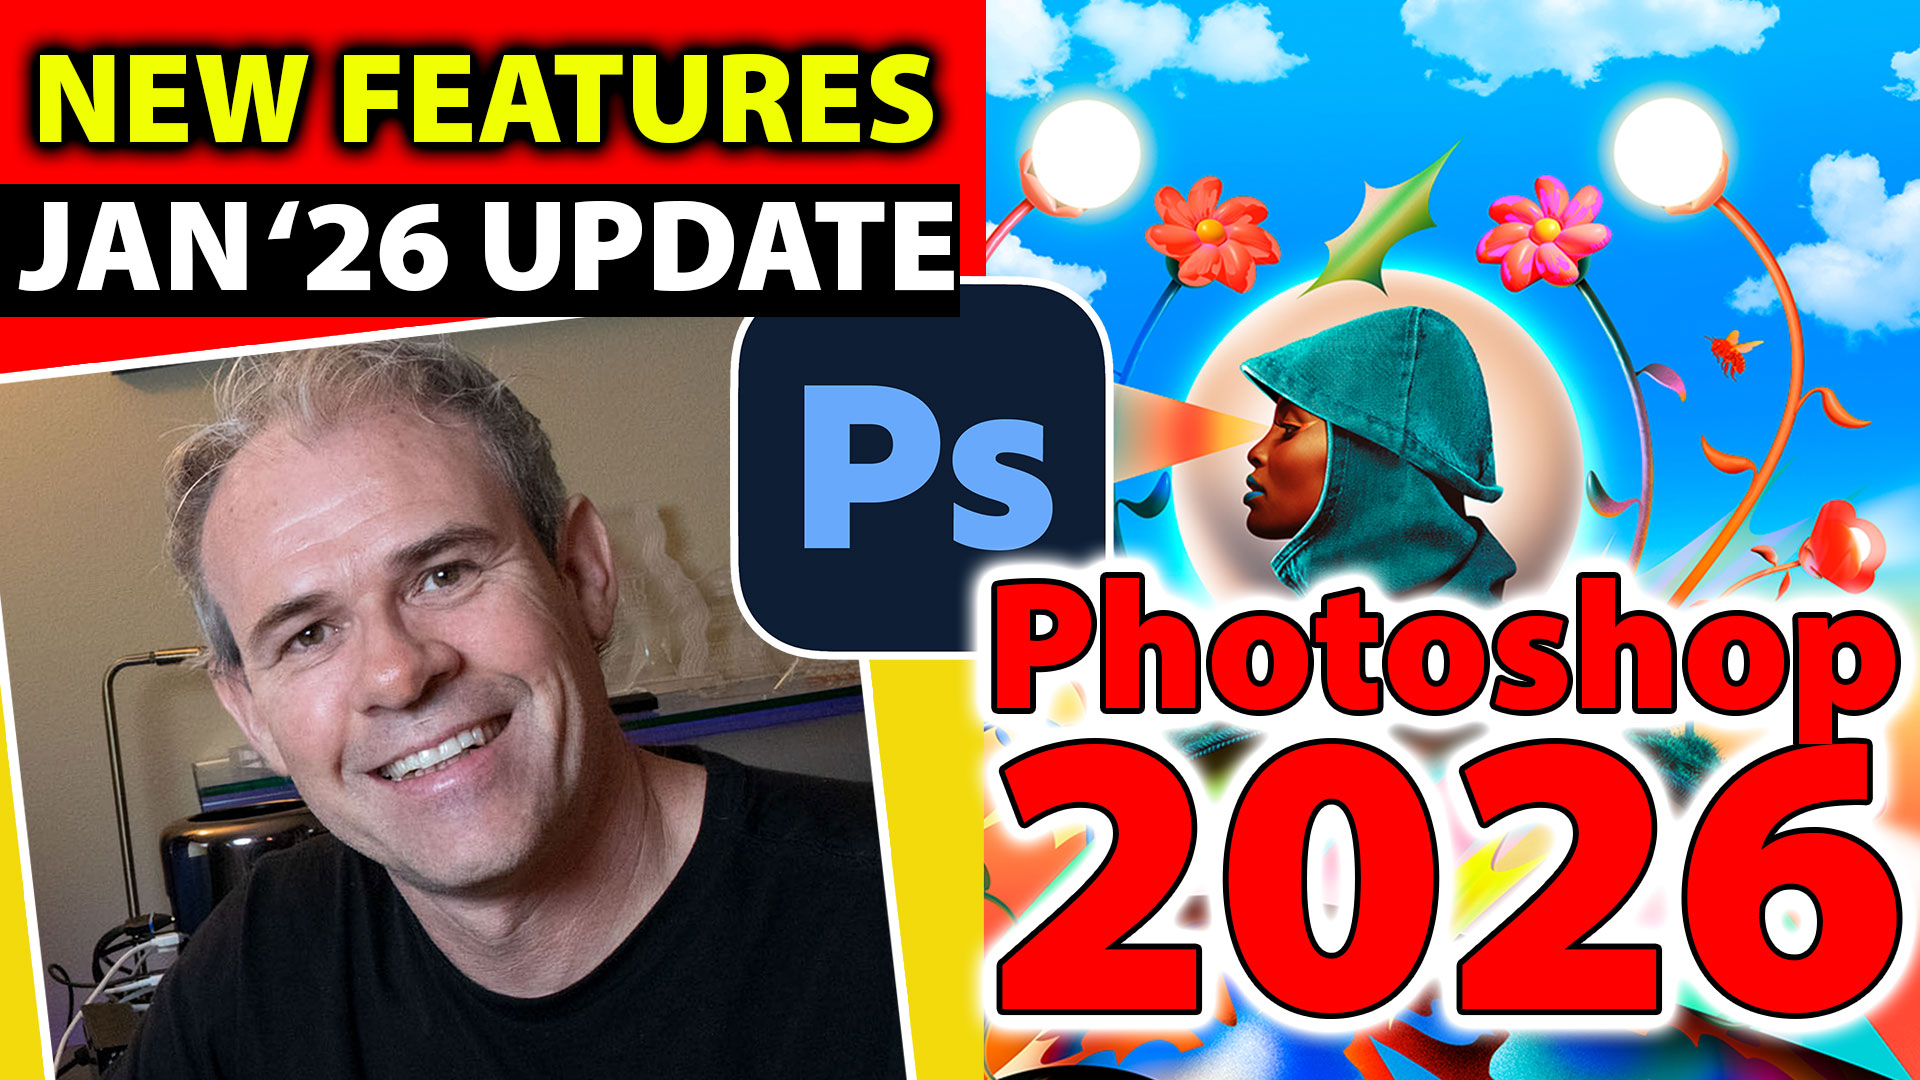
New Features in Photoshop 2026 Jan 26 update
What’s new in Photoshop Jan 2026?
Adobe drops updates to Photoshop on a regular basis, but 4 times a year, there are bigger updates. If you want to see a catalog of all the updates, check out our PhotoshopCAFE new Features learning center here. This is the first such update and there are 5 main new features, based on Adjustment layers and new ai features.
Let’s dig in.
Where did that Photoshop update go? I don’t see it.
Every time there’s a new update, I get comments from people who say they can’t see the update.
How to update, if you don’t see update!
- Go to Creative Cloud Desktop app
- Click on Apps on the left, or Updates on the right.
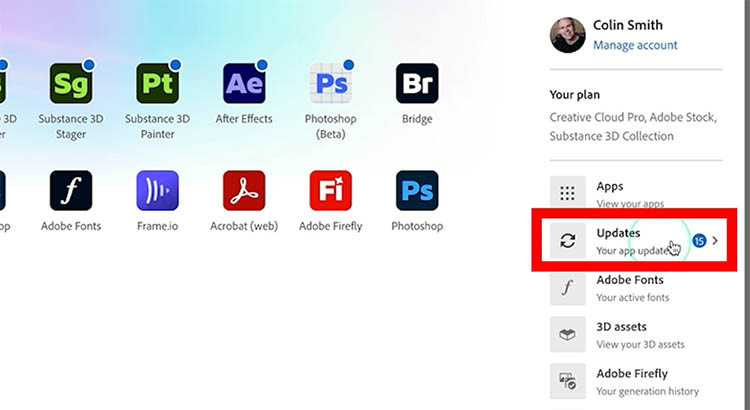
3. Ignore the new updates for now, click on “Check for updates in the top right” this ensures that it pings the server and populates with the latest updates. (this is the reason most people don’t see the update)

4. Click update next to Photoshop
New Features: New Adjustment Layers
There are 2 new adjustment layers with 3 new adjustments. These adjustment layers, all made their was from Lightroom and Camera RAW. There are several advantages in having these right in Photoshop.
The first new Adjustment Layer Clarity and Dehaze, I have also ready done an in-depth tutorial,, when it was recently in beta, so I won’t go in-depth here. Now it’s in Photoshop General Release.
When we are working on layers, we can apply the adjustment to certain layers. We don’t have this flexibility in Camera RAW.
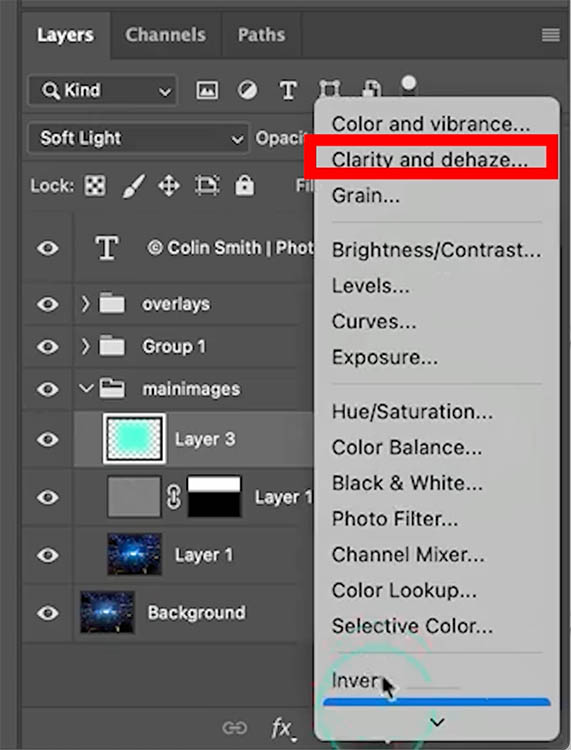
Choose the layer where you want to apply the adjustment.
In the Layers panel, click on the Adjustment layer icon (the split dark and light circle).
Choose Clarity and Dehaze.
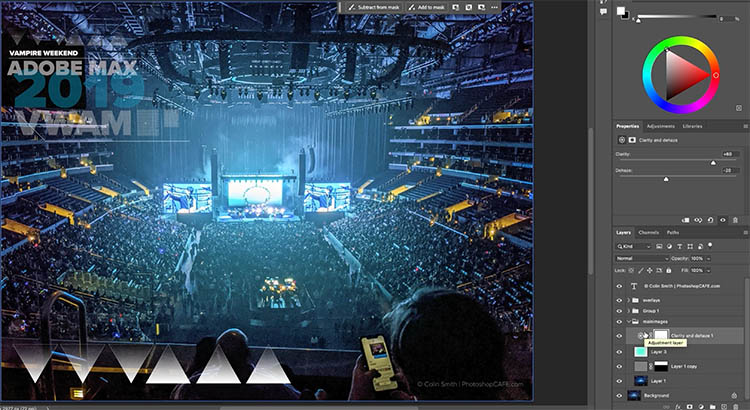
You can make adjustments to the layers, that you could previously only make in Camera Raw or Lightroom.
Clarity increases the midtown contrast and makes the image look crisper. Dehaze removes glare and haze, or adds it if you move the slider the opposite way. See how they work here.
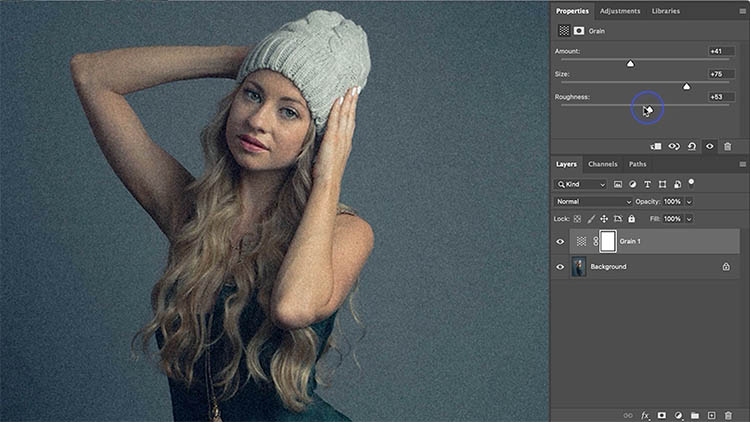
Grain Adjustment Layer
Grain is useful for matching the grain when compositing images together, or matching the texture of areas that have been changed by ai or the remove tool. It’s also a popular effect when emulating a film look or even as a special effect.
There are many benefits to having grain as a separate adjustment layer. We can add grain to give a filmic look and use blending modes and transparency.
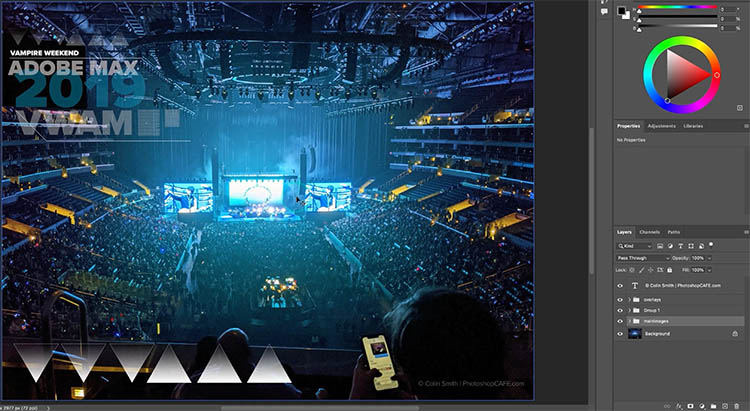
Here’s one of my photos that I gave a color grade to. Maybe we want grain to complete the film like look

Add the Grain adjustment layer. Make the adjustments to add the grain.
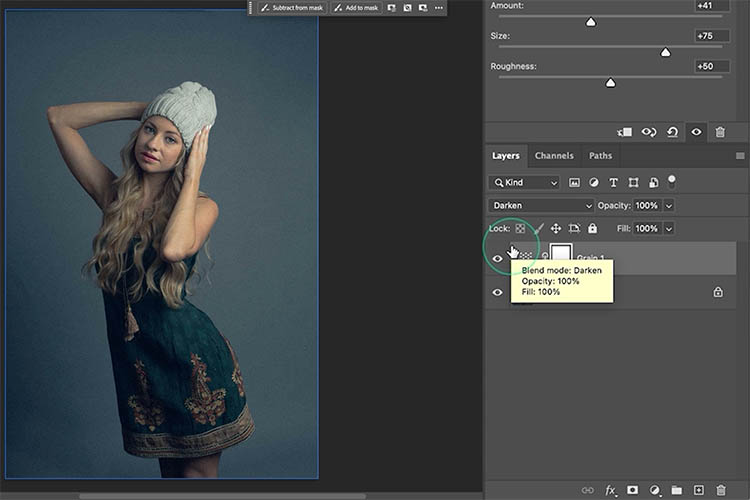
If you change the layer blending mode, you can get some interesting results. For example, darken blending mode will hide all the light speckles and only show the dark ones.
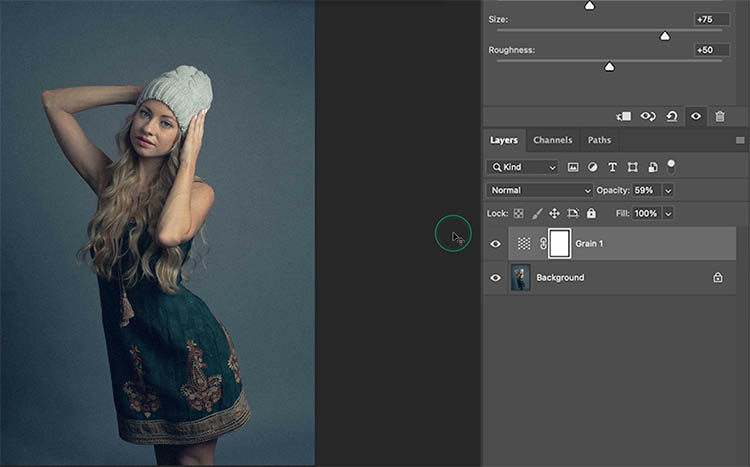
You can also adjust the Opacity to dial back the intensity of the grain.
New Firefly features
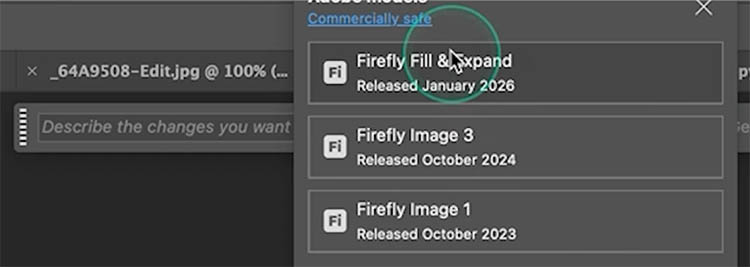
There is a new Firefly model called the Firefly Fill/Expand Model: according to Adobe is has Better edges, higher resolution and better people generation.
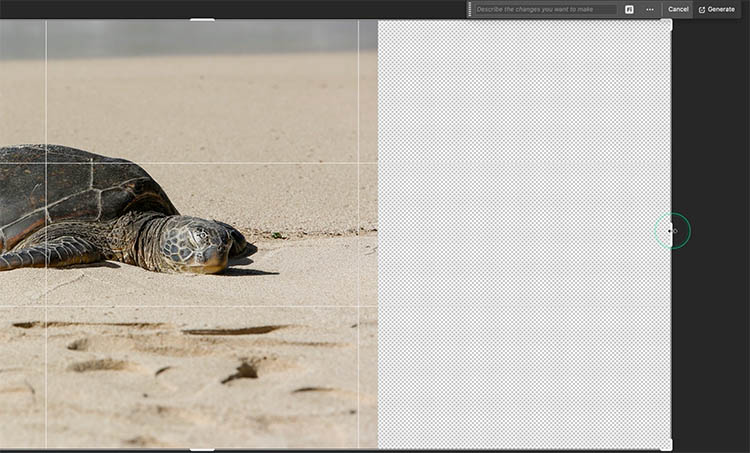
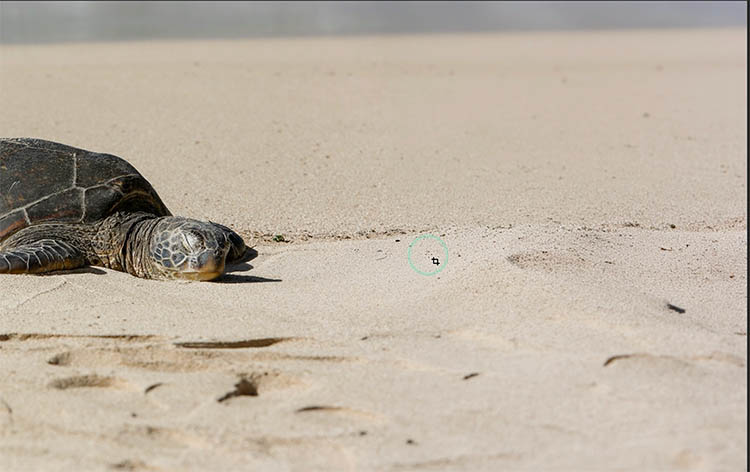
Let’s start with extend, Let’s extend this turtle photo I shot on one of my Hawaii trips.
Choose the Crop tool. In the options bar, change Transparent to Generative Expand.
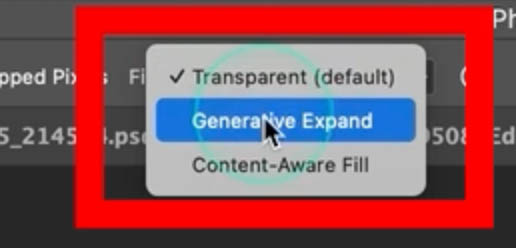
Drag on the end with the crop tool and expand it. This is Outcropping.
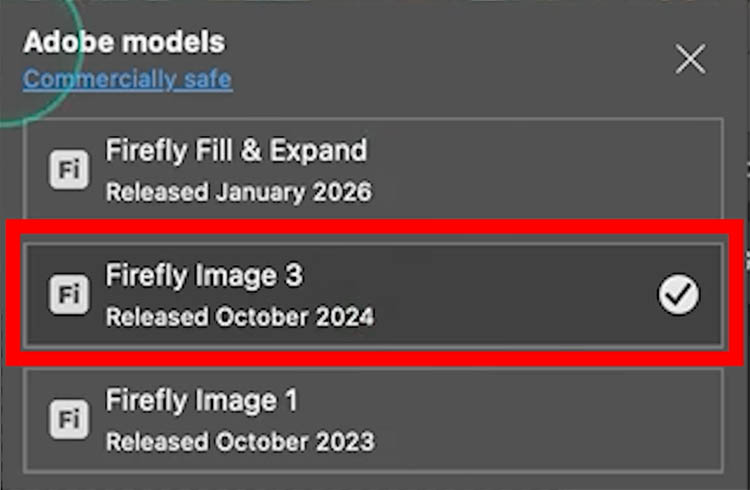
Before applying the crop, lets set the Firefly model
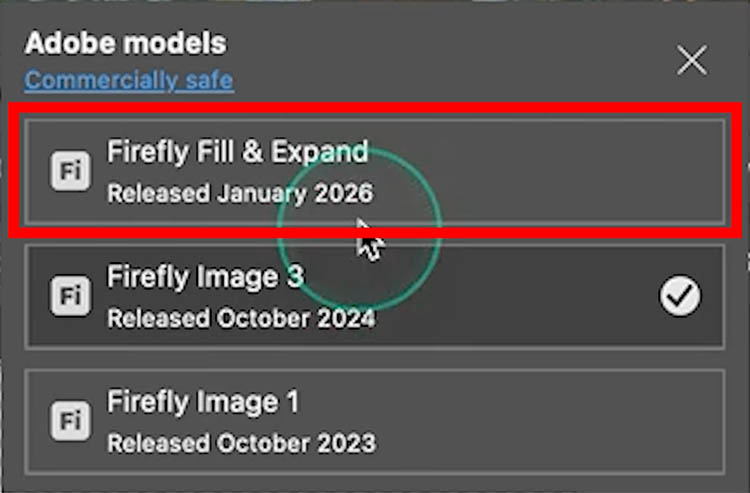
In the Task Bar, click on the Fi logo.

This is where you change the ai models. Let’s start with Image 3 (Previous model), so that you can see the difference.
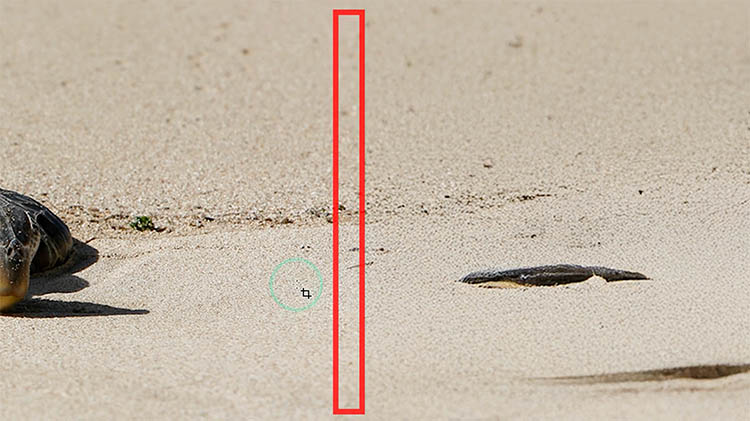
Press the checkmark, or Enter on your keyboard to apply the crop. This Generates the new pixels.
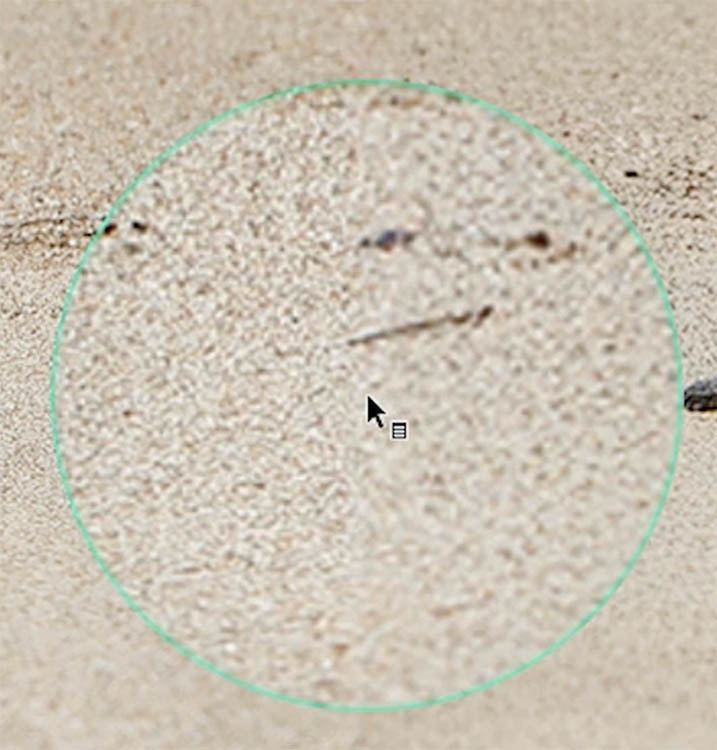
Notice the mismatch of the sand texture, this is because of the 1k resolution limit. 1024px x 1024px
Now we extend it with new Fill/Expand model.
Once again, out-crop the edge of the image.
Click on the Model picker, as before. This time choose Firefly Fill and Expand.
apply the crop and notice it matches much better.
Resolution! For most cases, it now works in 2k 2024 x 2024 px. instead of 1k.
Yes, we want more, but this is a great start, the remove tool also shares this resolution boost.
The cost is still 1 Generative Credit for the new model. The remove tool remains free to use with no Gen Credits used.
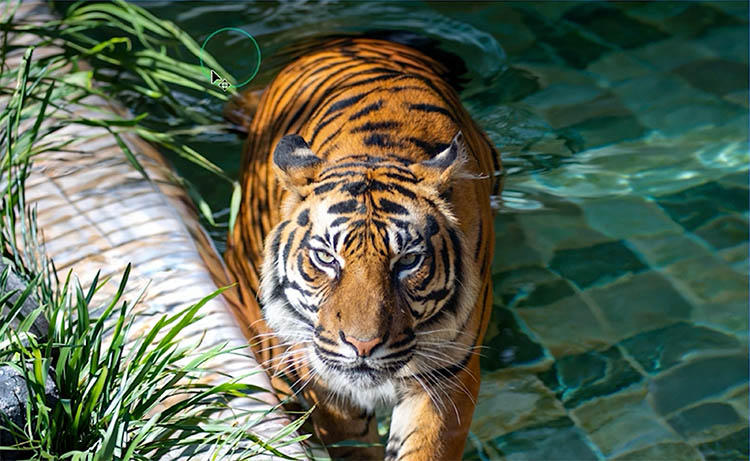
Testing the quality of changing the background
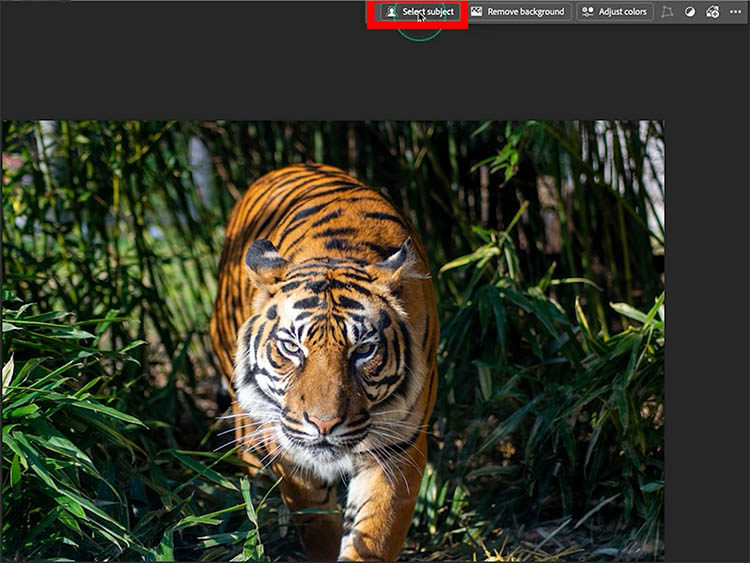
Lets replace the background of this tiger to a swimming pool.
Click Select subject to select the tiger
Click the button to inverse the selection

Now the background is selected.

Enter a prompt “Put in swimming pool”

Here is the old model Firefly 3.
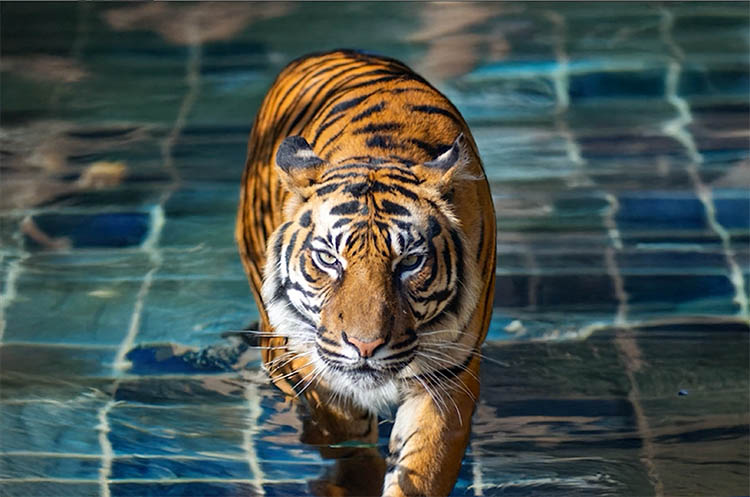
Here is the new Model. I feel the quality and realism is much better. Especially look at things like the edges of the tiger.
Watch the video at the top, so see the different variations and explanation of changes.
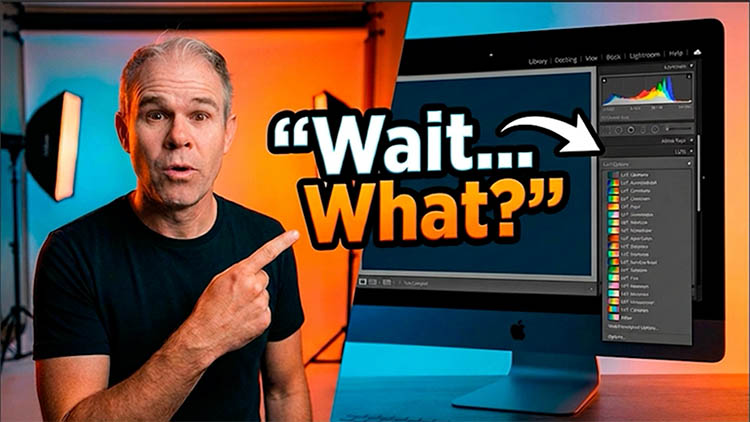
Use Reference Image with Generative Fill
We can use a reference image to guide the generation.
Lets start with this Thumbnail, that you might have seen before. This is an ai generated me, but the face doesn’t look exactly like me.
Make a rectangular selection over the face.
Choose the Fill & Expand model.
Notice the image icon on the taskbar.
Click it

You will see a popup where you can click to choose an image.
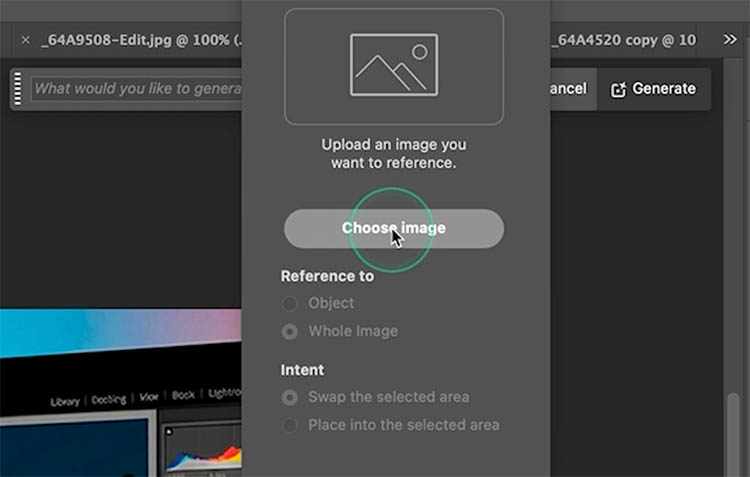
I navigated to this jpg of my face.
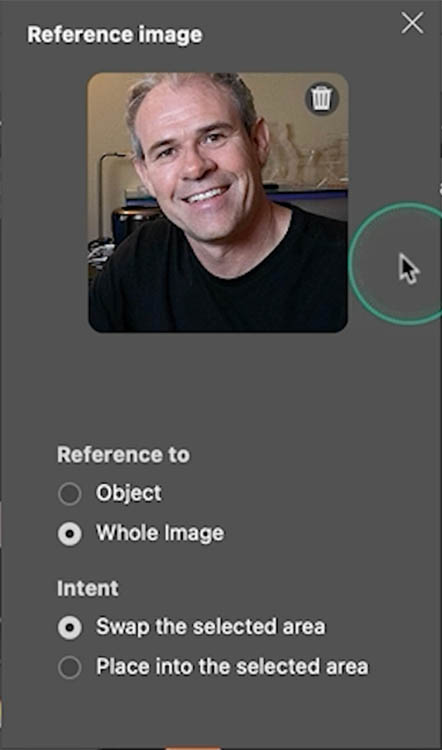
Click ok and I think it did an amazing job!
I’m making more in-depth tutorials on the new features.
- I made an in-depth tutorial on Photoshop Reference image here
- How to use Clarity and Dehaze Adjustment layers
Which features you will like me to see me cover in depth? Drop a comment and let me know! I read all the comments.
Great to see you here at the CAFE
Colin
PS Don’t forget to follow us on Social Media for more tips..
(I've been posting some fun Instagram and Facebook Stories lately)
You can get my free Layer Blending modes ebook along with dozens of exclusive Photoshop Goodies here

5 thoughts on “New Features in Photoshop 2026 Jan 26 update”
Leave a Reply

An essential, but unknown tip for using Harmonization to match colors between layers in Photoshop. Match image color in Photoshop...
Tim Cooper The New Local Adjustments in Camera Raw Adobe just keeps making the Raw Converter better and better. With...

How to use new Content aware fill in Photoshop CC 2019. How to remove objects in Photos, new Content Aware...


Really appreciate your tutorials. and explaining PS’s limitations. This is kind of more of a gripe with Adobe. I’m finding the half-dozen or so ‘helper apps’ that Creative Cloud installs to be a bit annoying – especially in macOS Tahoe. They add clutter to the Applications section of the new Apps app. Just wondering if I’m the only one.
Colin, as always,m thank you for your concise, but highly helpful tutorials! It would be very helpful and more transparent if you mention anytime what you are demonstrating uses generative credits. I am not happy with the transparency that Adobe is providing with many of these new capabilities. But at least, as we’re learning about them it would be very helpful to know which ones could potentially cost us credits.
Thanks for commenting. I have a video on Generative credits planned for the future. I don’t always think of adding everything to every video. All the new ai features use 1 Gen Credit each, just like before.
Thanks for the email. I have been using 2025 until yesterday, I downloaded 2026 hoping the bugs are fixed. So I am watching your latest videos to catch up. The video today was fantastic! I used a few of the new features in just one photo I had to repair. I needed to remove a person and replace with another. WOW! These new features will be help me in editing and repairing photos a lot. Speeds up my workflow. Now to watch more of your tutorials. You are a great teacher for everyone – beginner to experienced.
Thanks so much for. the kind words!