
How to Make Photos look better in Camera RAW
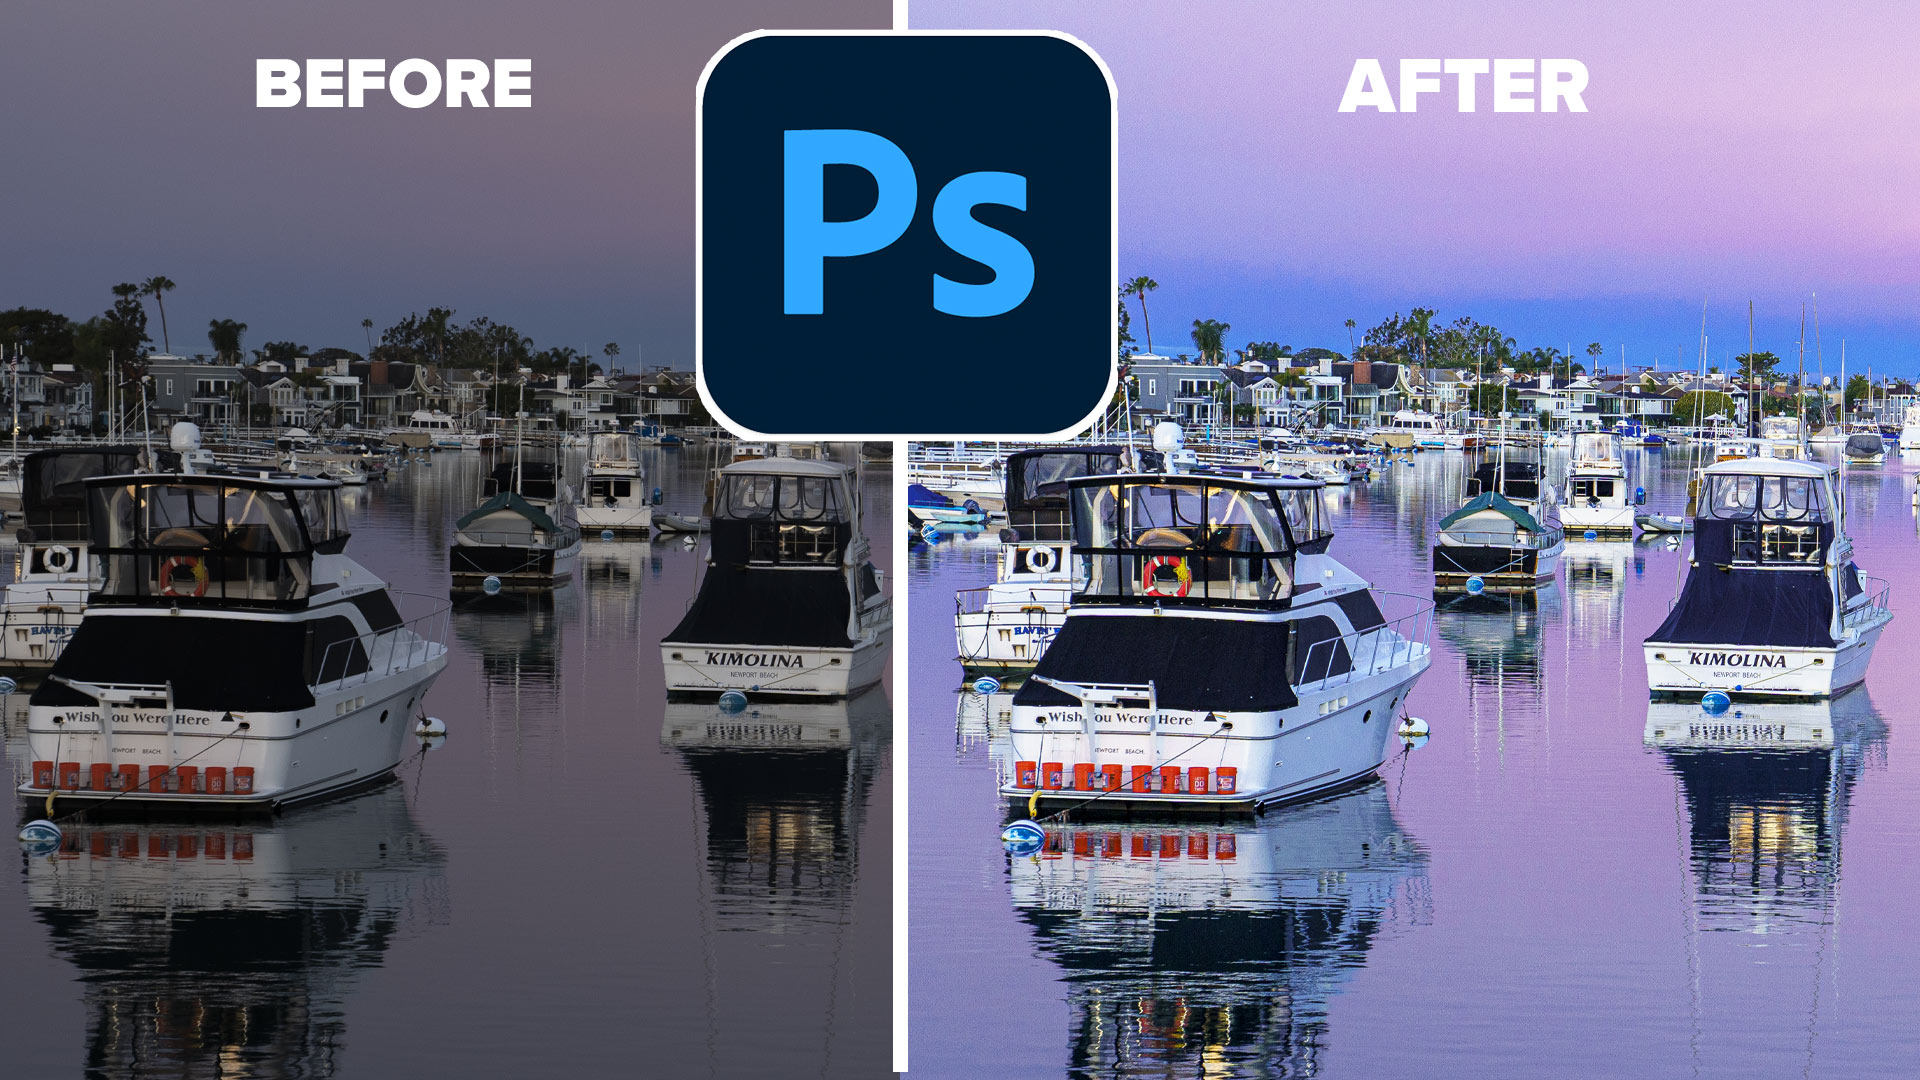
This Photoshop tutorial shows you how to use the powerful Camera RAW, to apply all kinds of adjustments and enhancements to your photos. Learn how to work with color, tone and understand what the most important sliders do. You will keep coming back to this tutorial, because it will make all your photos look better.
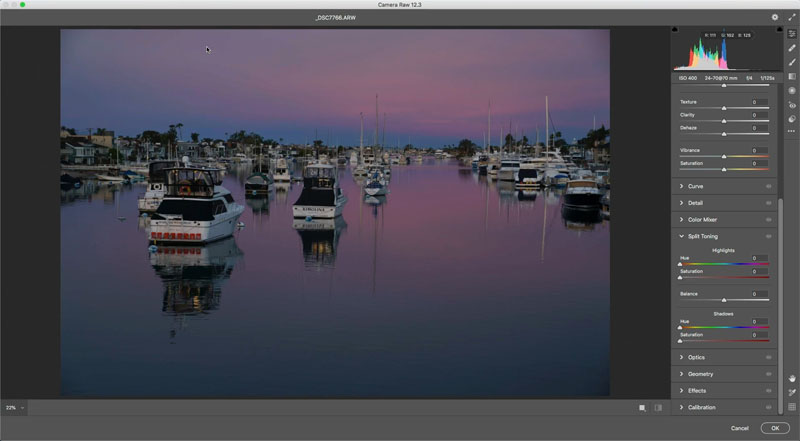
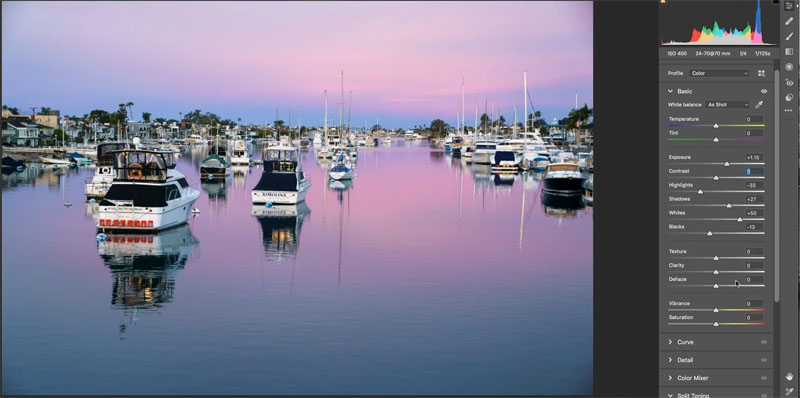
This is the image we will be using, I shot this recently with a Sony A7III during blue hour.
Before we begin, we will be using the basic Panel in Camera Raw to do the heavy lifting.
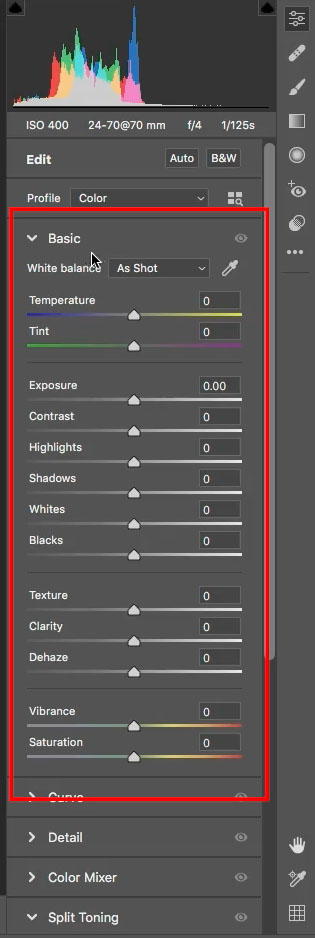
We are going to separate color from tone, for the sake of understanding what’s happening.
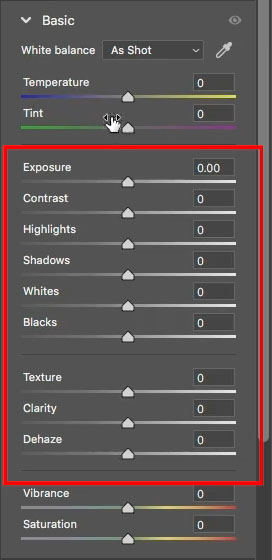
In the basic panel, these are the sliders that affect tone, a.k.a. Luminance (Grayscale stuff)
The other 4 sliders are the color sliders. Let’s go..
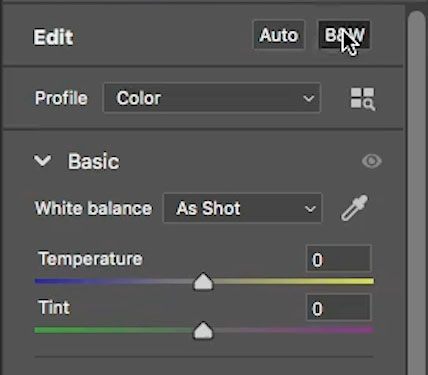
1. Click on B&W to change the image to black and white. I don’t always do this, but its good to see what’s happening in the tomes without the distraction of color.
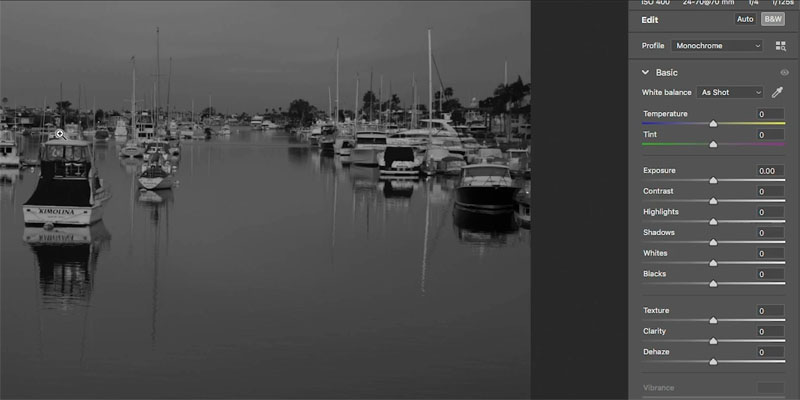
2. Start with the exposure to set the overall brightness.
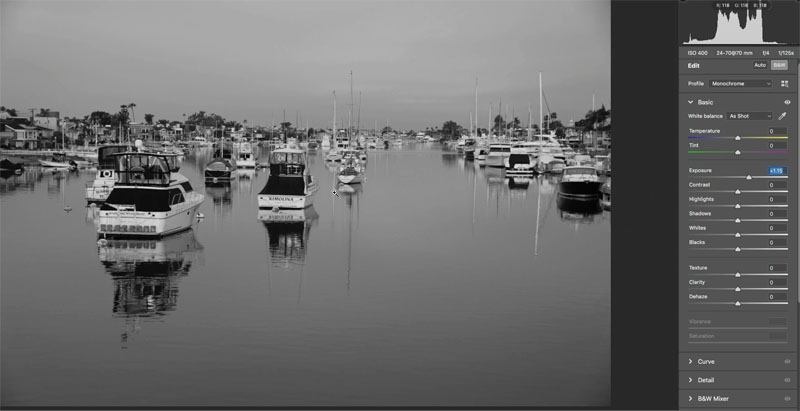
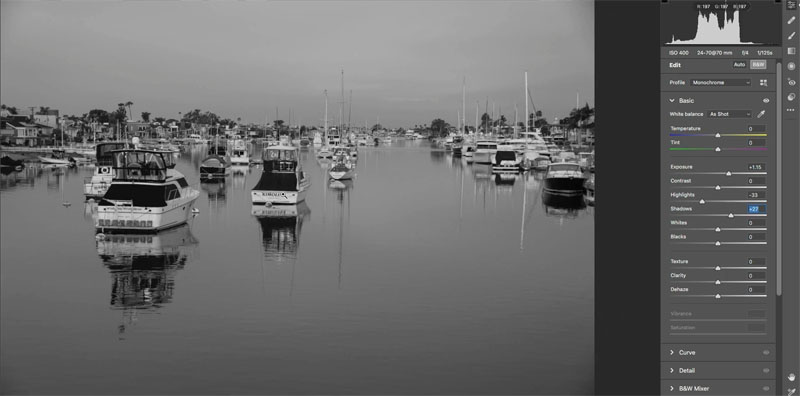
3. Now, use the shadow and highlight sliders to recover details in the shadows and highlights.
Move shadow to the right and highlight to the left. Now the shadows aren’t as dark and the highlights aren’t as bright, this lets us see more details.
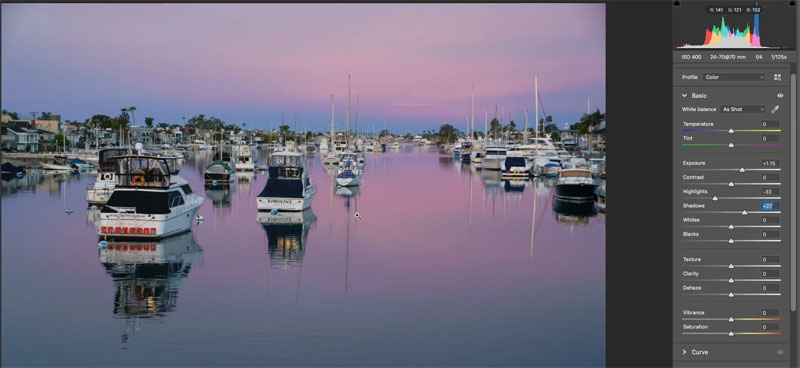
4. Click on BW to put it back into color.
You can see the difference already.
5. Now that we have recovered the highlights, it’s possible some of the whites are milky and need to be cleaned up. The Whites Slider accomplishes this. Tip: old down the alt/Option ket to see the highlight clipping when doing this.
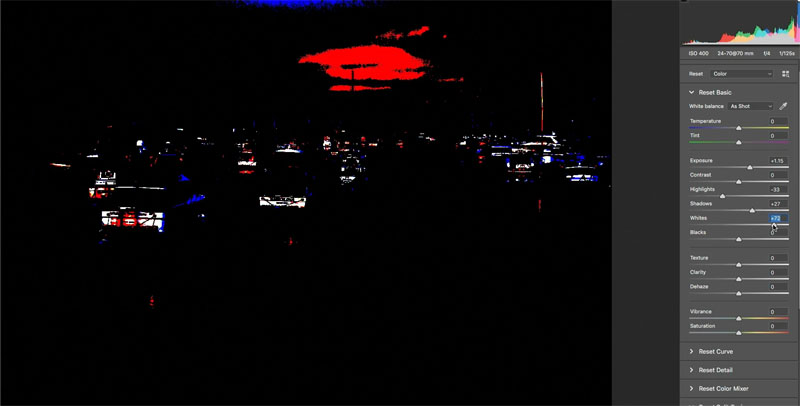
6. Do the same thing for the blacks, move the slider to the left to bring back in the blacks, this will add contrast and body to the image. (Alt/option key works here too).
Texture, Clarity and Dehaze are the Presence sliders.
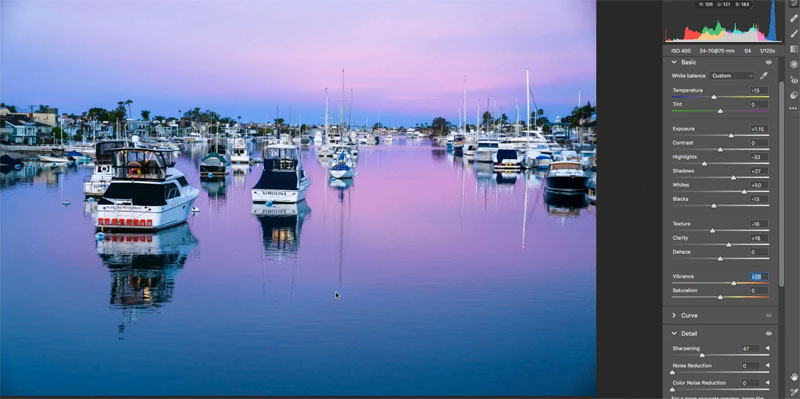
Reduce the texture, so the water look smoother. Compensate by increasing the Clarity a little bit, this adds edge definition (explained on the video at the top of this page).
7. Adjusting the color
Now we are going to tackle color. Move the temperature slider a little to the left to enhance the blue hour look.
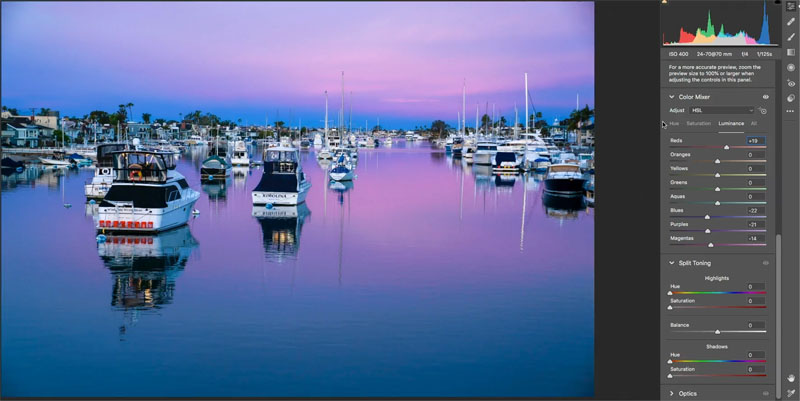
8. Choose HSL. (Hue, Saturation and Luminance)
- Hue: Color (Red, Green, orange etc).
- Saturation: Amount of Color
- Luminance: Brightness under the color.
Choose Luminance and darken the Blues, Purples andMagentas to add more depth and body to the colors. Watch the video to see how and why I move each slider.
In a nutshell, thats how to do the basic adjustments to make a photograph pop.
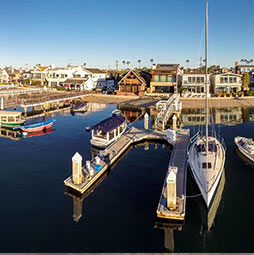
Here is the final photograph, click on it for full size.
Check out how to use Masks in Lightroom and Camera RAW to go even further.

Thanks for checking out this tutorial
Great to see you here at the CAFE
Colin
PS Don’t forget to follow us on Social Media for more tips.. (I've been posting some fun Instagram and Facebook Stories lately)
You can get my free Layer Blending modes ebook along with dozens of exclusive Photoshop Goodies here

8 thoughts on “How to Make Photos look better in Camera RAW”
Leave a Reply
Tutorial on how to turn a video into a panoramic photograph in Photoshop and Lightroom. works with any camera, shot...
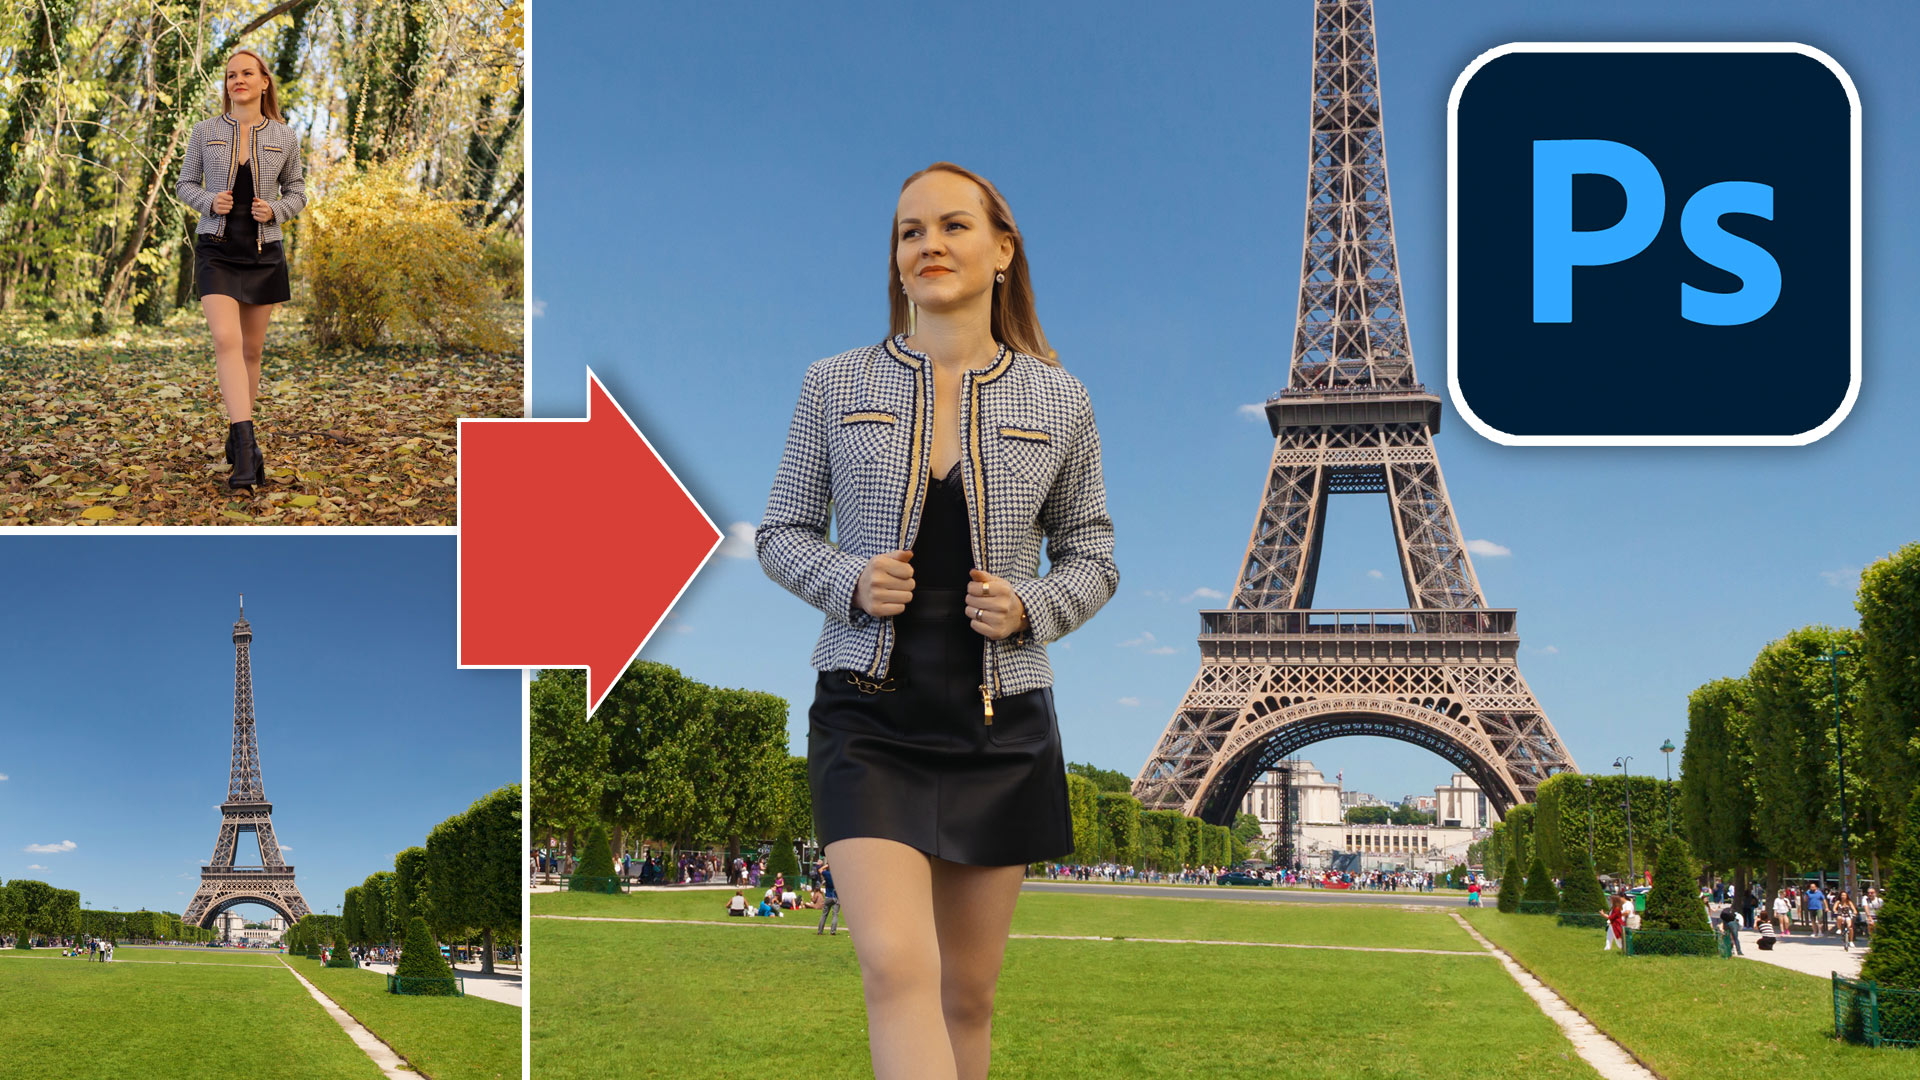
How to Photoshop a person into a photo, start to finish with all 5 steps.

How to embed type in photoshop. Heres a tutorial that will how you how to carve your mark. This is...


Great break down Colin of color and tone. Helped me appreciate the HSL tabs more.
Always great presentation… many thanks…. the color ideas and directions were great
Really like your approach with this section of the update to PS. Very useful and easy to understand. Thanks, Colin.
I definitely learned a lot, thank you Colin!
Thanks. I loved it Colin
I was looking for a tutorial on Camera Raw and I got this. Very good tutorial. Hope similar tutorials on the other tools in Camera Raw will also be published.
Your separation of tone and color is essentially the same as working in LAB colorspace
I learned a lot from your blog and most of all thank you for explaining in such a beautiful way.