
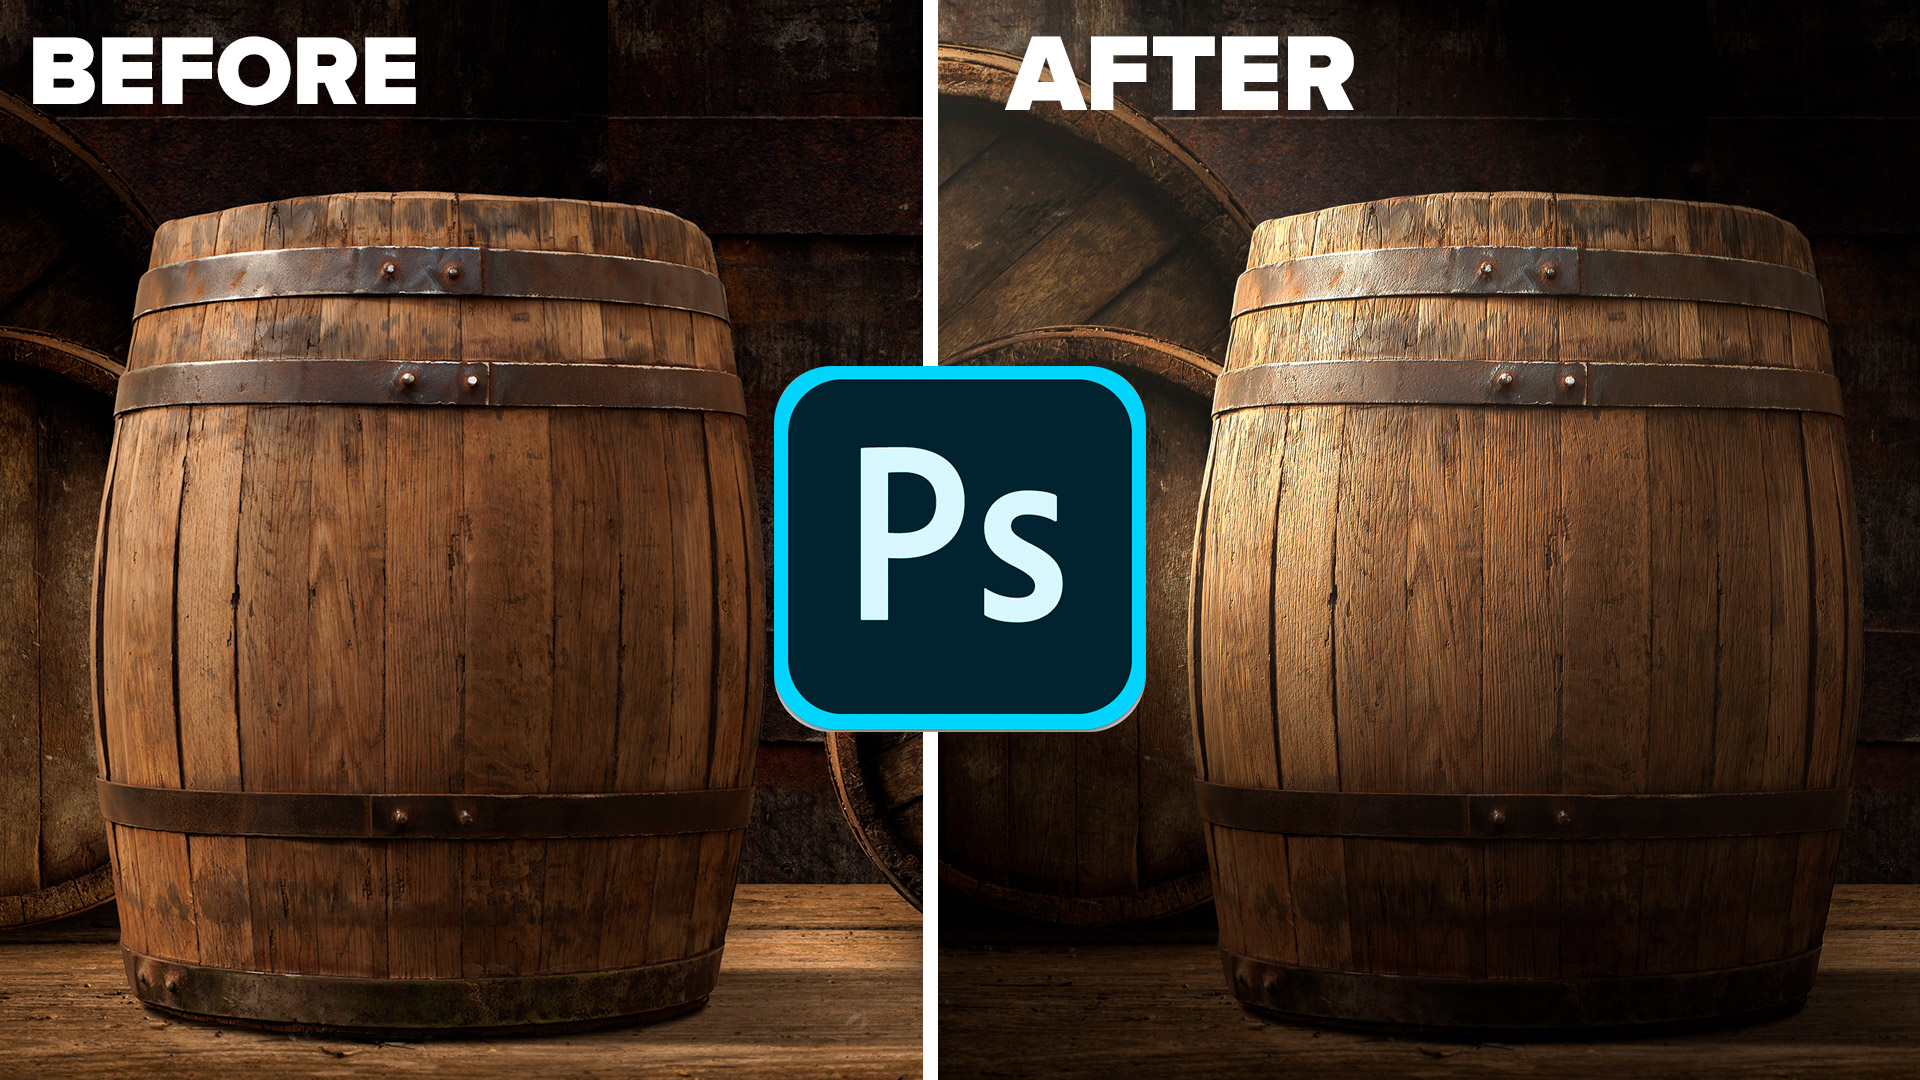
How to Light a Portrait Photo in Photoshop
Using Photoshop Lighting Effects to Light a portrait photo.
Lighting effects has many uses and one of them is lighting photos. In this second part in our series, we will light a portrait photo. (After this tutorial, I have 2 advanced ones coming).
Watch the video for more detail and tips, and the written steps as a reference.
This will work on any version of Photoshop, although Lighting effects looks a little different before CS6, it still works the same.
Note: When I add keyboard shortcuts for both Mac and Windows I write it like this Cmd/Ctrl (this means Cmd on Mac, Ctrl on Windows) so Alt/Option+Ctrl/Cmd+E means Alt+Ctrl+E on Windows, or Option+Cmd+E on Mac.
Check out part 1 here for the basics and using a color channel for texture.
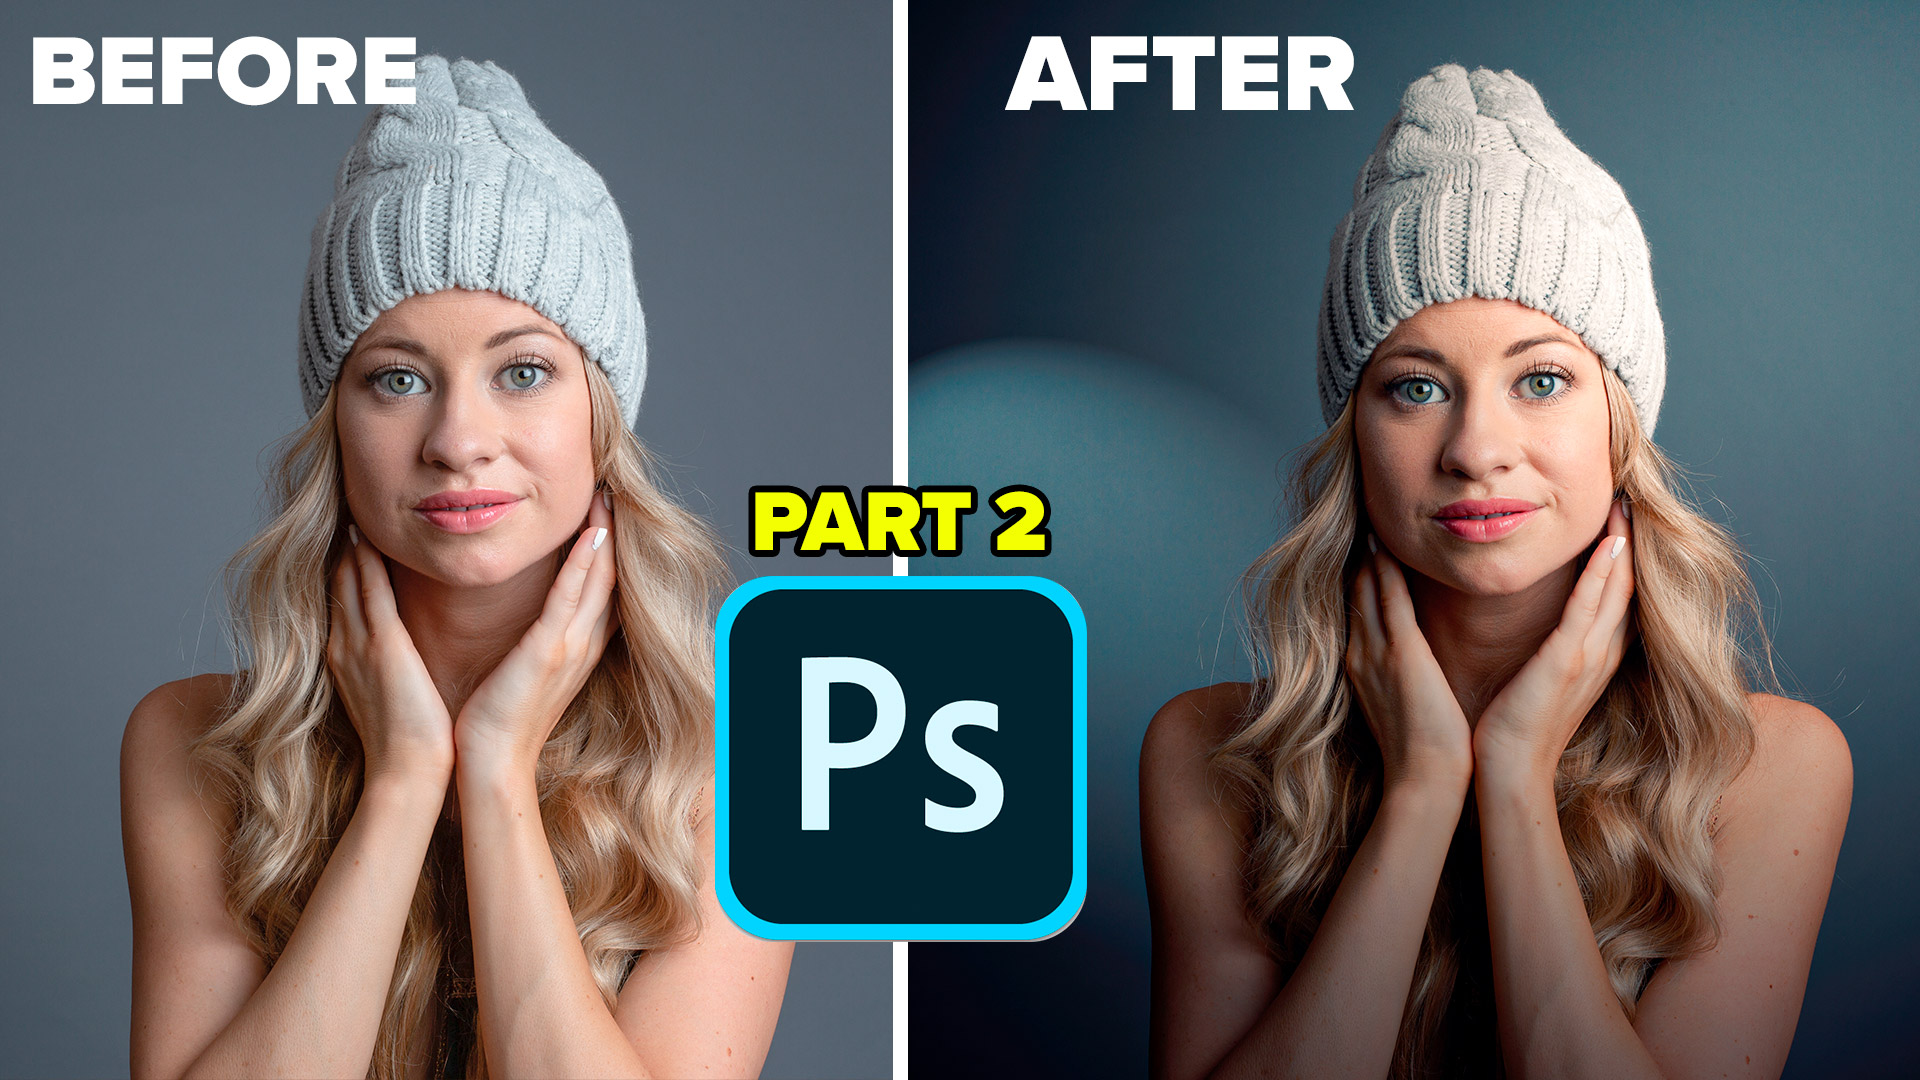
Let’s start with a photograph I shot in my studio. This is basically straight out of camera, shot with a single profoto D1 air with large Chimera softbox.
Step 1.
Duplicate the background layer (Ctrl/Cmd+J)
(Note: If you don’t want to make a texture channel, skip ahead to step 8).

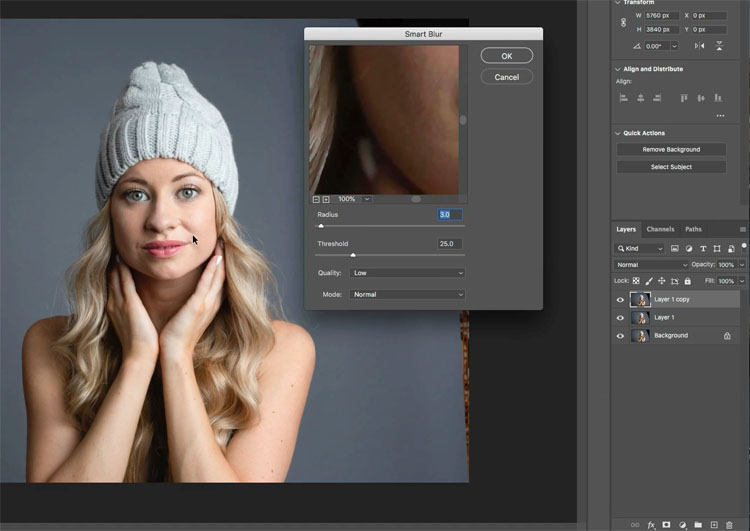
We are going to prep a new layer to use as a channel, you will see what it does soon. Because lighting effects amplifies texture A LOT, se need to soften it down a lot, keeping edges but eradicating surface texture.
Step 2.
Duplicate the layer again Ctrl/Cmd+J
Filter>Blur>Smart Blur to start smoothing off the texture
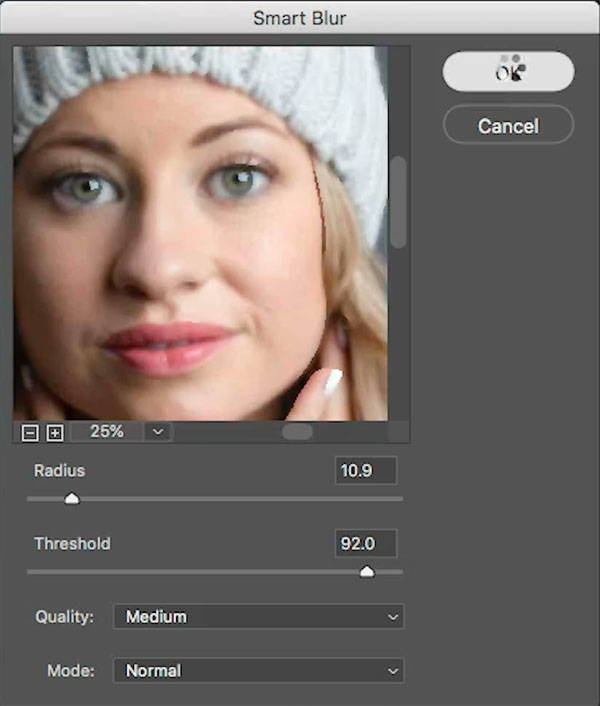
Here are the settings up close
Click ok
Step 3.
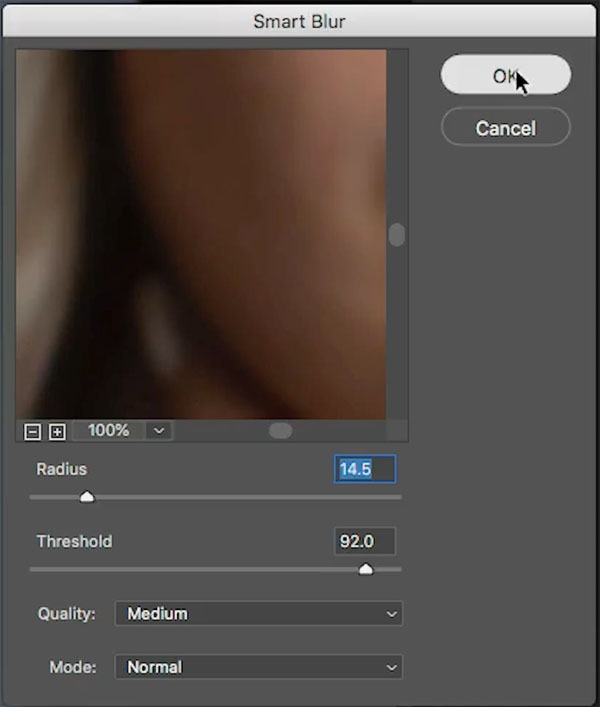
Apply Filter>Blur>Smart Blur a second time, applying 2x does a better job than once with really high settings.
The settings.
Click ok
Step 4. making the channel
Before you do anything we need to copy the blurred layer to the clipboard.
Ctrl/Cmd+A to select all
Ctrl/Cmd+C to Copy to clipboard.
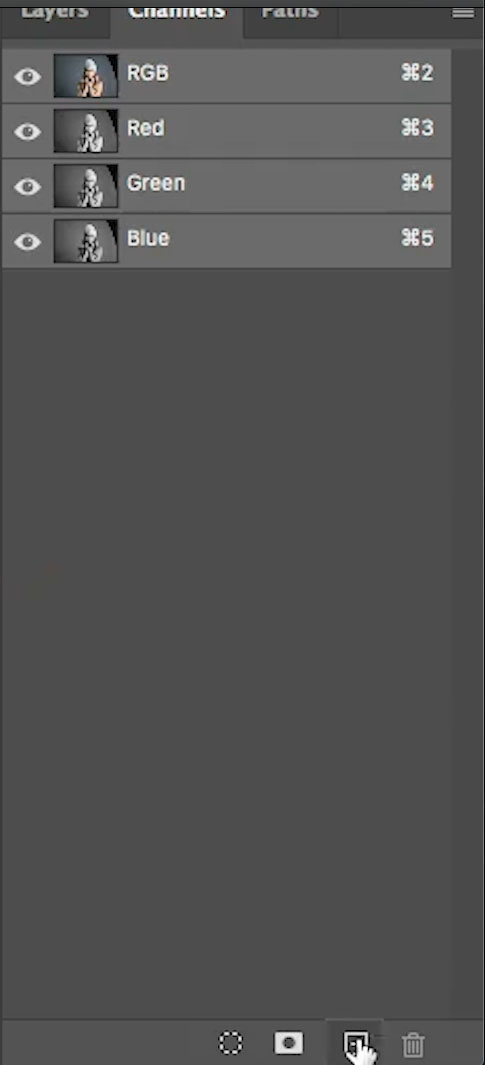
Choose the channels panel, it will be nested next to the Layers panel. Or go Window>Channels.
Click the button at the bottom to create a new alpha channel.
Step 5.
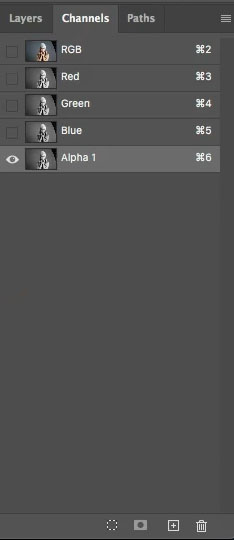
With the new channel selected (it will be black), Press Ctrl/Cmd+V to paste the pixels.
You should now a black and white copy of the blurred layer in the Alpha channel. If not, go back to the previous step and follow the instructions carefully (Its also shown on the video in depth).
Step 6.
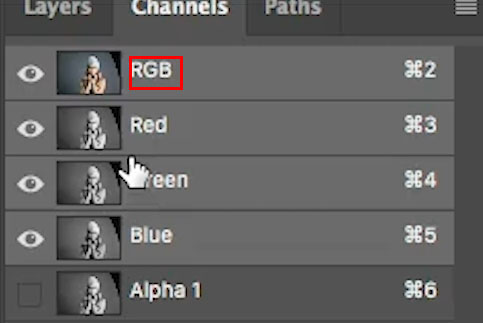
Click on the words RGB in the channels.
You should see whats in the screen capture, with the eyeball off on Alpha 1 and only RGB selected.
Step 7.
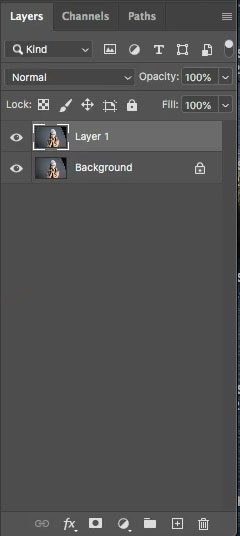
Go back to the layers panel,
You can delete the blurred layer if you like, we no longer need it.
Make sure Layer 1 is active.
Step 8. Apply Lighting Effects
(If you aren’t going to use the texture channel, you can start here)
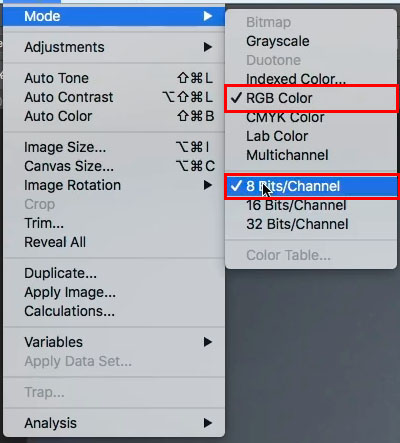
In order for Lighting effects to work, your document must be RGB color and 8 Bit channels. You can change this under Image>Mode
Step 9.
Unfortunately, the Lighting effects filter has recently been retired. This tutorial shows how to get lighting effects with new Gradient features. The rest of the tutorial works fine, just substitute radial gradient for lighting effects.
Choose Image>Render>Lighting Effects.
Under Presets choose 2 O’clock Spotlight
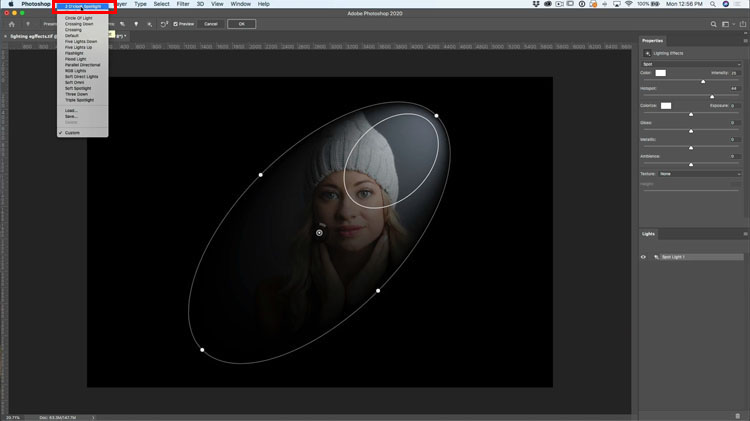
Step 10
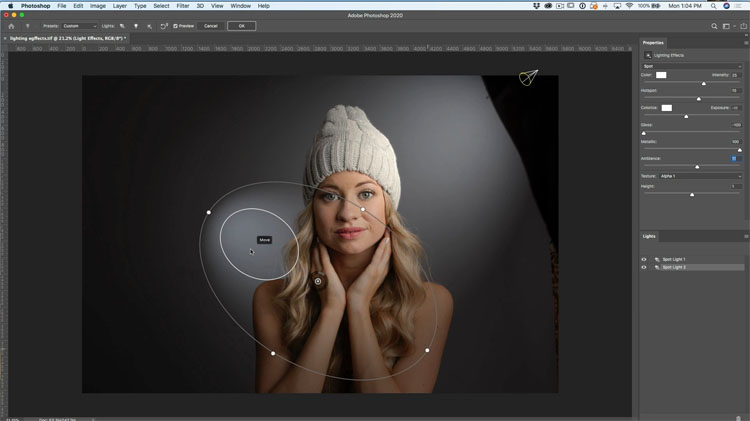
This is what the preset will look like, more or less.
If you don’t see the on image controls (and are on CS6 or CC) Press Ctrl/Cmd+H
(If it still doesn’t work, go to preferences>Performance and make sure Use Graphics Processor is turned on).
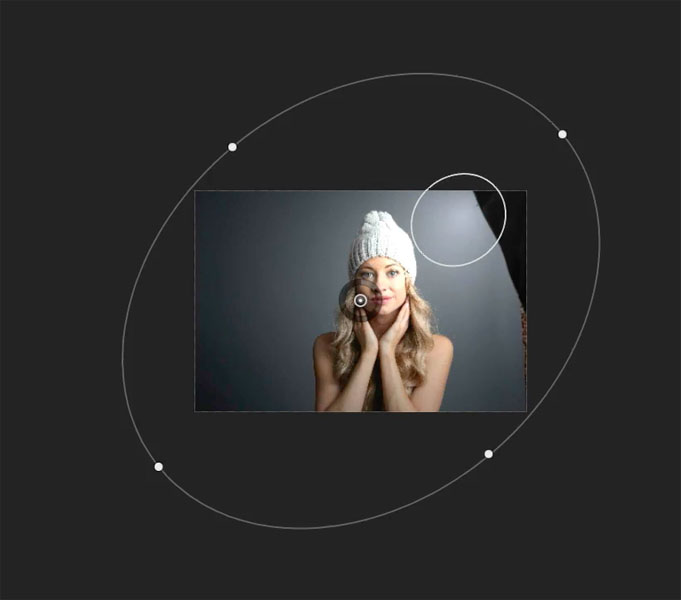
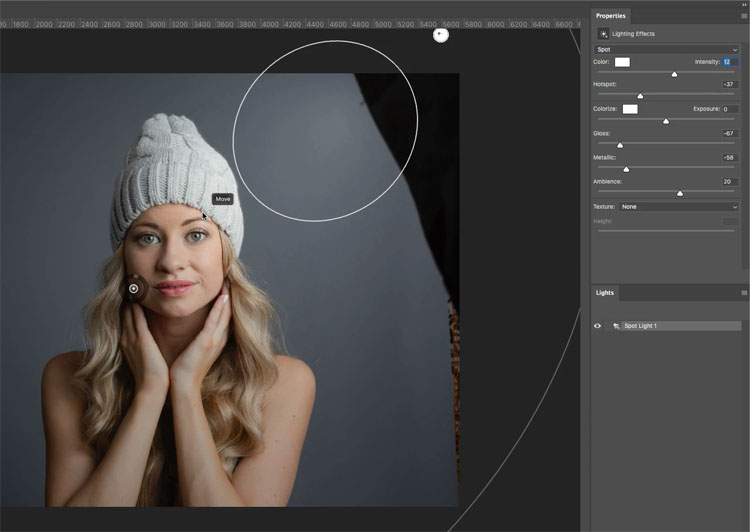
Adjust the shape of the light by dragging on the 4 handles. Click inside the small circle and drag to move the light.
Drag on the ring to change brightness (again, the video at top demonstrates all this).
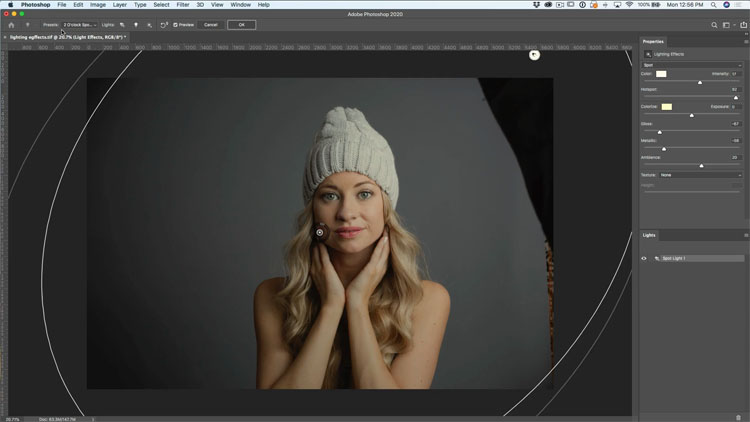
Here are the settings I used for this image, The key is making sure that the details isn’t blown out on her hat.
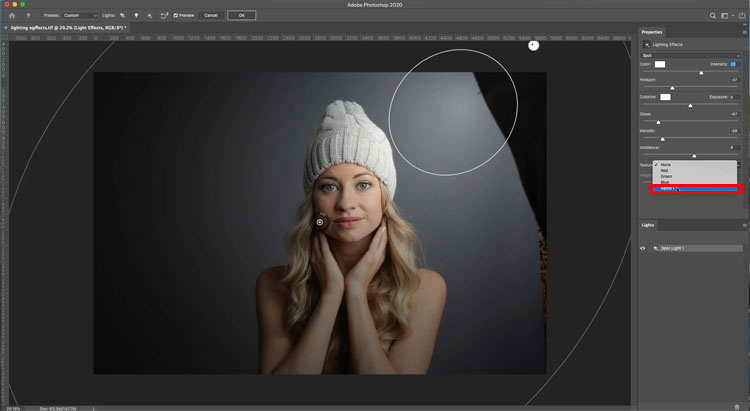
Step 11. Using the Texture channel in Lighting effects.
Under Texture choose our channel, alpha 1.
Step 12.
This channel is VERY strong and creates a sharpening like effect, but it actually has contour. (you’ll really see this in the next tut in this series). This can create a very 3 dimensional effect, as it does on this image.
I set the height to 1, as low as it goes. This is enough fo most photos, but see for yourself. For some photos, it’s just too strong, in that case don’t use the texture channel, or back out and add more blur to the Alpha 1 channel).
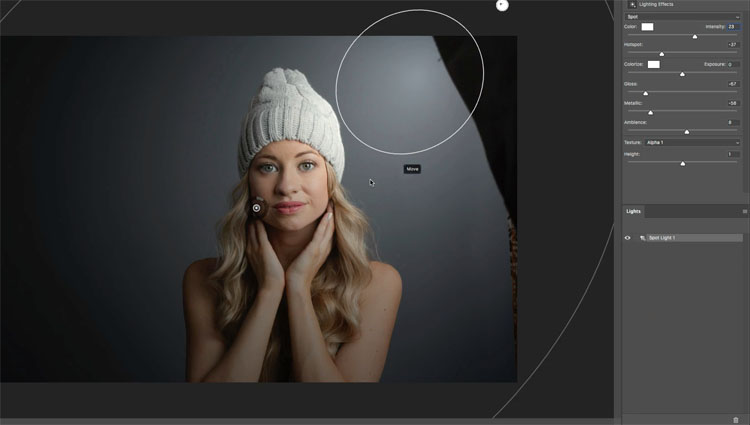
Adjust the lights size and settings until the subject looks good. (Previous tutorial explains all the settings)
Here are my settings
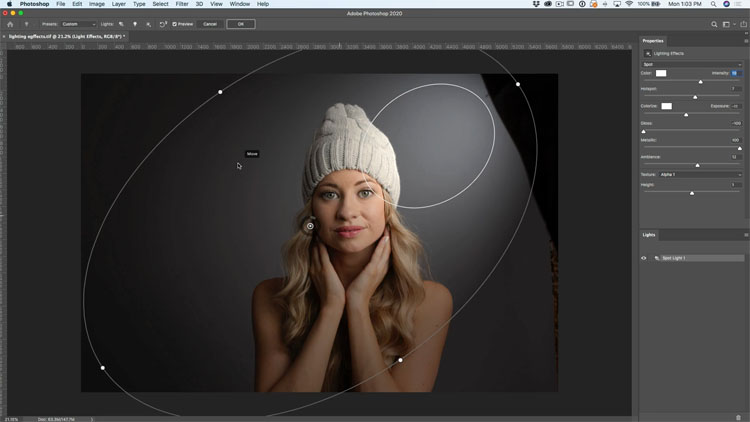
Step 13. Adding a Second light
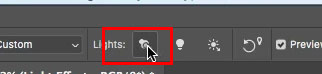
To add a second light, click spotlight in the Lights tab.
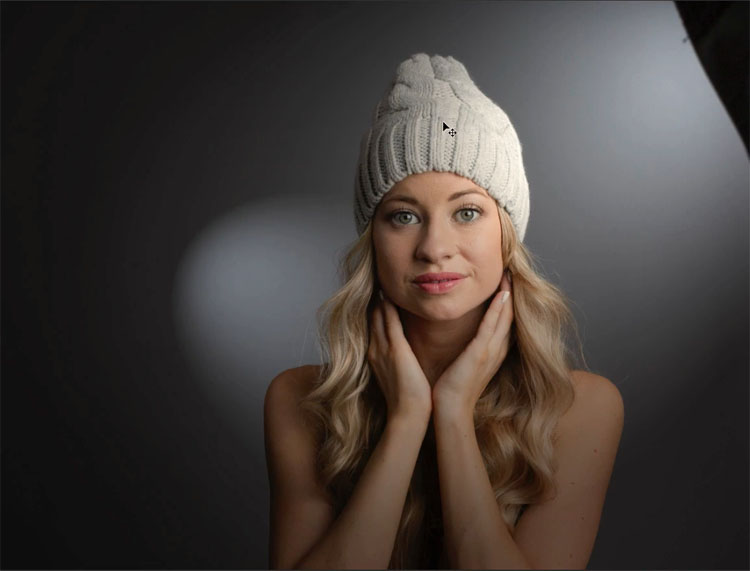
Adjust this second light to simulate a background light. This is a light hidden behind the subject and pointed at the backdrop to light an area of it for tonal separation (lights against darks, rather than darks against darks). .
Click ok and you can see a much more dynamic looking photo. You can always use dodge and burn to make it more realistic, which I won’t do here, (because it’s easier for people to learn, if I stay focused on the lesson topic and keep it general).
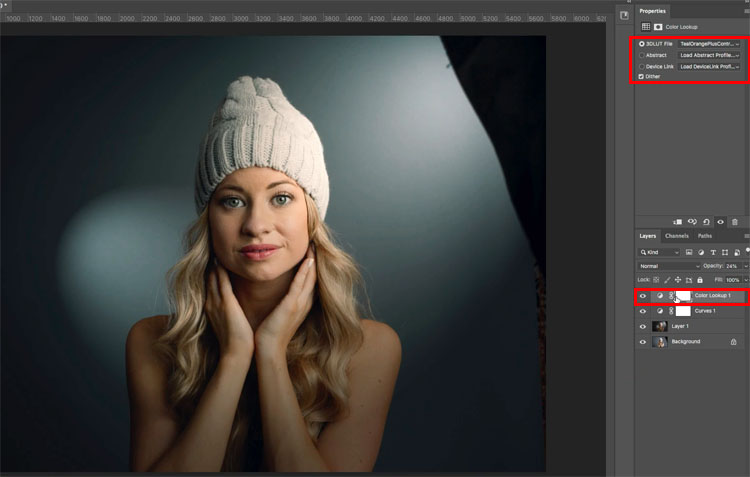
Optional: For a variation, I added a contrast curve and a color LUT adjustment layers.
Thanks for checking out this tutorial.
Please come back soon I am adding 2 more parts in the next week. How to do crazy realistic and 3D looking textures with this filter.
I hope you enjoyed this tutorial. Please tell all your friends about PhotoshopCAFE.
Browse our hundreds of other free tutorials here, or search for what you are looking for in the search at the top of the page.
Great to see you here at the CAFE,
Colin
PS Don’t forget to follow us on Social Media for more tips.. (I've been posting some fun Instagram and Facebook Stories lately)
You can get my free Layer Blending modes ebook along with dozens of exclusive Photoshop Goodies here

6 thoughts on “How to Light a Portrait Photo in Photoshop”
Leave a Reply
Easily remove things from photos with advanced content aware fill options in Photoshop. When Content Aware Fill doesn't work as...

New in Photoshop CC 2015 release is the ability to merge bracketed photos together in ACR (Adobe Camera Raw). In...

How to make water splashes in Photoshop. This easy Photoshop tutorial shows you how to make the popular splash effects...


Thank you love your work , your tutorials have helped me so much ,So thank you once again. all the best stay safe .
Wacom, please…
Hello, A helpful tutorial on how to use this filter. Thank you! I would appreciate more insight on how to use the Color Picker Light Effects panel, as well as the Gloss and Metallic sliders and the use of the Exposure slider vs. the Intensity slider. For example, you used the Metallic slider at full intensity with no explanation on why you selected that slider and used that intensity. And the Color PIcker has options like Intensity and Relative to Document that might explained in more detail as well as the color bar at the top and those mysterious 32 bit RGB values. At least initially, I don’t like the way the Ambience slider has been configured, ie. as a global adjustment, since it also affects the Hotspot intensity, which means that you have to go back and forth between the two to balance them, rather than just setting the Intensity and then the Ambience. I presume that the Texture function is configured to emphasize high frequency detail, but how do you make a decision on how to use it with the colour channels, since each of the colour channels would, I think, have identical high frequency detail. Hopefully, these are some points that might contribute to a future tutorial. Thanks again!
I have done several tutorials on lighting effects, the different tools are explained in different tutorials. I try not to repeat myself too much.
If filter>render>lighting effects isn’t working with new PS updates its because they are i understand in the process of changing the render engine (or something like that) Anyway the solution is to go into preferences>technology previews and tick the box “deactivate native canvas” Restart PS and all works again. Magic
Awesome!