
How to get better Generative Fill results in Photoshop. 2 important tips for generative ai
How to get much better results with Generative Fill in Photoshop
I’ve heard from some people that they are struggling to get good results in Photoshops new Generative Fill ai.
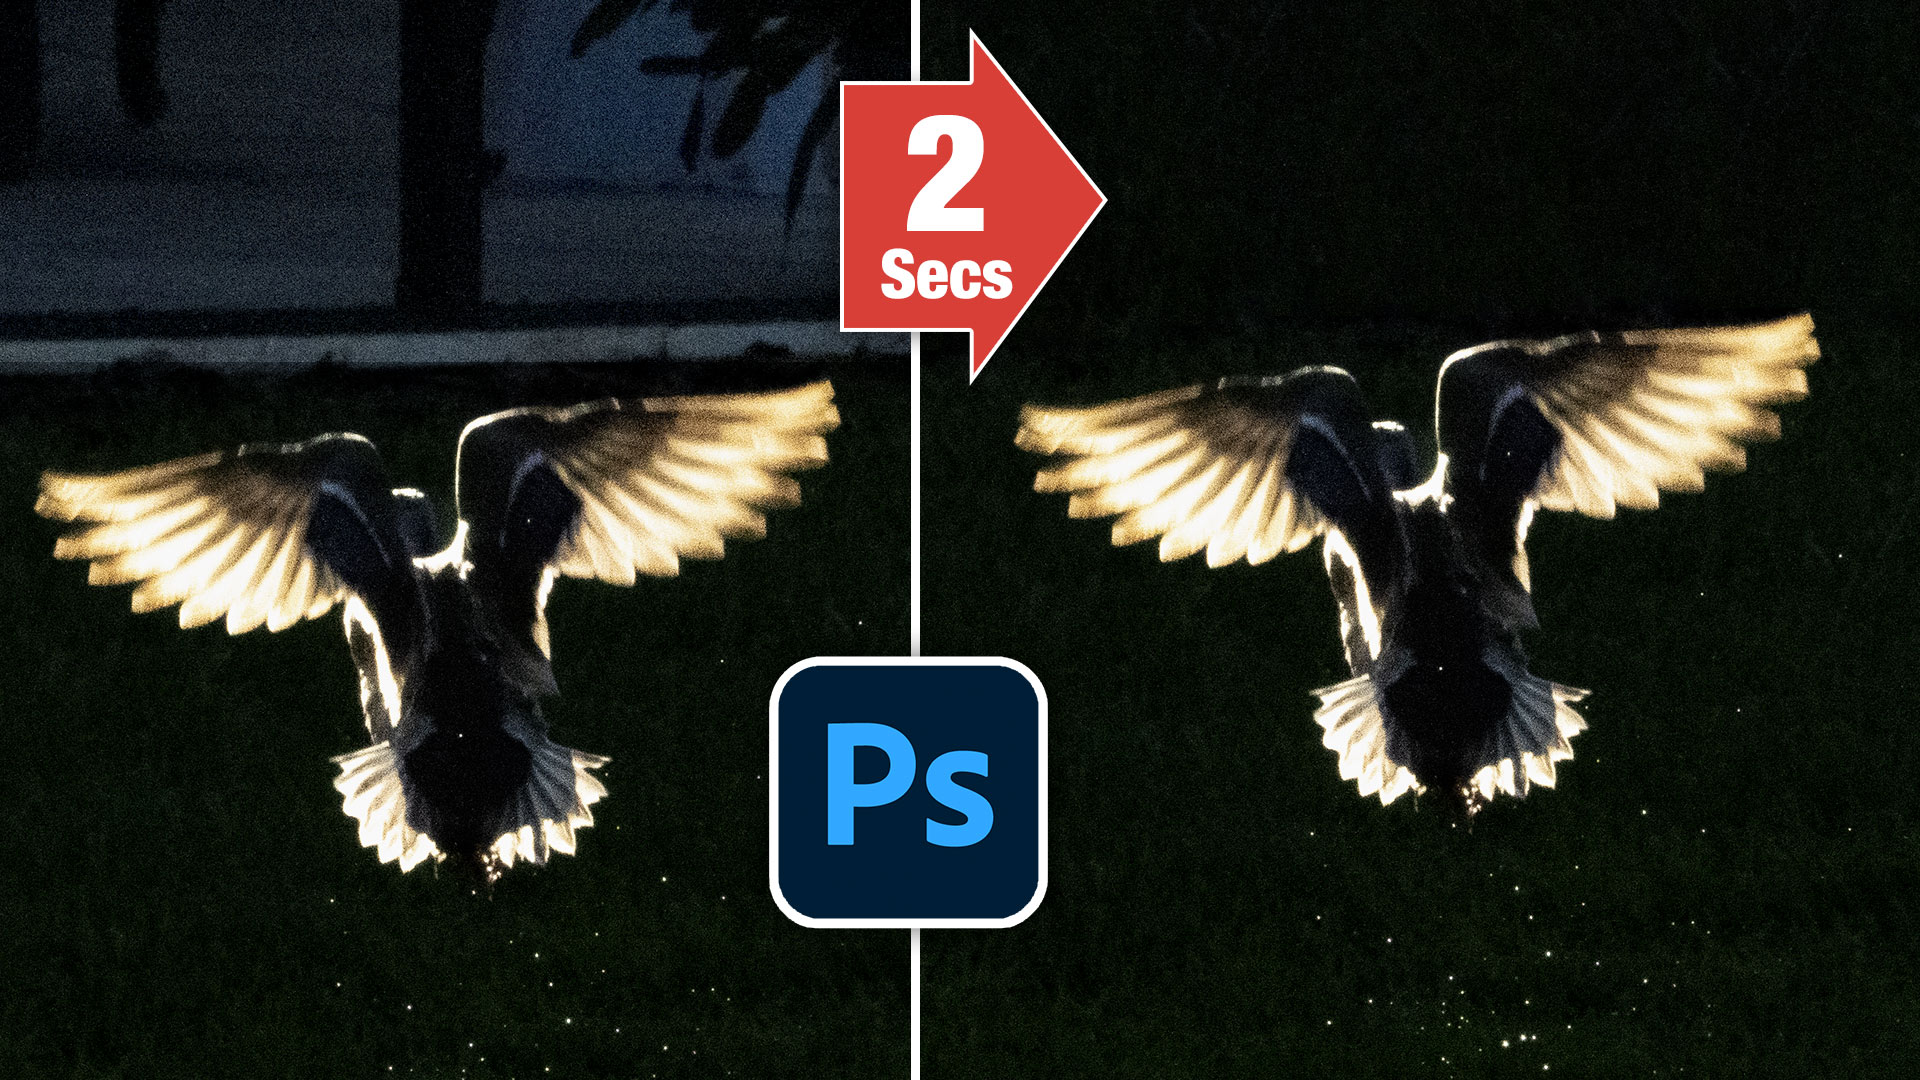
Are your results looking weird like this?

This is coming down to 2 main things.
Selections
People are using the selection tool wrong. It’s not about making perfect selections, it’s about defining where you want the object, what size it will be and hinting at the shape. Watch the video above and you will be very surprised!
Prompt words
Don’t tell Photoshop; “Make that bigger”, “change the x to y”, etc
Instead use between 1 – 8 words.
Tell it what you want, the noun. For example, cat, car, boat etc.
Give it properties of the noun. For example, red, old, plastic, fancy etc
When I get time, I’ll flesh out the rest of the written steps. For now, watch the short video.
I’m currently creating a course on Generative fill and it will be ready very soon! Keep your eye on the newsletter for announcements etc.
Also follow me on Instagram, Tik Tik and Twitter. for shorts and reels.
Great to see you here at the CAFE
Happy Photoshopping
Colin
My new course on Generative Fill in Photoshop: https://photoshopcafe.com/shop/generative-fill-in-photoshop-introduction-course/
Save 20% for 1 week only with code GFLAUNCH

PS Don’t forget to follow us on Social Media for more tips.. (I've been posting some fun Instagram and Facebook Stories lately)
You can get my free Layer Blending modes ebook along with dozens of exclusive Photoshop Goodies here


10 thoughts on “How to get better Generative Fill results in Photoshop. 2 important tips for generative ai”
Leave a Reply

How to use new Dynamic Text in Photoshop to automatically format text to beautiful typography blocks.

How to create a realistic rainbow in Photoshop with new Gradient tool
Easily remove things from photos with advanced content aware fill options in Photoshop. When Content Aware Fill doesn't work as...


Colin,
Words are very important. I was shooting large sunrise landscapes and could not frame the shot without the trees in it. So I selected the trees and tried several words to replace the trees–nothing was working until I chose Background. It was 95% effective.
Collin, That is the greatest tutorial!! I’ve seen many, many tutorials on this new tool, but none of the presenters mentioned the shape of the selection!!! What’s up with that?! Do they just want us fumbling around and the dump the whole generate system? Thank you for bringing this up!
This is really helpful. Do you have any idea when Generative Fill will be moved out of Beta?
I don’t know when
OST intetesting
Thanks Colin, again eye-opening.
Colin, these tools are amazing. I think back to Photoshop 5.5 and then look at where we are now. Some images that used to cause much grief are now so easy to edit. What next I ask.
Very interesting. I tried a long shape on top of the amp, I get a 2 head cat!! Very funny.
Very informative as usual! Is this Beta feature coming to the regular Photoshop anytime soon?
These tips are really helpful for me as a graphic designer on photoshop!