
How to fake a sunset in Photoshop tutorial

Turn daytime to sunset in Photoshop Tutorial
This Photoshop tutorial shows you how to turn a regular photo into a sunset photo. This covers more than just changing the color to a warmer tone. To get a convincing sunset look, we change the color, tones, add shadow and rim light as well as creating atmospheric glare and light rays as well as a sun source.
- Photos used for this tutorial:
- Curves Tutorial
- Match colors between different photos in Photoshop
See you at the CAFE
Colin
PS Don’t forget to follow us on Social Media for more tips.. (I've been posting some fun Instagram and Facebook Stories lately)
You can get my free Layer Blending modes ebook along with dozens of exclusive Photoshop Goodies here

10 thoughts on “How to fake a sunset in Photoshop tutorial”
Leave a Reply
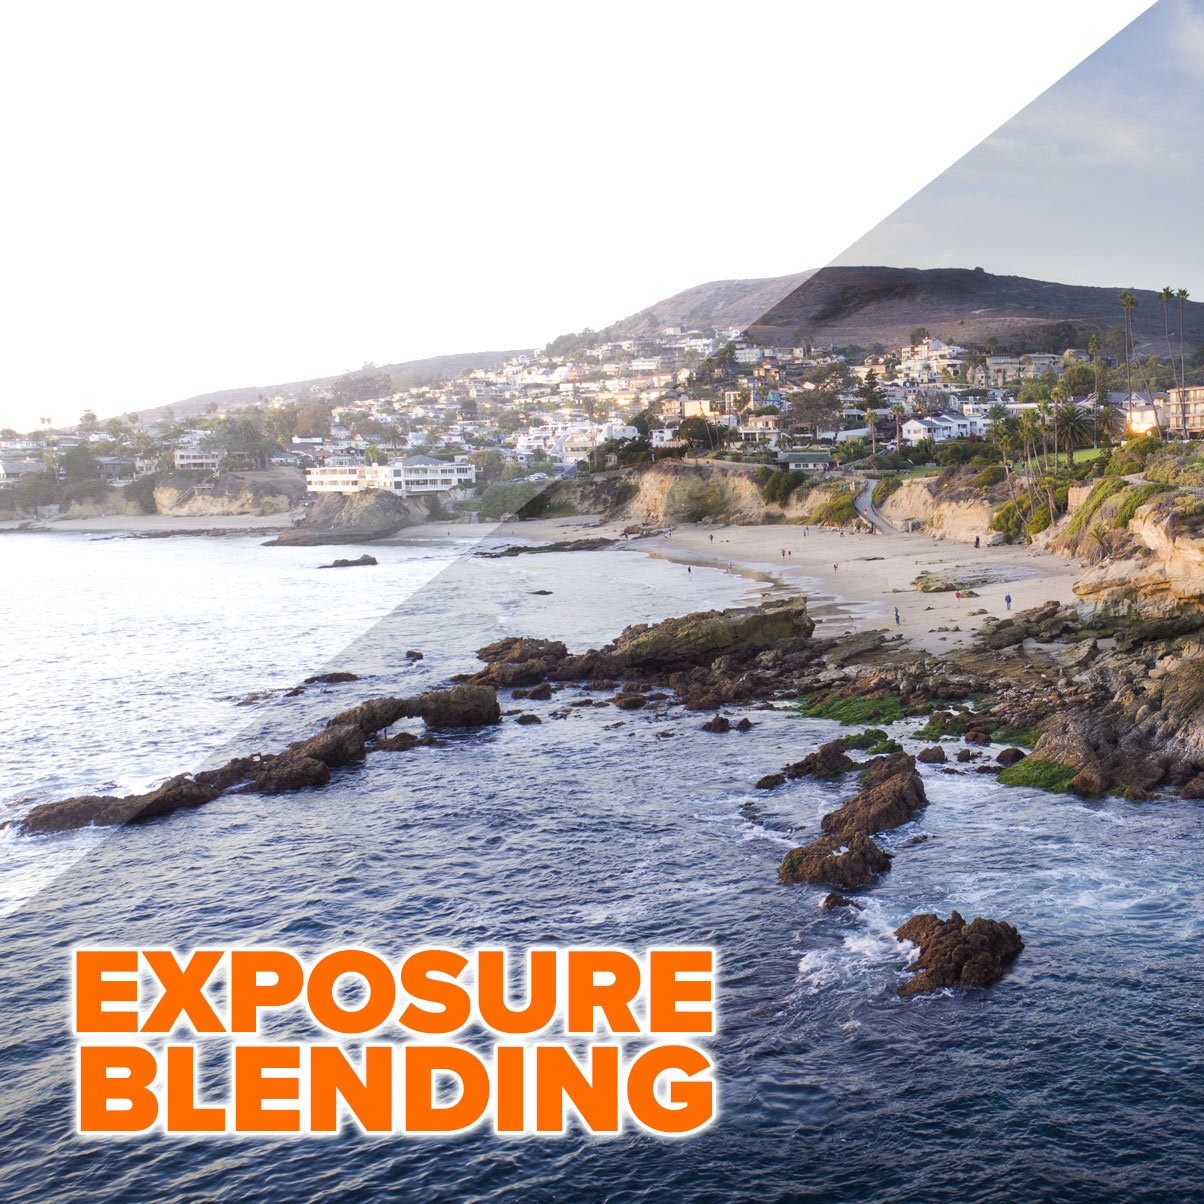
How to do Exposure blending in Photoshop, Layer masks on exposures to create photographs with incredible detail in highlights and...

How to sharpen photo in Photoshop. This free Photoshop tutorial shows 2 ways to sharpen photos. Easy way to sharpen...

s it possible to make a selection of this semi-complex shape in only 3 selections? Of course the answer is...


Great Tutorial, Colin!!! Thanks for you effort and great work.
I prefer in the eveving. Thanks for the tutorial,it gives me ideas.
I have not seen many written tutorials lately. Are you going to continue providing these? Thanks.
Yes! I’m speaking 7 times at Adobe MAX next week including 5 hands-on workshops (and a really big project, I cannot talk about right now). Really busy right now, I’ll add the written, when I have some time.
What about written tutorials?
Most of my tutorials have written instructions, this takes A LOT of time (much more than the video). When I have time, I will work on the written part.
I couldn’t help but notice how quickly you grabbed the adjustment tools and proceeded. Is this tyipcal of your work flow or are you summarizing considerable trial and error in the tutorial? To put it another way, is your workflow that intuitive?
I try to keep the steps as simple as possible for tutorials. This way I can focus on the topic and stick to the point. Sometimes that means I don’t get as nice a result as I would when working on a real project, I usually do a lot of tweaking and adjustments along the way, but I don’t want to confuse people trying to learn. I could make it an hour long tutorial, with a better looking result, but who really wants to learn that way?
Thanks for so many great tutorials. These are so delicious I could eat them. I also learn a lot from you.
Thanks again for your great tutorials. I shoot in the evening because the blues are often ethereal.