
How to Color Grade Photos in 1-click with Gradient Maps in Photoshop
How to Use Gradient Maps in Photoshop to color grade your photos
Gradient maps are a secret weapon for retouchers and colorists. It’s so easy to make photography look rich or cinematic, by adding a simple gradient Map, and a couple of other easy moves that we will get to in this Photoshop tutorial by Colin Smith of PhotoshopCAFE. (Thats me). This tutorial is for Photoshop 2020+ when they added the gradient panel. I have a tutorial here for earlier versions of Photoshop.
There are several parts to this short, but in depth tutorial.
- Using the Gradient Map
- What a Gradient Map does in Photoshop
- How to make the Gradient Map look really good
- Getting all the extra “hidden” Gradients that come with Photoshop
- Adding Photographic toning in Photoshop (You’ll love this one)
Using Gradient Maps in Photoshop
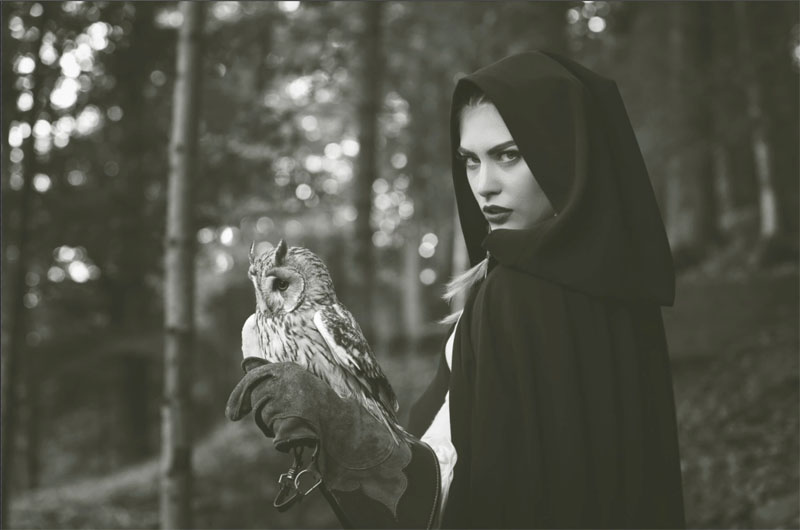
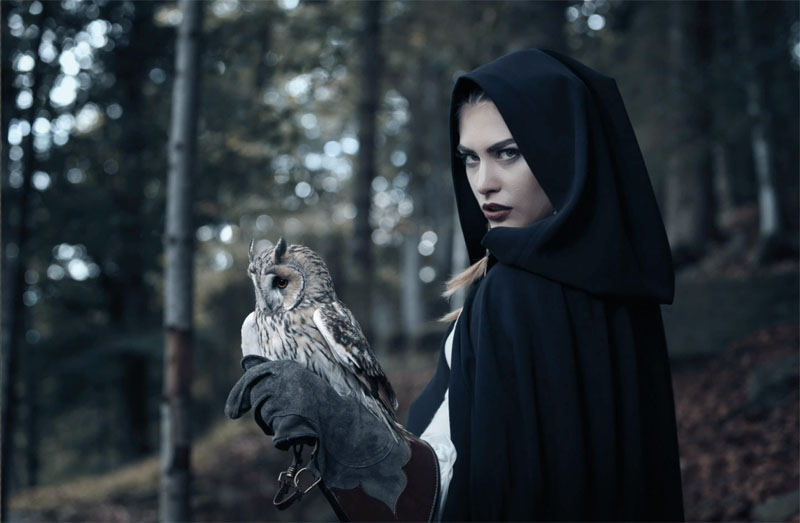
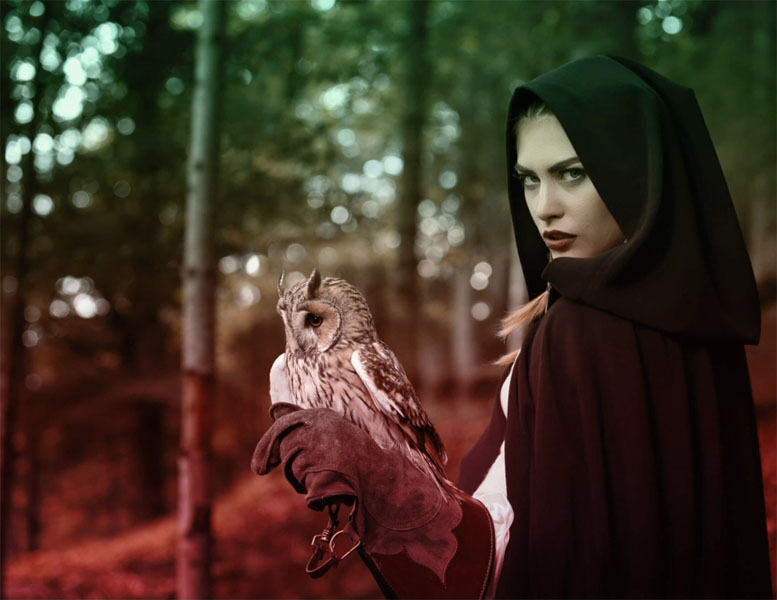
We will start with this image from Adobe Stock, you can use one of your own images.

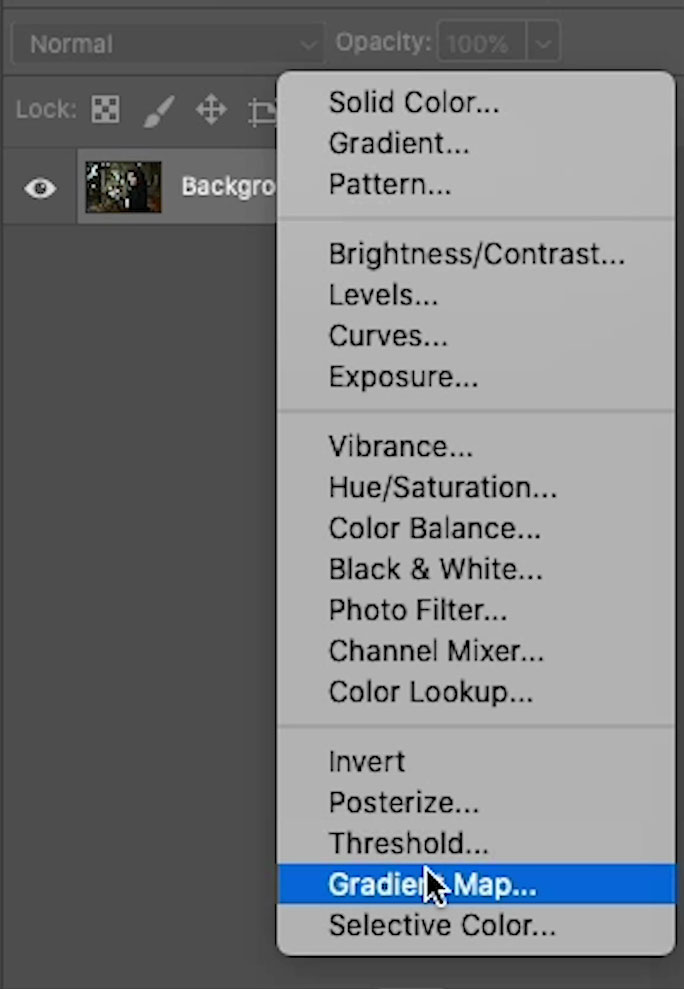
Click on adjustment Layers in the Layers Panel
Choose Gradient Map
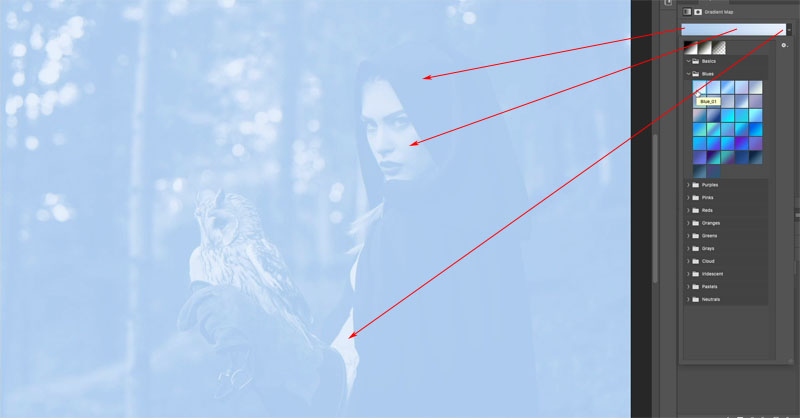
The Properties panel will show the last used Gradient active
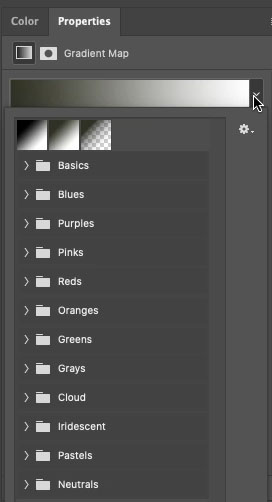
You can see how it effects the photo right away.
How a Gradient Map Works
The gradient map maps the colors of the gradient to the tones of the image.
The colors on the left of the gradient are mapped to shadows, the colors on the right are mapped to highlights.
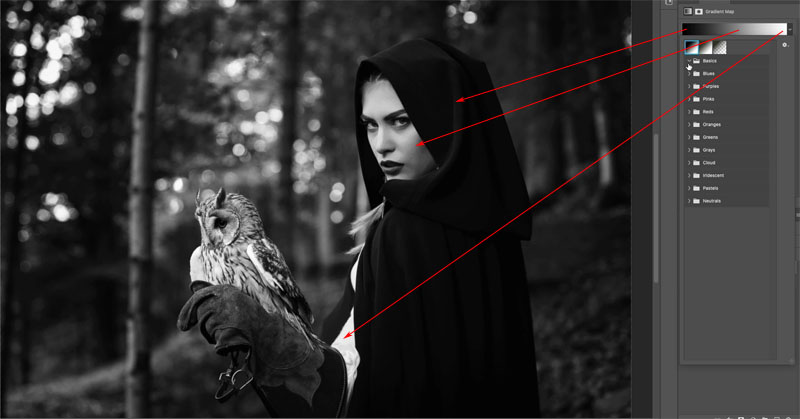
Here we can see the results of a blue to white gradient.
Making the Gradient Map look good
So far, we have changed the color of the image, but we want to blend it with the original colors to get a more color graded look.
In the Layers panel choose the Gradient Map layer.
Change the blending mode from Normal to color.
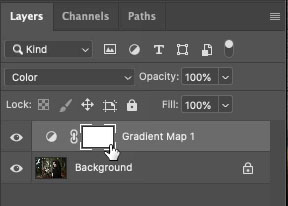
And now the tones are preserved and only the color changes. Look at this beautiful rich blur tint.
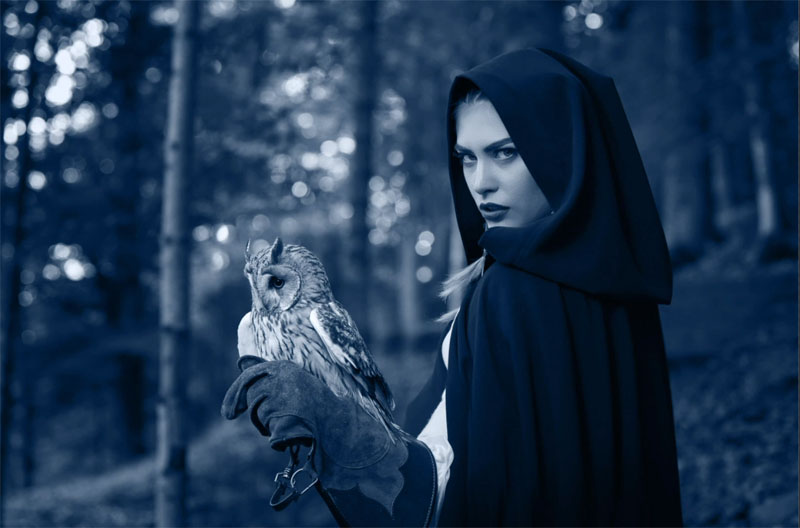
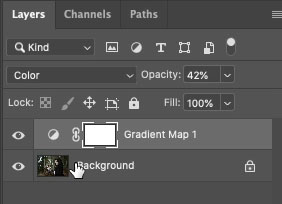
To move into a more cinematic color grade, lower the opacity of the color layer, so it blends with the original color.
Look at this color, it’s ready for TV or the movies, and it was easy.
Recapping the 3 moves.
- Add Gradient Map
- Change to Color Blend <Mode
- Adjust the opacity.
Now, read on and find out how you can unlock hundreds of gradients that are in Photoshop already, but hidden.
Unlocking Hidden Treasure in Photoshop
Open the Gradients panel Window>Gradients (Only in Photoshop 2020 or newer) here for earlier versions of Photoshop.
Click on the panel menu and choose Legacy Gradients
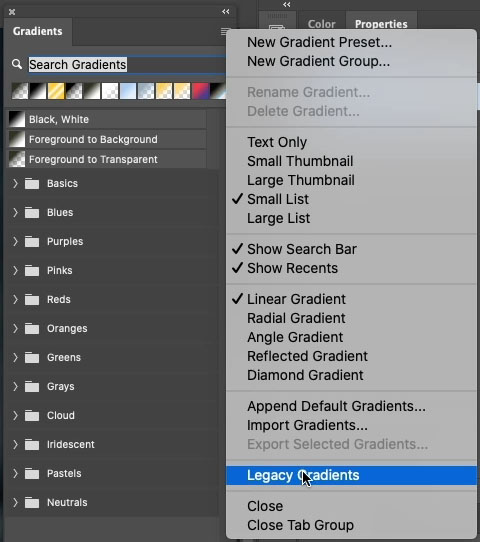
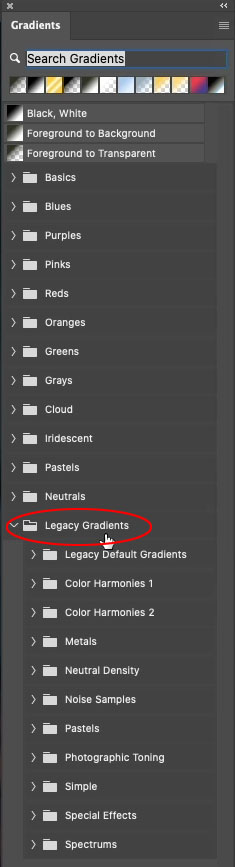
You will see a whole library of gradients load up.
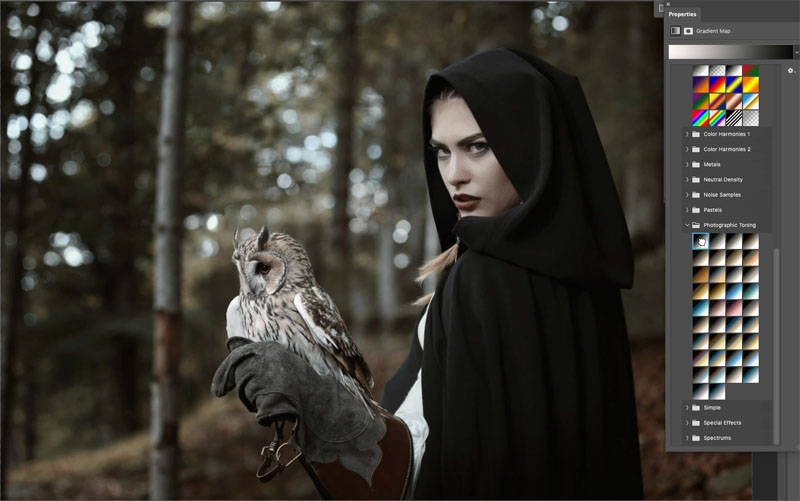
Go back to your gradient Map layer and click on the properties panel.
All these Gradients will now be visible in the menu. Scroll down to the Photographic Toning ones, these are really good. They have been in Photoshop forever, but so few people know about them. You are now one of those lucky people (Aren’t you glad you came to PhotoshopCAFE?)
Try clicking other options to instantly update your image.

How a Gradient Map is different than a gradient overlay
Here you can see a red to green gradient is over the image. Its position based and has no regard to tone.
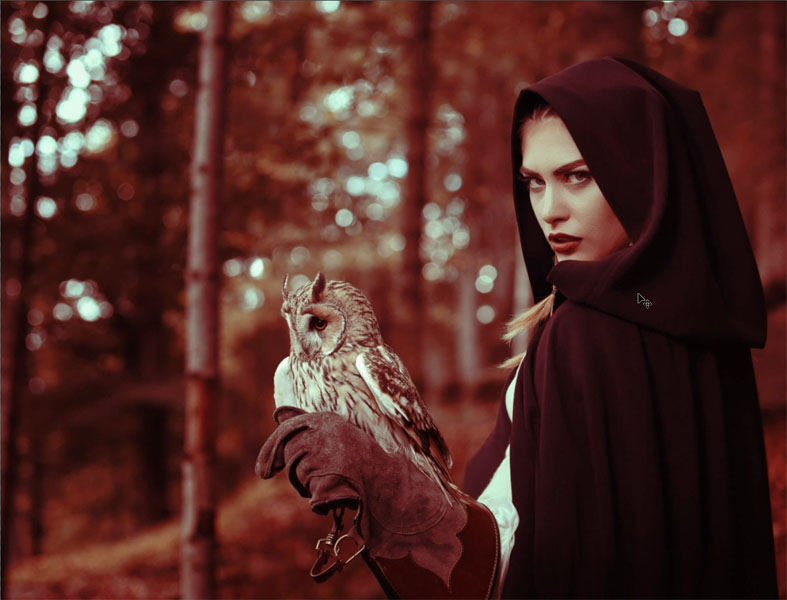
Here, the green to red gradient is applied as a gradient map. The reds to Shadows and greens to highlights.
If you choose the Reverse option is will flip the gradient map
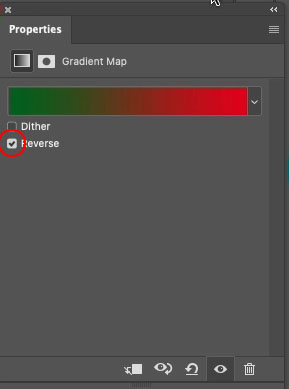
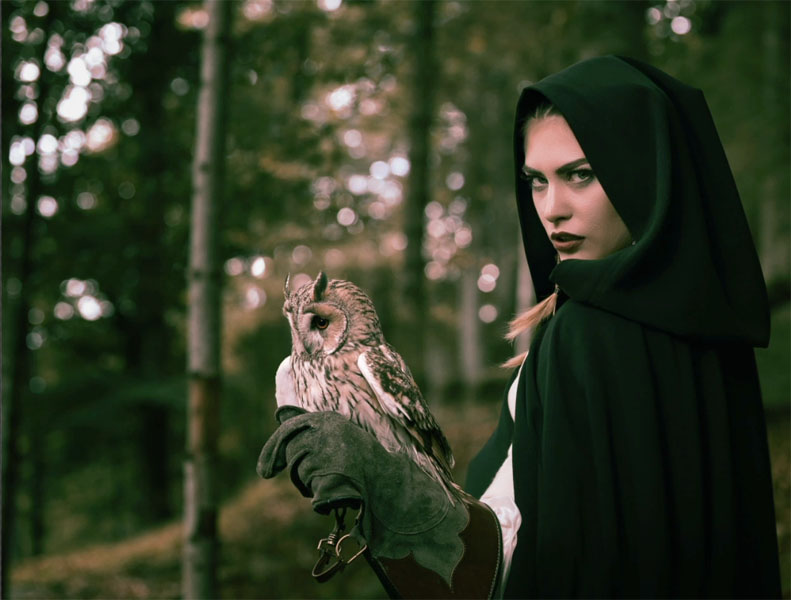
Now greens are in the shadows and reds in the highlights.
I hope you found this tutorial enlightening.
I’m making new tutorials every week, so why don’t your subscribe to our newsletter so you will get a reminder when I release each new tutorial.
Great to see you here at the CAFE
Colin
Browse our hundreds of other free tutorials here, or search for what you are looking for in the search at the top of the page.
You can also browse by topics in the free tutorials menu.
If you are ready to get serious about Photoshop, see our full length courses here
PS Don’t forget to follow us on Social Media for more tips.. (I've been posting some fun Instagram and Facebook Stories lately)
You can get my free Layer Blending modes ebook along with dozens of exclusive Photoshop Goodies here


15 thoughts on “How to Color Grade Photos in 1-click with Gradient Maps in Photoshop”
Leave a Reply

How to automatically combine multiple images into a single image in Photoshop.
More collaging techniques for Photoshop, using channels and layers.This is a bit more in depth than some of the other...

Complete guide to Color grading in Lightroom and Adobe Camera RAW, all settings explained and applied to different types of...


Another superb video Colin. You really are the best at bringing us all the latest techniques. Many thanks.
Great video again Colin. Learned a lot
Really great tutorial, Colin. Even though I have used gradients for several works, this seems more coherent and easy to play with. Thanks once again, Colin!!! Keep up the great and fun work.
Great! I didn’t even know that could be done….thanks for your expertise!
Instead of layer mode color, you can also use soft light and others for different effects.
Yes, you can.
Great tutorial & colour grading completes a shot if done well.
Terrific. And I’m sure there’s lots more can be done with Gradient Maps. (eg. using more than one perhaps). Another tutorial? Many thanks.
Fantastic!! It works well and adds to other content learned from the Photoshop Virtual Summit (2020)!
Can this used to become an “action” for a group of images?
yes, it will work on an action
Thanks. As I am getting fairly decent with layers etc, the next step up is … Color Grading. Changes the whole piece. Thanks for making this very understandable.
Incredible journey to new techniques.
Many thanks for your efforts
Clear, concise, undesrtandable and fairly useful, as always. Thanks for helping us improve our knowledge !
Hi Colin
I wondered whether it was possible to preserve the original colour and tone of, say a portrait, so I selected the model and then reversed the selection before applying a colour grade map.
Fantastic as always, Thank you.