
Clean photos and remove distractions with the patch tool in Photoshop
Remove distractions with the patch tool in Photoshop
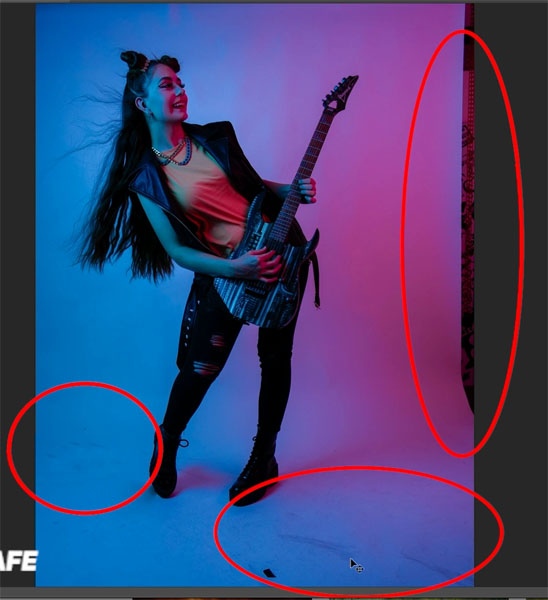
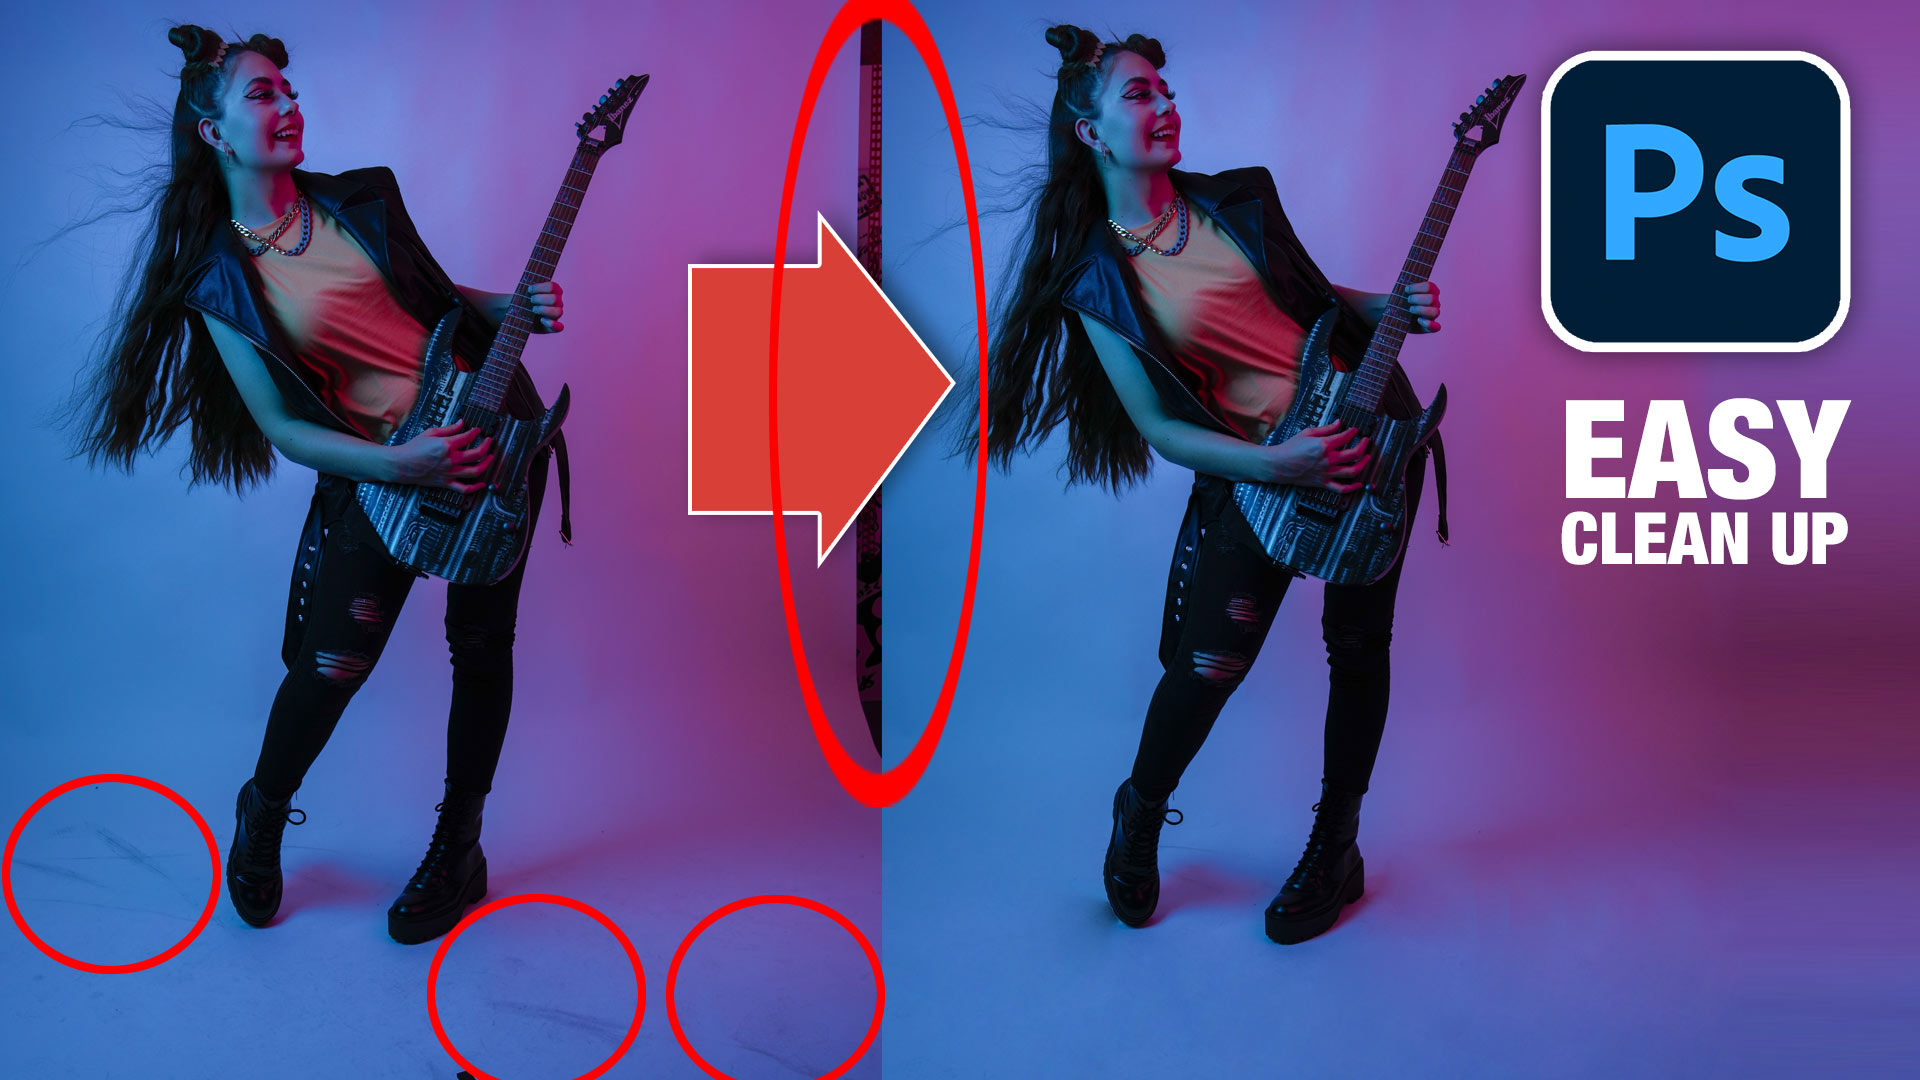
It’s not unusual to get smudges and, dirt and footprints on the white seamless paper during a photoshoot. It’s also common the see the edge of backdrop or light modifiers in the scene. I don’t compromise the shoot or worry about them during shooting because they are so easy to fix in Photoshop. This is from one of my recent shoots, where I was using a white backdrop with colored gels. see all the footprints in the bottom of the paper? Let’s clean it up.
We are going to use the patch tool in a different way than you have seen possibly. We will use it like a magic eraser and just dab away the dirt. Don’t forget to check out the short video to see this in action.
Remove objects from a photo with the patch tool in Photoshop.
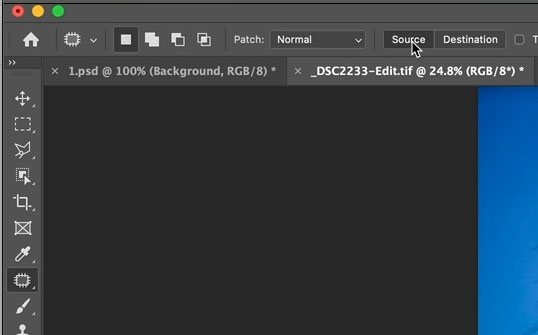
Choose the Patch tool from the toolbox.
Select Source from the top menu.
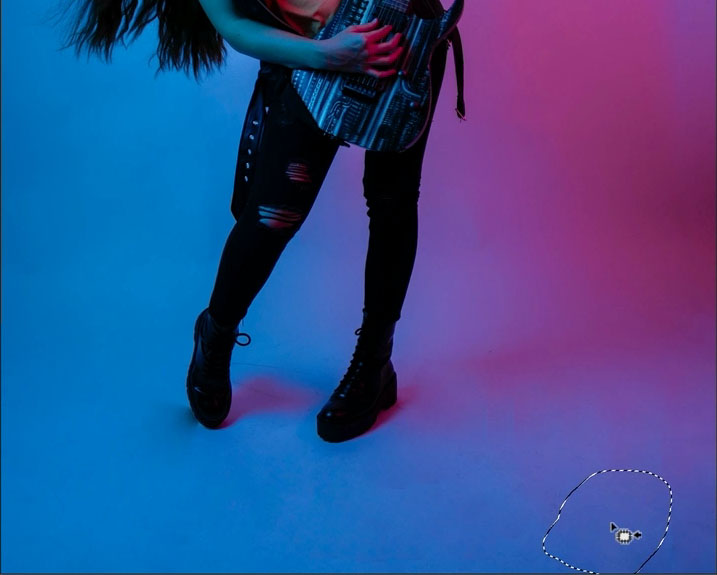
Make a selection around the area you want to patch. This is the edge of the backdrop.
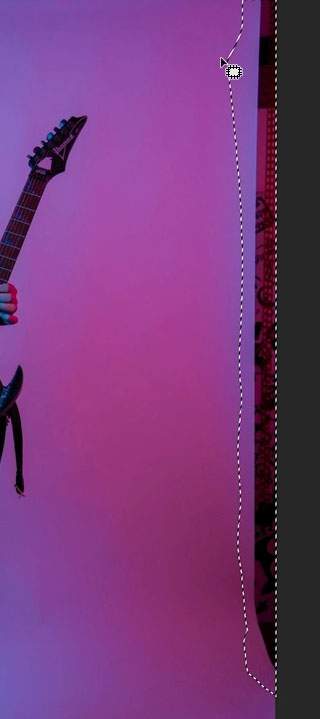
Drag the selection to a similar colored area without the distractions.
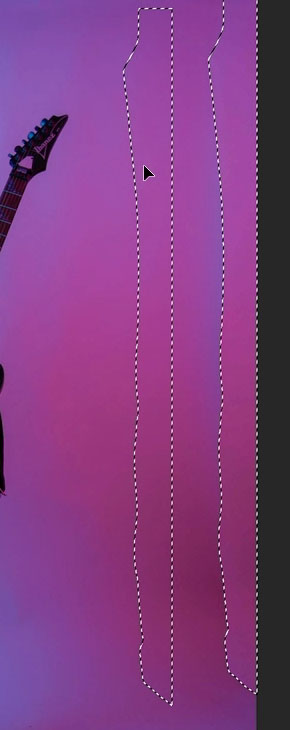
Release and it will blend in the fill. It’s that easy. If you are worried about any discoloration, you can repeat.

Clean dirt and smudges from a photo with the patch tool.
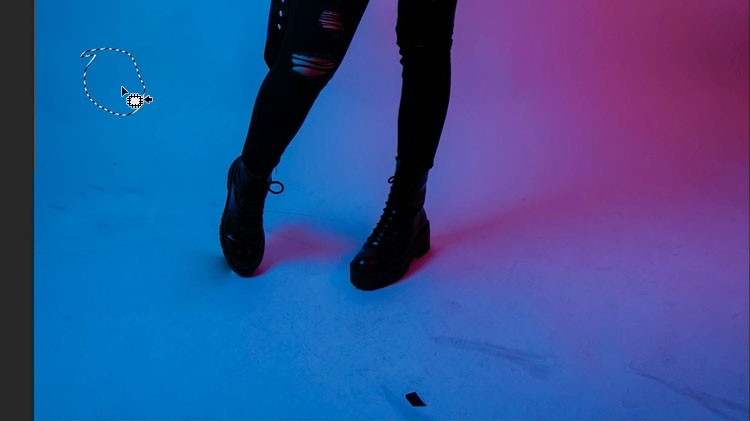
Let’s clean up the floor and make it nice and clean.
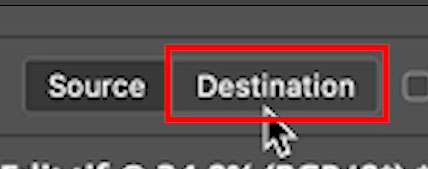
With the Patch tool selected, choose Destination.
Make a selection on the clean area of the photo. (If there is no clean area, use the clone stamp to create one)
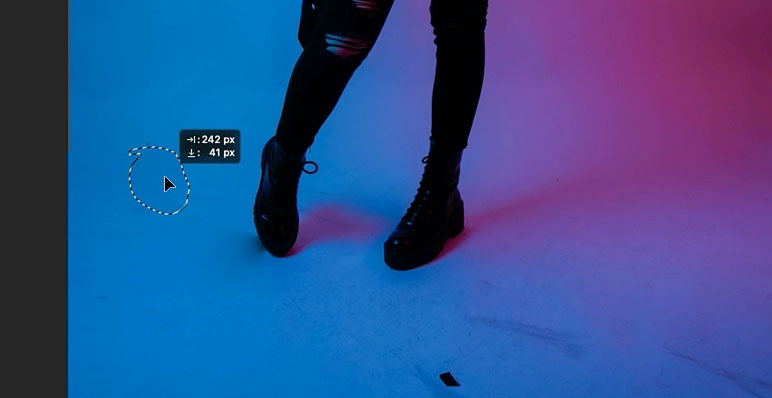
Drag the patch selection to an area you want to clean.
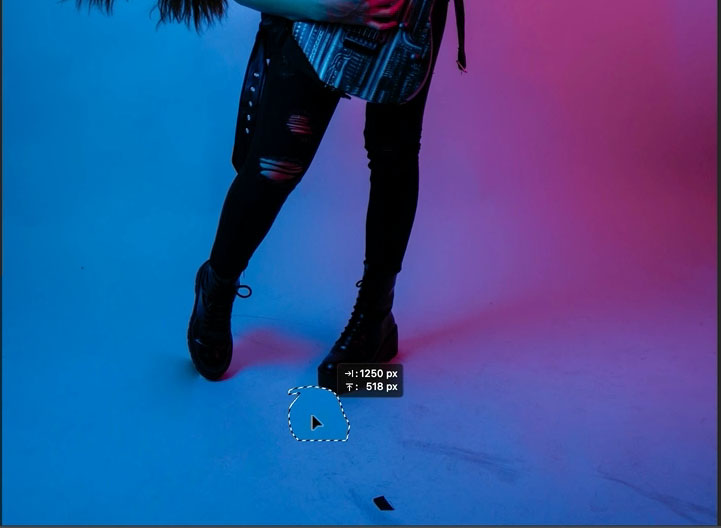
Without deselecting, drag to another area and watch it miraculously become nice and clean. (you have to see this in action on the video)
continue
and done

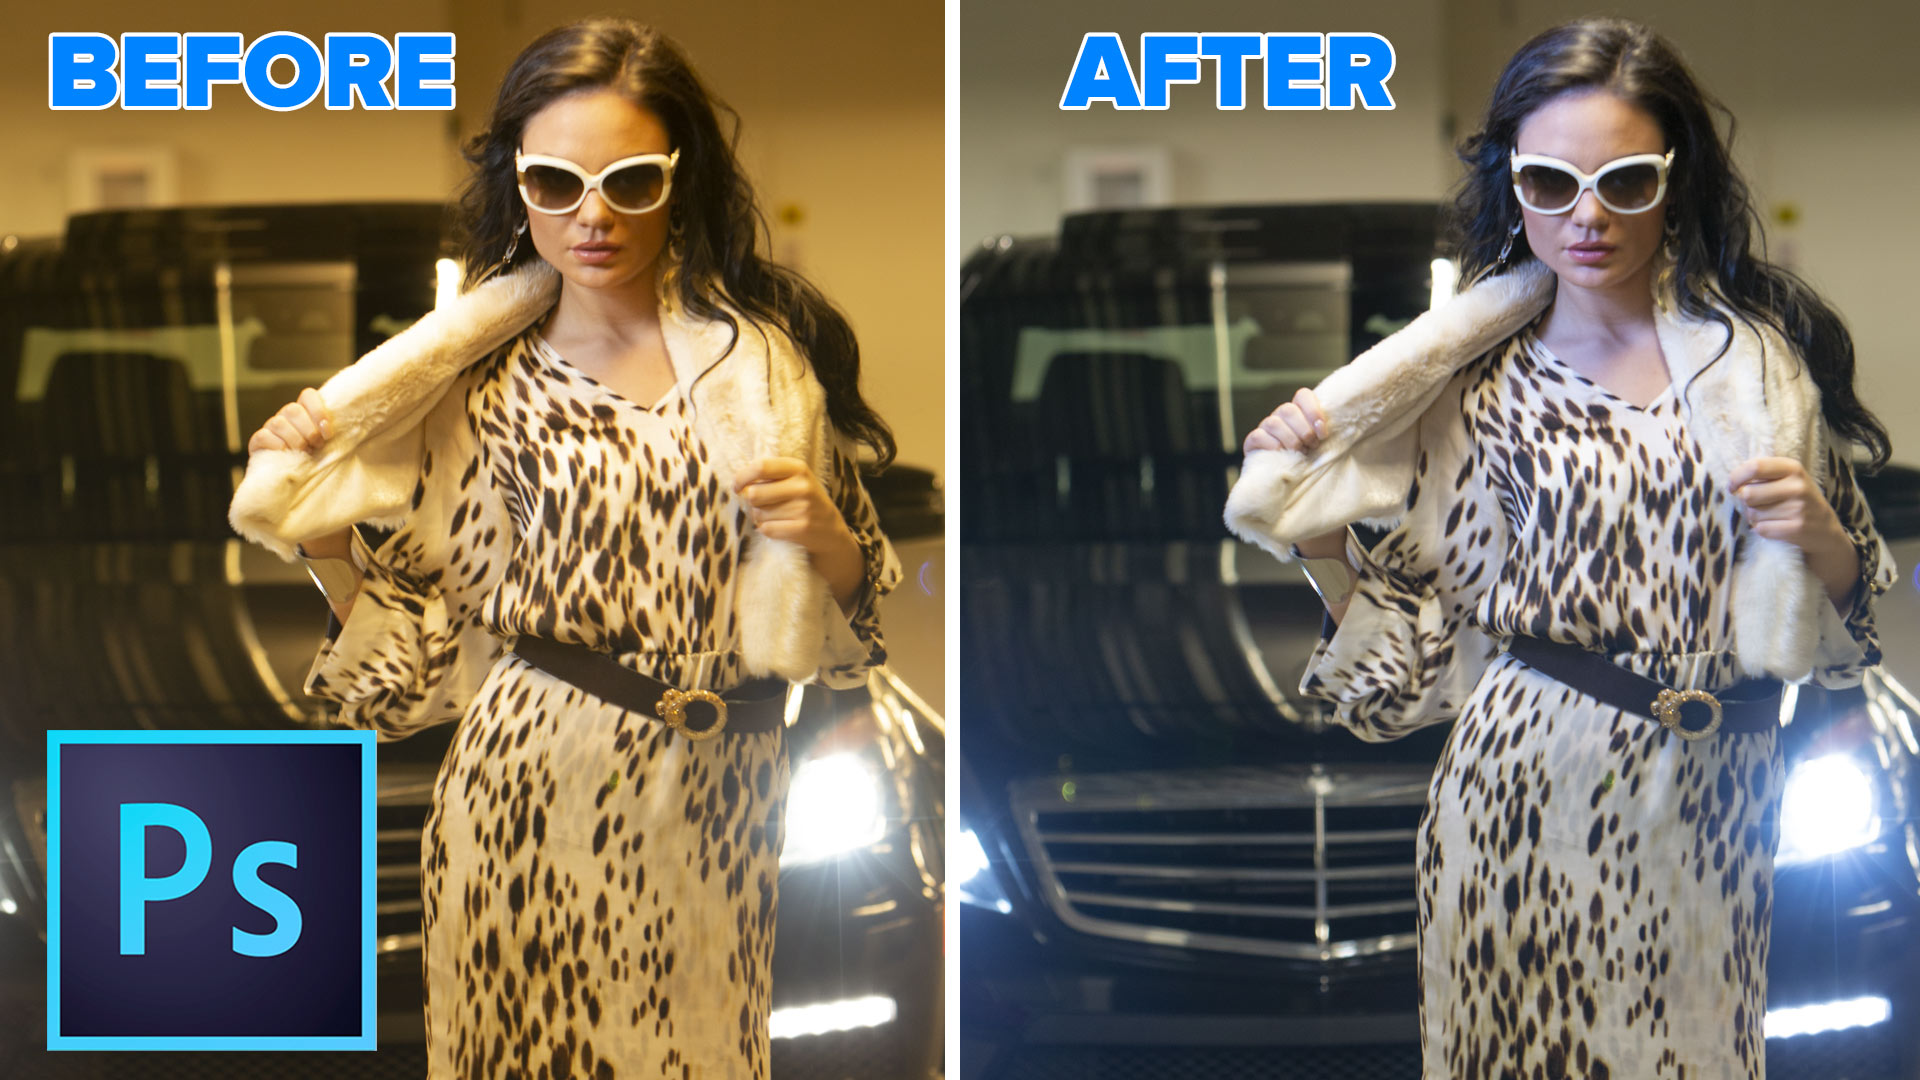
Here I finished it off by adding a little bit of rim light in Photoshop, as well as dodge and burn for impact.

I hope you enjoyed this quick little tutorial.
Great to see you here at the CAFE
Colin
PS Don’t forget to follow us on Social Media for more tips.. (I've been posting some fun Instagram and Facebook Stories lately)
You can get my free Layer Blending modes ebook along with dozens of exclusive Photoshop Goodies here

22 thoughts on “Clean photos and remove distractions with the patch tool in Photoshop”
Leave a Reply

How to automatically colorize a black and white photo in photoshop using AI powered tools. New features tell Photoshop what...
How to remove a color cast from a photo in Photoshop. 4 different ways to fix color on photographs instantly...

New Features in Lightroom 8 / Lightroom Classic CC 2019 This video goes through the new features in the latest...


Seasons Greetings to you too Colin. Thanks for keeping us up to date with OS throughout the year and look forward to what’s instore fpr 2022.
This was cool! I use Patch Tool all the time on Source. Never tried the “Mr Clean Eraser” approach with Destination. Now I will after seeing what it does. Thx, Colin.
Thanks Colin, that was most helpful, and much appreciated
Cool, Colin! I didn’t know about Destination!!
Never used patch tool like this. Thanks for the tip.
Hi Colin
Excellent. Help please, source and destination etc does not show when I select the patch tool. How do I activate the please?
Using the latest CC
Season’s greetings to you Colin and everyone at Photoshop Cafe.
Yes, I have been using the Patch Tool with both, Source and Destination, but I did not know that you can move the selected area (in Destination) around to clean other areas as well.
I have used the Patch Tool millions of times. Never knew you can reuse a selection. Very Nice. Thanks!
Great hint and so easy ! Thank you
Merry Christmas, Colin
Your emails add a little fun to my mornings, even with 40 years in graphics. It’s nice that they are free so I don’t need to hunt down permission. Here’s to a good new year. Thanks so much.
Tamara at Charley’s Greenhouse & Garden
Another gem. Use the patch tool (source) but will now stretch to using the destination part.
Many thanks.
Did not know about destination. Thanks.
This was a great lesson, thanks Colin and Happy Holidays to you!
Magic!!
Wow!!!
Very cool
Thanks
I have, as have others, used the patch tool but only in the Source mode. I have struggled with backgrounds and smudges for years but never realized how simple this tool in the Destination mode can be at simple cleaning jobs.
Very useful, thanks
I use this quite a bit; though you explain it so well. It takes practice.
Wow, awesome Colin. I love your quick and well explained tutorials.
Hi Colin, love your channel.
Whenever I use the patch tool I get a blurred half toned smudge as a result. I cannot get a “clean” patch (even by going over the same spot several times). I tried content aware and normal settings but makes no difference. I also tried changing the diffusion and colour settings but no better also. Can you suggest please?
make selections
Great tip Colin, short and sweet!