
Best way to lighten shadows in photos in Photoshop
Fix shadows in Photoshop with this Parametric curve trick
Have you even noticed, that its really common to find the shadows in your photos are too dark? Even after setting the correct exposure, that mid-tone to shadow area still seems too plugged up.


In this Photoshop tutorial, I’m going to show you a really cool trick that I came up with, that targets those areas and opens them up (revealing shadow details) instantly, and I’m not just talking about the shadow slider.
Choose File>Open. Choose Filter>Camera Raw filter if the photo doesn’t open in Camera Raw.

You should be in the Camera Raw window now. (Its the same as the Lightroom develop module).
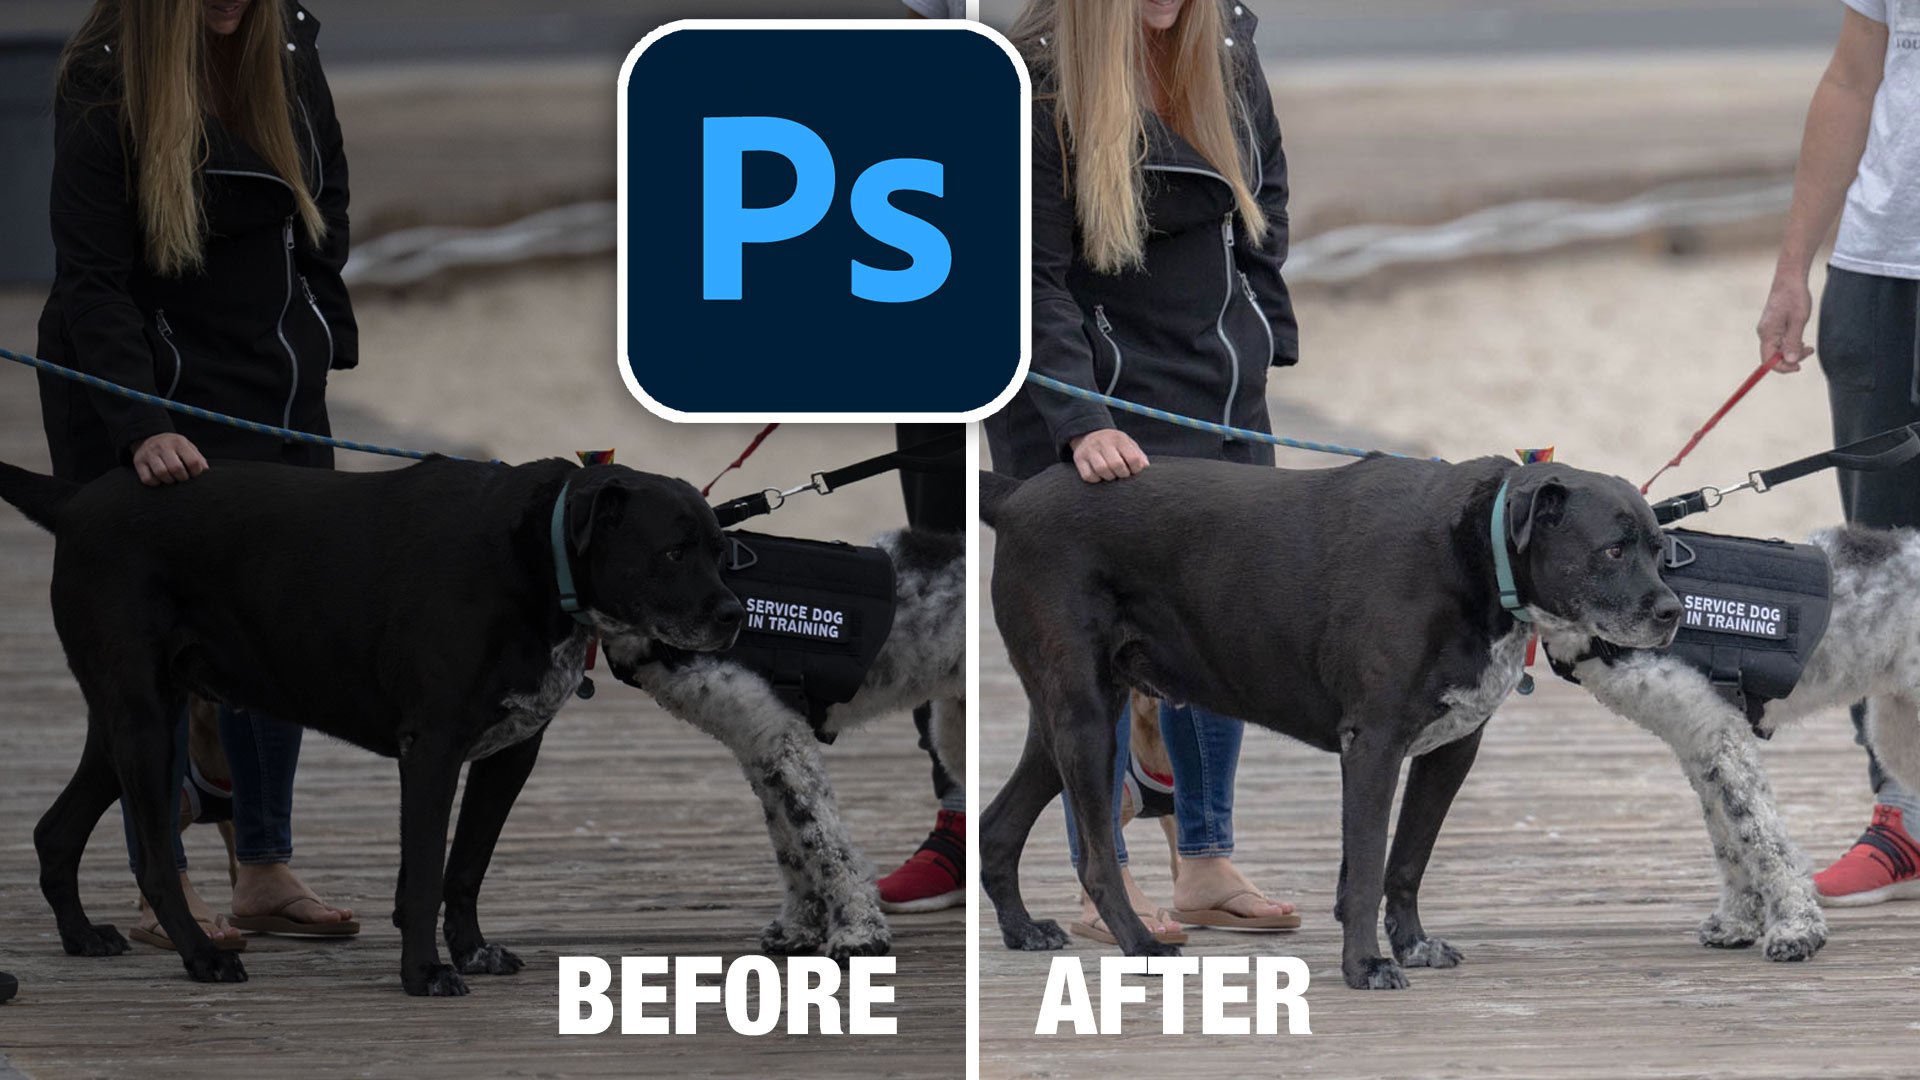
After making basic Exposure adjustments, see the blacks and shadows are all running together. It’s just dark and difficult to see whats going on in the shadow region of the photo.

I’ll jump right in and show you my tip and then I’ll explain it to you, so you understand whats happening and how to fine tune the result.
Under curves, choose the parametric option. The double S to the right of the word “Adjust”.
Slide the 2 left most dots on the gray bar to the left as far as they go.

Move the Darks slider to the right and notice that the shadows brighten exactly where you want and nowhere else. This one trick improves photos immediately..

How does this work?
Note: I could just move the shadow slider to the right from the basic panel to get a similar result. The reason I don’t just move the shadow slider in this case, is because if you move it too far, the image looks fake and over-processed, almost as if its wet. Also you can’t target the exact tones you want to include as shadows from the shadow slider. Read on for a better solution.
OK, get ready for a really quick crash course on parametric curves. They are soo good!
How Parametric Curves Work
You will see a black to white bar under the curve with 3 dots on it.
The dots divide the bar into 4 sections and work like a form of luminosity masking. They are:
Shadows (Blacks)

Darks (Dark midtones)

Lights (Light midtones)

Highlights (Whites and brights).

The 4 sliders adjust the brightness of each of the 4 regions. To the left to darken and to the right to brighten.
If you move the dots, you target a different set of tones. If the dots are close together the region is narrow, if its far apart a greater rang of tones are affected. Watch the video at the top to easily see how it works.
Let look at darks. I have increased the brightness of darks.
Notice the position of the 2 dots on either side of the Darks on the image below.
Notice how the mid-tones are now brightening too. This is because they are included in the Darks zone.

Pull the dot to the left. Notice the shadows aren’t changing, but the mids are now being protected from the increased darks, because they are no longer included as darks (the area between the left 2 dots).
This is how you can brighten the shadows without over brightening the midtones.

To finish off the effect, you can give the Shadow slider a little push to the right to add a little snap without the image looking artificial or over processed.

I hope you found this quick tutorial useful.
I’ll see you next week with a new tutorial
Great to see you here at the CAFE
Colin
PS Don’t forget to follow us on Social Media for more tips.. (I've been posting some fun Instagram and Facebook Stories lately)
You can get my free Layer Blending modes ebook along with dozens of exclusive Photoshop Goodies here

9 thoughts on “Best way to lighten shadows in photos in Photoshop”
Leave a Reply

Learn how to customize the feel of your Wacom pen, and learn how to change pressure settings in the brush...

In photoshop composites, models are shot in a different environment to the background plate used. A challenge is matching the...

How to make textures in Photoshop, add them to your library and use textures to make your photos and art...


Great tutorial on using th parametric curve to open shadows in PS.
I’ve never been able to get the hang of curves. I’d love to take the course but right now my health prevents enrolling in anything. Hopefully, this will change. I sure do enjoy your tips though, even though I’m not using them to digital scrap at this time. Thank you.
Thanks for this great tip. I have been using curves, but your way opened up a whole new dimension for me. Thanks a lot!
Thank you for your info- very helpful. Using curves but not to the extent.
As usual, I was impressed with your explanations. No I was blown away! This will be so helpful with my photos for the animal rescue where I volunteer. Between moving animals & poor lighting it can be a real challenge. Thank you.
This as so helpful! I have to go back to so many of my photos and work them again with the parametric curves tool. Thanks!
PARAMETRIC CURVE…who ever heard of such a thing!! Thanks for this one Colin…I got the course also…
Regards, Joel
Thanks for getting the course, I hope you like it
Thanks for helping me understand the value of CURVES — and how to use them to make photos effective. After short time, already have started using them – including updating previously processed pix.