
Visualize Interior design with photoshop and ai with generative fill
Fill a room with real furniture using Photoshop ai
the Redesigned Generative Fill in Photoshop adds 5 important new features. Visualize filling a room with real furniture without breaking a sweat.
I’ll spill the beans right here and tell you the features, then we will learn to use them on an empty room and decorate it with specific furniture, so you can visualize exactly what a redesign, or a furniture rearrangement will look like, before you do it.
The 5 new features are
- New Model Picker
- Generative Credits counter
- Multiple Reference images
- Expandable, multi-line prompt window
- New Firefly model
Visualize filling a room with real furniture without breaking a sweat.
Let’s start with an image of an empty room.
You can photograph a room, even a full one and ask Generative Fill to empty it. (I grabbed this one from the free Adobe Stock collection.)
Press Ctrl/Cmd+A to Select All.
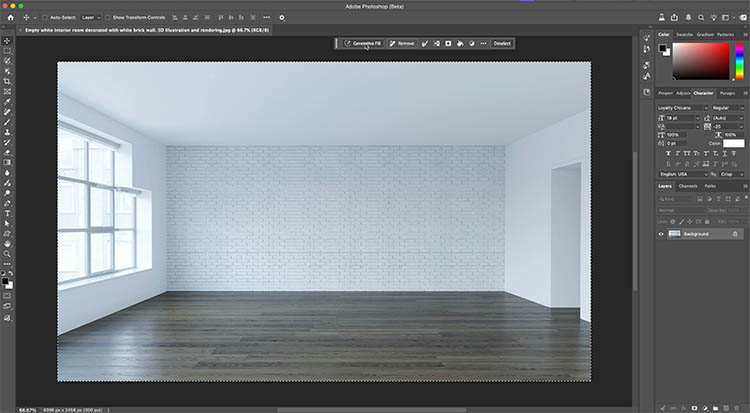
Click on Generative Fill in the Task Bar.
You will notice it now looks different.

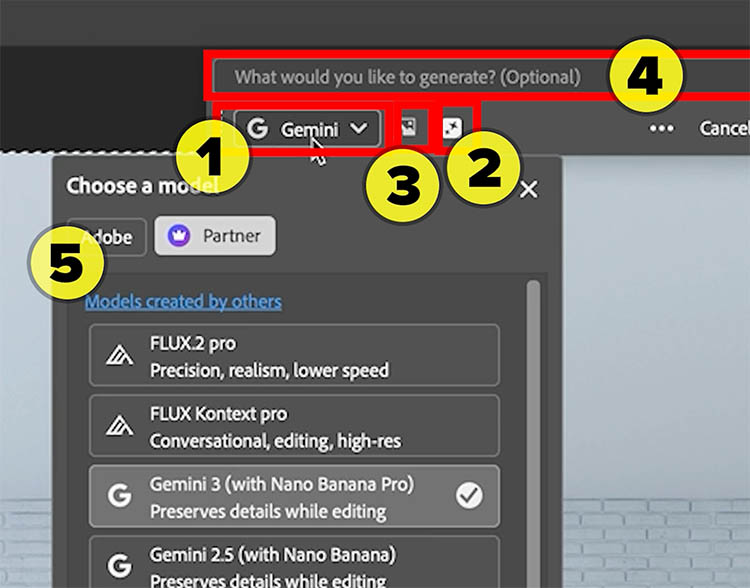
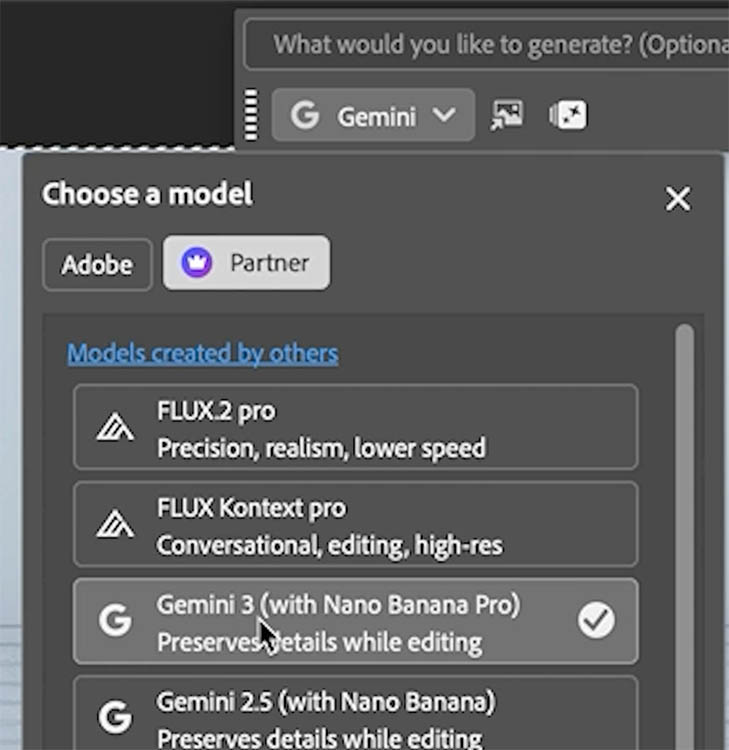
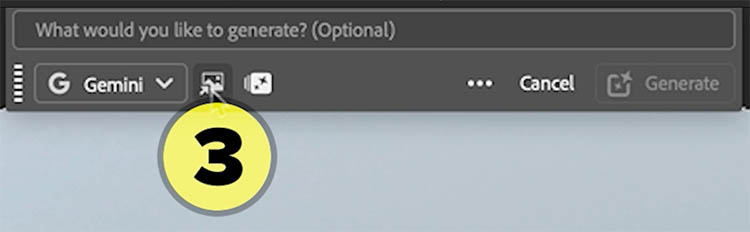
Click on the lower left button.
This is the Model Picker. Notice that there are separate tabs for Adobe and for Partner models.
For this example we are using Partner>Gemini 3 (nano Banana Pro).
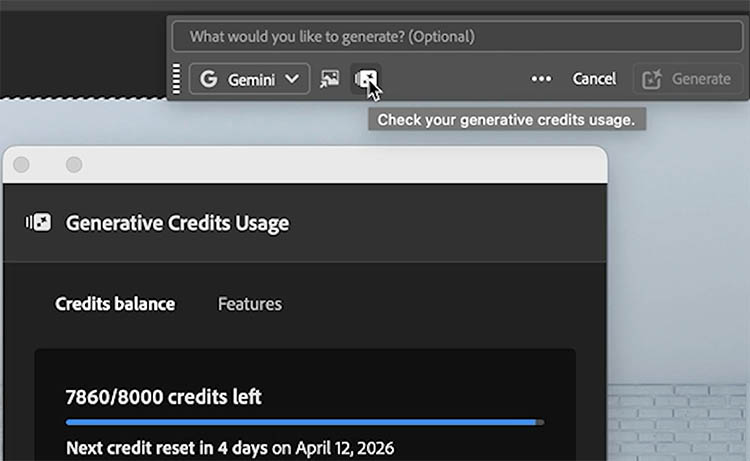
Click on the button to check your Generative Credits. This tells you your allocation, amount used and reset date. (no rollovers and it fills up on that date).
Click on Features to see how many credits each ai tool uses, based on your subscription type.
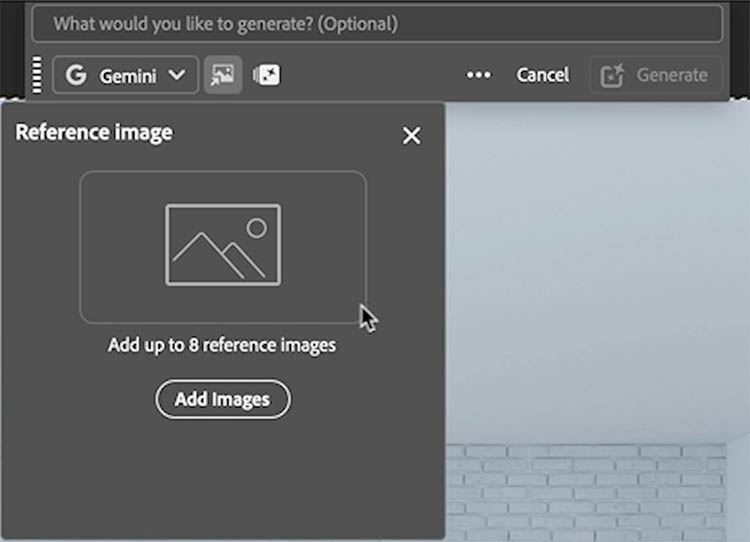
Click on the Reference image button (Not available for all models).
Now you can add up to 8 reference images for Nano Banana pro.
Here I am adding images of actual office furniture that I found on Wayfare. Look at the video on youtube for links to the actual furniture I used, if you are curious or want to try this yourself. (at the bottom under shopping). Or find other images you prefer and try them.
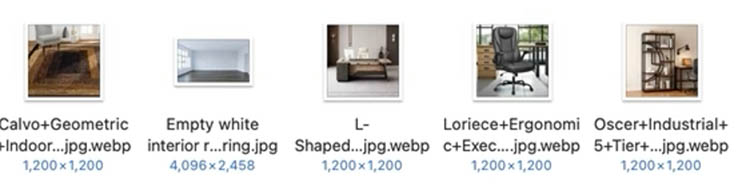
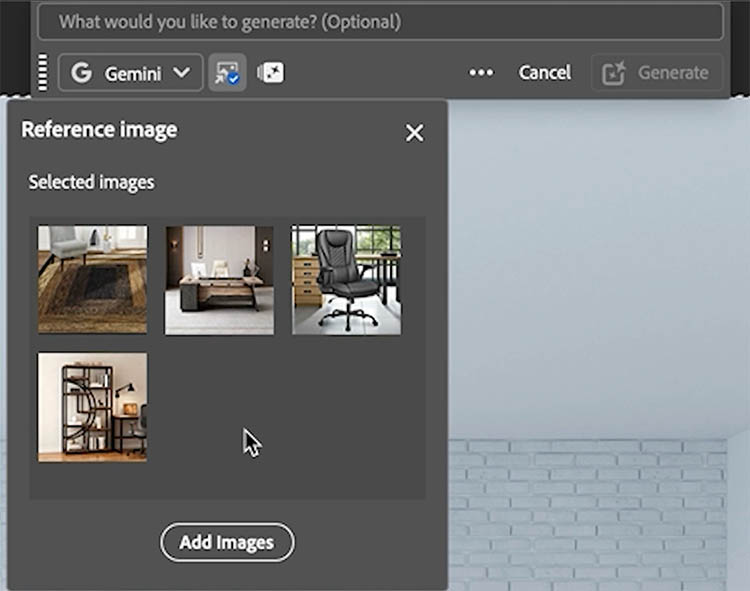
Load them in and see there is a desk, chair, rug and shelf. You could add more images if you like such as lamps and picture frames etc.
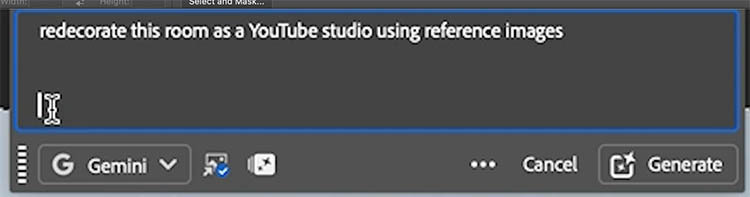
Let’s type a prompt. “redecorate this room as a YouTube studio”
Notice another new feature? Yes! We now have an expanding multi-line prompt window. A small, but very useful addition.
Press Generate
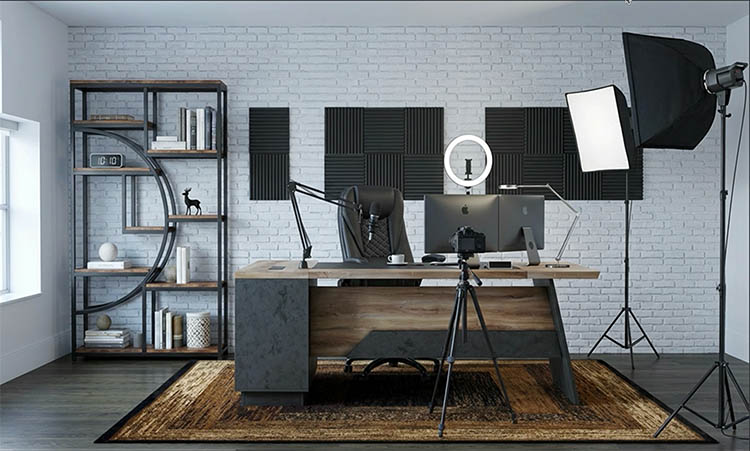
And now we have the exact furniture in the room. (You could add the dimensions into the prompt to get more accurate scale).
I see there are lights and sound baffles added, it is a you tube studio after all. You can prompt to move things are around or remove items.
I generated again and got a wider angle this time. You can add the view as part of the initial prompt, or add “don’t change room size or angle”. The more detailed the prompt, the more specific the results.
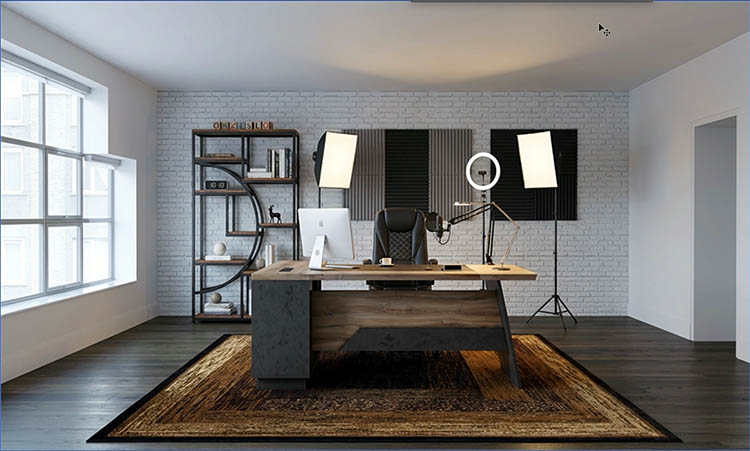
Lets select all.
Prompt: “Remove the lighting”
Now all the extra lights are removed.

We can further modify the scene if we like.
Here I typed: “Put blinds over the windows, add colored LED lighting in a youtube studio style, mainly blue LEDs.”

Now we have a hip youtube studio style setup.
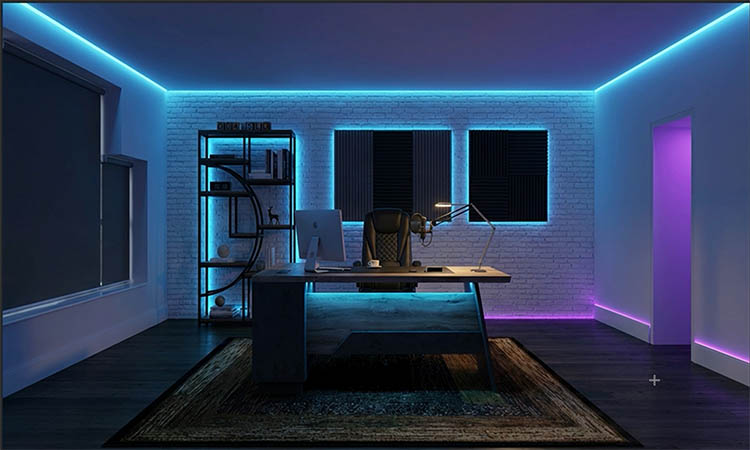
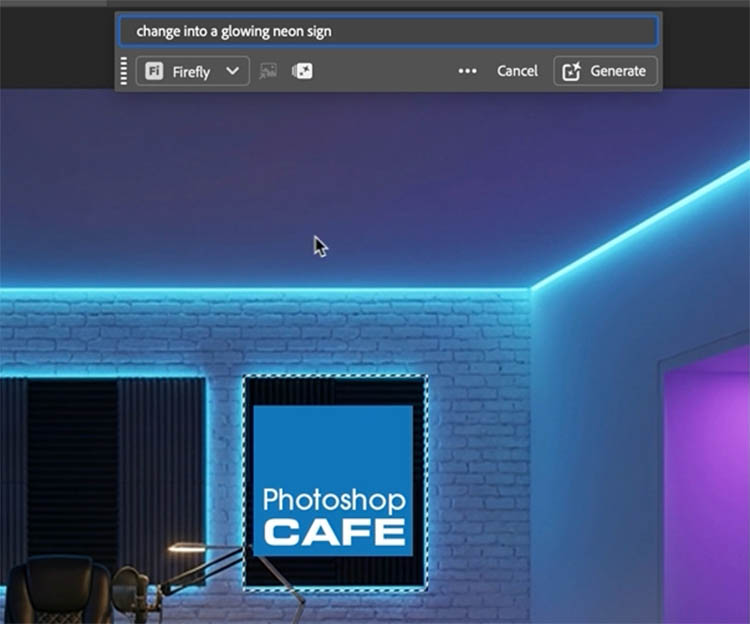
I placed my logo on the wall.
Make a selection and choose Generative Fill from the Task bar.
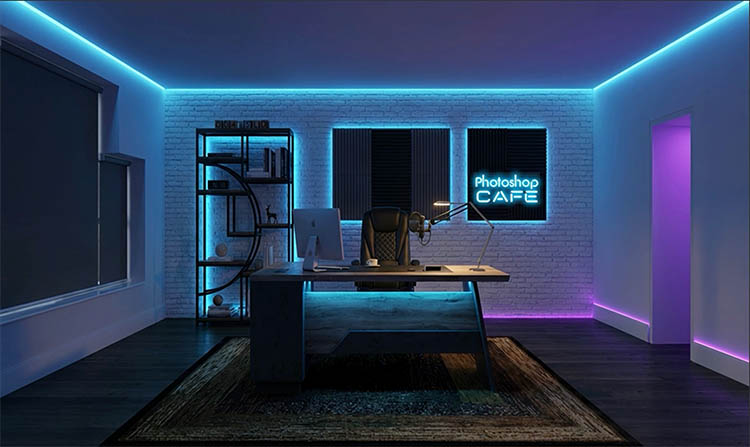
Prompt: “Change into a glowing neon sign.”
And here’s our result. You can keep changing it until you are happy. You can easily try other colors or other furniture. Never paint a wall until you pre-visualize it first.
This is a quick walk-through of the new features Adobe just released,
Drop a comment and let me know what you think, also suggest a future tutorial in the comments, I read them all.
Great to see you here at the CAFE
Colin
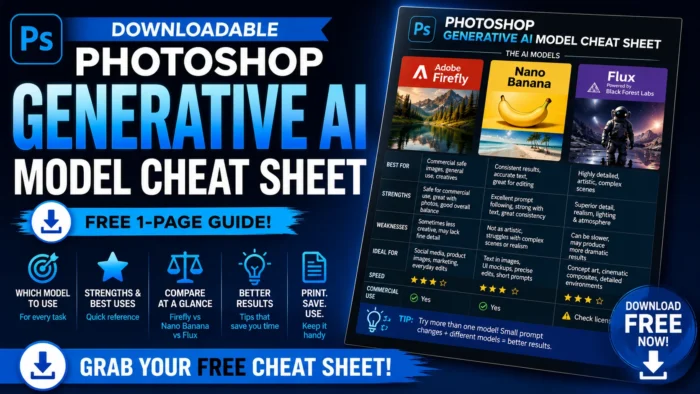
Unsure which ai model to use in Photoshop? Don’t waste your credits, I tested them all for you, grab the detailed 1 page cheat sheet here.
PS Don’t forget to follow us on Social Media for more tips..
(I've been posting some fun Instagram and Facebook Stories lately)
You can get my free Layer Blending modes ebook along with dozens of exclusive Photoshop Goodies here

9 thoughts on “Visualize Interior design with photoshop and ai with generative fill”
Leave a Reply
How to change the color of anything in Photoshop instantly, including white or black.
How to remove anything from a photo in Photoshop to get rid of distractions and make a clean background. This...

This photoshop tutorial will show you how to create the ever popular particle dispersion effect. I have put my own...


No video ” you tube closed the connection “
If that happens, try again
Love it… Keep up the good work.
Thanks
Love this quick run through of new Generative fill features!
When using generative AI, I always wonder when presented with multiple Adobe and Partner tools like Firefly or Gemini, which are the best ones for the job at hand? Should we always just go to the newest?
If only they were labeled as to their core strengths perhaps, like great for “portraits” or “signage” or “mock-ups” etc.
Anyway, keep upi the inspiring work, and thank you!
For the Adobe firefly one, use the newest. If you browse our tutorials, we have tuts on all the latest:
Here is info on the latest Adobe Model: https://photoshopcafe.com/photoshop-firefly-fill-and-expand-model-new-features-and-comparision/
The newest Gemini 3.1, Nano Banana 2. https://youtu.be/AKBJ7XksU2k?si=fmmHFj2Vj4B5y3B7
this tutorial will help a bit compare NB to Flux: https://photoshopcafe.com/photoshop-flux-kontext-pro-vs-nana-banana-full-comparison/
Great video, I can’t wait to use it.
My question: Can you specify the dimensions of the walls and the furniture so you can get a scaled view of how the furniture will look in the room?
Many thanks
Yes NB should understand that
As always, detailed, easy to understand and you are the ONLY photographer website that offers the notes…amazing and thank you