
AI Dust removal in Photoshop ACR, Automatically remove spots and sensor dust from photos
Automatically remove dust in Camera Raw in Photoshop. AI spot remover
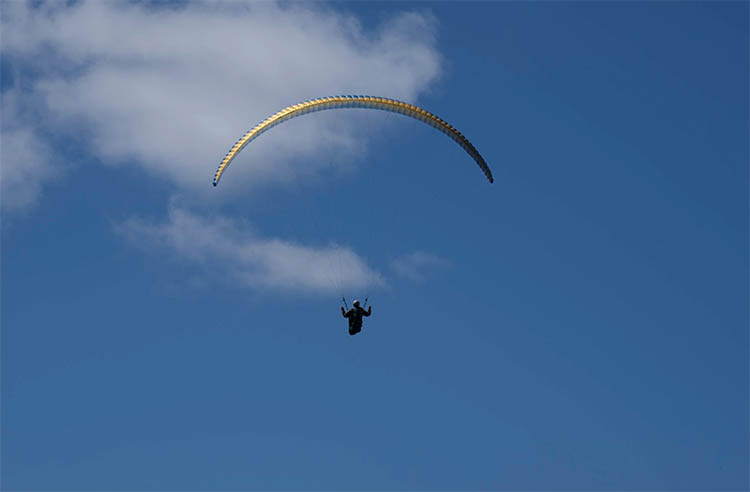
Some people are very careful and clean their lenses and sensor regularly. Even then, sometimes you can experience sensor dust, or more common, dust or dirt, or water splashes on your lens. It can happen on the front or rear glass on your lens. This shows up as spots on your photos. One step photographers take is spotting. Spotting is when you carefully examine your image at 100% or higher and scan for any spots that may need to be removed. At this point we normally fix the spots in Photoshop, ACR or Lightroom.
There is a new feature that can automatically detect and remove sensor dust in Adobe Camera RAW (ACR). This feature isn’t available in Lightroom (yet?), historically, features in ACR eventually make their way to Lightroom.
This new feature is in the mainline version of Photoshop and works on Raw and other formats.
Enabling new ai Features in Camera RAW
This feature needs to be activated.
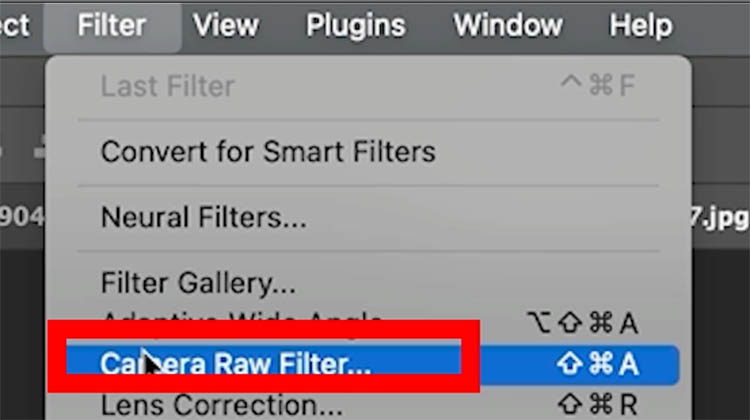
Launch Camera RAW (Filter>Camera RAW)
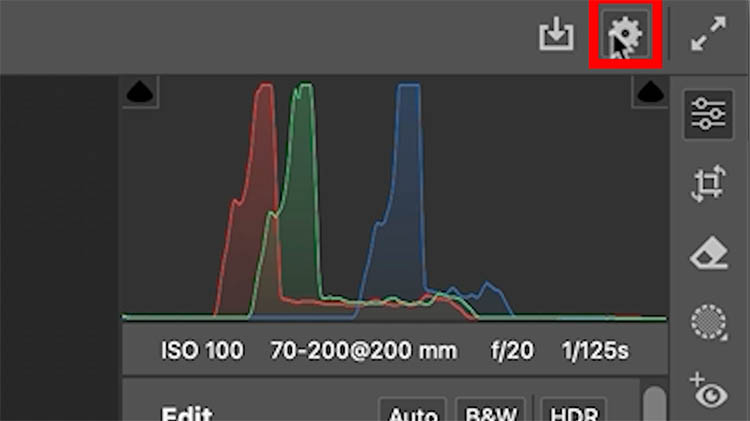
Choose the Gear at the top-Right
Go to Technology Previews
Make sure New AI Features is turned on. Although this isn’t in Beta, it is a Technology preview, which is Like a Beta for Camera RAW.
If this option wasn’t turned on, restart Photoshop.

Using Dust Distraction Removal with RAW Images.
In Photoshop, Choose File>Open.
If the Image is a RAW file it will open directly in ACR. If not, Choose Filter>Camera Raw Filter
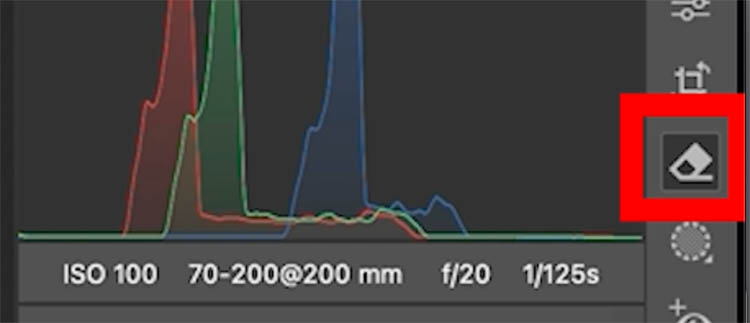
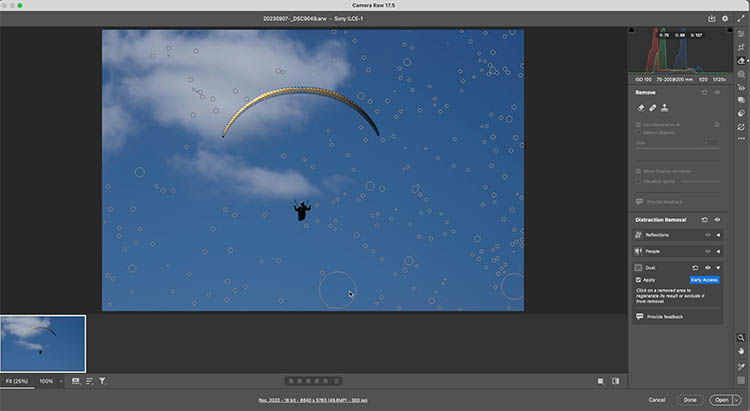
Click on the Remove tool in the toolbar.
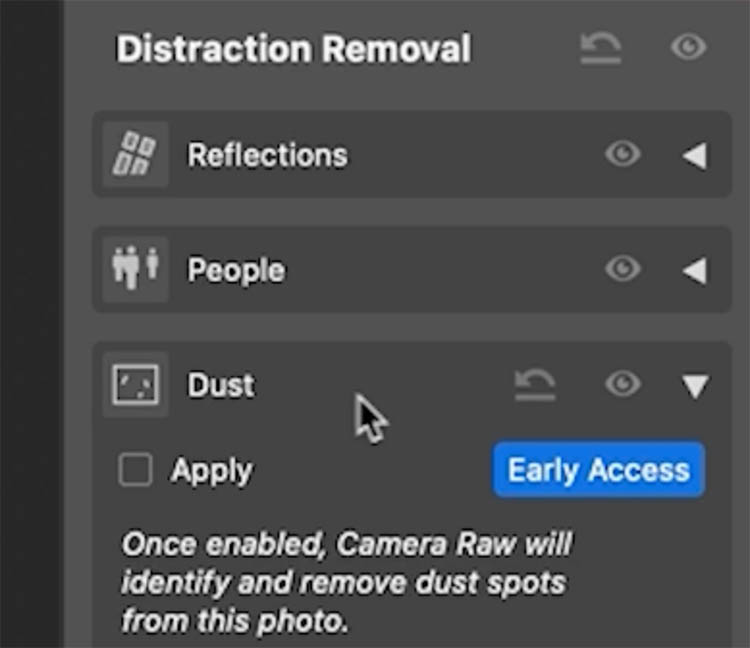
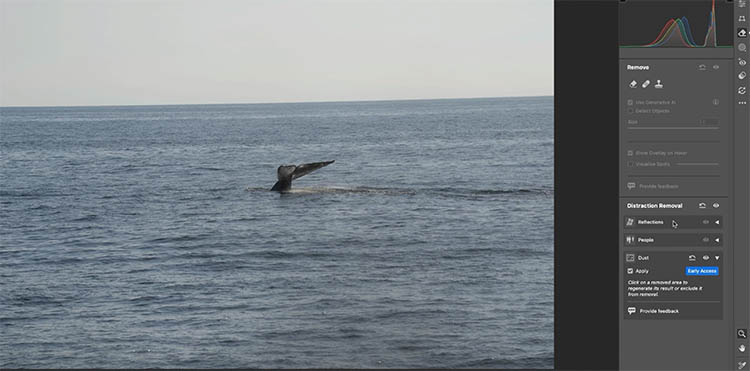
Scroll down to Distraction Removal.
You might recognize Reflections and People. You will see Dust, dust uses the same technology.
Click Apply.
ACR will analyze and remove all the dust and spots, even hairs on this image.
If you roll over the image you will see where the spots were removed. This image was really bad.
(Pro Tip: use this feature to check an image for you and then remove dust manually).
Removing Dust from a non Raw image in Camera RAW.
For a jpg, Open it in Photoshop.
Choose Filter>Camera RAW Filter
Choose the Remove tool. (The steps are the same, but first lets check for spots).
Let’s manually check for spots
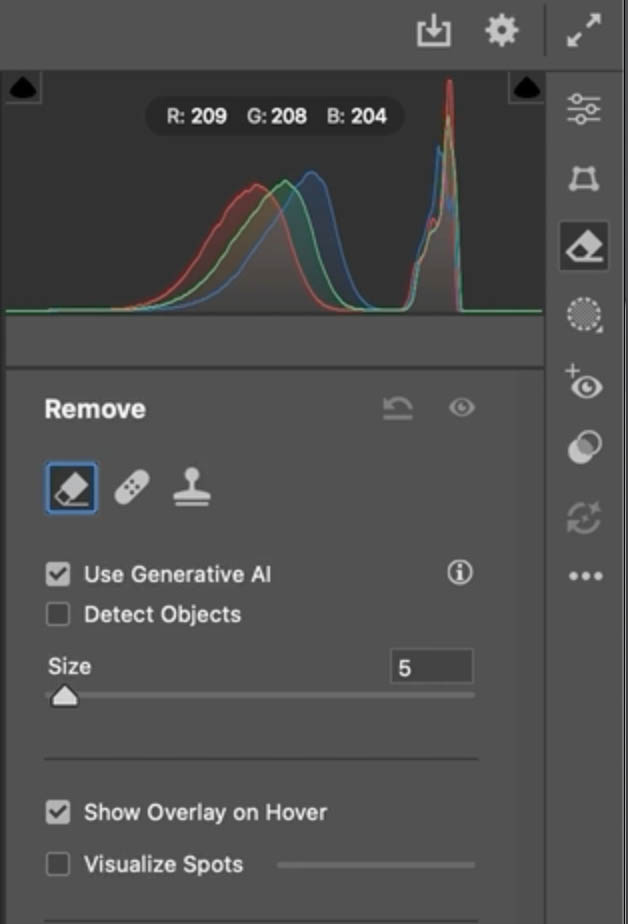
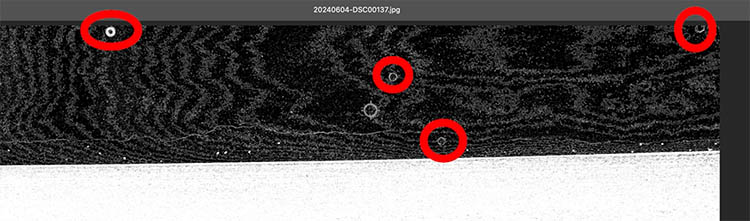
Click on Visualize Spots and move the slider.

As you move the slider the image will change.
Move it all the way to the right and you can now easily see the spots in your image.
To remove the spots, simply click on Dust and it does it all for you.
I hope you found this week’s tutorial useful. BTW, you may have noticed we have a new website! I hope you like it. Let me know in the comments.
Other new feature tutorials in this Photoshop update
- All the new features in this Photoshop release! (July 29 2025)
- Generative Upscale
- Harmonize (and resolution hack)
Great to see you here at the CAFE
Colin
PS Don’t forget to follow us on Social Media for more tips..
(I've been posting some fun Instagram and Facebook Stories lately)
You can get my free Layer Blending modes ebook along with dozens of exclusive Photoshop Goodies here


16 thoughts on “AI Dust removal in Photoshop ACR, Automatically remove spots and sensor dust from photos”
Leave a Reply

Reimagined Actions in Photoshop The actions panel hasn’t been changed in years, but now there’s a big update that promises...

How to generate 3D models using Firefly ai in free Adobe Substance 3D viewer. Generate images from the 3D models
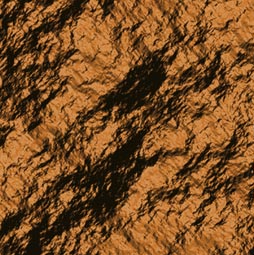
How to create rock textures in Photoshop. It's surprising how you can create stunning photorealistic rock and stone texture so...


Looks like a good timesaver. As someone with a IR converted camera where the sensor clean feature is permanently disabeled, I get dust on my sensor. Thanks, David
Hi David, I’m curious how well it works on IR images?
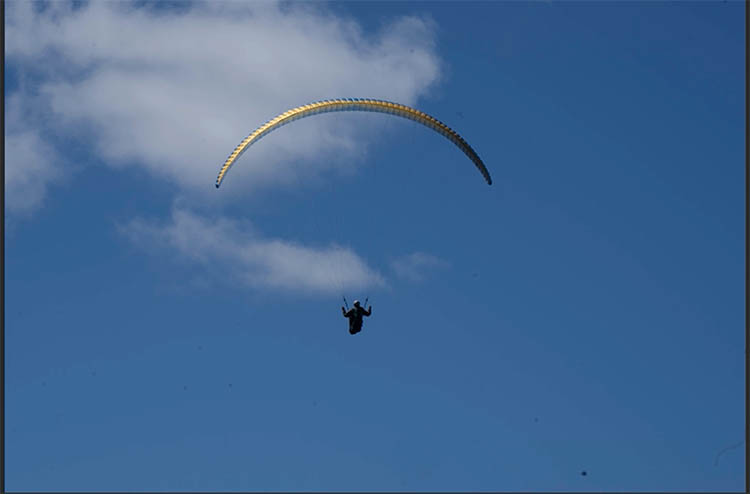
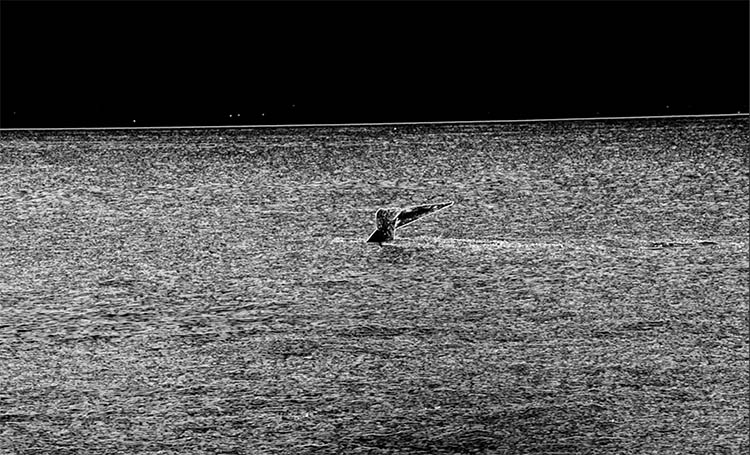
Really enjoyed the video and it is so timely as I am trying to restore approx. 8K of family photos take 40-50 years ago, then the negatives and/or prints were digitized with a scanner. I do have a question about the second image you worked on. On my screen I see a bunch of white dots on the water towards the bottom of the picture. both before an after. Why were those not removed? And no, it is not due to my the condition of then screen of my NEC MultiSync PA24w
I’m going to say they are specular highlights off the water, definitely not dust or dead pixels because they aren’t in the same spot from picture to picture.
Useful and clear as always.
Thanks!
Excellent video. Clearly presented. Very useful feature
Thanks for saying so! Yes, it is a useful feature.
Long overdue and a real timesaver for those of us scanning a lifetime of 35mm slides. Many thanks Colin for all the good advice.
I’ve been using this tool extensively in the past week or so. At least half of the time, I get a message that no dust was detected even when it’s obvious to the naked eye. And it never clears up dust and whatever spots completely. My opinion is that, to date, it’s a mediocre addition to ACR
Wow!!
Very good; used on 50 year-old restored slides (scanned, jpgs) and was very effective – saved loads of time which had been spent before – and cleaned even the most spotted.
That’s great to hear!
Thanks Colin, will save lots of tim!
I was looking forward to this dust removal feature, but it doesn’t appear to be working for me.
My images are from my conversion of negs via camera, then inverted in Photoshop. I have been removing the dust and scratches using the removal tool manually and it works fine. However I go through the routine press remove but it doesn’t remove them and comes up with none detected? Any ideas?
John
I am yet to test them with scans. Its probable the ai is trained on digital files and not really designed for scans.