As always, start with a transparent layer.
Draw a circle using the circular marquee tool. Tip: Hold the alt/option key to draw from the center and hold the shift key to draw a perfect circle.

Now we want to create a circular gradient, from bark to light blue. Use the settings here, then drag from the middle of the circle. Don’t deselect.
![]()
![]()
![]()
![]()

 Create a new layer and change the gradient setting to this: Linear, Foreground to transparent and change your foreground color to white.
Drag the gradient tool from the top to the bottom, with the top white.
Press Ctrl/Cmd+T for the free transform tool
Bring the bottom to almost 1/2 way. Bring the top and sides in a little bit until it looks similar to the picture.
For added realism add a slight gaussian blur to the highlight and drop the opacity a little.


You may also add text. Put the text layer behind the highlight and lower the opacity.
Add the buttons to your interface – Merge Visiable and drag the buttons to your interface.

Access valuable Photoshop extras and goodies for free and much more a

This site uses Akismet to reduce spam. Learn how your comment data is processed.
How to Work with Lightroom adjustments inside Photoshop using Smart Objects as Layers...
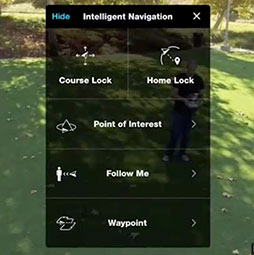
how to use the DJI Intelligent flight modes for the Phantom 3 and the Inspire 1. Course lock, home lock,...
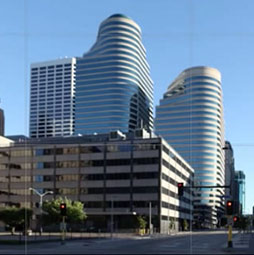
How to blend multiple photos together to get wider depth of field with focus stacking. Macro and close up photography...


Leave a Reply