Here is a popular photoshop tutorial on creating lightning. I see so many tutorials that say they are going to teach you something and then they just drop in a photograph. Personally, I find these disappointing. As with most tutorials at PhotoshopCAFE, I am going to show you how to actually create your lightning bolts. Each one will be unique and yours! I have a written tutorial here as well as the video. Videos are great to watch and see how its done. Bookmark the page because the written tutorial is a super quick reference! I have done a number of Video and Step by Step combinations here at PhotoshopCAFE to make it easy for you to use these tuts. Even if you just watch the video, scroll near the end of the written tutorial for alternative ways of doing this as well as some ideas and tips that are not in the video.
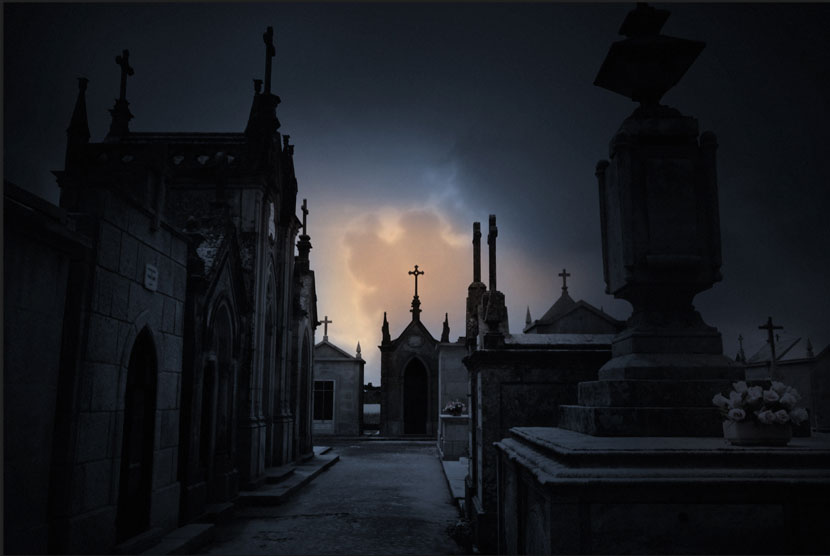
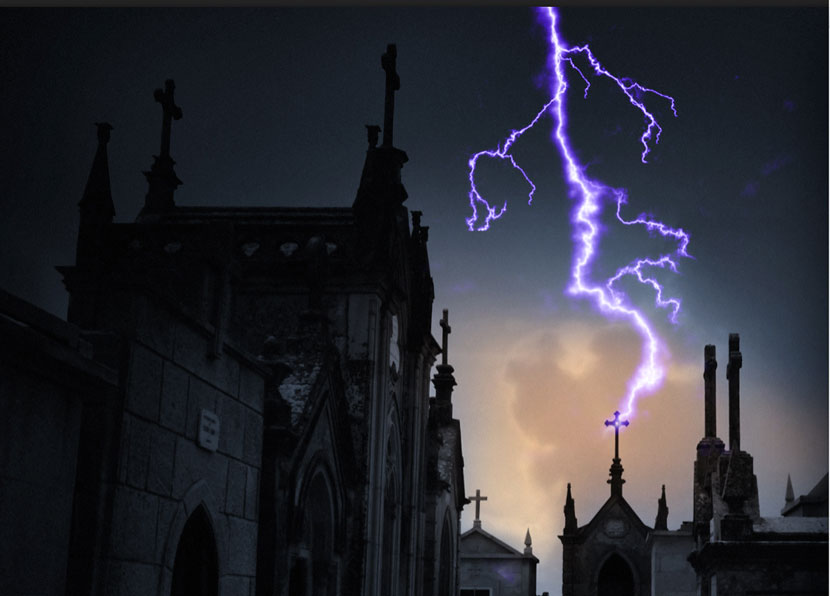
When it’s near Halloween time, everyone is looking to make their images appear a bit more spooky. This image of a cemetery is a little scary, but realistic lightning will set the scene off perfectly. In this tutorial on making lightning in Photoshop, you will make your own lightning from scratch. Image from Adobe Stock
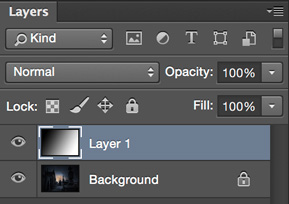
On the image, make a new layer, create a black to white gradient, diagonally from the top left, to the bottom right.

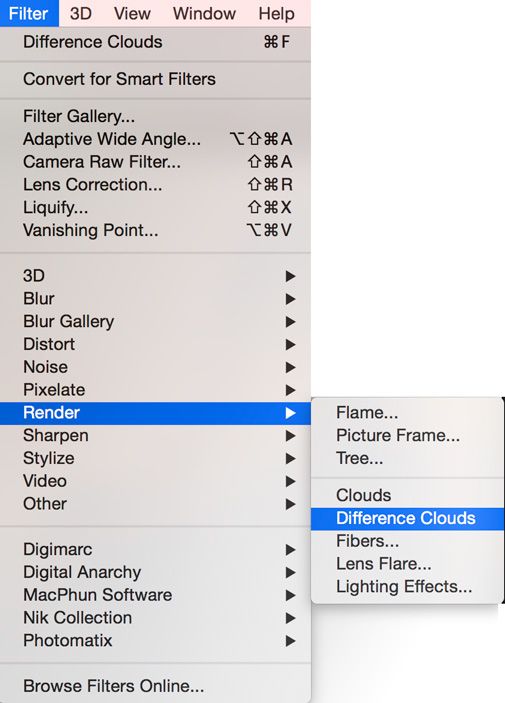
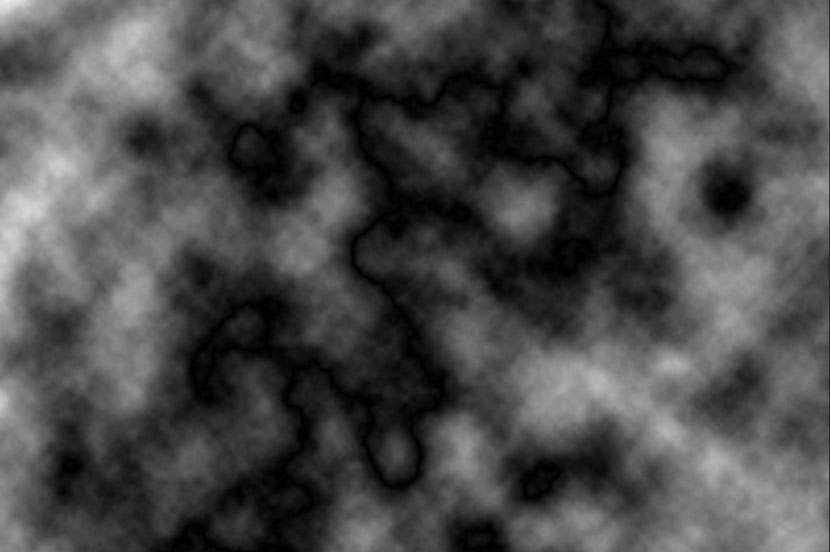
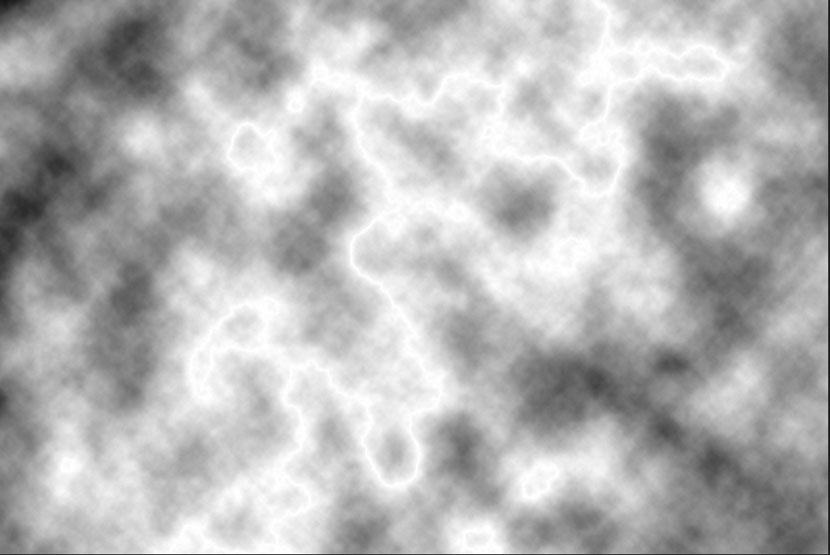
Filters>Render>Difference Clouds
Here is the result so far
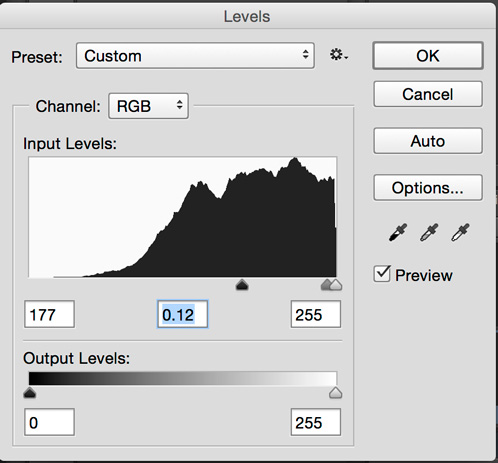
Now invert the image. Cmd/Ctrl+I
You can start to see the lightning
Adjust levels to bring out the lightning, Cmd/Ctrl+L.
In the levels box: slide the black arrow to the right and the middle one to the right too, until it looks nice and clean
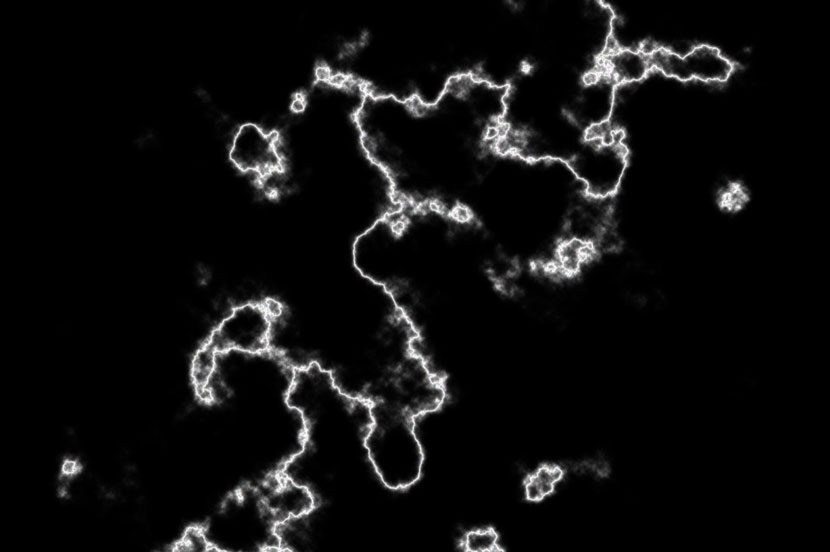
choose a black brush and clean up the lightning by painting out the areas that you don’t want
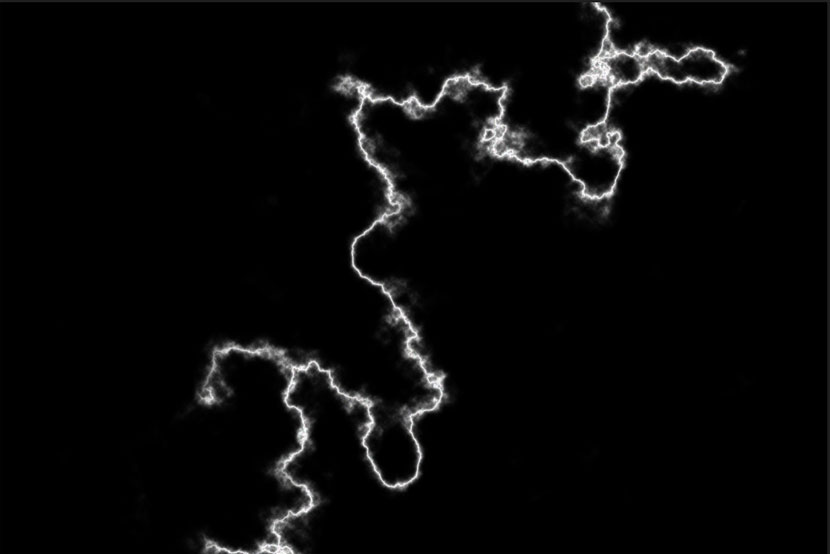
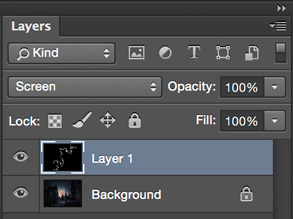
Change the layer blending mode to Screen to allow the photo to show through underneath
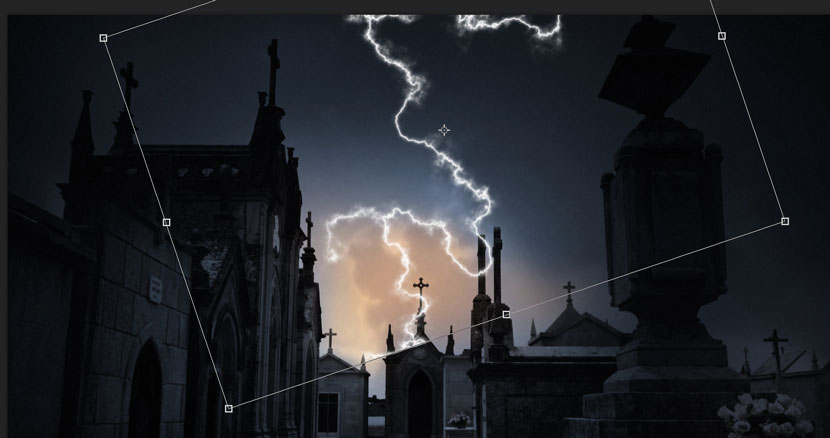
Also Choose Ctrl/Cmd+T for free transform. Use this tool to scale, rotate and position your main lightning shaft to be striking an object on the earth.
Repeat steps 1 through 6 to create some different shaped lightning.
Duplicate the lightning layers and scale them down to build the smaller branches of lightning. Reuse each layer as much as you can to save time, flipping and rotating allows you to use each piece several times. Don’t be afraid to use some layer masks to paint out different portions of the lightning to make it look more random.
Eventually you will have something that looks a bit like this.

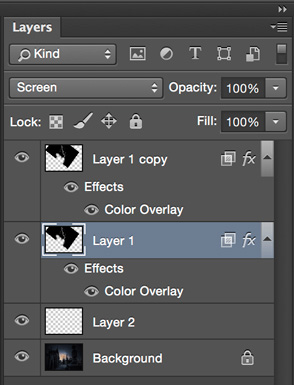
Merge all the Lightning Layers together. Select them all and press Cmd+E to merge them. Be careful not to Merge them into the background. When you have merged them, you may need to change the Layer blending mode of all the layers to Screen again.
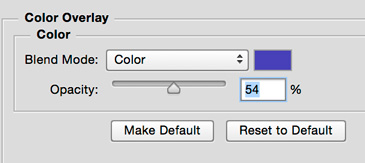
Now to add a bit of color (optional): Add a color Layer style to the Lightning layer. Choose the Layer styles from the Layers panel and choose Color Overlay.
Choose a bluish/purple color
Change the Blend mode to Color in the Color Overlay
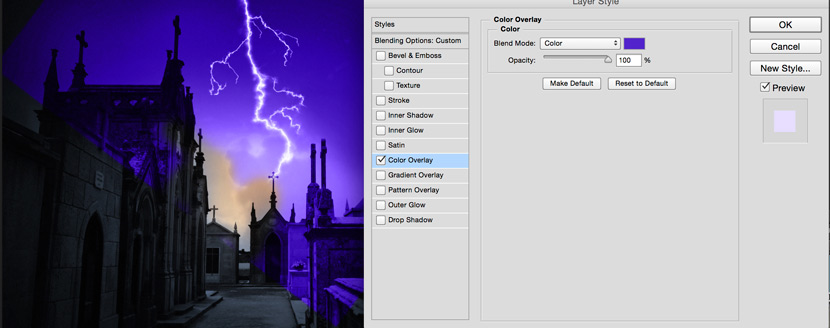
You will notice that color is covering a large part of the image, we just want it to work on the lightning.
In the Layer styles dialog box, click on the “Blending Options: Custom” at the top. This takes us into advanced blending options.
The secret here is to turn on the top option that says “Blend Interior Effects as a group.”
(I have written a bit about these hidden options over the years for my Photoshop tips column for Photoshop User Magazine. )
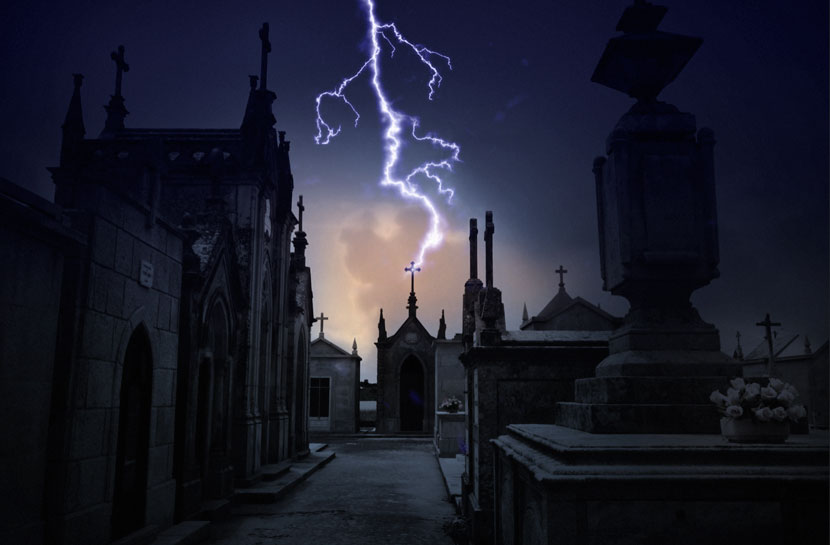
Notice now, the color is isolated to our lightning.
Make some final adjustments to the color and opacity so that it blends into the photograph better.
the result

If you want to experiment a bit more, sample the color for the lightning with the eyedropper tool. create a new layer and fill with the color.
Change the blend mode to color for this kind of effect.

Of course you can also add a gradient to a layer mask to only effect the top if you want more realism.
So there you go. That’s my take on making lightning, it’s progressed a lot from my original tutorial on PhotoshopCAFE 13 years ago. Tell your friends about all the updated tutorials here at photoshopCAFE! Until next time, see you at the CAFE!

This site uses Akismet to reduce spam. Learn how your comment data is processed.

How to expand a picture using Generative Fill in Photoshop...

The best 25 free Photoshop tutorials (all on 1 page) for photographers editing photos in Photoshop. This list reveals the...

How to set up DJI Phantom 2 Vision Quadcopter Drone, how to fly, quick start, out of the box and...

Notifications


Outstanding … can’t wait to try it!!!!
i was finding this kind of tutorial for many days i got it with best collections.
My simple work
Thanks man …Really helped!
Here’s mine
love this
Great tutorial! Thanks!!
This was by far the best tutorial on this subject that I found. I used it to make lightning in the background of a girls’ softball team picture. Thank you!
When i changed the levels my lightning streak turned red and green. How did yours stay white?
Im not sure. Try a few more times and watch those little details
this is really good helped a lot thank you
I am using photoshop CS3. when I get to step 3, I have no “invert” nor “command ” button on my keyboard. I am using window 7. Also am I supposed to stay on the gradient layer as I do all these steps or on the background layer? I am new to photoshop and noticed the gradient layer auto linked to the background photo also…
Hi Colin, I have been following the process you described for creating lightning in an image. Question however, I am using images from my d850 (48mb) as a base. As a result, the difference clouds that I see are far far smaller than those in your sample image. Any ideas how to ‘scale up’ the process to a high density image? or do I need to ‘scale down’ my image to something like a 10 or 12mb image for this to work?
A high resolution image is going to show filters smaller, thats just the way it is. You would have to apply to a smaller image for a larger effect
very cool and epic
Awesome! You’ve smashed it again, cheers!