Hi CAFE Crew, here is a brand new tut for you all. This is an old favorite of mine. How to turn a photo into a pencil sketch in photoshop. This is actually really easy to do and it gets quite good results too. As usual, I’ll provide a few creative jump off points at the end for your own experimentation.
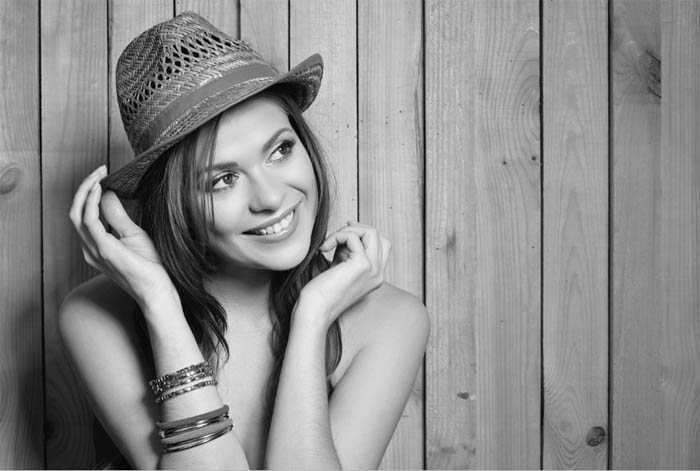
Start with a Photo that has some decent edge detail, here is one I got from Adobe Stock

Covert the photo to grayscale (Ctrl+Shift+D / Cmd+Shift+D)
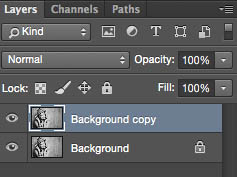
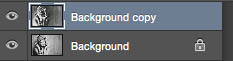
Duplicate the layer by dragging into the new layer icon, or press Ctrl/Cmd+J
Invert the layer Cmd/Ctrl+I
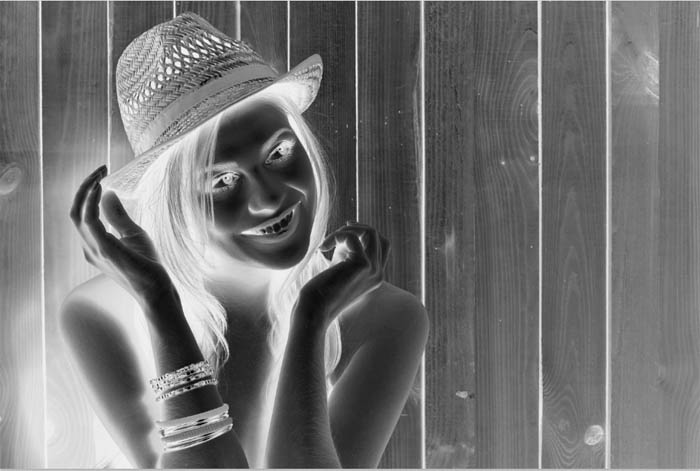
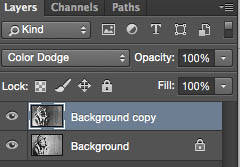
Change to Linear Dodge blend mode and you should see a perfectly white image (Use Color Dodge for sharper edges)
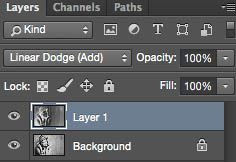
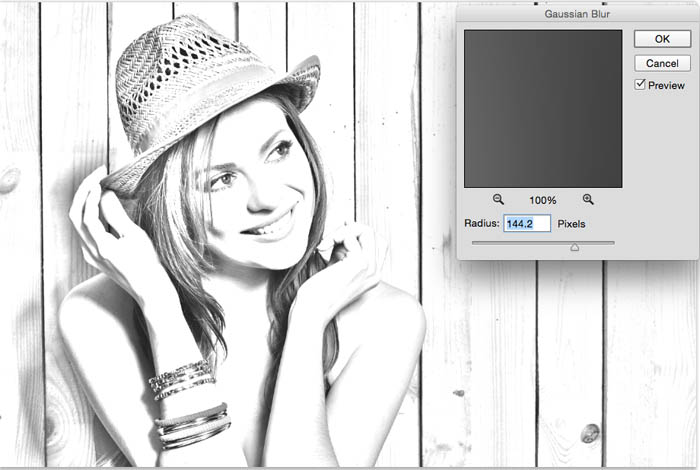
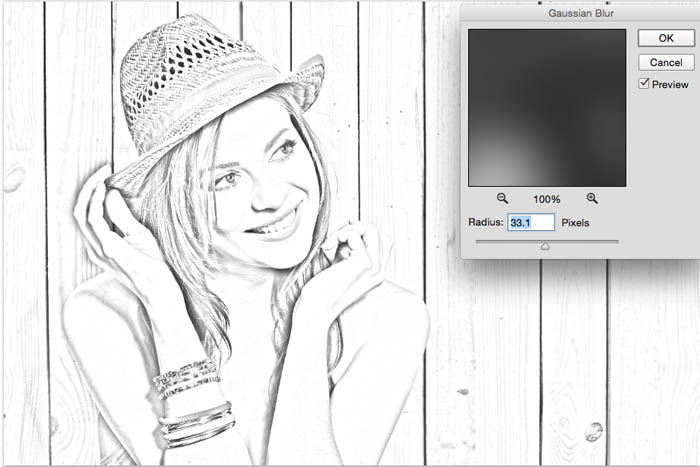
Filter>Blur>Gaussian Blur
(You could actually use any filter, as long as it creates a difference between the 2 layers)
As you adjust the blur you will get a different result.
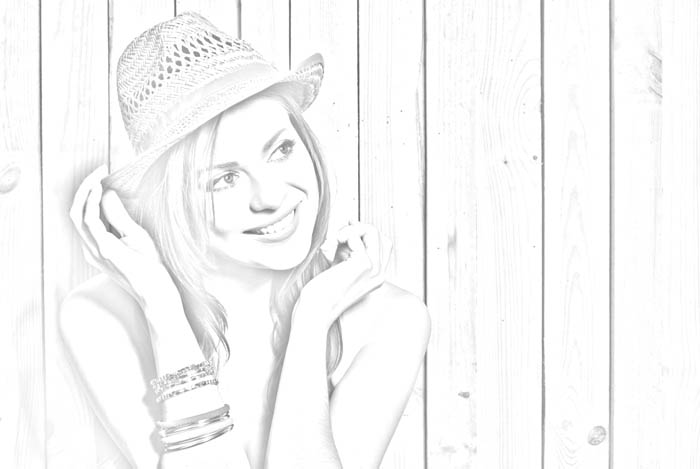
Here are some variations using Color Dodge, you will notice that Linear Dodge produces a softer result that Color Dodge. Try different blending Modes for different results.
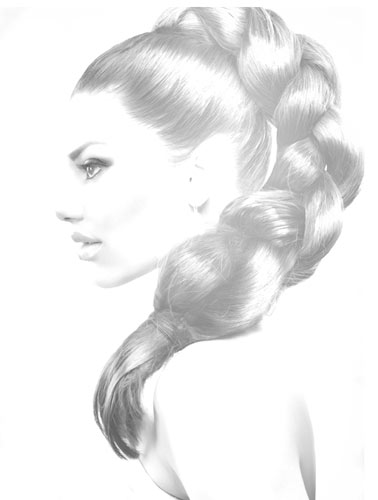
Here is the result on a different image
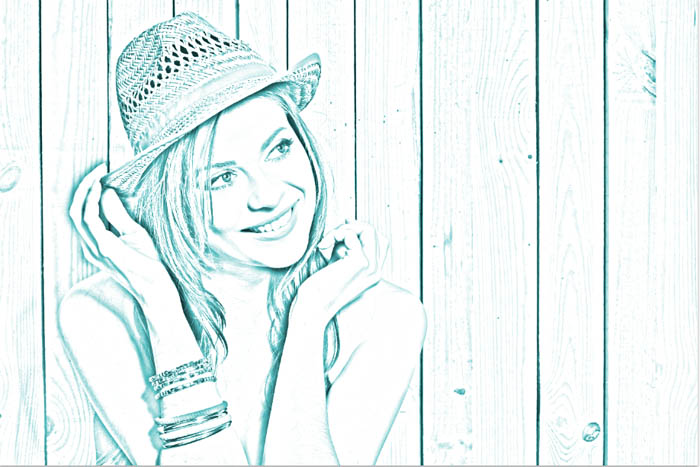
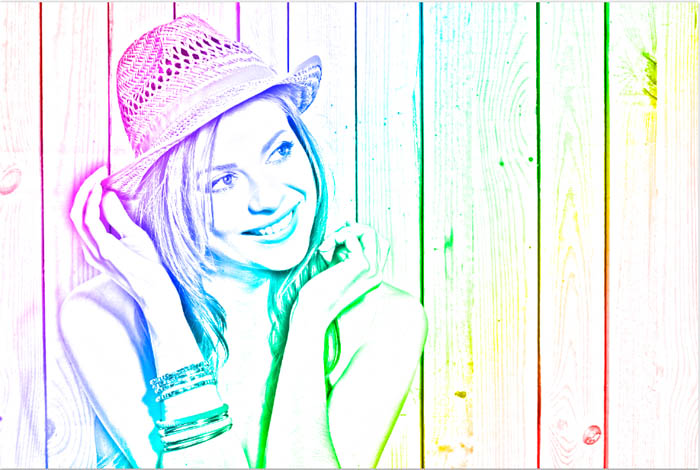
Once you have your perfect pencil sketch, why not try adding some color for a nice variation.
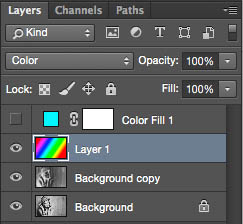
In this first example, I added a solid color Fill adjustment layer. Change the blend mode to color, so only the color shows through. Adjust the opacity to suit your tastes.

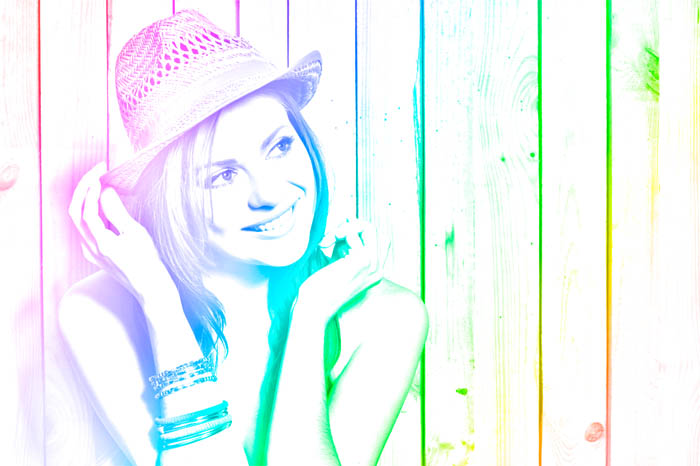
Color Dodge result
Also try running a gradient through a new blank layer at the top and change that to color blend mode.

As you can see, the effect itself is quite simple and there are a number of variations that you can try to get very different looking results. Add a comment at let me know how you are using this effect.
Thanks for checking out this tutorial. See you next week with another new tutorial!
Colin

This site uses Akismet to reduce spam. Learn how your comment data is processed.

New features in Photoshop 2021 Split Warp,easily to wrap images around objects in photos in a very realistic way....

The Face Aware Liquify in Photoshop C enables you to easily change someones face to look like someone else. See...
Match color and tone on background with Harmonize in Photoshop 2022...

Notifications


very effective tutorial and steps are very simple. I enjoyed a lot.
WOW its great i learned many things by it.
This turns out very nice! I wish there was some way to make the remaining ‘lines’ to look more sketched. Maybe I will experiment. Thank you so much!
Because the picture had to be converted to grayscale it will not now allow the color fill to be anything other than gray. How do you get the fill adjustment layer to be a color?
Create a color Fill adjustment layer on top. If it’s at the top of the layer stack, it will add color to everything (in Color blend mode)
If you converted it to grayscale mode it wont work, redo it and use the desaturate command ctrl+Shift+U
ys you are right Colin!!..
For gals and guys who don’t know well, an adjustment fill layer can be found on:
Layer > New Fill Layer > and choose one option.
I have watched many different videos on how to turn a photo into a sketch, and I need to say this is the best and the easiest one! Thank you, it was a real pleasure to learn this new technique from your tutorial!
Thank you so much sir, its really useful.
Amazing tutorial! Thank you for sharing!
Nice effect! The rainbow colors look really cute 🙂
I have a very detailed photo…(my intent is to transfer my drawing to a canvas using graphite paper so I can paint it.) I went thru the steps and used the curves to make it more contrasty….looks good however I would like to add maybe 15% of the original color back into my sketch to help me identify some of the shapes. How can I do that? Thanks so much!!
Can you apply this technique to buildings?
sure you can
I’m not sure how people are getting this to work.
In step 2, Ctrl+Shift+D is Restore Last Selection. not convert to greyscale.
Sorry its Cmd+Shift+U for desaturate
i got it but nw i need also the tutorio about how to turn it lyk an effect of dispersion or disintergration as f some parts of e photo are dispersed
thz good with motion lyk images
wow! it’s look like real pencil sketch. Awesome tricks man . I have made an pencil for my GF ans she loved it.Thanks for sharing.Keep posting, I loved your sharing.
Thank you so much! This helped a lot.
when i do step 5, it gives me a completely white image 🙁
A completely white image is expected, now add blur
Hi this was posted a long time ago so I might not get a response, but is it possible to only convert part of a picture to a sketch?
Sure, use a layer mask
Thanks! I was trying to do this for hours!
Great tutorial, easy to follow
i did one of YUNGBLUD :O it’s so much cooler than i thought thank youuuu 😀
Great tutorial, easy to follow – thank you
well this is one for all. thanks for share this tutorial with us.
If you can share another tutorial for buildings also. instead of a human. I have building photograph (Heavy black stroke without white color). how can i make it like a sketch.
Good suggestion, let me look into that. If you use the same technique it looks really good on buildings
What a very good article. I really appreciate your post. Thanks
Simplest way of teaching
Best method I’ve seen so far – simple yet effective! Thks!