
Vintage Photo effects in Photoshop tutorial. 4 popular processing effects
Vintage Photo processing looks, how to make them in Photoshop
This Photoshop tutorial will introduce you to 4 processing techniques that were historically used in processing photos. You will learn where these names came from and how to reproduce these effects in Photoshop. Having a knowledge of how they were achieved in the dark room will help you produce more authentic images, instead of just common “filtered” images.
The four techniques we address are
- Bleach bypass: skipping the washing process in developing.
- Collidian wet plate: The main techniques used in early photography, invented by Fred Archer (You want to old west look, here it is)
- Cross process: using chemicals for one medium on another, produces interesting colors.
- Autochrome Luminere: The Luminere Brothers invented commercial color photos. Interestingly, they started in Motion pictures, but didn’t feel “there was a future in it”.
Watch the video to see more and learn how to produce these looks. I will add the written steps as soon as I can find the time.
Photos used in this tutorial:
Thanks
Colin
PS Don’t forget to follow us on Social Media for more tips.. (I've been posting some fun Instagram and Facebook Stories lately)
You can get my free Layer Blending modes ebook along with dozens of exclusive Photoshop Goodies here


14 thoughts on “Vintage Photo effects in Photoshop tutorial. 4 popular processing effects”
Leave a Reply
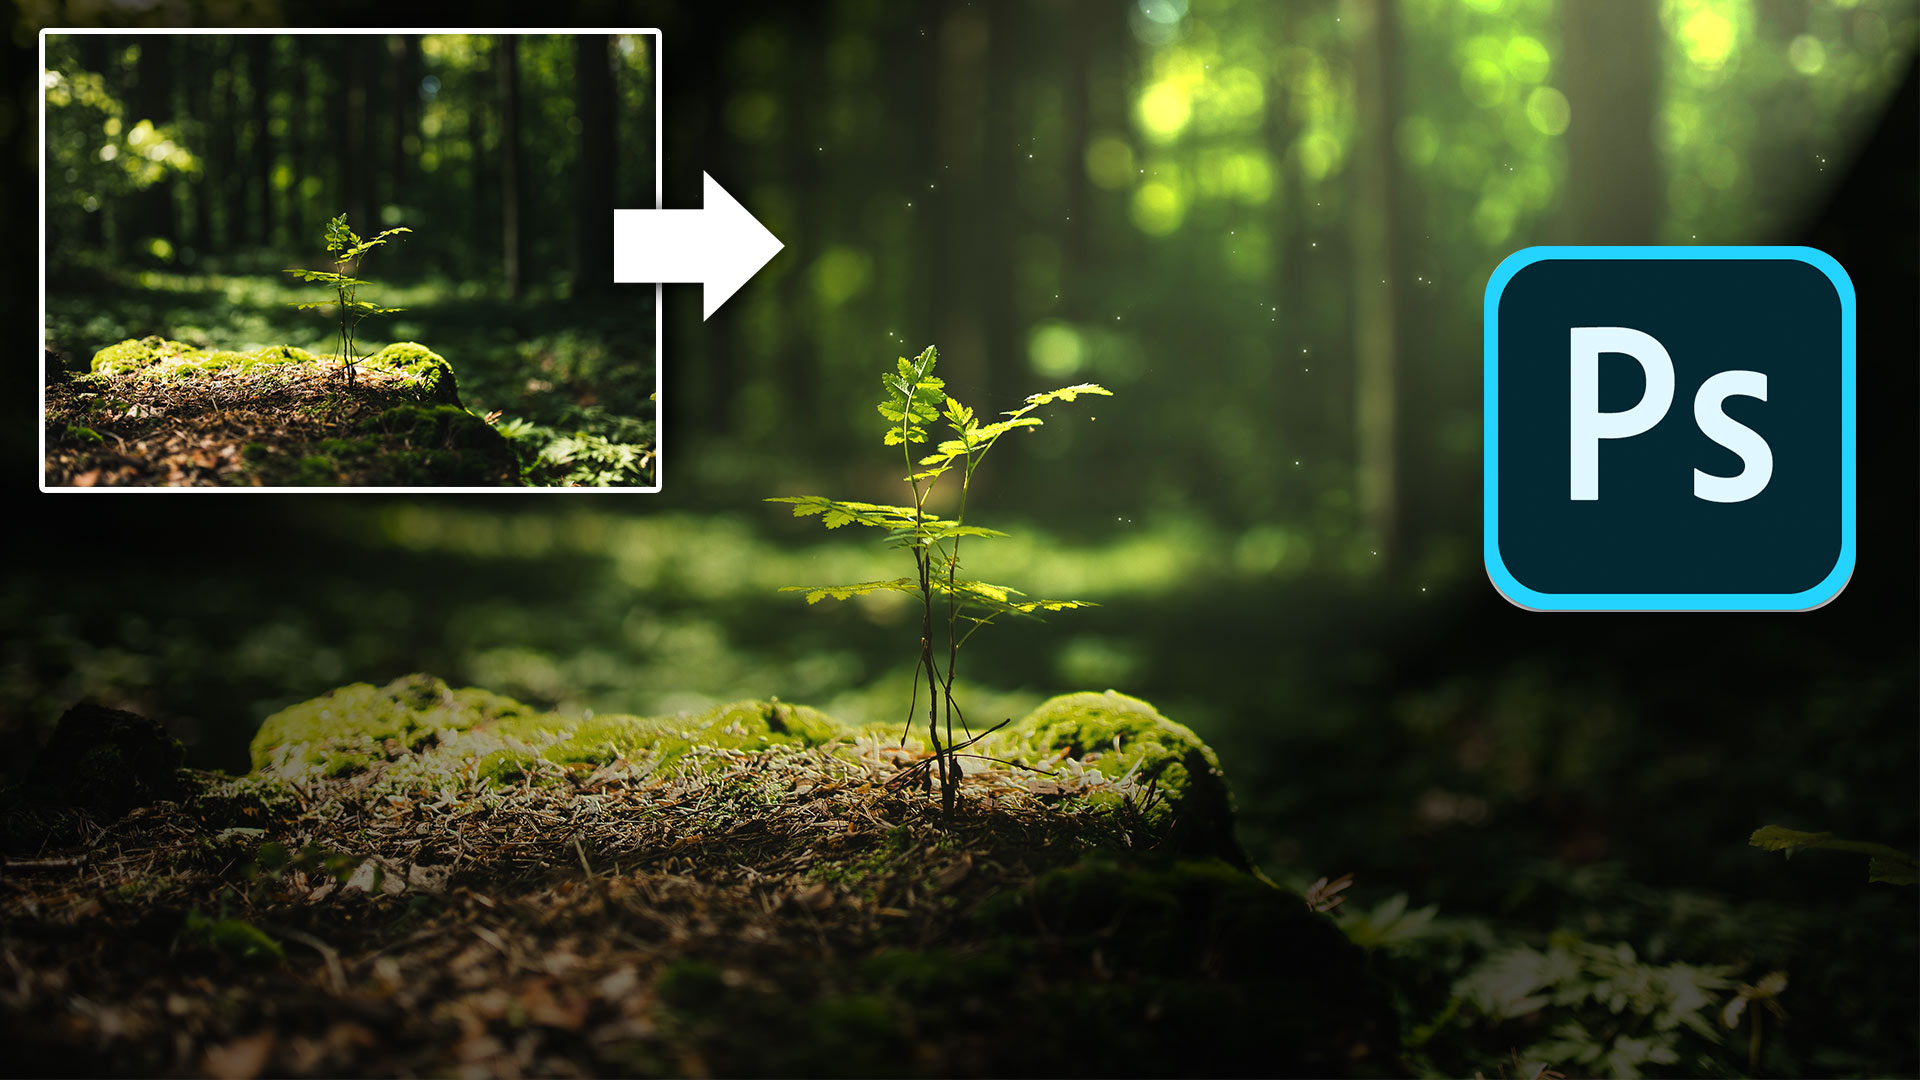
How to create a magical beam of light on a landscape photo in Photoshop and add pollen dust.
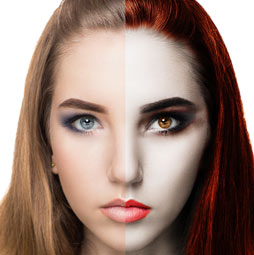
Learn how to turn a person into a realistic vampire in this Photoshop tutorial. In just a few steps we...

This tutorial will show you how to turn a Photo into a painting that resembles something you would see on...


As one who started in Photography with 4×5 sheet film, I will stick with today! Also remember that if you go back to live in a previous time, you do not get to carry all of the other good things back with you like advances in medicine, foods etc. Go back far enough you get to miss running water, electricity and on and on. How good are you at chopping firewood?
I finally was able to watch the Vintage Photo effects. Thank You SO MUCH!! The photo with the Ferris wheel is what caught my eye, is there a background that was used for this or is that an original vintage photo? To get this effect would you use the last effect you taught? Thanks again!
I like your tuts every single time. Thank you Collin. I would liked to be in the time of the 17th century. Where they builded wooden ships en of course the piracy 🙂
Great tutorial, can’t wait to use these types of processing!
Great Tutorial. Found it easy to follow and can’t wait to use this process. Thanks Doc T
I love the tutorials and used this one already.
Thank you for the tutorials, great, easy to replicate!!!
I like this video, and the old west vintage is really awesome. I will have to try that one. I would choose this age of tech.
Technology. Darkroom chemicals were nasty. I still remember how they tasted in the back of my throat.
It’s easy to romanticize the past until you consider dentistry. As someone who was proficient in the darkroom, it never ceases to amaze me that what often took days (e.g., contrast masks), or was impossible, can now be done in seconds in PS. Thanks for your tutorials, Colin, you’re an excellent instructor!
Thanks Colin. I always enjoy your tutorials and find this one most informative. At age 74, I started with film and experienced many of the techniques you mention to achieve different looks with film. I do love the technology we have today as it allows me to continue to process images, something I would not be able to do if a darkroom were required.
Out of respect for our pioneers and someone’s name in general, it’s the LUMIERE Brothers. Not Luminere.
Good tutorials though. Thanks.
Thanks for the correction.
In the video you said you would include ACR / LR presets. I can’t find them.