
Non-Destructive Workflow in Photoshop CC
Non-Destructive Workflow in Photoshop CC
There’s a lot of ways of working in Photoshop. Finally, a video that teaches you the BEST way of doing things!
Learn how to save time and be more creative in Photoshop by using non-destructive techniques. You’ll see how to increase your accuracy and speed using Adjustment Layers, why Masks are better than erasing or deleting, and how Clipping Masks offer great possibilities when working with type. See how you can combine these functions with Smart Objects, Smart Filters and the Blend If sliders to create images with multiple levels of long-term editability. Dave will share methods to take advantage of Camera Raw, Lightroom and Illustrator from within Photoshop, and you’ll learn how to make templates that can save huge amounts of time. Best of all, everything you’ll learn can easily be adapted to many different editing situations.
Whether you’re an artist looking for ways to let your creative juices flow, a photographer who wants to work more efficiently, or you simply want to expand your Photoshop knowledge, this downloadable course is for you!
Running time: 2.75 hours, Mac/Windows – Videos can be copied to mobile devices
The Author
Adobe Community Professional, Adobe Certified Instructor and member of the Photoshop Hall of Fame, Dave Cross has made his living as a Photoshop Educator for over 25 years. Dave has taught for Adobe, at Photoshop World, the Texas School of Photography, the Santa Fe Workshops, Imaging USA and is a regular on creativeLIVE. He has a Bachelor of Education, is a Certified Technical Trainer and has written many articles and several books. Dave was on of the original co-hosts of Photoshop User TV and has appeared in many DVDs and online courses for Kelby Training. Dave is well-known for his engaging style, his humor and his ability to make complex topics easy to understand.
Lessons Include
Why work non-destructively?
Saving Files
Using Masks vs Erasing and Deleting
The Properties panel
Adjustment layers vs Adjustments
Clipping Masks
The Blend If sliders
Vector graphics
Five Things to Avoid
The Problem with the History panel
Smart Filters
Smart Objects
Linked vs Embedded Smart Objects
Camera Raw Smart Objects
Lightroom to Photoshop as Smart Objects
Vector Smart Objects
Smart Object Templates
Examples of using a Non-Destructive Workflow
Description

Introduction (08:06)
Learn the reasons for working non-destructively: increased speed, better accuracy, creativity and more.
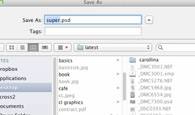
Saving Files (05:02)
Key strategies to saving files and making copies to preserve long-term editability.
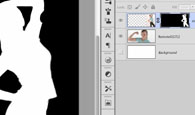
Layer Masks (12:52)
See the advantage of using Layer Masks versus erasing or deleting. Learn different ways of creating and working with masks.
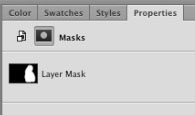
The Propeerties Panel (04:38)
Use the Properties panel to access Adjustment Layer settings and the powerful Feather option.
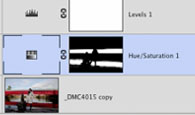
Adjustment Layers (12:27)
Learn why Adjustment Layers are a better that using Adjustments from the Image menu, including saving time by temporarily making over-adjustments.
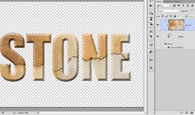
Clipping Masks (07:07)
See examples of when this powerful feature is a better choice than using Layer Masks.
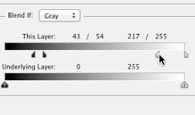
The Blend If Sliders (10:04)
The somewhat hidden option is often a great choice for blending together layers.
Vector Graphics (07:39)
Learn why vector graphics created with the Shape tools offer more options for resizing and editing.
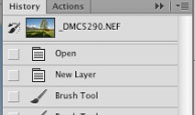
Reasons not to use History panel (04:25)
See the potential problem with relying on the History panel.
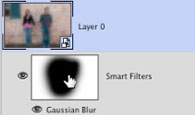
Smart filters (09:33)
Create editable and reusable filters using Smart Filters.
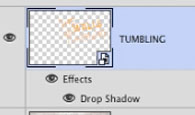
Smart Objects I (18:20)
Learn the many advantages of using Smart Objects, including the ability to resize graphics, avoid rasterizing text and much more.
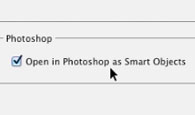
Smart Objects II (10:37)
Use various methods to create Smart Objects: Place, Camera Raw and Lightroom.
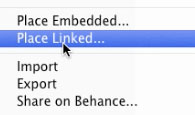
Linked vs Embedded SO (08:08)
Learn how this Photoshop CC feature offers new possibilities for updating one Smart Object in multiple documents.
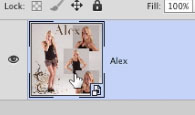
SO vs Stamp Visible (04:35)
See how Smart Objects can be interesting compared to the alternative of the past, Stamp Visible.
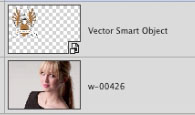
Vector Smart Objects (07:35)
See how to create a two-way street between Illustrator and Photoshop, to use Illustrator to edit graphics within a Photoshop document.
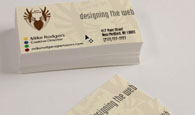
Smart Object Templates (09:41)
Save time by building documents that use Smart Objects to create “templates.”
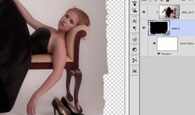
Examples (20:38)
From vignette effects to borders to retouching – all using non-destructive methods to save time, improve accuracy and create reusable elements.

Conclusion (03:10)
Summing up the reasons to work non-destructively: speed, flexibility, accuracy, experimentation, repurposing and reverse engineering.

iPad Instruction (02:11)
Moving this video onto a mobile device.
$49.99


Reviews
There are no reviews yet.