
How to Place text behind an object in Photoshop
In this Photoshop tutorial, I show you how to run text behind a portion of a photo. This is what you often see in magazine covers where the title or masthead goes behind a person’s head. It’s a neat effect and may look difficult to a beginner. This Photoshop effect is really easy to do, and I’ll show you how right now!
Thanks for watching! Don’t forget to check out our other videos and hit the subscribe button, we are adding new tutorials every week!
PS Don’t forget to follow us on Social Media for more tips.. (I've been posting some fun Instagram and Facebook Stories lately)
You can get my free Layer Blending modes ebook along with dozens of exclusive Photoshop Goodies here


9 thoughts on “How to Place text behind an object in Photoshop”
Leave a Reply
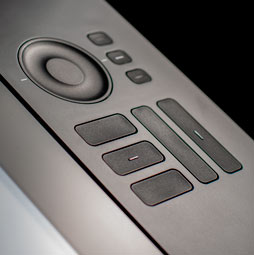
Learn how to customize the feel of your Wacom pen, and learn how to change pressure settings in the brush...
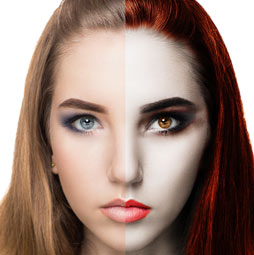
Learn how to turn a person into a realistic vampire in this Photoshop tutorial. In just a few steps we...
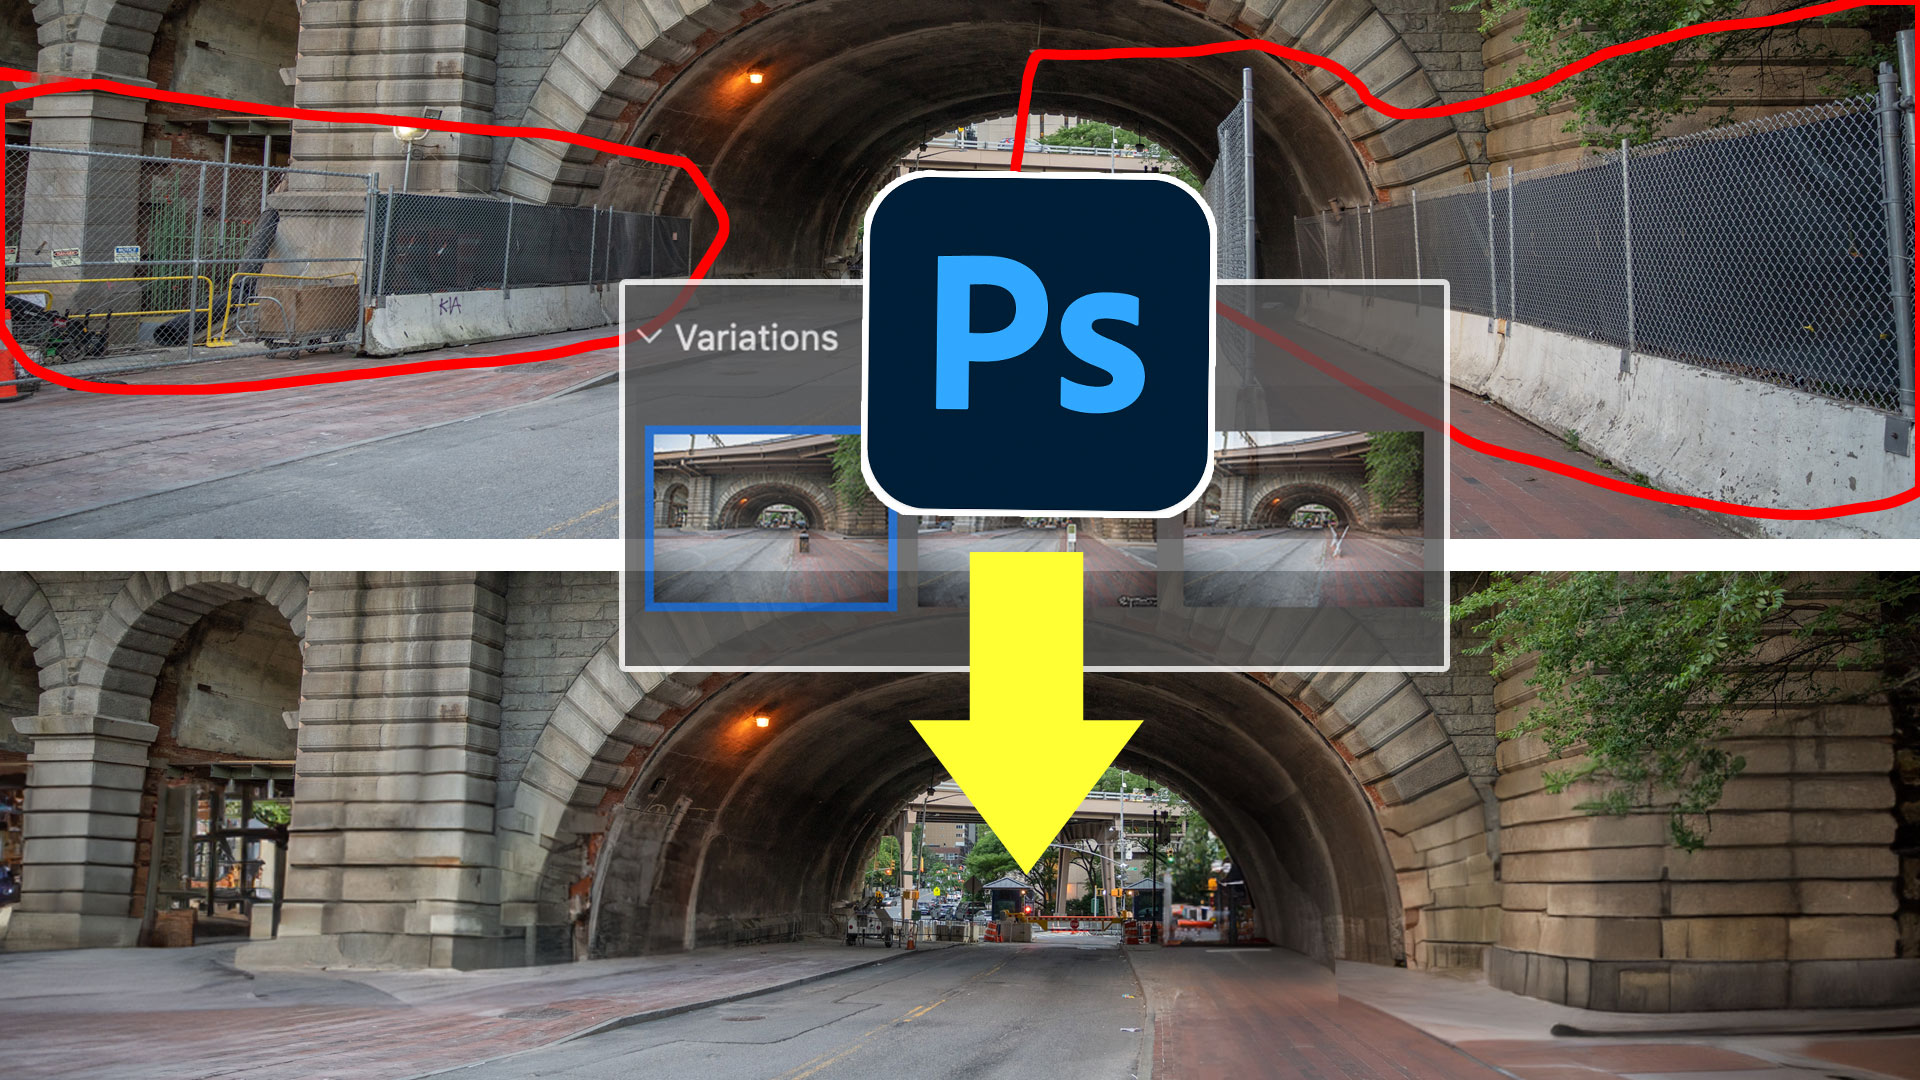
Remove anything in a photo with generative fill, use this genius hack to mix multiple variations into a single image


Very cool, thanks!
This is one of those, “Aha!” tutorials! LOL I never thought of clipping a shadow, but, why not?
Thank you!
Su
Yeah, sometimes its the small things
Amazing resource for anyone who wants to get better at designing. I agree about following tutorials as you learn the techniques and can apply to other projects.
Awesome and creative tutorial . The tutorial is also helpful for all . Love this tutorial . I’m also finding such tutorial about how to place text behind an object in Photoshop . So many man y thanks for sharing this post with us .
Hey, Colin,
I am going in for a competition. It requires the use of everyday objects, shapes etc to make an Avant garde outifit on a model. I’d love to see a tutorial to see how to do this seamlessly.
Really creative Text effect designing in Photoshop. Thanks for your tutorial.
I remember when you first showed us this tutorial a couple years back. We were all amazed on how much of the smallest details we missed out on while making this effect happen. 👍
Very clever! Thanks, as always