Placing a person inside a picture Photoshop Tutorial
Step 1
To start with you will need 2 pictures.
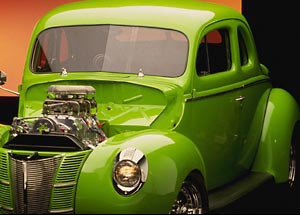
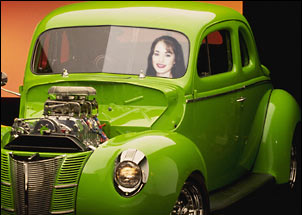
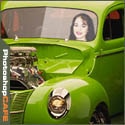
I chose a picture of a hot rod and a person
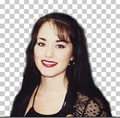
To remove the person from the background, use my extract tutorial here.
Step 2
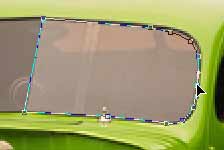
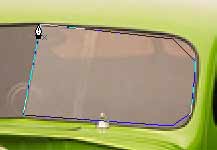 Using the pen tool draw a loose path around the window.
Step 3
Now switch to the “add anchor point” path tool ![]()
Drag the anchor points into place.
To add a curve: Click once on the midway point between 2 anchor points, release the mouse button, then click and drag, you will notice you are now creating a curve. That is the biggest secret to the path tool. A bit of practice and it will be a breeze.
Step 4
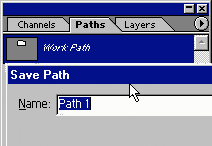
Once you have created the path, go to the paths palette and click, save path.
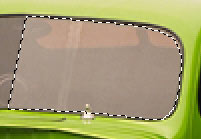
Now we want to load the path as a selection.
To do this just ctrl/cmd+click on the paths thumbnail![]()
Step 5
You now will have a selection around the area we are going to position the person.
Step 6
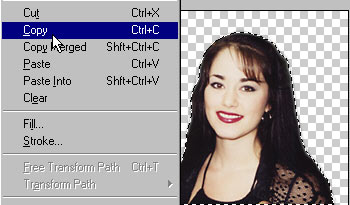
Select the person in the 2nd image and choose “copy”
Step 7
Select the hotrod image again and choose edit>paste into
 You will notice a new layer is created with a layer mask around the window.
Step 8
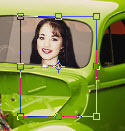
Press Ctrl/Cmd+T for free transform and scale and position your person to fit inside the window.
Step 9
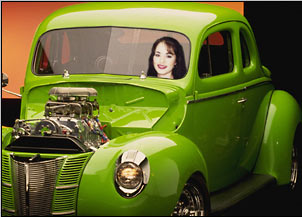
There all nicely positioned and sized in the window.
The only problem now is that it looks a bit fake because the window has a highlight and the person is opaque.
Step 10
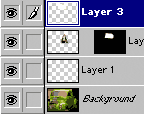
 Lets create a highlight for the window. Load the path of the window shape
create a new layer
Fill with white
Step 11
Now switch to screen mode and lower the opacity to 29%
Step 12
There all done. Wanna take a ride?
Don’t limit this techniques for people and windows, use it for all kinds of photo foolery and collaging.
PS Don’t forget to follow us on Social Media for more tips.. (I've been posting some fun Instagram and Facebook Stories lately)
You can get my free Layer Blending modes ebook along with dozens of exclusive Photoshop Goodies here

New Features in Lightroom, Lightroom Classic and Adobe Camera RAW Feb 2025 update.
Make a sunset in Photoshop tutorial: This Photoshop tutorial shows you how to turn a regular photo into a sunset...
How to make a realistic looking shadow in Photoshop. This photoshop tutorial shows how to cast a shadow, Colin Smith's...

