
Original Gangsta bling diamonds Photoshop Tutorial
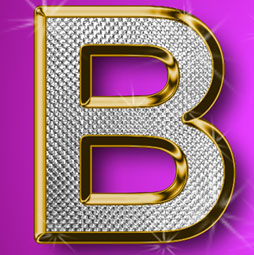
How to make the Bling Rap Diamonds in Photoshop tutorial
Step 1
Begin with the text you want to turn into the gold and Diamond “Iced Out” effect.
Right click on the layer panel and choose Rasterize Type (Rasterize Layer on older versions)
This will make the text editable.
Step 2
Make a selection around the text (Hold down Ctrl/CMD and click on the layer thumbnail)
Press “D” to reset to default colors
Filter>render>clouds
If the render menu is not available make sure you are in RGB mode.

Step 3
Now this is where we create the diamond effect.
Filter>FilterGallery
When the filter gallery opens, choose Distort category and and click on glass (Filter>Distort>glass on older versions)

Choose the tiny lens from the texture options
and scale it down.
Use the settings as shown here.
(You may have to play with the scaling and distortion to match the size of the image you are working on, but the distortion should be high and the scaling low)

Click OK to apply
3.5
Choose Curves (Crtl/Cmd+M)
Grab the top right point (or the white triangle at the bottom) and drag it across to the left until your diamonds look like the bright ones here. If your diamonds already look like the image, skip this step.
Step 4
We now have the diamond covered look to the text. Its common to have a golden border with this effect.

Step 5
Apply a layer style to the layer, choose stroke.
The important things here are:
Position = Center
Fill type: Gradient, choose the default copper setting
Make the size 10 (or larger for thicker gold)

Step 6
Click on the Bevel and emboss option
Choose “Stroke Emboss” this will apply the bevel to the stroke we just made.
Crank the Depth up and set the size for the same as the stroke:10
Change the gloss contour until you get something that looks nice and metallic.
Click OK

Step 7
Here we have our basic effect. We just need to adjust the color to make it look more like gold.

Step 8
Apply a Hue/Saturation adjustment layer and push the saturation all the way up to 100
Tweak the hue until you get a nice gold color.

Step 9
Last thing we need to do is add some sparkles.
Load the assorted brush set that comes with Photoshop.
Click the arrow at the top of the brushes presets panel (brushes panel in earlier versions) and choose assorted from the menu. When prompted select “append”
Choose the small starburst. (change to list view if you need to make it easier)
Make white our foreground color
Step 10
Create a new layer and “dab” in the sparkles with the paintbrush tool.
Here I added a gradient background to set it off.
Have fun with this one and don’t keep the neighbors up!

PS Don’t forget to follow us on Social Media for more tips.. (I've been posting some fun Instagram and Facebook Stories lately)
You can get my free Layer Blending modes ebook along with dozens of exclusive Photoshop Goodies here

15 thoughts on “Original Gangsta bling diamonds Photoshop Tutorial”
Leave a Reply
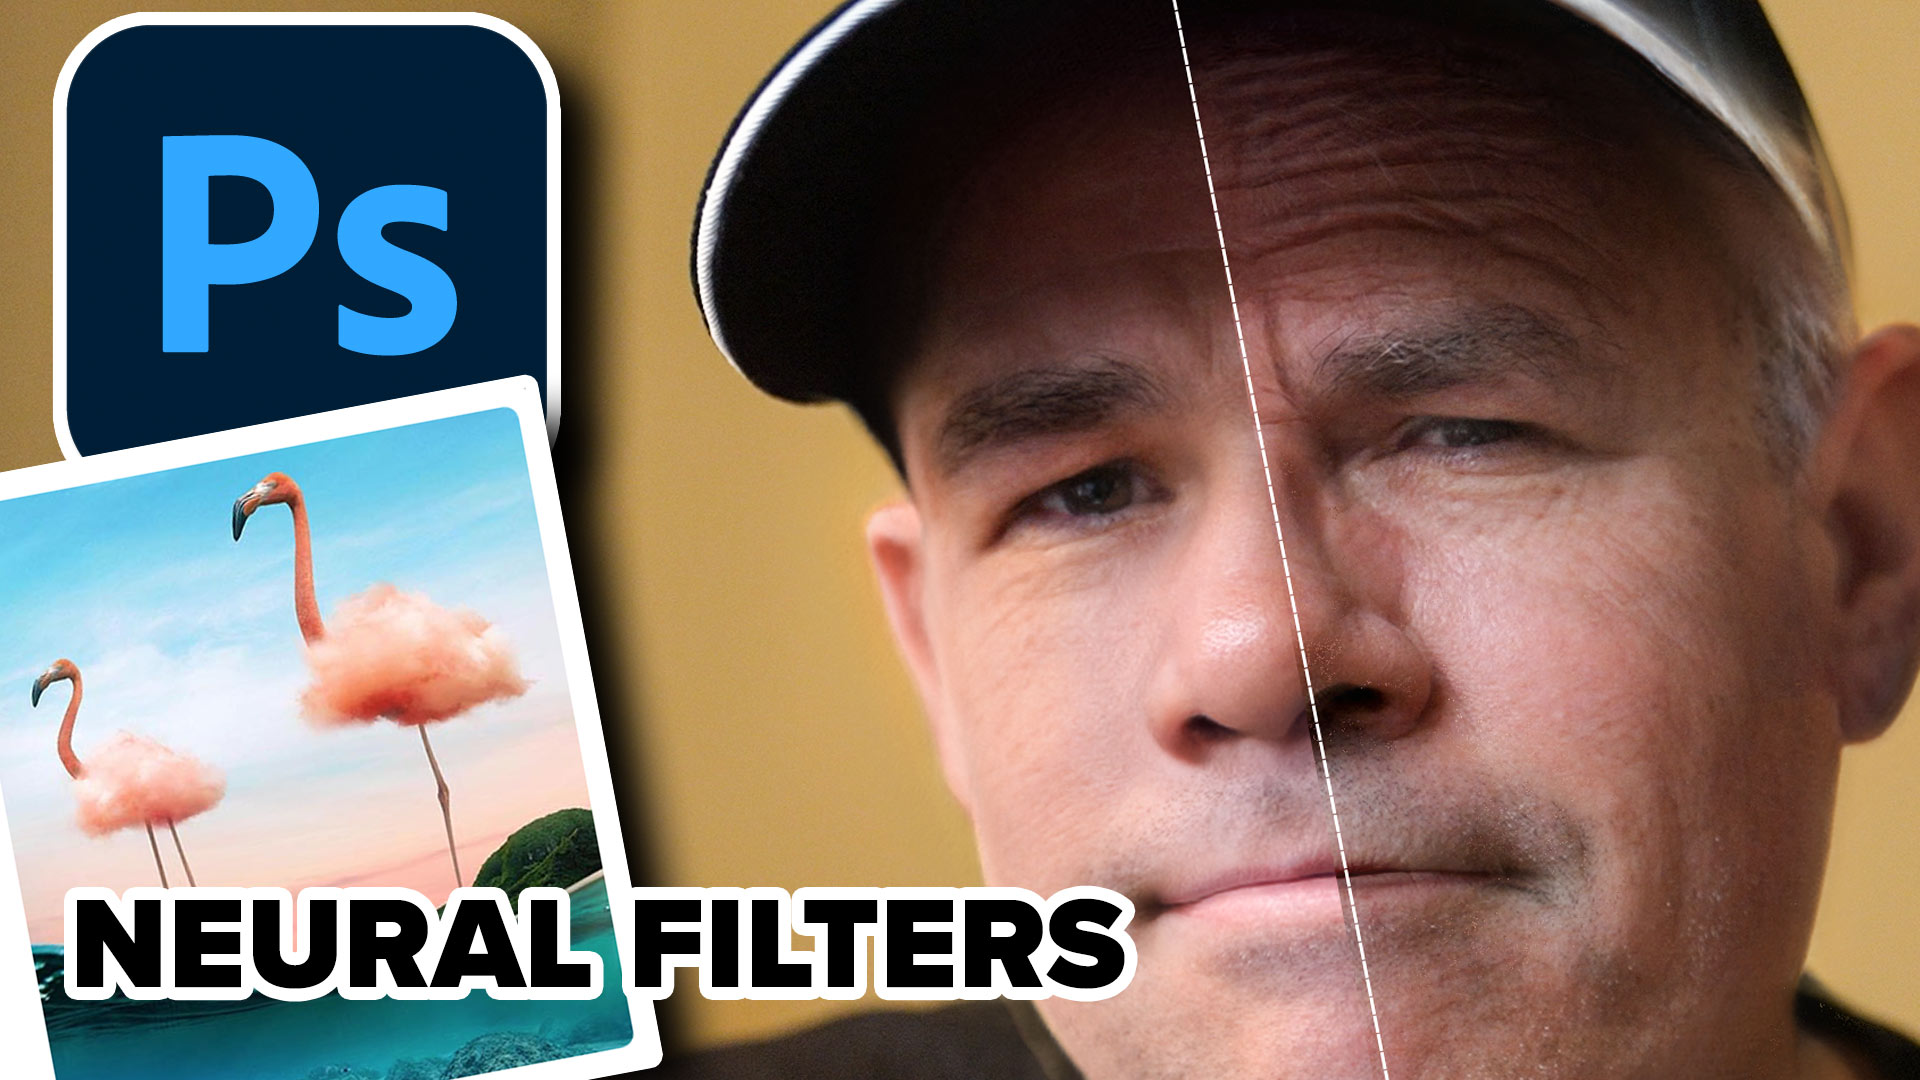
How to use the new Neural Filters in Photoshop 2021. Change the age or expression on a face and more.
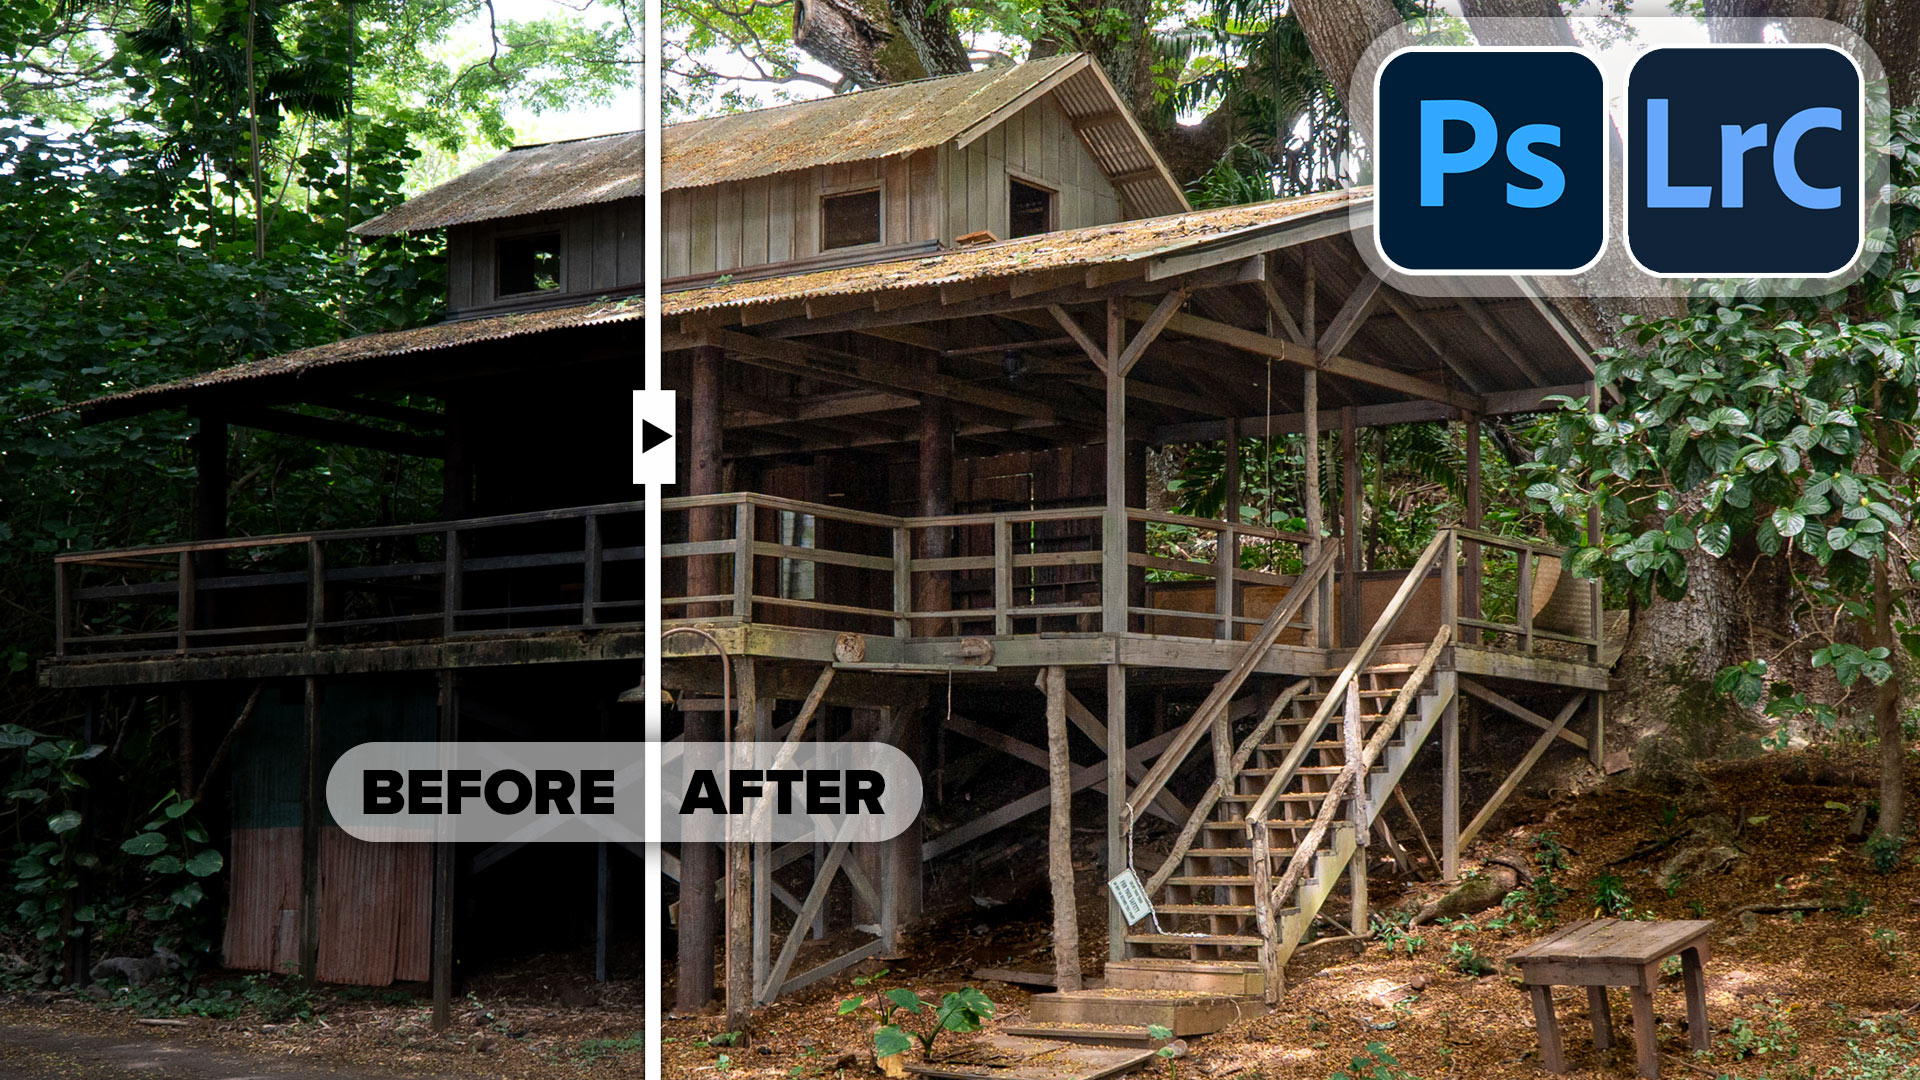
Powerful Landscape Masks, make easy, precise photo editing in Lightroom and ACR in Photoshop
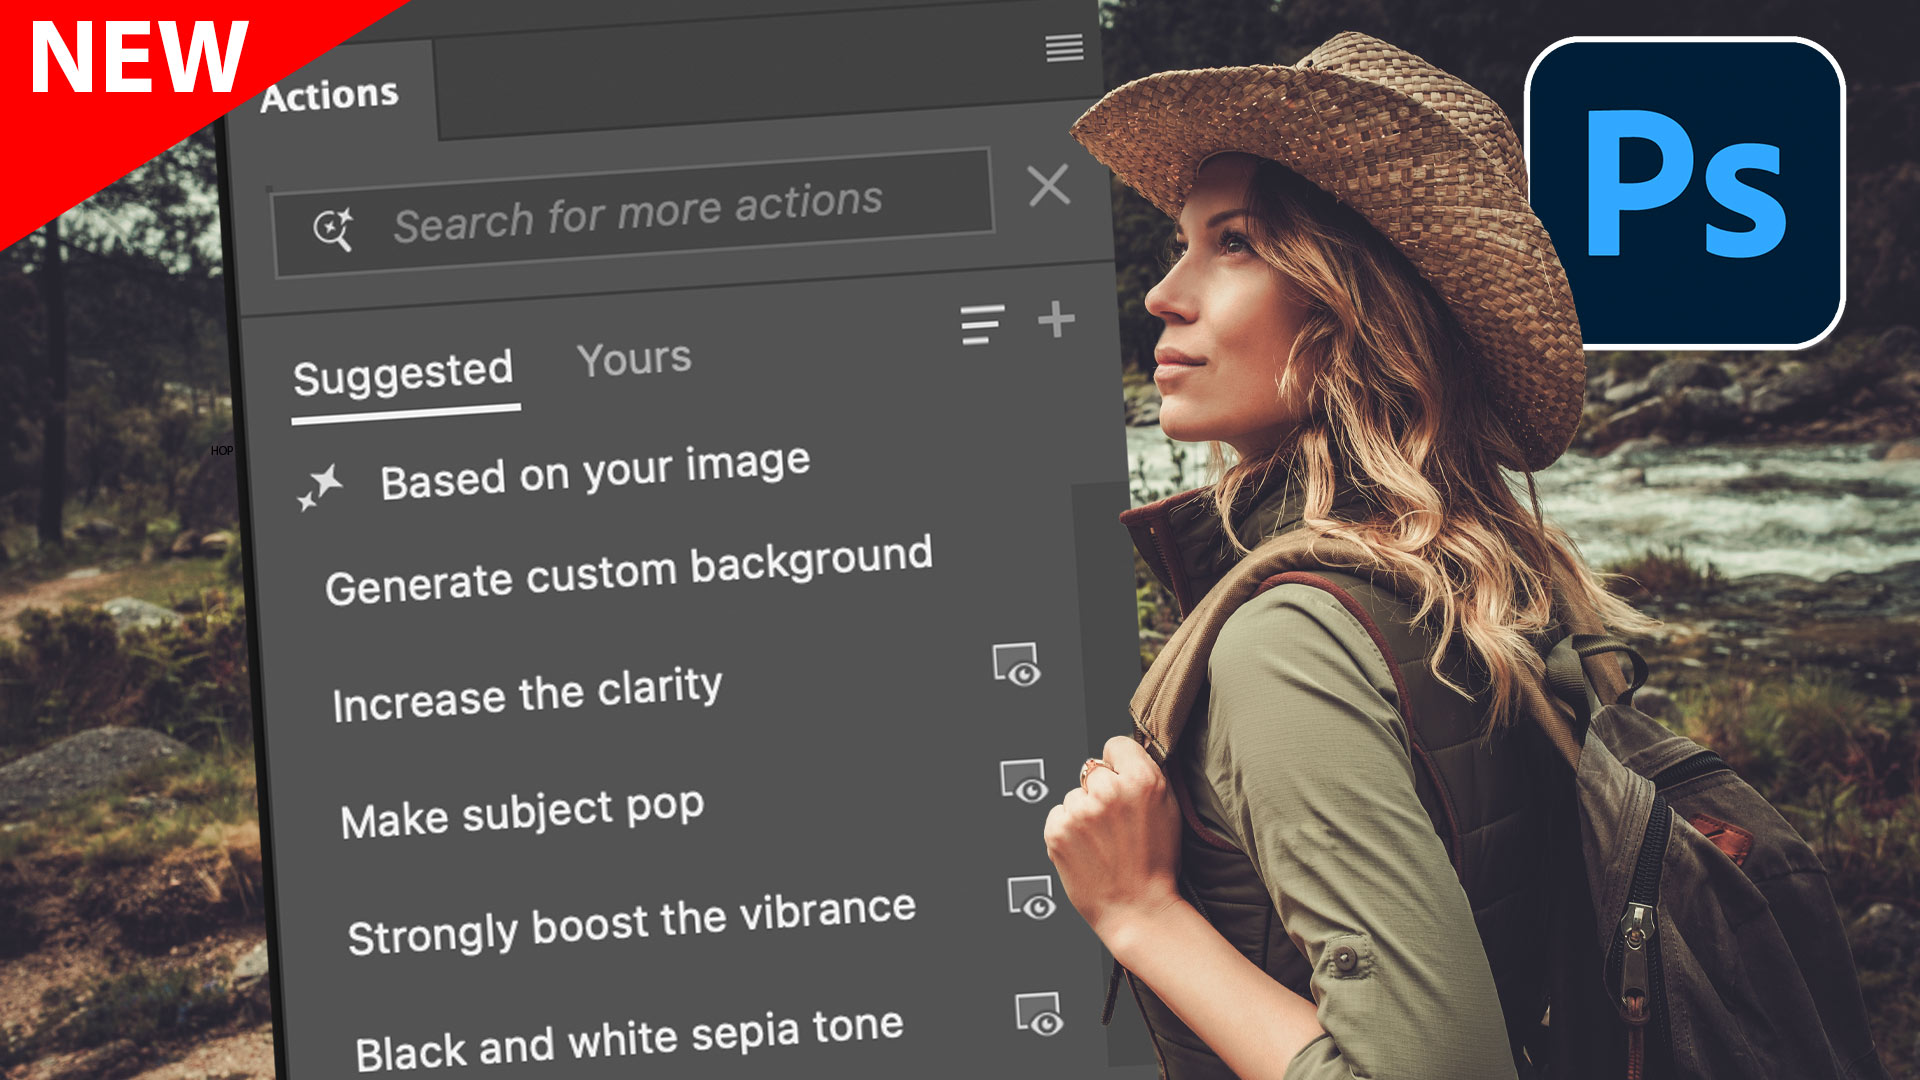
Reimagined Actions in Photoshop The actions panel hasn’t been changed in years, but now there’s a big update that promises...


Would love to know which font was used in this great tutorial.
I think it was just impact
Danke, danke.
Danke means?
Ii means thank you
OK, g
you’re welcome
WHAT A NICE AND SIMPLE TUTORIAL
THANK YOU VERY MUCH GUY
it doesnt work
This tutorial is outdated and does not work as described.
One cannot make a selection of Rasterized text in PS CC (19.1) by Ctrl/CMD and clicking on the layer thumbnail. No amount of searching describes how this can be done.
Make sure you didn’t flatten your image
Just atarted with Photoshop Elements 2022 and Elements+. Enjoyed this tut.
thank you.
Using Adobe Photoshop 2024. Can’t find a copper gradient in the preset ones. Do you know the settings for a copper gradient so I could create one.
Thanks
Its in legacy gradients from the Gradients panel