
Double Bevelled Outlines Photoshop Tutorial
Double bevel, insert effect in Photoshop
This Photoshop tutorial shows you how to make a chiseled inset in a shape. All the steps remain the same on the newest CC versions of Photoshop.
Step 1
Start with your shape on a new layer. Try experimenting with a shape of your own.
I drew this with the polygon lasso tool an filled it with green.
Step 2
 Make a selection around your object. Ctrl/Cmd+Click on the layer Thumbnail.
Step 3
select>modify>contract.
I chose 10 pixels
Step 4
Your selection is now contracted.
Step 5
Now to make the groove.
Select>modify>Border
I chose 5 pixels
Step 6
 You should see the double selection now.
Step 7
 Press the delete/backspace key to erase the object on the selection.
Deselect
Step 8
Now to add the bevel:
Add the layer styles (press the little f on the bottom of the layers palette.)
Choose the inner bevel option
*Optional: add a drop shadow too.
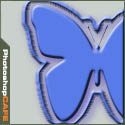
Step 9
And the shape is now bevelled!
If you want you can add some text, select it, switch to the object layer and hit del/backspace to chisel out some text.

This Photoshop tutorial shows you how to turn day to night and add some nice floodlight effects on a brick...
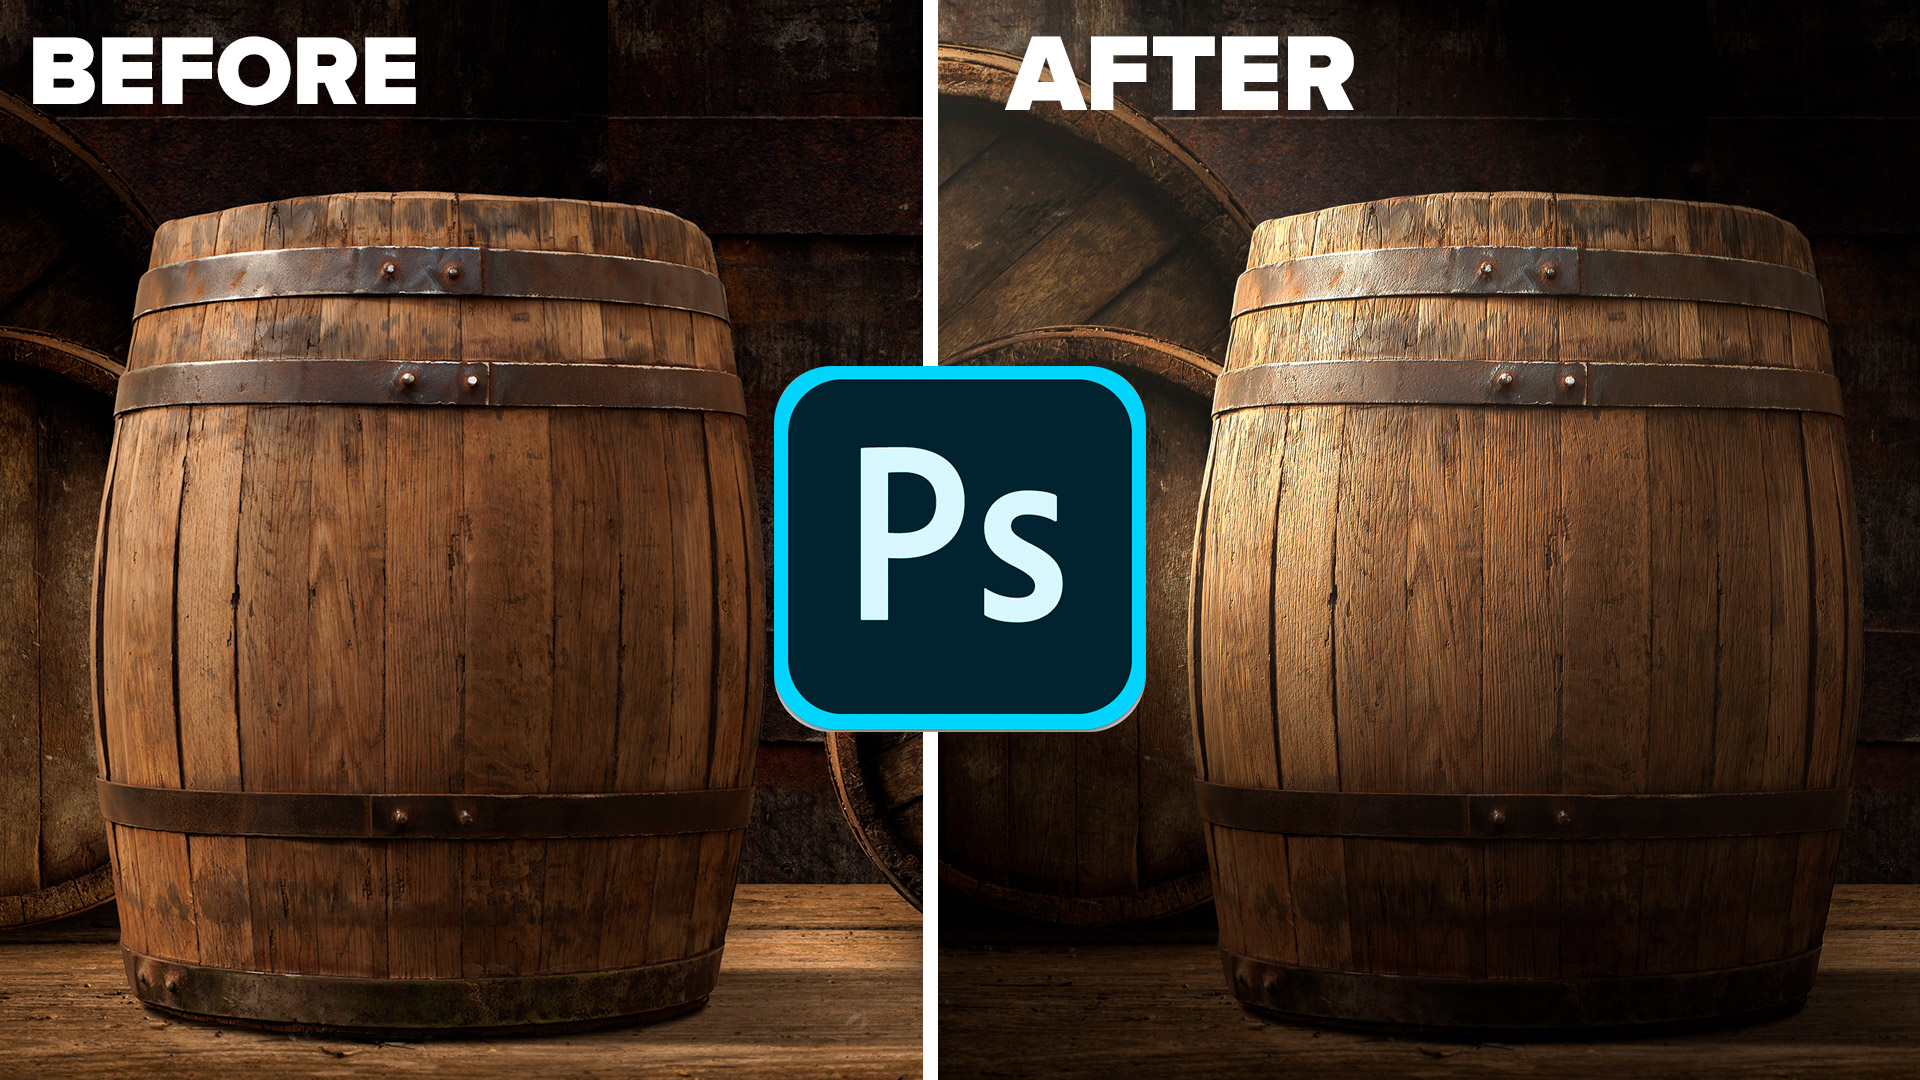
How to Light a photo in Photoshop with the Lighting Effects Filter. Create a spotlight, or colored gel light instantly.
This free tutorial on game art is broken into two parts. The first part shows how to create the individual...


