
Reference Images in Photoshop Generative Fill – 3 Amazing things it can do
Reference image in Photoshop Generative Fill, in depth guide
Writing prompts to try and describe what you want in Generative ai, is so Old school. Now we can use images to guide Photoshop ai to generate exactly what we need.
I asked what feature you wanted me to go deeper in my new features tutorial and overwhelmingly you said reference image. I have some really cool things to show you are we take a deeper dive into this!
Reference image allows use to guide Generative ai with an image rather than a prompt. I have been asked for some use cases, so I’ll use those as demos to show different ways to use this tool.
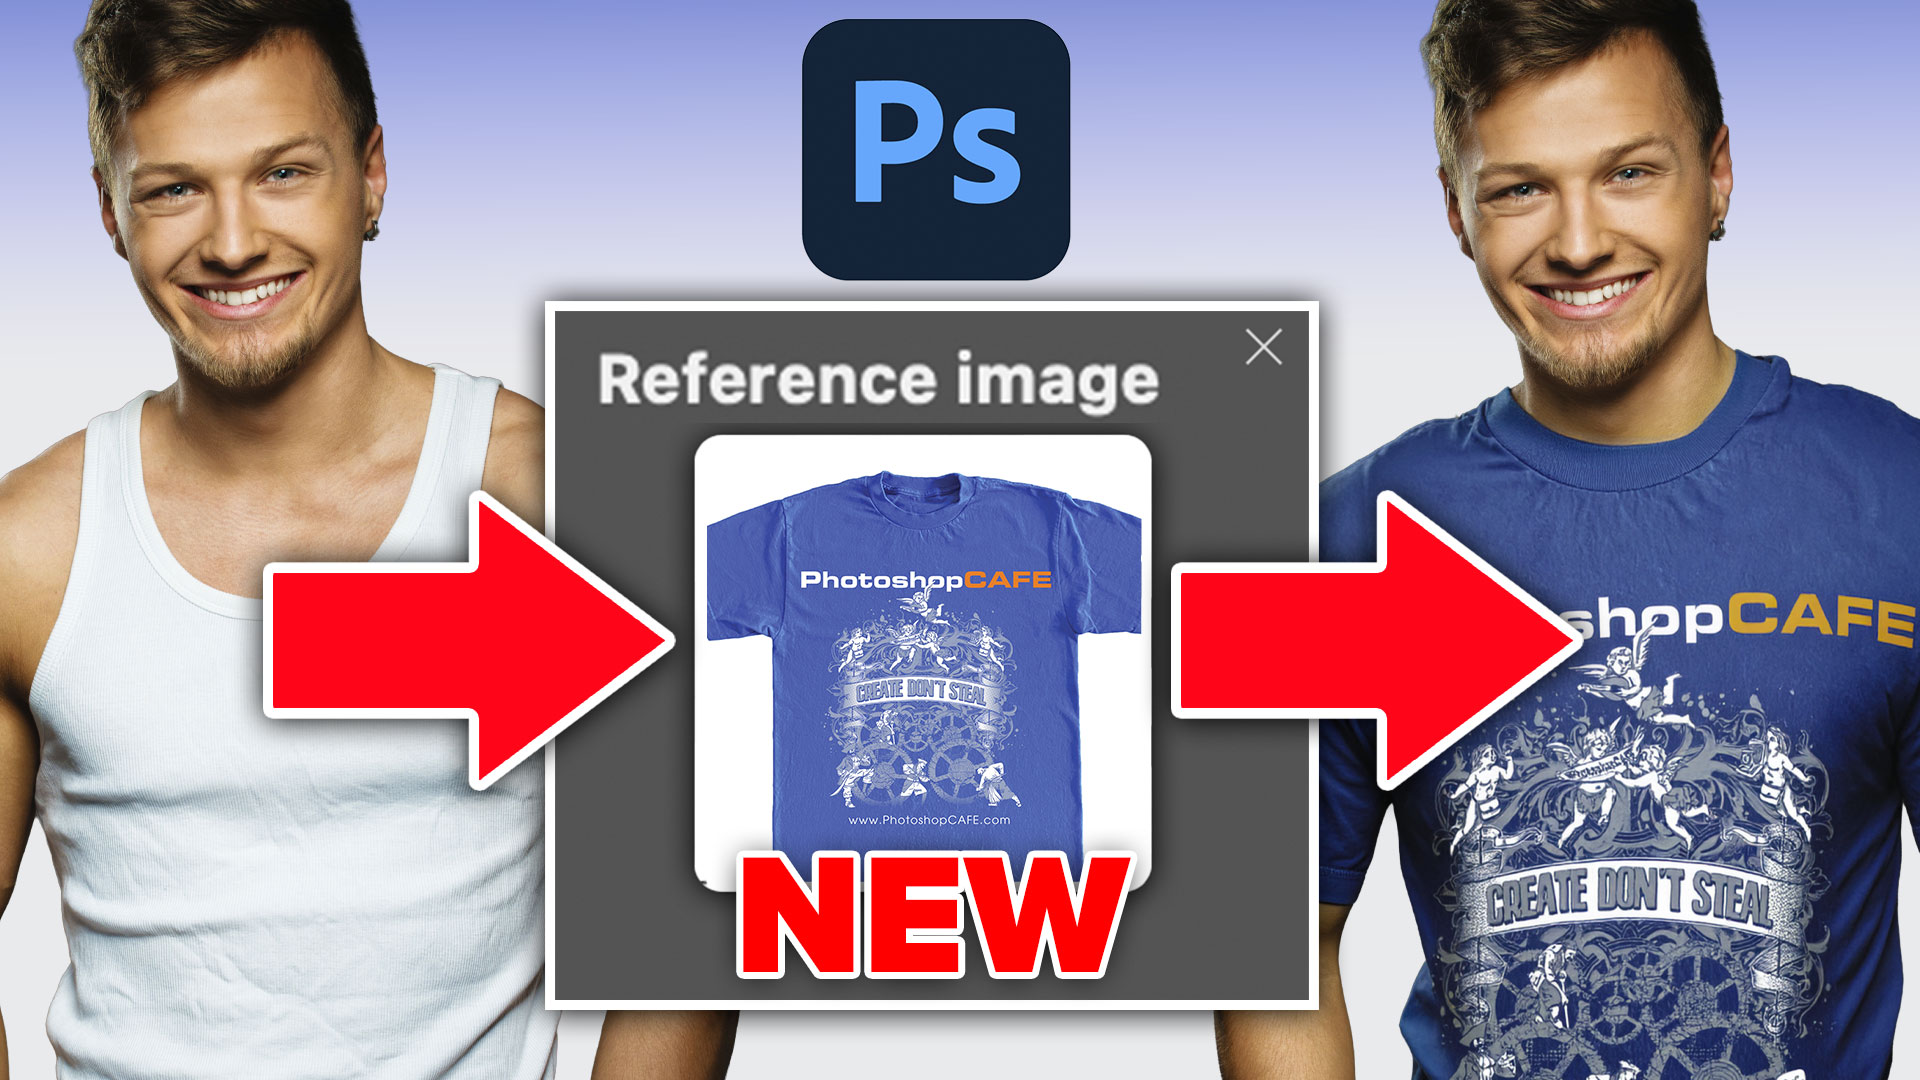
Replace a Shirt in Photoshop.
In this case, we will switch out an article of clothing, but not, just randomly, let’s do a a VERY specific item.

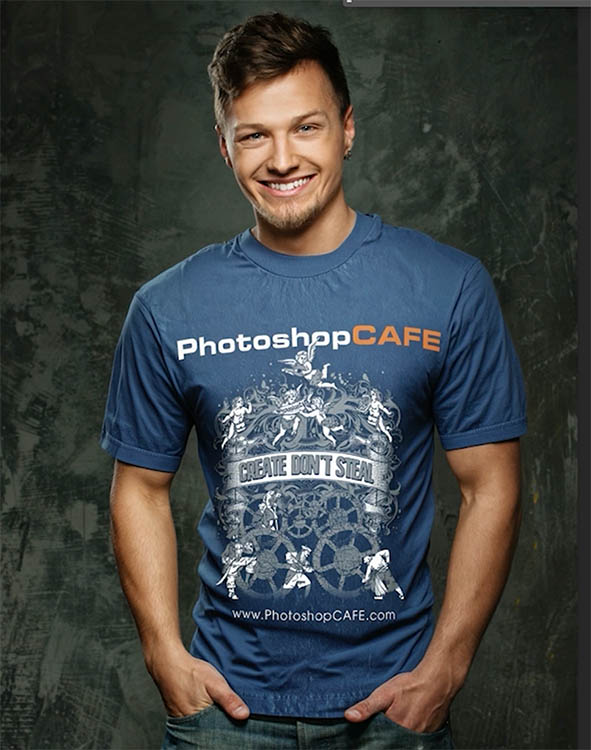
Lets make a custom PhotoshopCAFE t-shirt and cloth our person in the photo with it.
First, let’s prepare the shirt.
Here is a blank blue shirt I downloaded from the free Adobe stock collection
I added the design on a new layer. Don’t even worry about displacement and stuff, we are having the ai will take care of this when we apply it. This is the actual design we use on our PhotoshopCAFE shirts.
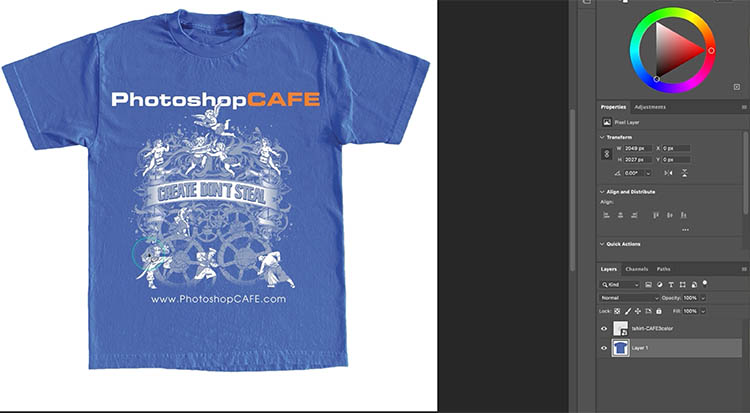
Save it as a jpg. File>Export>Save for web
Let’s put the shirt on the man in the picture.
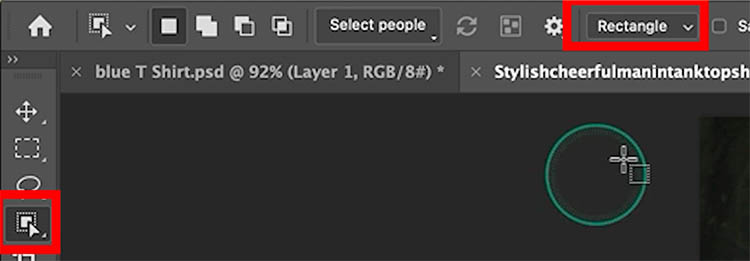
Choose the Object selection tool
Make a selection around the tank top with the object selection tool.
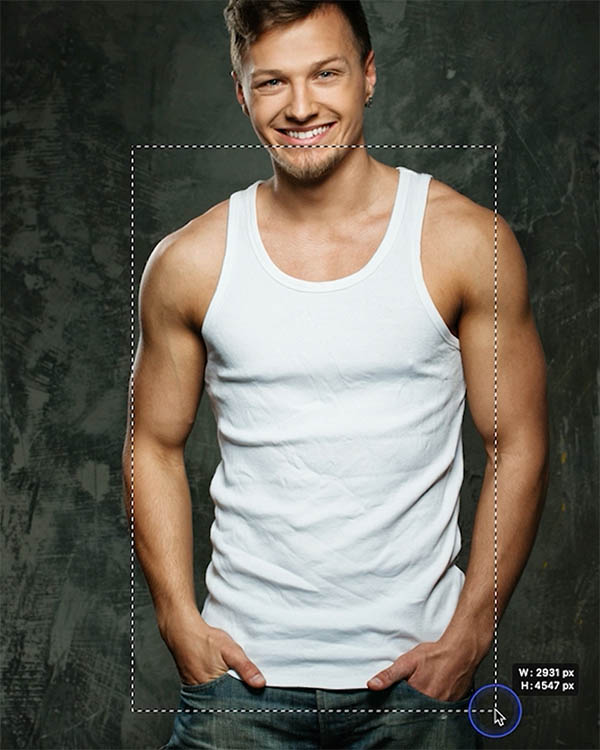
It will snap to the shape of the shirt.
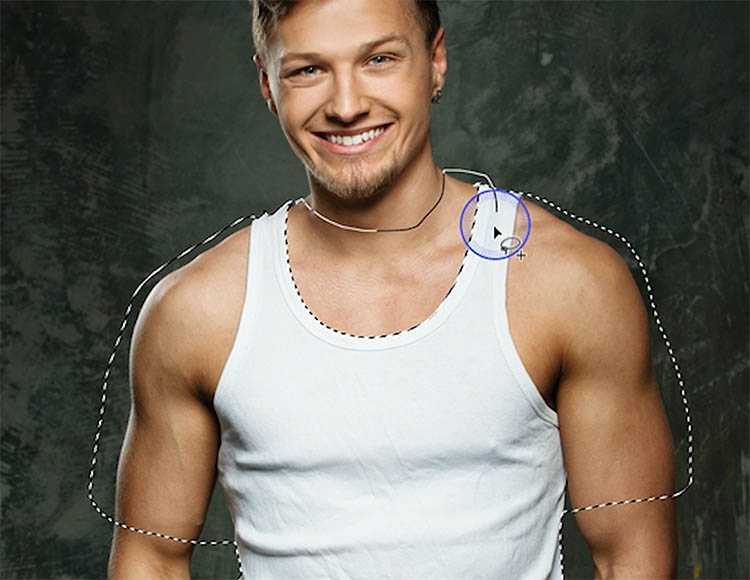
We want to add a sleeves and a higher collar. Use the Lasso tool (hold down the Shift key to add to the selection) to expand the selection. This will allow for the generation of the sleeves and collar , because Gen fill, can’t generate outside the selection
Click Generative fill,
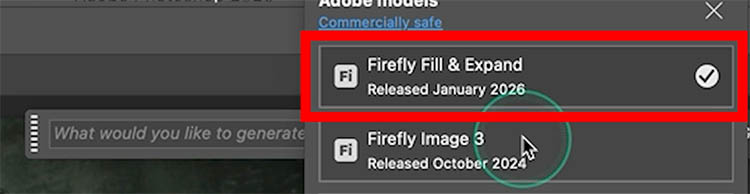
Click the Fi logo to open the model picker.

Choose the new model: Firefly Fill & Expand.
In the Task bar, click on the reference image button.
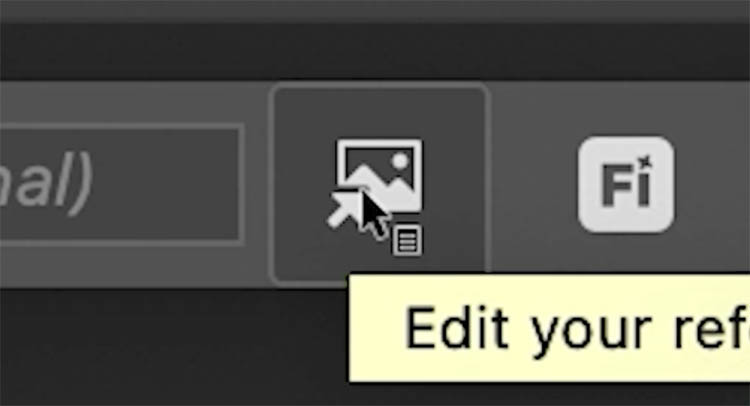
Click Choose Image

Choose our shirt.
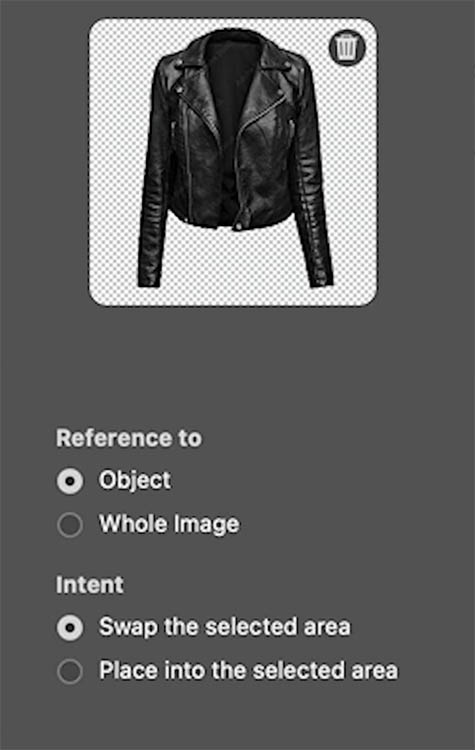
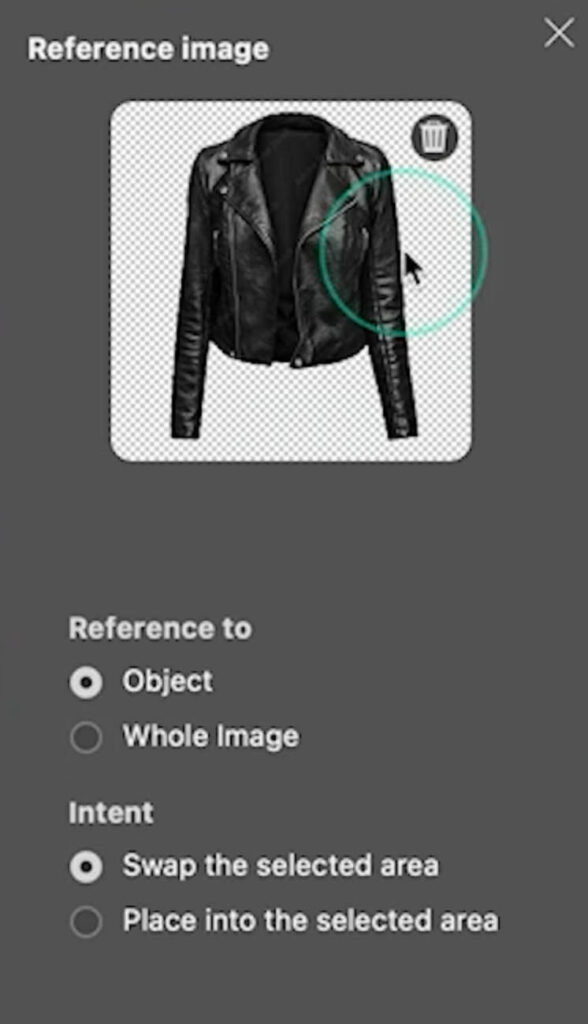
- Reference to: Object will mask out the object
- Intent: Swap, like we are doing here, switching out the boring white tank top for the stylish PhotoshopCAFE t-shirt. You would use “place into..” If you wanted to add something to the scene, like a motorcycle or something.

Apply and look at that! you have 3 variations to choose from.
A couple of things to note:
- The resolution has increased to 2k
- This still consumes a single Generative Credit (for Firefly models) each time, you click Generate.
Adding an object from the Real World into Photoshop with ai
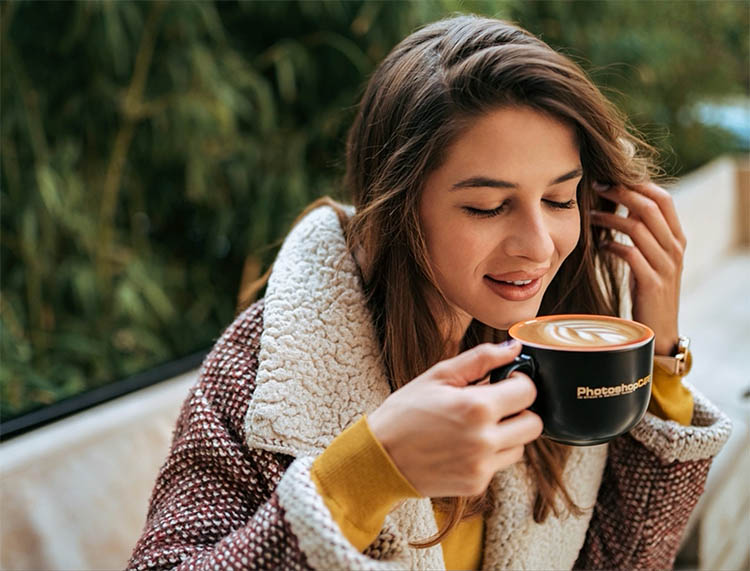
Ok. let’s do something REALLY cool! Let’s take an object on my desk and insert it into a photo. We will switch out the mug with an actual PhotoshopCAFE mug!
First I take a photo with my iPhone.

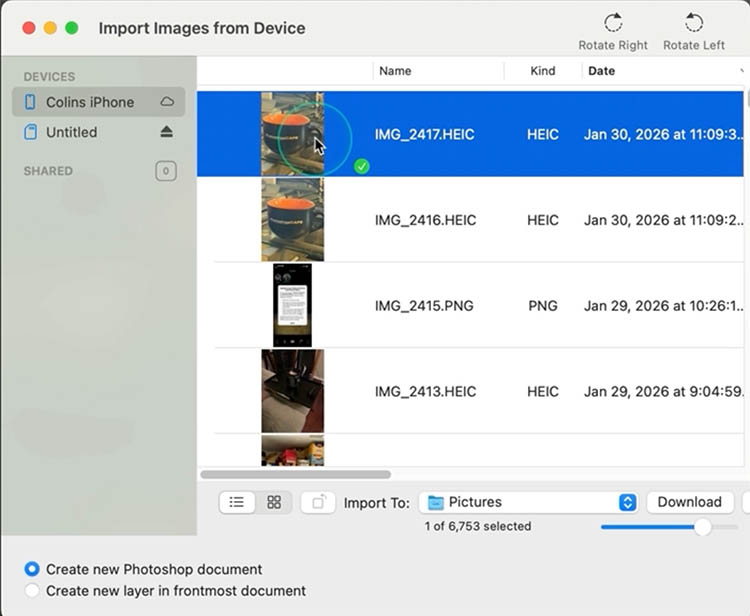
Ill plug my phone into a USB cable and open the photo library
In Photoshop choose File>Import>Images from device
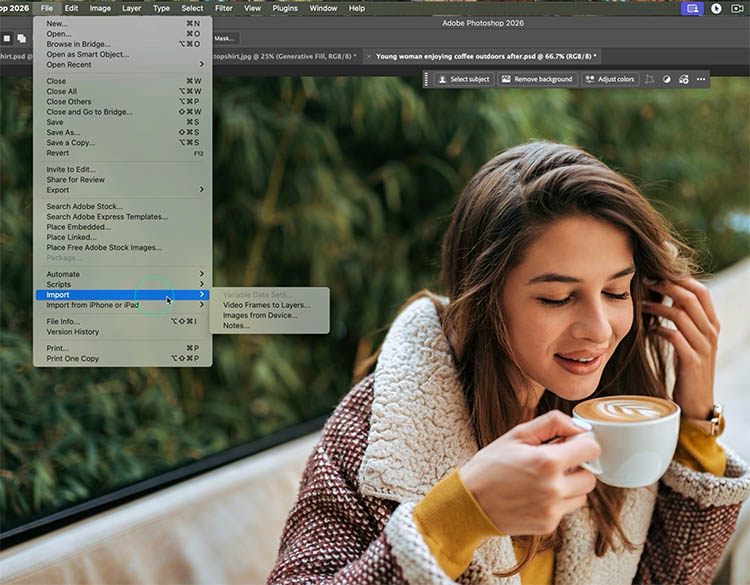
Choose the mug from the library, it will open in Photoshop, and save it as a jpg.
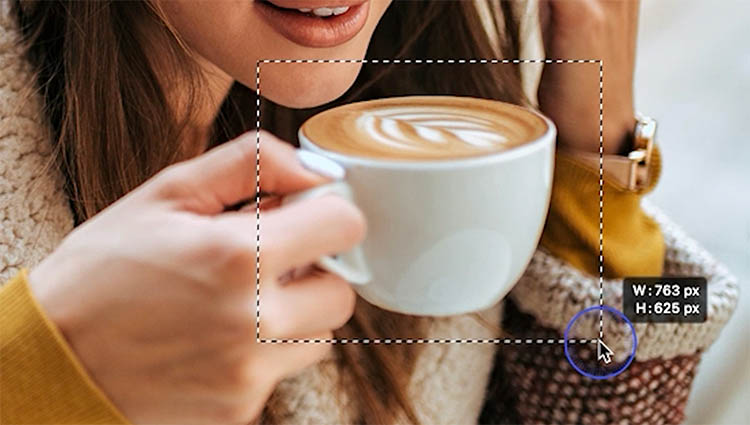
Grab the picture and Make a loose selection around the mug.
Choose reference image and use the photo of my mug!


Look at that! Now my object just moved from the real world on my desktop into my photo! How cool is that?
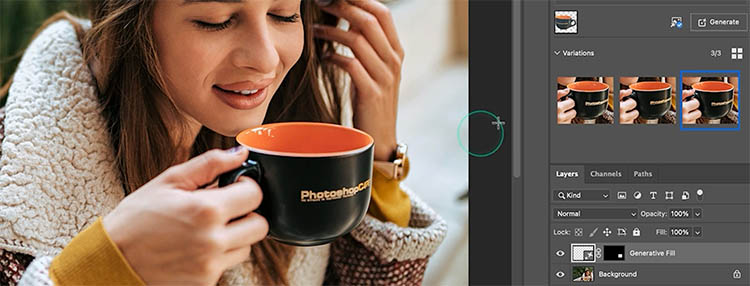
You can generate more coffee, or just copy the original and move it to the top layer to fill the cup. The video at the top shows these steps.
Adding a specific jacket and solve the problem of the missing hair!
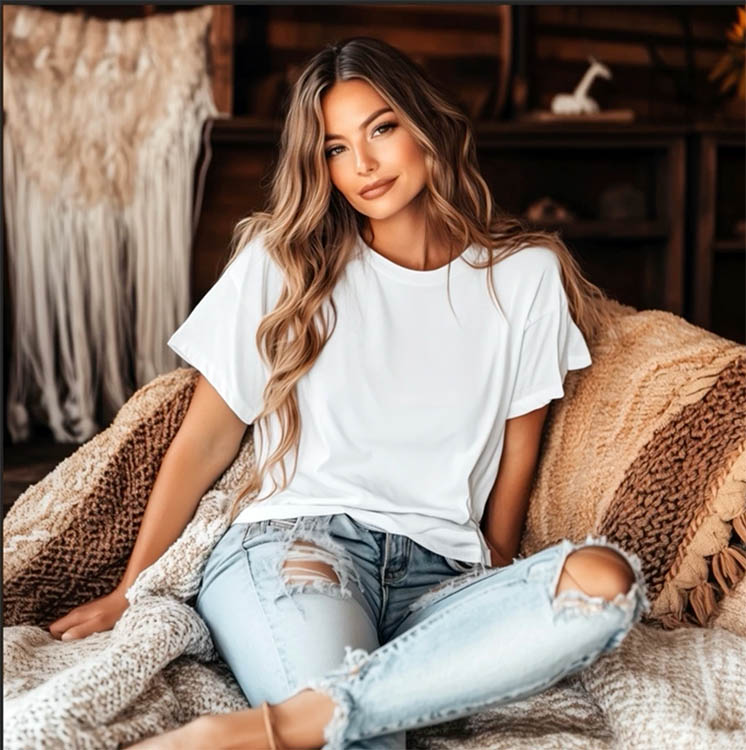
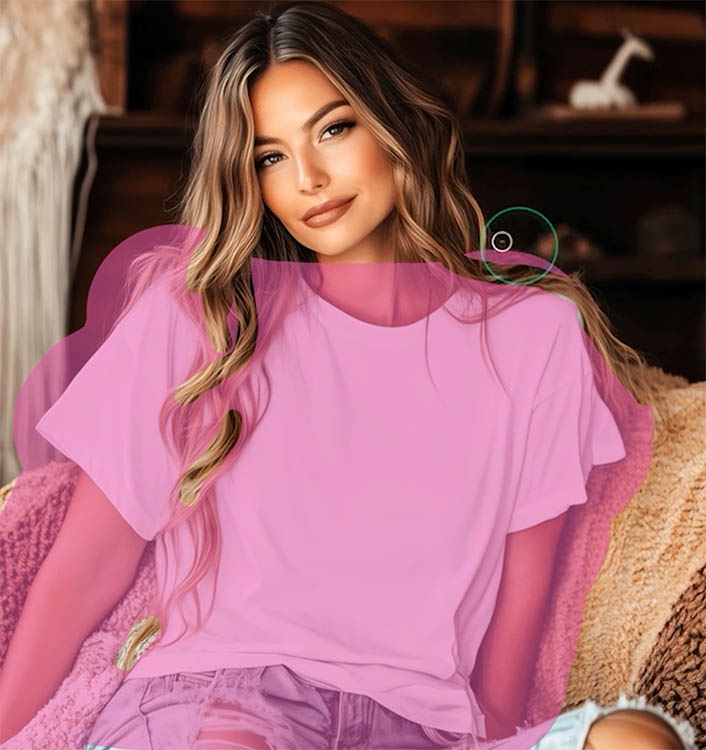
We will start with this woman sitting. There are some challenges adding a jacket. The first challenge is the pose, Imagine, trying to clone and shape a jacket into this sitting pose.
The second is the long hair, since her hair is covering part of her front and her shoulder, it can get really difficult. But don’t worry, I have a great trick!
Make a rectangular selection around the woman. You don’t have to make an accurate selection, unless you want something to fit very tightly.
Choose Generative Fill from the Task Bar.
Click on Reference image and choose a leather jacket picture. We want this exact jacket.
Notice, we get the exact jacket we wanted, but her beautiful long hair is gone!

You might have run into this issue with Generative Fill, where it gives you unwanted haircuts. I have the perfect solution for you.
Let’s start again.
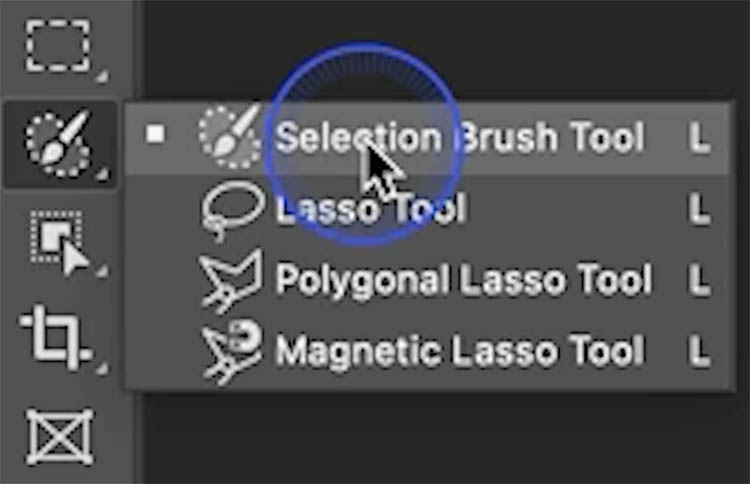
This time, grab the Selection brush tool.
Paint over the entire area that you want to add the jacket.
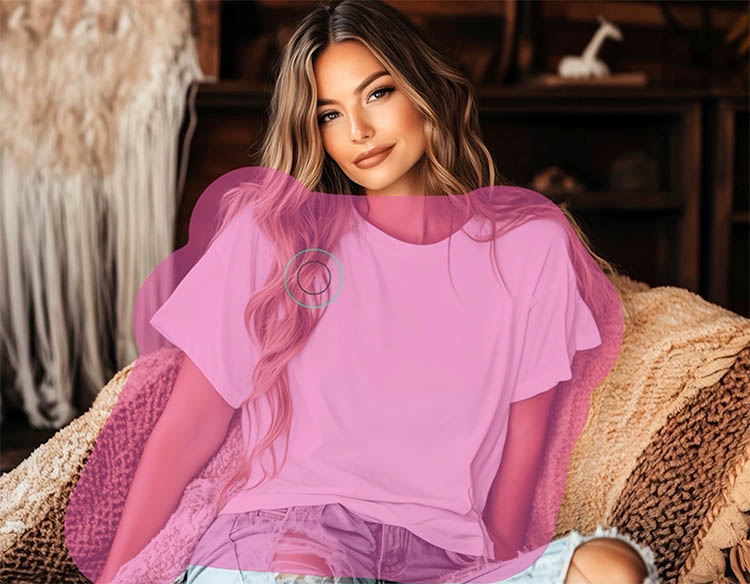
Here is the trick to save the hair.
Hold down the Alt/Option key and paint the selection away from parts of the hair. You don’t have to mask out and select all the hair. All you need to do is make sure enough is showing, to tell Gen Fill that there is hair in these areas.
Grab the reference image again
And now we have a jacket, while still keeping the same hair style.
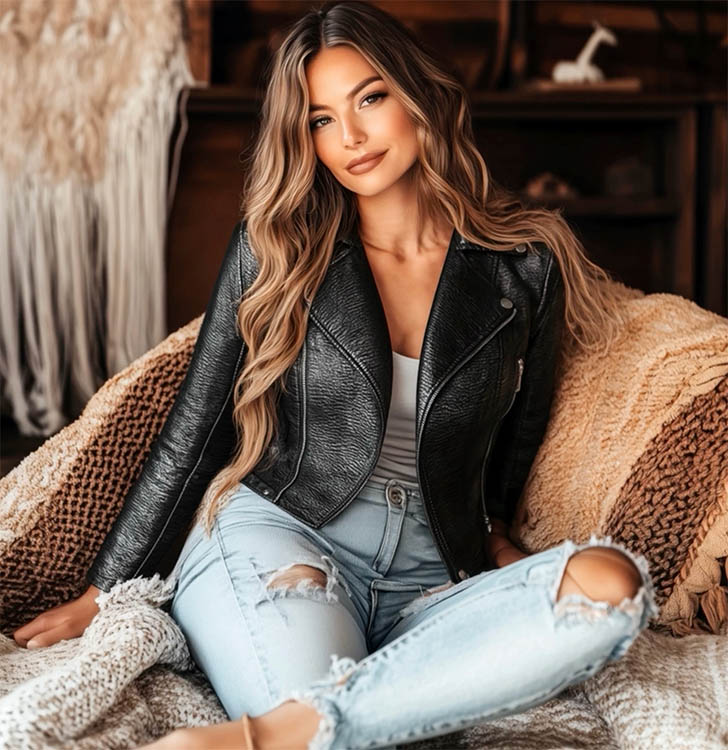
As you can see, the reference image works really well now.
If you want to see all the new features in the Jan 2026 Photoshop new release, check out my tutorial here.
I hope you found this tutorial useful. Which is your favorite part? Let me know in the comments. I read them all.
And until next time, I’ll see you at the CAFE
Colin
Hey, if you like my style of teaching and you want to learn everything that Photoshop 2026 has for you, check out my Flagship Photoshop 2026 course right here

PS Don’t forget to follow us on Social Media for more tips..
(I've been posting some fun Instagram and Facebook Stories lately)
You can get my free Layer Blending modes ebook along with dozens of exclusive Photoshop Goodies here

10 thoughts on “Reference Images in Photoshop Generative Fill – 3 Amazing things it can do”
Leave a Reply

New in Photoshop 2020 Object selection and new preset panels. This Photoshop tutorial shows how to easily change the color...

Amazing Adobe AI Photoshop 1-click Season change on your photos, how to use Landscape mixer

Help for Photoshop 2024 update, is generative fill a paid option? troubleshooting your Photoshop update Colin Smith answers your questions


It’s these kind of mockup or swap and replace features that I think AI is really good for, Colin. Thanks for the great tutorial! 🌞🎈🙋⭐
happy to help
I enjoy going to your cafe. Do you have a link to your coffee cups?
unfortunately, I don’t have any cups for sale. I probably should though
HI COLIN,
I REALLY LIKE YOUR TUTORIALS, CLEAR DIRECTIONS AND ILLUSTRATIONS.
I ALSO LIKE YOUR HEADSHOT, THE SMILE IS ENGAGING AND FRIENDLY.
THANKS FOR ALL THE HELP!
GAYLE
Would appreciate anything pertinent to jewelry. Many thanks.
I lost my wife nine months ago to some undiagnosable brain disease. I started attending Photoshop Cafe during Covid an increased my commitment after my wife passed. I must admit that my dog Chloe and Photoshop Cafe prevented me from entering a horrible depression.
I know you’re not medicine or psychotherapy, but to me you were both. You’re teaching is extremely understandable and full of all the information I needed to know and and a great deal I wanted to learn.
I am enjoying digital art and I would like to thank you again, for getting me through the depression and probably saved my life.
My history’s a bit bizarre; I received a full ride to the Philadelphia College art, one of the premier art colleges in the country.
I was then in the army as a medic and finally enrolling in medical school.
With my schedule, I didn’t have the time for oil painting, cleaning brushes, supplies, canvas and watercolor paper. I retired in 2019 and devoted a large portion of time to Photoshop and Photoshop Cafe.
I’ll never know at all, but I will continue to learn something each day.
Thank you for all you have done personally for me and for everybody who tuned in to Photoshop Cafe.
Thank you with all my heart,
Barry Eisenberg, MD PhD
PS this is OK to share,,,
Barry, so sorry for the loss of your wife!
I’m so glad the community at the cafe has been help for you in these tough times. I started Live from Lockdown during covid to bring some human interaction to the community, and we had and still have a great group of people, I do remember you from the livestreams.
Thanks for sharing this personal message!
Colin
Thank you Colin for all you do and for being such a great instructor. I have followed you for a long time and love everything you do! Thanks again!
Thanks for the kind words!