
Photoshop, Firefly Fill and expand model. Everything that’s new
Photoshop Fill and Expand Model in Generative Fill, in depth
Adobe has updated their generative fill model to, Fill and Expand. This is the name of the newest model. It has some new features including the use of a Reference Image which I covered in a previous tutorial. In this tutorial, we will explore the rest of the new features in this new Firefly model. Firefly is the name of the Adobe Generative fill.
Choosing a Generative ai model
A model contains the training data and the way that it generates images. Adobe has their own, called Firefly and there are also 3rd party models, called Partner Models. I have covered Flux and Nano banana before.
To change the model, choose the model picker in the task bar.
Make a selection on your image and click Generate image from the task bar.
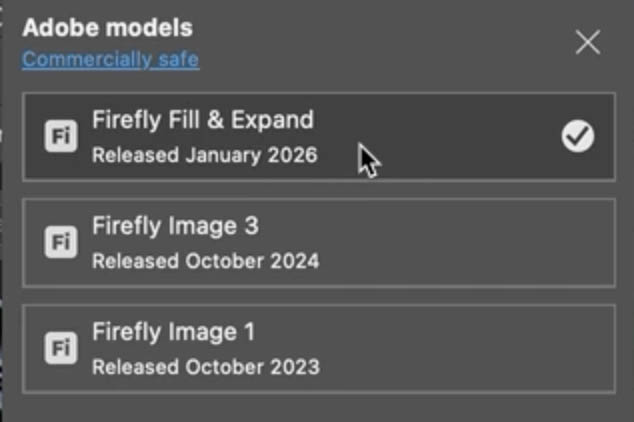
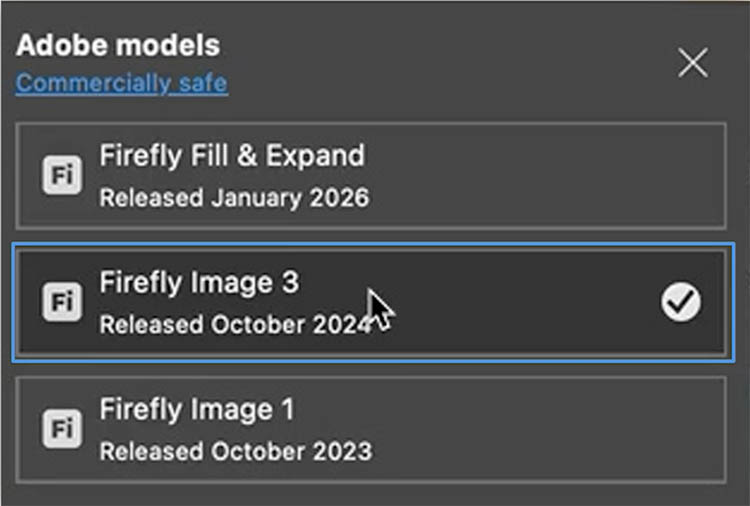
You will see an icon, in this case, it says Fi. Click it.

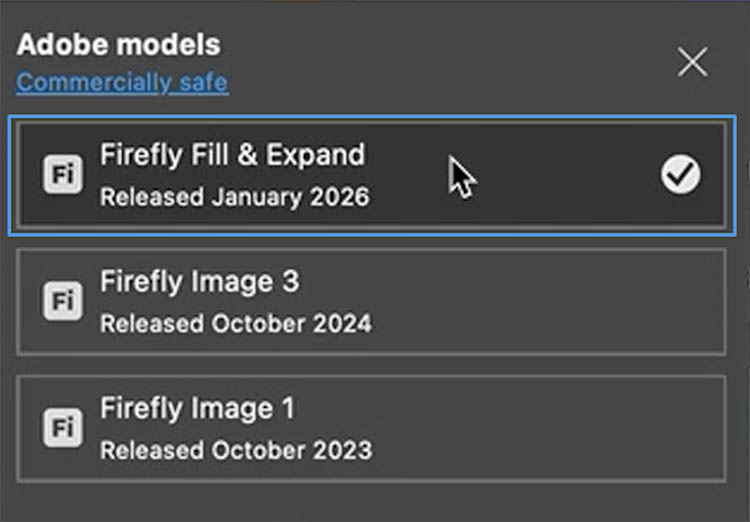
Now a list of models will appear. For this tutorial, we will focus on the Adobe Firefly models.
The previous model up until late Jan 2026 is Firefly Image 3.
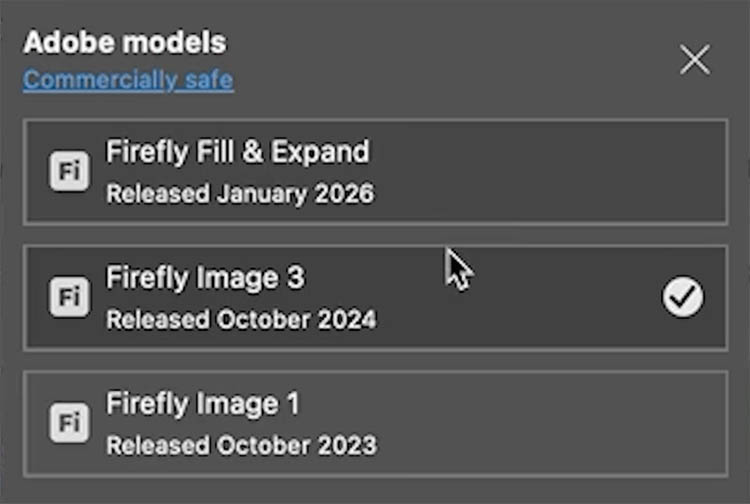
The newest model, released late Jan in called Firefly Fill & Expand. Usually, you would use the newest model, unless it fails on something a previous model could do better.
Resolution increase
The first new feature of Fill & Expand is an increased resolution.
The old model (Image 3) was limited to generating at 1k which is 1024px X 1024px.

The new model (Expand & Fill)can now generate at 2k. Which is 2048px X 2048px.

This doesn’t mean you are limited to working on a 1k or 2k image, or portion of the image.
It means Generative Fill will fill your selection, no matter the size, but the result will be the 1k or 2k of resolution stretched over that area. You can see in this image below that the 1k suffers from a soft and jaggy look because it is low resolution.

Ideally, if you want to maintain quality, you shouldn’t work on areas much larger than the resolution of the model for best results. Even though we now have 2k, it’s great for web and multi media, but it’s still too low for high resolution print work. See a workaround with Generative upscale.
Expanding an image.
choose the crop tool to expand an image. In the tool bar under Fill: Change Transparent to Generative Fill

Drag the crop tool outside the image to expand it.
Press the enter key to apply.
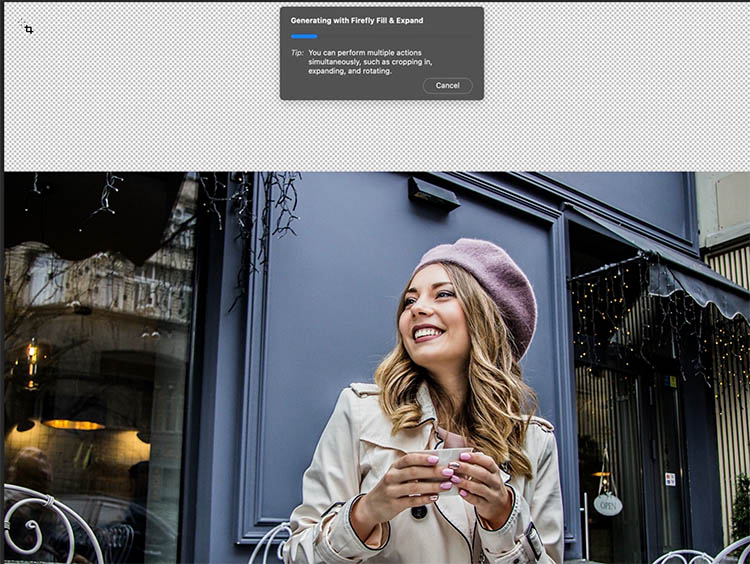
Now that generative expand works at 2k resolution, the transition between the original and the added Generated pixels is less noticeable than it was in the past. This will work fine on many projects. High Res print jobs, again, won’t work as well.

Generative Credits
I can’t mention Generative ai in Photoshop without talking about generative credits. I will be doing a more in-depth tutorial on Generative credits soon, where I explain everything.
When you use the remove tool, or remove option, there is no cost. For most other Generative tasks, there is a cost in Generative Credits. If you have a firefly plan or Creative Cloud Pro, you can get unlimited generations with Firefly and an amount of credits to be used with partner models. It all depends on your plan, which is why it will be a separate tutorial. For dollar clarification, the value of a generative credit is about .005 cents.
If you roll over the Generate button, you will see how much it costs to generate with the chosen model. For Fill and Expand, the cost is the same as Image 3 model. Usually 1 credit per generation.

The partner models are more expensive, 10 credits for Nano Banana or 40 for Nano Banana Pro. Its 20 for Flux .2 Pro which is as good or better than Nano Banana on some things. Be aware, you get 3 variations with Firefly, but no variations with the partner models.

Comparing the Adobe Firefly Models
Let’s compare Firefly Image 3 with Firefly Fill & Expand. We will choose a few tasks that Firefly has struggled with in the past.
Let’s try generating a human. You can see all this in more depth on the video at the top.
You can see the prompt that I used.
Image 3, doesn’t look very realistic. It’s very cartoonish.
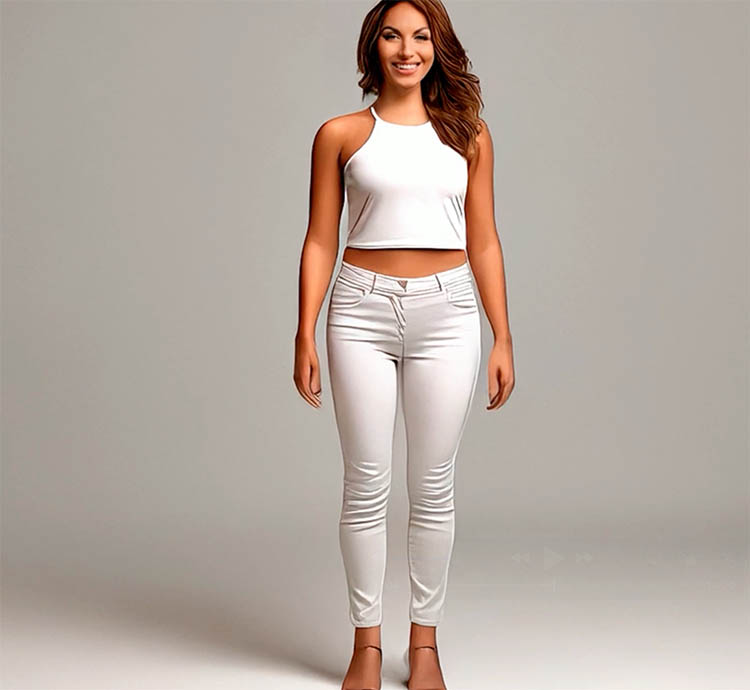
Let’s try Fill & Expand, with the same prompt.
Definitely much better and more realistic.
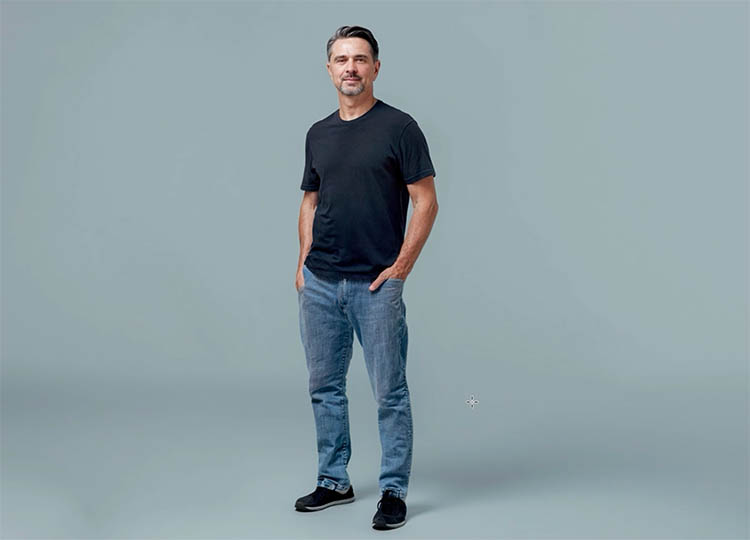
Lets’s try a more complex generation and include an environment.
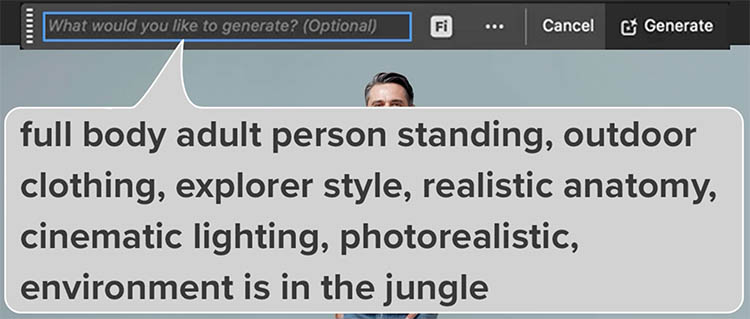
Image 3, looks really bad.
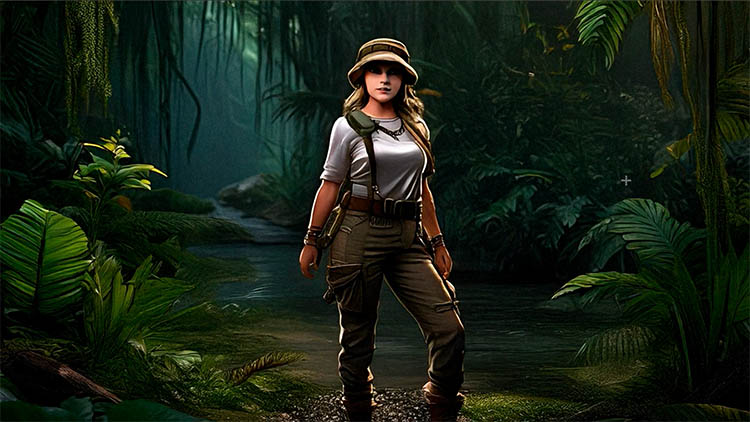
Fill ands Expand is much better, even though it’s not perfect.

Ai traditionally has struggled with hands. Let’s generate a hand
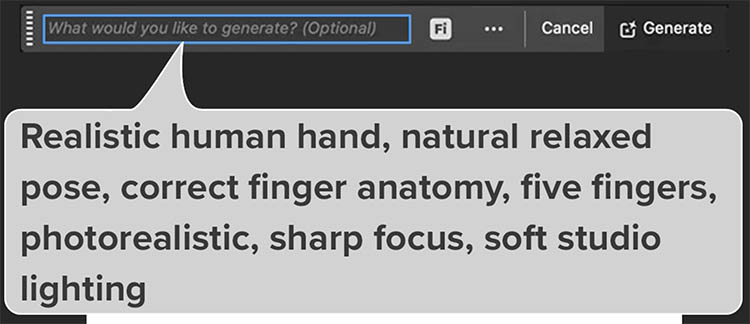
It looks very illustrative and not to real in Image 3.

in Fill & Expand, it’s a lot better, but still needs improvement. At least both these examples each have 5 digits.

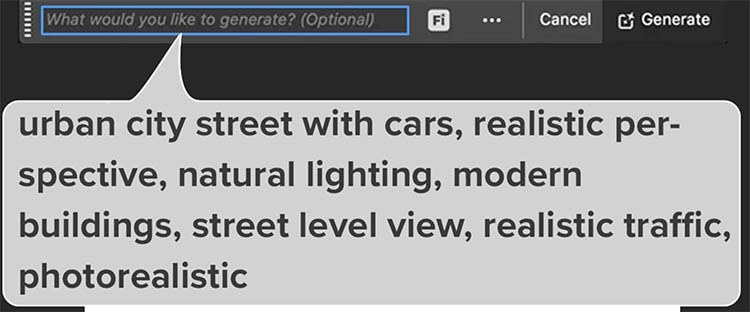
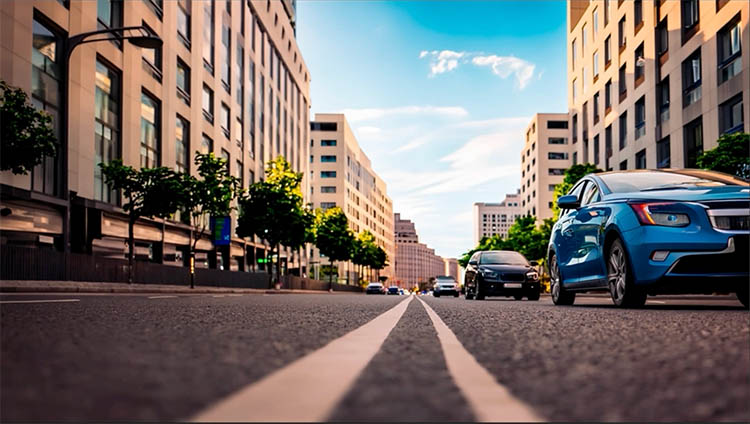
Generating cars.
Firefly has always been really bad at generating cars, let’s try.
Model 3 looks really bad.
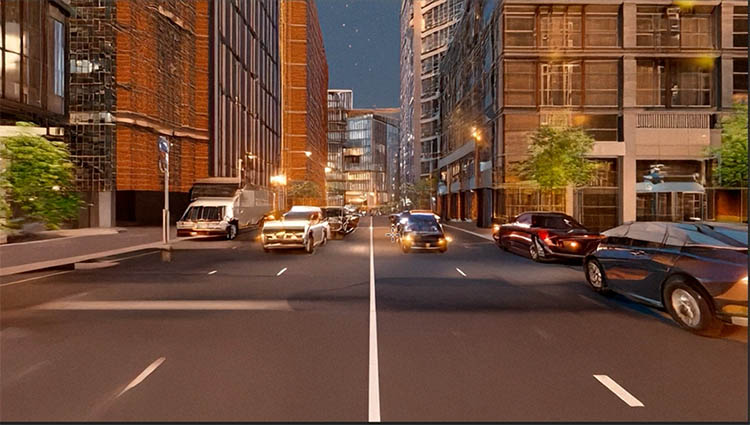
Fill and Expand is looking a lot better, but still has a ways to go.
It’s also been pointed out to me that using the word “photorealistic” is not the best word to use to get something that looks like a photo with ai. But this still gives us a good comparison. As you can see, the new model is definitely a big improvement.
I don’t think it’s as good as the partner models yet, but it’s coming along.
This is part or a series I have made on the new January 2026 release of Photoshop in depth.
- New Features in Photoshop 2026 Jan update
- How to use Clarity and Dehaze as Adjustment Layers in Photoshop
- Using a Reference Image in Generative Fill in Photoshop
Thanks for checking this out, drop a comment and let me know your thoughts! I read then all.
See you at the CAFE
Colin
PS Don’t forget to follow us on Social Media for more tips..
(I've been posting some fun Instagram and Facebook Stories lately)
You can get my free Layer Blending modes ebook along with dozens of exclusive Photoshop Goodies here


5 thoughts on “Photoshop, Firefly Fill and expand model. Everything that’s new”
Leave a Reply

Cut out a person from one photo and place into another, match tone and color and add a shadow, this...

How to embed type in photoshop. Heres a tutorial that will how you how to carve your mark. This is...
Colin Walks through the entire process of creating large panoramas in Photoshop and Lightroom. Shoot, and edit, every step explained...


awesome post, Colin!
Thanks L!
Colin, I follow you and like your methods of teaching which are clear to understand and descriptive. I appreciate the lesson on Generative Fill and how far AI is going. To me, it takes the photography out of the hands of the photographer and allows someone to generate a photo by commands and that becomes command art and is no longer what I believe photography to be.
Thanks for the comment. It’s a big conversation that we will be having for a while for sure. Personally, I certainly don’t call “ai” “photography” and I don’t think you will ever hear me refer to it as such. It’s here and not going anywhere, so we need to find where we are comfortable using it and not. That will mean something different for a lot of people. I know certain things I do, I use it a lot and other things I do, I don’t use it at all. It’s really in its own category and hopefully both can happily co-exist.
This post is a great help! You are a most-valued resource to follow for all things AI, relative to photographic processing, and as AI evolves. In a nutshell, this clarifies all of the top-level questions a person might have such as AI-models, version-generations, credit-costs, and resolution and potential output limitations.
A couple of years back, you did a terrific video-post comparing three (3) models and how each handled the same assigned AI task. Any chance you might dig that up from your archives and re-do the same image(s), positing the same task(s), to compare their evolution to today?