Photoshop 2024 Adjustment brush gets auto selections, how do partial adjustments on photos the easy way
Ai selections in Photoshop with the new Adjustment Brush.
You may be aware of the Adjustment brush added in Photoshop 2024. It does the same thing as an Adjustment Layer and painting on the mask. Its easier and quicker to use, especially for newer Photoshop users. This new feature added a lot of usefulness to this tool, where even advanced users may see this as a worthwhile shortcut. Lets look at it now.
Adjusting an object within a photo. Brighten a person.
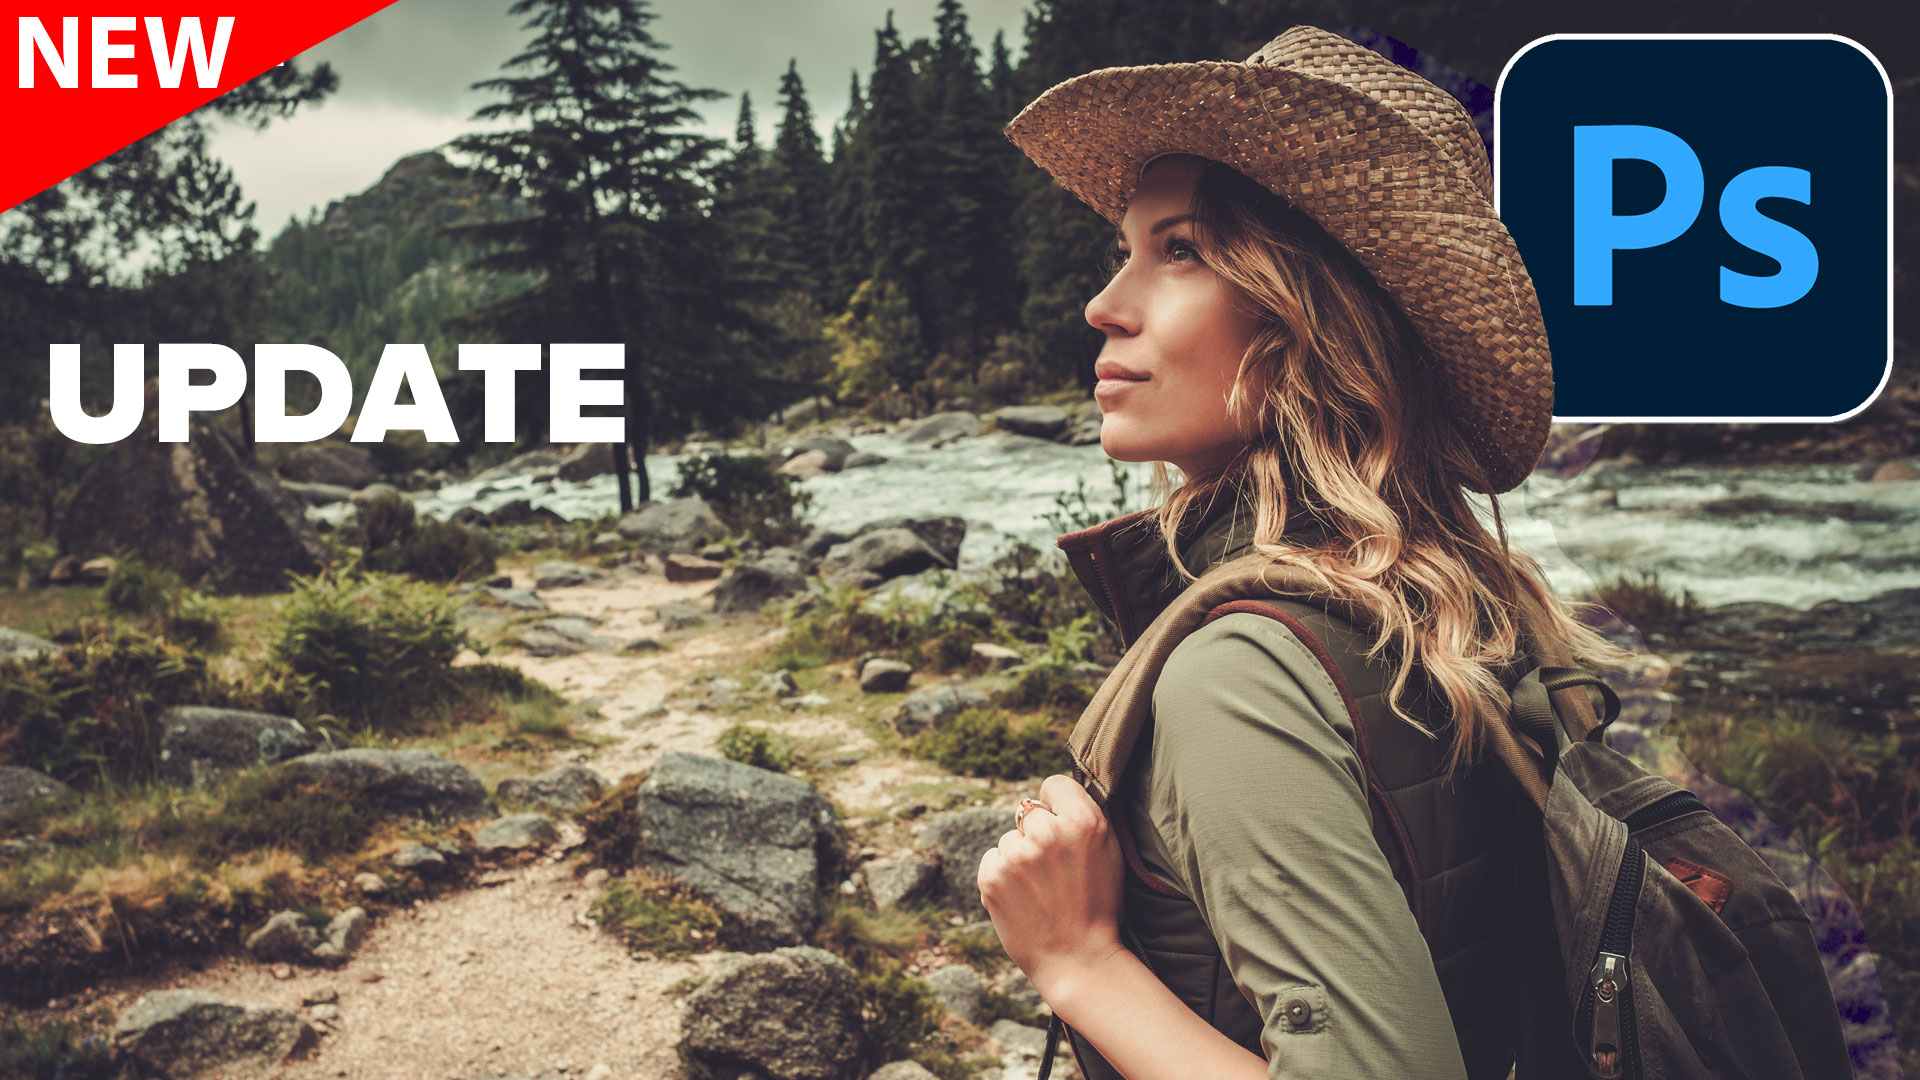
Let’s brighten the woman in this photo. This example will allow you to see how this tool works.

Choose the Adjustment Brush from the toolbox. Can’t find the adjustment brush? Here is the fix.

Click on the adjustment in the toolbar at the top, to choose an adjustment.

Choose Exposure.

Click the icon to turn on object selection.

As you roll over different parts of the image, you will see different objects highlighted. Sometimes, it will show the whole person, other times, part of the person.
To select a highlighted area, click.

Notice the adjustment is applied as a new Adjustment Layer and a Layer Mask is created for the selected area.

Make adjustments in the Properties panel to adjust the masked part of the photo.

Adding to the selection with the Adjustment Brush in Photoshop
Notice the woman is adjusted, but her backpack doesn’t match the photo, because it wasn’t part of the selection mask,

With the Adjustment Brush still selected, click on the Object Selection button in the top toolbar, and then, roll over the backpack.

Click to select.
Notice it’s added to the mask and takes on the adjustments immediately, because it’s part of the same mask.

Changing the background color of a photo in Photoshop with the Adjustment Brush.
Let’s look at a different example, so we can use the tool in a different way. We will change the background color.
Choose the Adjustment Brush, as before.
Choose Hue/Saturation as the Adjustment type.
Click the Object selection option in the toolbar.

As you roll overe the image, notice different parts are highlighted.

What we want to do, is select the entire foreground in a single selection. We can’t do this by rolling over in this case.
Instead go to the taskbar (I positioned the taskbar by the top toolbar here).
Choose Apply To Object. (If you are confused, see the video at the top).

With Apply to Object, drag to make a selection around the entire area that we want to select.

It nicely makes a selection and masks it out.
You can add to the mask, or remove from the mask, using selection tools, or use the black or white brush. How to use layer masks in Photoshop.

Let’s inverse (swap) the selection, so that the background will be selected, instead of the foreground.
Press Cmd+I (Ctrl+I Windows).

Adjust the hue in the Properties Panel to change the color.

I hope this tutorial helped you see how to use the Object Selection tools built into the Adjustment Brush in Photoshop. It’s always good to know different ways to do things.
Thanks for checking out this week’s Photoshop tutorial.
Colin
PS Don’t forget to follow us on Social Media for more tips..
(I've been posting some fun Instagram and Facebook Stories lately)
You can get my free Layer Blending modes ebook along with dozens of exclusive Photoshop Goodies here

10 thoughts on “Photoshop 2024 Adjustment brush gets auto selections, how do partial adjustments on photos the easy way”
Leave a Reply
Maybe you are unfamiliar with Layer Styles as yet, and so I'll cover them briefly. Layer Styles are simply groups...
How to blend text realistically into a photo, free Photoshop tutorial, includes blending, shaping, distressing and adding 3D depth to...
How to create animation in Photoshop. Learn how to create movement and animate an object in Photoshop.


Fantastic! Applies directly to a current project I’m working on. Thanks!
Will the adjustment brush work in Photoshop elements
no
Very informative as always
Have you tried this with curves setting? It crashes Photoshop for me.
Yes, it worked fine on mine
I shall try that at the first available opportunity. Thank you, Colin.
Great tut, as usual, Colin. With the selections on the first image, they kept adding to the original. How do I select different regions that require totally different adjustments?
Thanks
Thank you Colin! This is a GREAT tool!!!!!!!!!
Always the best at teaching this old dog something new!