
Master the Adjustment Brush in Camera Raw and Lightroom
Mastering the Adjustment Brush in Lightroom and Camera Raw
One of the most powerful and underrated tools in Lightroom and Camera Raw is the Adjustment Brush. Most people only scratch the surface of what it can do, but once you understand how it really works, it gives you incredible control over exactly where and how your edits are applied. Watch the video to really see this in action.
In this tutorial, we’re starting from the basics and covering every major feature of the Adjustment Brush, so by the end, you’ll understand it in a completely different way.
We will be using ACR for this tutorial, it works identical in Lightroom, so this tut is good for both.
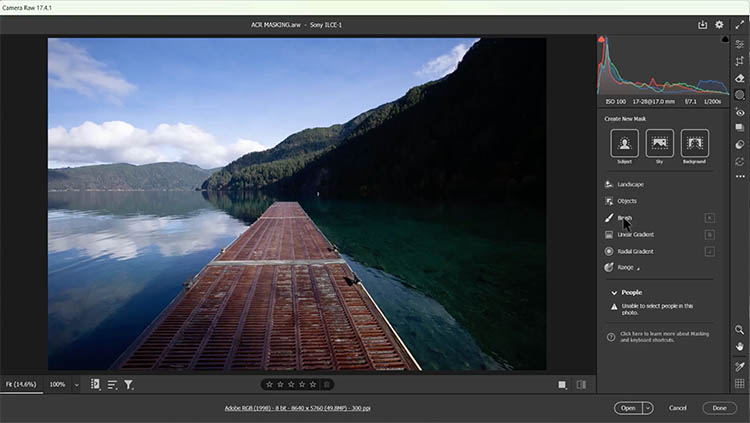
Opening the Image in Camera Raw
Start in Adobe Bridge,Right-click the image and choose Open in Camera Raw.
If you open a RAW file directly from Photoshop, it will also open automatically in Camera Raw, skipping the main Photoshop interface. A jpg can be opened by choosing Filters>Camera Raw Filter
Creating Your First Brush Mask
Open the Masking panel.
Choose the Adjustment Brush.
A new mask is created, and now you can paint directly onto the image to define where your edits will apply.
Paint over an area
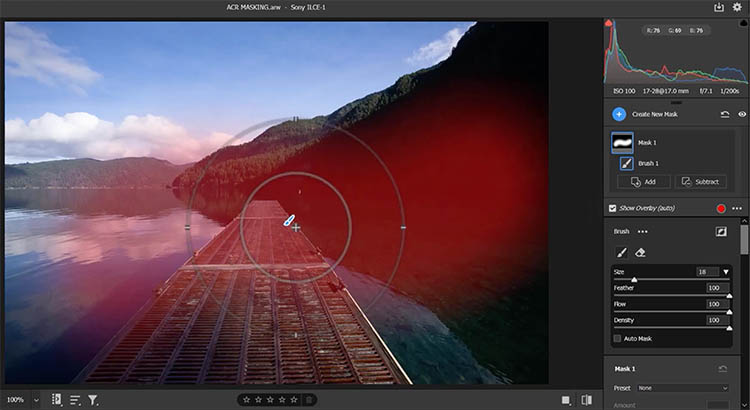
and then adjust sliders like Exposure, Shadows, or Highlights to affect only that painted region.
If you continue painting, you’re adding to the same mask, meaning all painted areas receive the same adjustments.
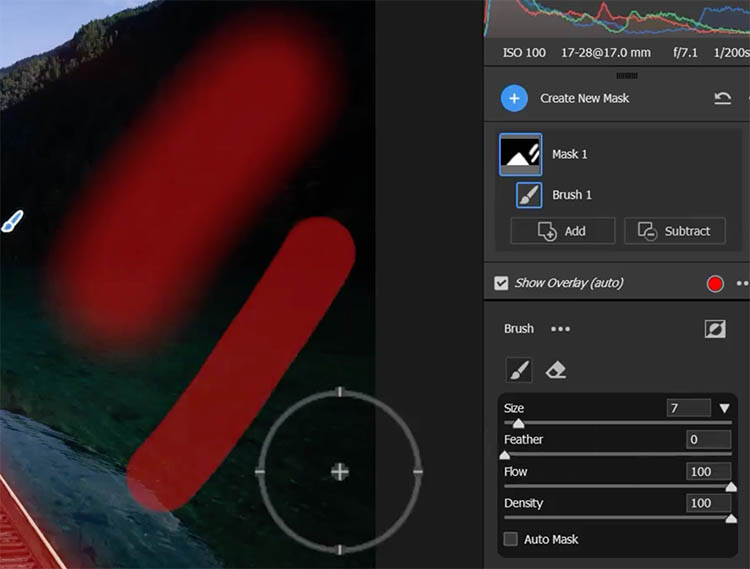
Tip: Turn on the mask overlay while painting so you can clearly see where the mask is applied (the red part).
Brush Size and Keyboard Shortcuts
Open the brush settings.
Adjust the brush size using the slider, or use the left and right bracket keys to resize the brush visually on the image.
Use the Shift + bracket keys to adjust feathering and see the edge softness change live. The feather changes the softness of the brush.

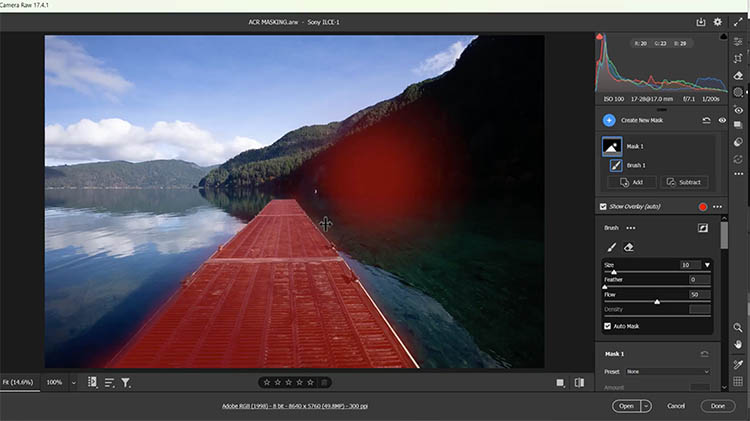
Using Auto Mask for Cleaner Edges
Enable Auto Mask in the brush settings to detect the edges and stay in them. The + on the overlay determines the color you are masking.
Paint along edges like buildings or mountains, and the brush will try to stay within similar tones.
Start with Auto Mask turned off and paint broad areas first.

Turn Auto Mask on and use a smaller brush to refine edges afterward.

Keep the inner circle of the brush inside the object when using Auto Mask to avoid spillover.
If mistakes happen, use the eraser with Auto Mask to clean things up.
Tip: Auto Mask works best when there’s strong contrast between edges.
Erasing Parts of a Mask
Hold down the Alt (Windows) or Option (Mac) key to temporarily switch to the eraser.
Alternatively, click the Eraser option directly.
Use Auto Mask with the eraser to clean up edges precisely.
The brush and eraser remember their last settings, making it easy to switch back and forth while refining a mask.
Understanding Feather, Flow, and Density
Feather controls how soft or hard the edge of the mask is.
Flow controls how quickly the adjustment builds up as you paint and allows gradual buildup, similar to an airbrush.
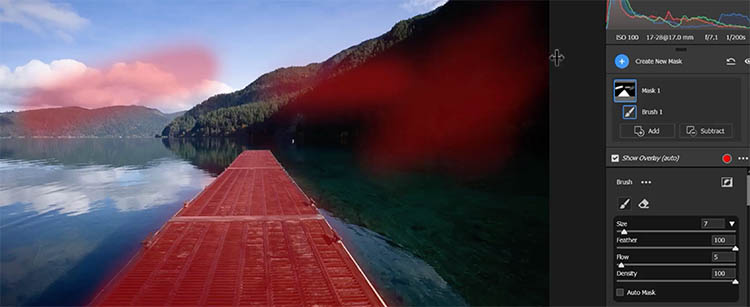
Density sets the strength of the mask, no matter how many times you paint over an area.
If density is set to 50%, the mask will never exceed that strength, even with repeated strokes. A Cool feature of density: if you have the density set lower than the area you are painting over, the mask lightens.
Tip: Density limits the mask’s intensity, while flow controls how fast you reach that limit.
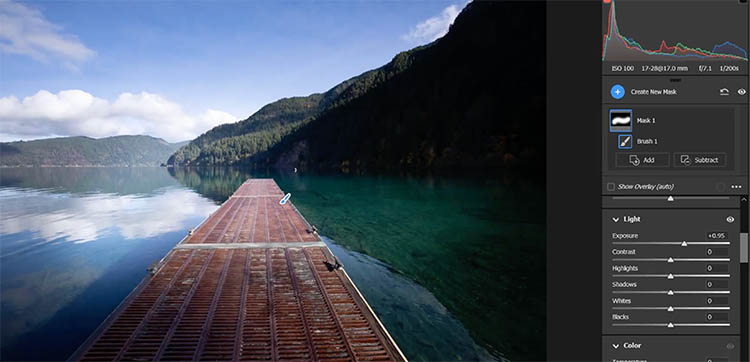
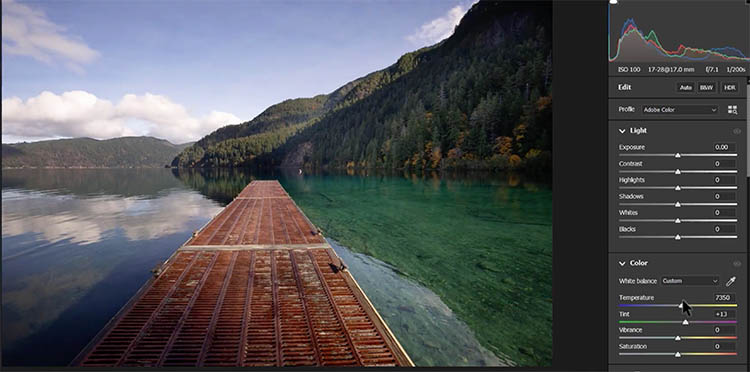
Final Global Adjustments
Once all local edits are done, click Edit to exit masking mode.
Now any adjustment applies to the entire image, which is ideal for color temperature, contrast, and overall balance.
This helps unify the image so the local edits feel cohesive rather than pieced together.
Final Thoughts
The Adjustment Brush is far more powerful than it first appears. Once you understand how brush settings, flow, density, and Auto Mask work together, you can shape light and tone with incredible precision—often without ever needing Photoshop.
Which feature of the Adjustment Brush surprised you the most, or changed the way you think about local adjustments?
It’s great to see you here at the CAFE
Colin
PS Don’t forget to follow us on Social Media for more tips.. (I've been posting some fun Instagram and Facebook Stories lately)
You can get my free Layer Blending modes ebook along with dozens of exclusive Photoshop Goodies here

7 thoughts on “Master the Adjustment Brush in Camera Raw and Lightroom”
Leave a Reply
I have been asked a few times, how to make a 3d cube in Photoshop. here is the manual method....

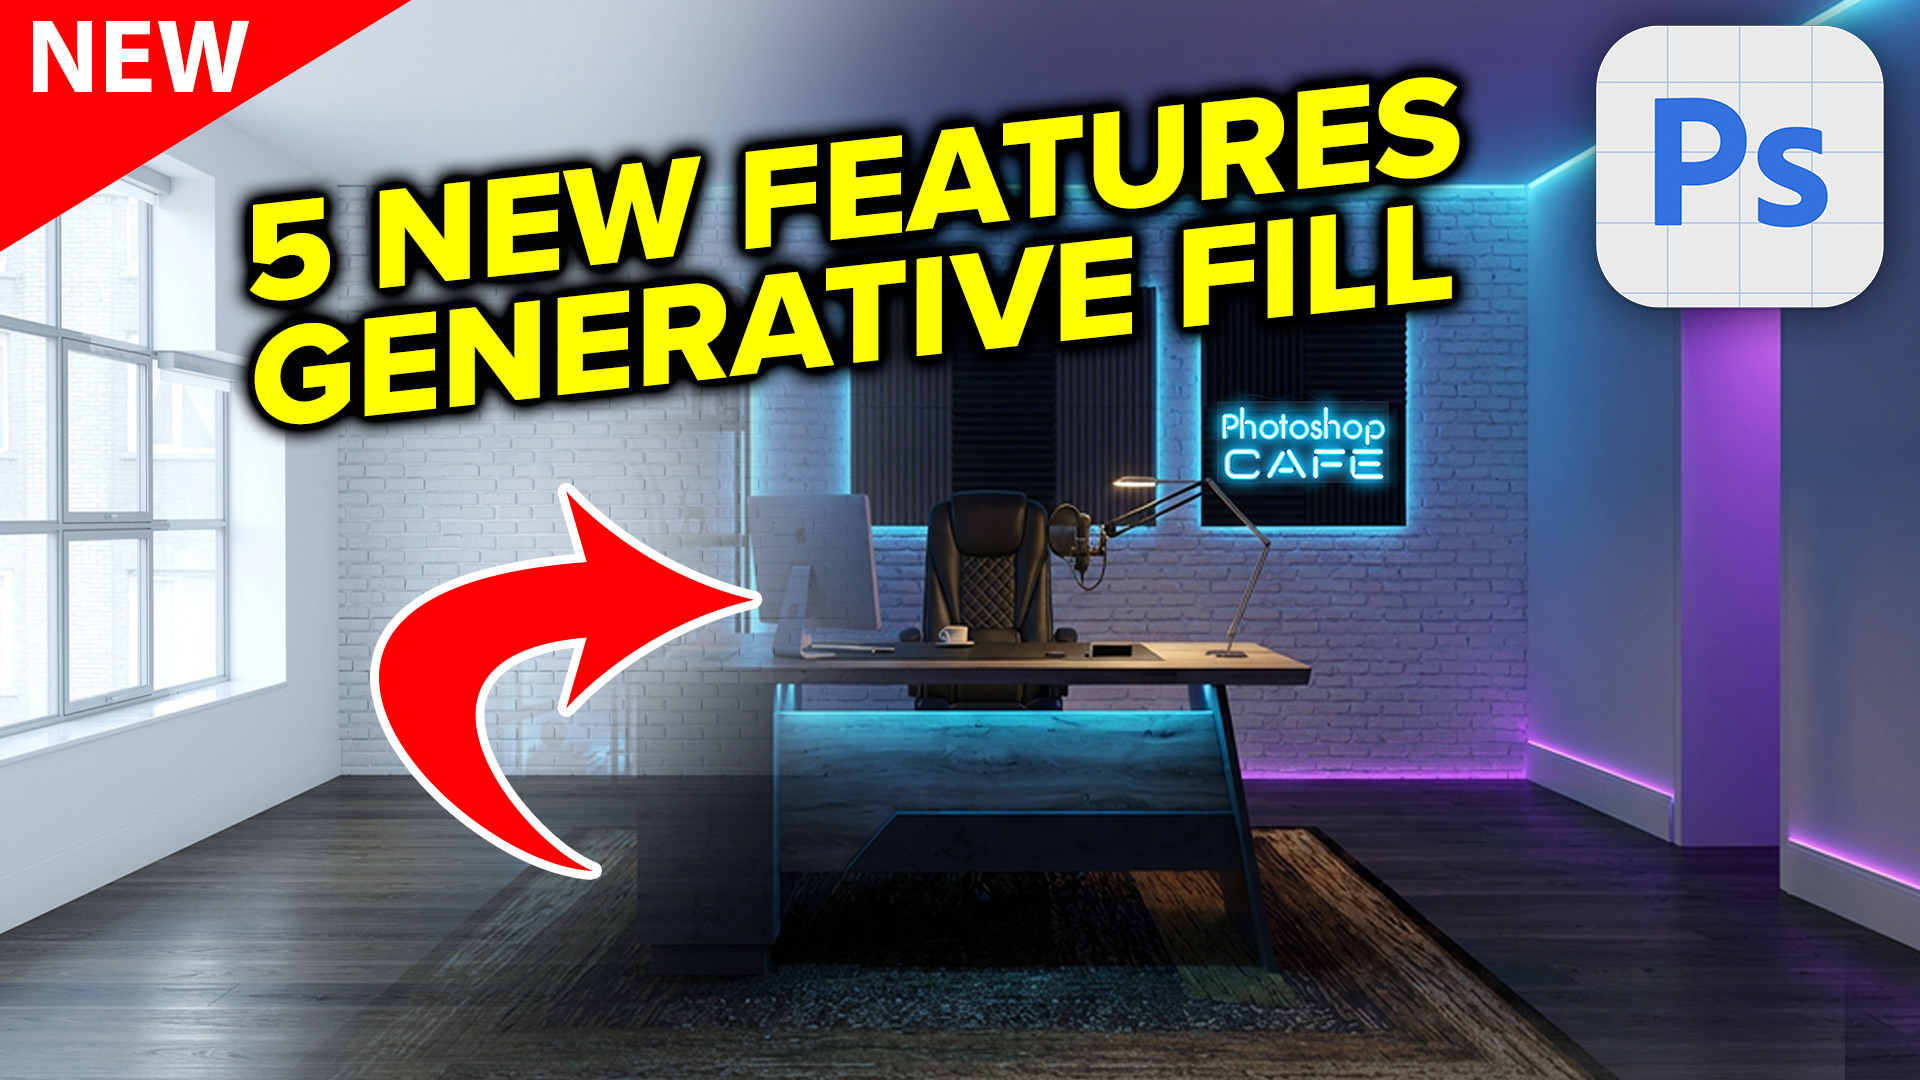
This is a very requested photoshop tutorial that simulates the interlaced lines of a TV screen, this effect is used...
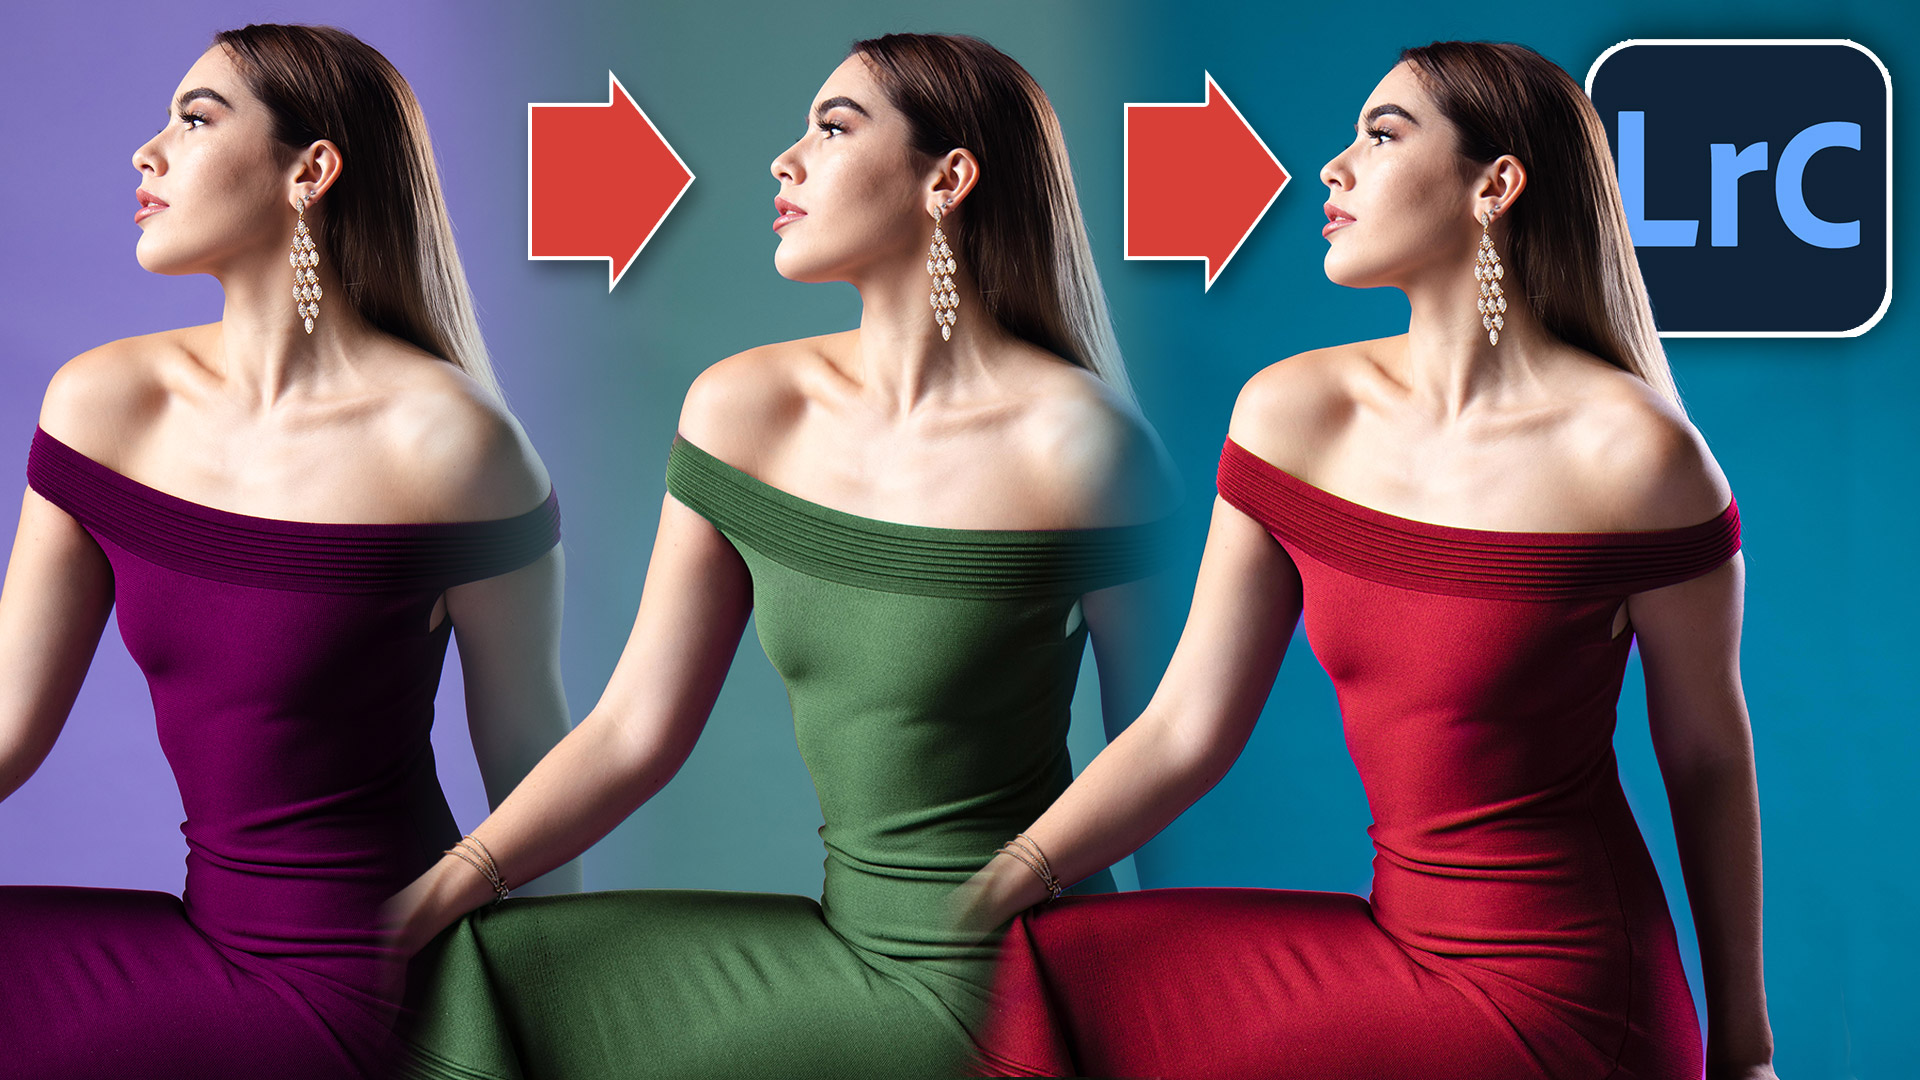
How to change the colors of an object in Lightroom Classic in a very realistic way.


Great tutorial. It really helped me understand Density which I previously ignored. 🙂
So glad it helps
Thank you so much Colin and the notes are so beneficial!
One related comment – despite having drivers etc. updated – when using the masks, especially involving the sky my GPU crashes. I’ve read most Adobe articles on this. Have you experienced this? Any thoughts? I use Nvidia rather than Intel. Thank you!
In the past you could turn off different parts of the GPU in Photoshop preferences, not sure if that’s still there.
thanks , I found out to decrease size of feather while on the image to use the Shift key + brackets. I know to use the brackets to increase decrease brush size but not the feather size
great.
Glad to help