
Screw heads in Photoshop Photoshop Tutorial
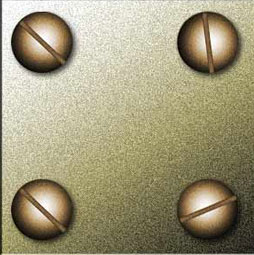
How to create a screw head in Photoshop tutorial
1. Make a circular selection.
Tip: Hold down Alt/Option to draw from the center. Hold down Shift to draw a perfect circle. To move the selection while drawing, hold the spacebar.
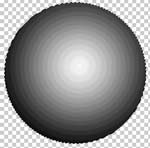
2. Select the gradient tool. black to white circular gradient. Make sure you check the reverse box on the top bar.
3 draw the gradient starting from the center and you should have something like this.
4 Now how about the slot?
Make a new layer. Draw a long rectangle and fill with dark gray.
To trim the slot: Ctrl/Cmd click on the layer 1 thumbnail to select it. With the top layer active hit Ctrl/Cmd+Shift+I to invert the selection. Press the delete key. Now you should have a nicely trimmed slot.
To make the slot look recessed:
Add a layer style to the slot. Hit the little “f” at the bottom of the layers pallette. Use inner shadow wih the default settings except for the size, move that up a little bit for more realism.

6
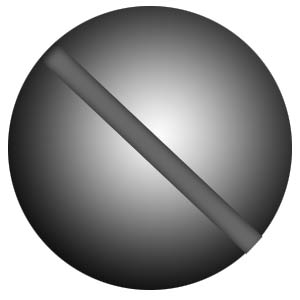
We are done, but how often is the slot perfectly vertical? Press Ctrl/Cmd+T for free transform. Move your mouse on a corner until it turns into a curved arrow. Drag it around until you have a nice angled slot.
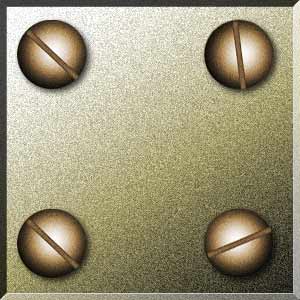
To finish, merge down and add a drop shadow and a bit of color if you desire.
PS Don’t forget to follow us on Social Media for more tips.. (I've been posting some fun Instagram and Facebook Stories lately)
You can get my free Layer Blending modes ebook along with dozens of exclusive Photoshop Goodies here

One thought on “Screw heads in Photoshop Photoshop Tutorial”
Leave a Reply

How to turn a photo into a comic book effect. Learn how to make a Cartoon from a photo in...

This Photoshop tutorial shows you how to wrap a texture to a photo of a face and make it look...

This Photoshop tutorial has it all; How to make a page peel, how to turn day into night, blending layers,...


These look great. Do you have a tutorial on how to make them looked screwed into (sunken) into wood?