
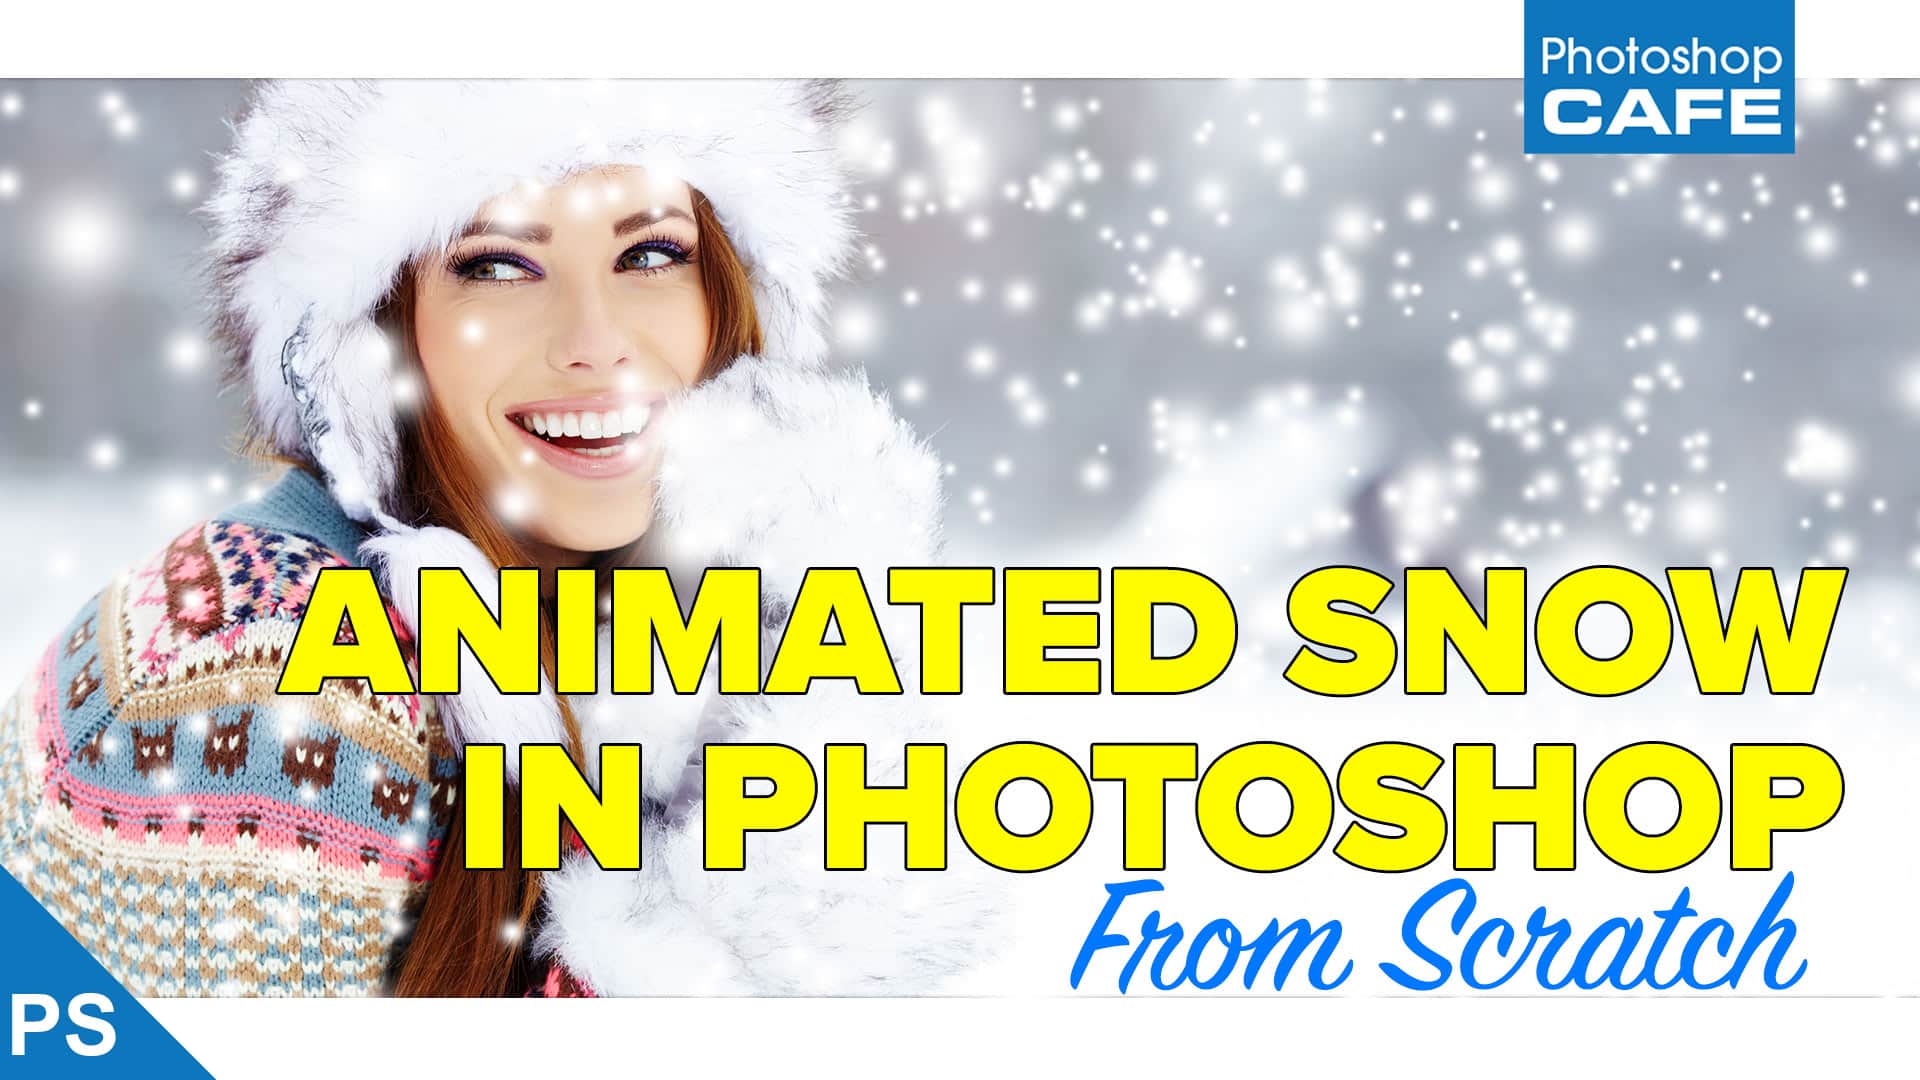
How to make animated snow in Photoshop from scratch
In this Photoshop tutorial Colin Smith shows you how to make realistic animated falling snow in Photoshop. This is great to create snow overlays for video or for your photos.
Oh what fun it is to make falling snow in Photoshop.
This tutorial shows you how to make snow from scratch in Photoshop which you can quickly use as an overlay for photos.
Then, you will learn how to animate the snow so that the speed and size vary, and give it realistic 3D depth that looks more like real snow. Now you can use it for a video overlay if you wish.
You will learn how to
- Make snow from scratch in Photoshop
- How to animate using the timeline in Photoshop
- How to work with animated smart objects
- How to work with nested animations
How to use as an overlay
If you want to use this as an overlay for you video or photos, you will need to render as a transparent video overlay. Here is how.
When you have finished the animation choose File>Export>Render Video
Change the Format To Quicktime and the Preset to Animation High Quality (The only one that supports transparency)
There is one more option you need to choose to get transparency, and that is to change the Alpha Channel from none to Straight-unmatted.
Choose render and it will make a new .mov video file.

To use a video overlay in your videos (or photos) to this.
In Premiere Pro / Final Cut Pro / iMovie (your video editor) Import the new .mov video you just made. Place it on a video track above your other footage and its ready to go.
In Photoshop: Import as a new video layer and place it above your footage.
I hope you enjoy this free Photoshop tutorial. It will work in Photoshop CC or Photoshop CS6.
Thanks to Adobe Stock for the photo I used
Great to see you here at the CAFE
Colin
How to make ANIMATED SNOW in PHOTOSHOP overlay for photos or video
Hey Cafe Crew, it’s Colin Smith here from Photoshop Cafe and today, I am going to show you how to make animated snow inside of Photoshop.
So now, we are going to create snow from scratch and then I am going to show you how to animate it. But we are going to go a little further, we are going to animate it with depth, to give a 3 dimensional depth, we are going to different layers of snow, different sizes, have them move at different speeds and it is going to give it a whole sense of realism.
Now this is again, you can do it against just a still image. You don’t even need a video. You can actually just animate it over the top or you can put it in front of your videos too if you want it. But what we are going to do is we are going to put it over this image that I have got from Adobe Stock. Now you can grab 10 free images from Adobe Stock, the link is underneath. So check that out.
So the very first thing we need to do is we need to get this to cinema proportions or video proportions and we are going to do 1080, we are going to do full HD. So right now this is a 1920 by 1280 and I want to make it 1920 by 1080 which is the screen resolution. I am going to show you how to do that now.
So we are just going to grab our Crop Tool and then under this little window here, we are going to change it to width, height and resolution, that’s what the WH is. And we want to set it to 1920 by 1080, I previously typed that in. now if you are going into specific size, put the resolution here but in this case, we are going to be fine. So I am just going to drag this down to recompose the shot and I just hit the enter key. And that’s it.
And there we are, now we are HD resolution. Now it is time to create the Snow. So what we are going to do is we are going to be making a lot of use of Smart Objects. If you have watched it in my other tutorials like the Star Wars animated text, check that out. I love to use Smart Objects when it comes to animation.
So the first thing we need to do is, we are going to do anything to do with any animation or anything, we need to show our timeline. So we are going to go down here and we are going to go down to the timeline. Now the timeline, down here at the bottom, this is where we control all our video, this is like the layers panel for videos, so to speak. It is the control center where we do everything. So we have got our layers panel right now. We are working in just regular. We want to just click here, Create Video Timeline.
What we want to do now is we want to make our snow.
So I am just going to create a new layer and in this new layer, why don’t we just call it Snow. And this is where we are going to create all our snow. Now, one of the things I want to do though is I am going to right click on here, convert this to a smart object. Alright, so we are going to put all our snow inside of smart object. And the reason for that is because I want to actually do what is known as Nested Smart Object. You don’t know what that is, doesn’t matter. I am going to show you right now. So, if we double click on the snow layer, what it is going to do is it is going to open a brand new document now and this is called Snow. Notice that it is a PSB. Whenever we work with Smart Object that always is a PSB which is a larger file and enables us to put more things in here.
So now we want to create our snow. So the first thing I am going to do is just for now, just for reference, I am going to create a new layer and I am going to take the background and I am just going to fill it with black. And why am I doing this – this is just a reference, so we can see what we are doing.
Now, what we are going to do is we are going to create a Brush. I am going to show you how to create that Brush for snow, we are going to add this snow and then we are going to make it move. So let’s create the brush first. We are going to grab the B for the Brush tool if haven’t done that already and then we are just going to go down here and chose Brush Settings. Now Brush Settings, this is where we build all our brushes, this is where we do all our Brush work. So the first thing we want to do is grab Brush Tip Shape and notice, we have got a nice soft edged brush, that’s a great place to start. Now, we want to build this out, so we want to go into Scattering. Now we want to turn both axis on, so the scattering is both vertical and horizontal and we are going to pull that as far up as it goes. I am going to leave that count at 1 but we are going to go back to the Brush Tip Shape because notice they are still really, really close together.
So under Brush Tip Shape, we can go into Spacing and that’s going to give us more Space in between each individual snow flake.
Now, the next thing we want to do with the snowflakes though is we want to have a little bit of variants in size so that they are not all the same size. So the way to do that is just go into Shape Dynamics and Jitter, think of Jitter as just a word that means randomness. So if we pull this up and you can see what happens now, it is showing different sizes now. So we are going to make this sizes a little bit more random which is going to be a little bit more realistic. Maybe not that much, maybe down to about there.
Alright, that’s not bad, that’s looking pretty good.
Let me just make this Brush a little bit bigger. Alright, now let’s try this again. And I am just kind of dabbing on here, just to kind of add some snow, I don’t want to, just kind of somewhat even and you know, you can just kind of drag with the Jitter, it kind of works too and we don’t want to overdo it but just a little bit of snow. That’s a good snow layer. Because what we are going to do is we are going to have more than one snow layer, we are going to build them on top of each other and then that’s how we can create a more random movement, you will see what I mean in a second. So we are just going to call this one snow.
Excellent.
Now, we are going to duplicate this, two more times, so now, we have got 3 layers of snow. So let’s just hide these right now and we are going to take the first one and we are going to convert it to a Smart Object. And that’s great. Now we are going to grab the second one and we are going to convert this too to a Smart Object. And then the third one.
Great.
Now, we are going to start with the first Smart Object, we are just going to double click on it and open that in here. Now, this is what I am calling a Nested Smart Object. Because if you think about it, there’s our main document, then we are working inside of Smart Object and now, we are creating a Nested Smart Object, which is another level of Smart Object. Now the reason for that is because now I can start to do things with animation. If I set the timelines to different durations and I loop it, then what’s going to happen is we are going to get more random looking looping animation where different things are moving at different speeds and that’s why I am doing it here.
So let’s have a look at creating the animation, we are just going to twirl down this here and let me just drag up it a little bit, gives a little bit more space on our timeline. So there’s our snow, so what I want to do is I am going to pull this up a little bit. So I am actually going to hold down the Shift key and pull this all the way to the top, see that there and then what I am going to do is I am going to hit Ctrl J. so I am copying that and I am going to pull the snow down. So see what I am doing there, so that way I have doubled up the snow, so there’s some in the bottom and some at the top. And now I am just going to select them both, hit Ctrl or Command E for merge and now, we have got this longer snow layer that we can start to animate. So the animated is really simply. We just turn this around here and then we start with position. Notice when I click on Position, it creates that little diamond. That’s known as a key frame. When you create two different key frames, the animation is going to change between the two key frames. So, if I put one here and one there, it is going to look and see what is different between here and this. If they are the same, nothing is going to happen. If this one is on a different position, you know it’s larger or whatever, it is going to create in between frames so that it is going to blend up between the two things. So if it is here and it is there, it is going to create animation, you will see what I mean.
So we are going to move to the end but I am going to drag this all the way to the end here, that’s the Play head and now, I am going to hold down the Shift Key and I am going to drag the snow down and I am holding down Shift and I am going all the way to there because I don’t want to run out of snow. So if we look at this now, see that? Now that’s going to animate that snow going down there. That’s awesome.
So what I am going to do is just close this and ask me to save it. I am going to hit save. And now we have created our first bit of snow. So if I hit the Space bar, you can see now we have got our first bit of snow moving. That’s great but I want to add a little bit more depth which is why I created 3 layers and not just 1.
So now we are going to go to the second snow. That’s this one here, I am going to just double click on it to go in here. Now I am going to do something different with this one. I am going to hit Ctrl T and that would be Command T on Mac and instead of doubling it up like we did with the other one, I am going to make it huge. I am going to make it really, really big, so I am going to make the snowflakes larger, they are going to be closer to the camera.
Alright, so let’s do that right now. So what we are going to do is we are going to go down to our scale here, we are going to make sure that its’ uniform and then we are just going to change this to 200. Now we have doubled the size of the snow. We are just going to hit Enter. We have now made the snow a lot larger. What we can do is see we have got a little bit of playroom there. So what we are going to do is we are going to take this to the very top but I kind of like to add a little bit more, so that we can make this move faster. So what I am going to do is, I am going to hold down the Alt key or the Option and then just click out a copy of it and I am just going to drag this up, just gives a little bit of more room to play with.
There we go, let’s merge these two together, select both and hit Ctrl E, alright, so let’s take these all the to the top, excellent.
Now what we are going to do is we are going to create a key frame. So we are just going to click on there, click our position, that’s the beginning of the key frame, let’s go to the end and now, because this is zoomed up and we are going to be moving it more, it is going to appear to go faster. So, let’s drag this down, all the way to there. Now if we look at this, we have got some good speed going on there and I am going to hit the Save key and now we can go into the next layer of snow here. And the big ones are moving faster then the other ones. Alright, so we are starting to get the effect of our snow, it is starting to look good.
So now we want to even give it more depth, we are going to give it a third level of depth where we are going to make it smaller and we are going to have them moving slower and then this is going to add the depth.
So we are going to go to our third layer here. So let me just double click and there it is. So what I am going to do is this time I am going to hit Ctrl T, Command T and I am going to make these smaller. So I am just going to hold down the Shift key, drag that down to about half the size, hit Enter. Now I want to duplicate this, so I just have to hit the Alt key and I just drag it across, that’s Alt or Option, let me merge these two together and let me just add black, just for a second, so you can see what’s going on. So there’s the black layer, notice what we have done is we have duplicated those and I want to duplicate it again.
So I am going to hold down the Alt key, that would be Option on Mac and I am just going to drag that up and look at that. Let me pull up a little bit more, merge these together. Ctrl E. now let me just grab if you see like little half bits of snow that bother you, you could grab the eraser tool. But in this case, it is not bad. So I am going to pull this down a little bit and because I want to add a little bit of space, we are going to hit Ctrl J, Command J to copy it again. And let’s just drag it to the top so that we have got some space to work with. Merge everything together, Ctrl E. perfect!
Alright, so I am going to now we want to animate this. So we are going to bring it up. So it starts with some snow here. Now what we are going to do is we want this to move slowly. So what I am going to do is twirl this down, I am going to grab position, I am going to go through all the way to the end. Now in order to get it go slow, we just want to move it less. So we are going to move it that much. And if you look at it, there is a little less movement and that’s going to give that illusion of depth. So what we are going to do is get rid of that black layer, because I only put that on there for you so that you could see what was going on. And I am going to close it now and it is going to ask me to save.
Okay, so if we go now, hit Play, now you can see the different levels of snow, are falling down. That’s starting to look a lot cooler, a lot more like Christmas.
Alright, so what we are going to do is delete our background and now, we are just going to close this one, it is going to ask me to save it and I am just going to click on Save. Alright, so here we are, let’s just drag the out a little bit so that we can see our timeline better.
Alright, so here we go, if we hit the Space bar, now you are going to see, it is going to start to snow. Now there’s a couple of different things that we are going to do here, we are not quite done yet but we are getting close. As you can see this little green bars loading up, what it is doing is, it is loading it into RAM right now and that’s why it is playing a little slower than it should. Once it completes that, it is going to playback in real time. Now one of the things you might want to do is have it continuously played. If we want to have it continuously played, we go to this little thing here and we click on it and we choose to Loop Playback. Now with the Loop Playback, it is going to come back and it is going to play around. Now it is just going to start to repeat.
Now there’s one more thing I want to do you know, what if we don’t want the snow just coming down, we want it to kind of fading at the bottom. I am going to show you how we can do that right now. So all we need to do is go to our layer with the snow, Create a New Layer Mask and then we are just going to have it fade out. So I am going to hit the D key to reset the foreground and background colors. Let’s grab the Radiant tool, make sure we have got it set to the first option which is Foreground Background and Linear Gradiant. So we hold the Shift key and just kind of click down, we can make it just kind of fading out at the bottom. And now, let’s hit the Space bar and let it load back up into RAM.
Alright, so we just made it snow inside of Photoshop. Now you can use this over videos, you can also use it over still photos. Now if you don’t want to create your own snow, there are snow textures you can get from Adobe Stock also don’t forget, you can sell your images there, make a little extra revenue and get your images in front of millions of people. Just check out the link below to become a contributor. And also, if you want to grab some photos that you want to use, get those from Adobe Stock too. The link is also underneath.
So anyway guys, if you liked this tutorial, pound that Like button into dust. If you want to get more tutorials like this, I am uploading at least once a week, exciting new tutorial. So make sure you hit the Subscribe button and that little Bell notification, so that you are being notified when I put new tutorials and live feeds.
So anyway guys, drop a comment, let me know what you think about it, any questions, happy to answer them. Requests put them in there, all that stuff. I read the comments and I love hearing from you guys and interacting with those comments.
So anyway, until next time, I will see you, at the Cafe.
I have more Photoshop animation tutorials here
- How to Animate in Photoshop (animate a jet)
- Make Animated Rain
- Edit video in Photoshop
- Make Animated snow in Photoshop
- Make an animated cartoon Cinemagraph
- Make a Cinemagraph gif
- Make Animated Star Wars Intro
If you want to learn more about animation and working with video in Photoshop, check out the 2 premium courses I have.
PS Don’t forget to follow us on Social Media for more tips.. (I've been posting some fun Instagram and Facebook Stories lately)
You can get my free Layer Blending modes ebook along with dozens of exclusive Photoshop Goodies here

28 thoughts on “How to make animated snow in Photoshop from scratch”
Leave a Reply

How to get much better results with Generative Fill in Photoshop
In this Photoshop tutorial, you will learn how to fill a shape with type and how to align type to...

How to make Smoke, steam and clouds in Photoshop. How to paint with the brushes, how to make the brushes...


Wow!!!! Colin that was really cool!!! Very ingenious and fun to create. That’s a nice way to start Christmas designing.
I hope you have a great holiday, Colin. MERRY CHRISTMAS!!!
ps. Thanks for all your work and fun teaching.
Thanks for this tutorial. You are the best instructor on the web. Can’t wait to try it out!
you are too kind 🙂
Amazing! That makes it so easy to do, and will impress the boss!! You really knocked that one out of the park!
Have a great New Year. Thanks so much Colin!
This is cool, but under format, I don’t have Quicktime as an format option in PS CC. Any suggestions?
Make sure you aren’t doing image sequence in the other setting
Well, how about that! I love the nested Smart Object concept! Oh, the possibilities!
This is very cool! Thank you!!
Fun tutorial, I’ll have to see if I can get through all the steps. I was wondering, how does the NFL overlay the first down lines right over the game? Also it doesnt’ get in the way of the players but is easily visible with all the movement. This might be handy to get the snow to appear to go behind the subject for a realistic look. Thanks for all your tutorials.
As always by Colin, a fun and easy to follow tutorial
Thank you so much Colin. I took a photo of two little pomeranians looking through an antique window. One of them died a few days after the shot. I wanted to edit it as a Christmas gift for their “mother” but it was lacking something. I added the snow and saved it as a video for her. She was so delighted. It’s on Facebook history now. Sandi
Hello, I am a ‘novice’ photoshop user. I have followed your tutorial step by step. For some reason when I open the first layer that has the snow flakes (snow 1), I can’t get the step to use the move button to drag all the way to the top of the layer. I am a MAC user. What is the command to move and drag to the top? When I did the ‘control’ J, and drug down, all it did was create tons more layers. What am I doing wrong?
V key for the move tool. Click and drag on canvas to move it. Shift key constrains it.
I like this snow tutorial very much. Will you provide a printed version? Thanks.
Yes, working on it right now. Currently, I’m a little behind but plan to have written steps for all the tutorials posted soon.
Colin, this is awesome but there is no Quicktime under the Adobe Media Encoder. Is this because I’m on a PC? If so, is there no way to do this on a PC? Thanks.
Colin you say on the video and here in the transcript the following: we go to this little thing here and we click on it and we choose to Loop Playback” can’t see what you clicked on and can’t find “this little thing here”.
The transcript is only temporary until I write the steps out, coming soon!
My brush will only paint in black, so black snow…. nice but not very realistic. How can I change it to white?
Thank you!
Invert it Ctrl+I
This is great but Im getting stuck on the ctrl J to copy the snow inside the nest when you start using the shift key to move the snow around. Am I missing a step?
Hi,
Thank you for this, it’s helped me loads today. However, I do have an issue I’m hoping you can help with. I’ve created a banner for our website using the snow and I’ve reduced down the frames to make it smaller, it’s still really large. Is there anything else I can do to reduce the file size? It’s saved as a gif, I’ve reduced the image down to 150dpi, but banner needs to be 1920 x 800 pixels. I’ve saved as a video too, but don’t think we can show videos where I want it to be on website.
Much appreciate any help
Lisa
A gif is about as small as you can get it
Colin still having trouble eliminating the “jump” in the Snow video. Any chance You can better explain?
There was NO jump in Your video, thanks, much appreciated! Long time Subscriber