
Make an animated cartoon from video in Photoshop tutorial
How to convert a video to an animated cartoon and composite into a photograph to make a living book style cinemagraph in Adobe Photoshop. Also how to export the animation as a final video.
Cartoon Animated Book from Video – Photoshop Tutorial
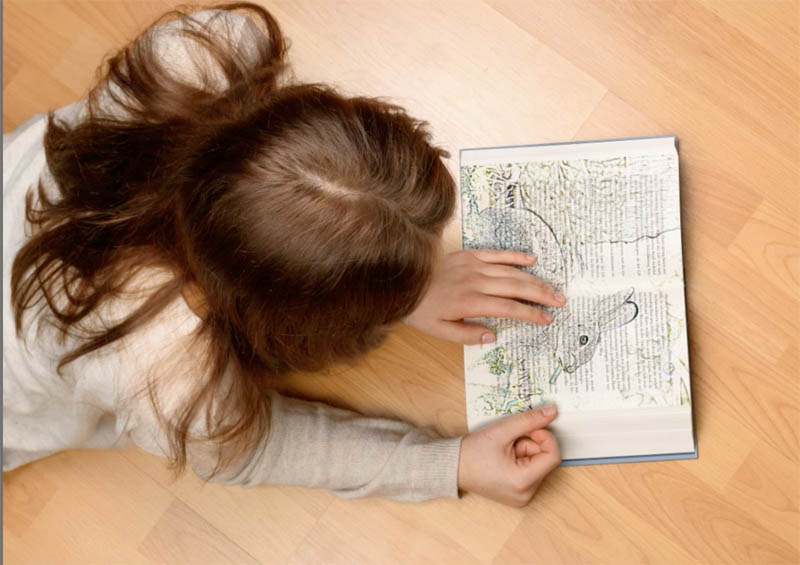
Hey Cafe crew, today I’m going to show you how to create an animated coloring book from a video. What we’re going to be doing is look at video, how to create a cartoon effect in video and then, put it inside a little book this little girl is going to be reading, basically, an animated book or a living book.
Step 1: importing video
Start with a video. Just choose File, Open, and Photoshop will import all the settings from the video. Make sure that our Timeline is showing (window>Timeline), which we’ve got at the bottom there.
Step 2 Making an animated cartoon out of video
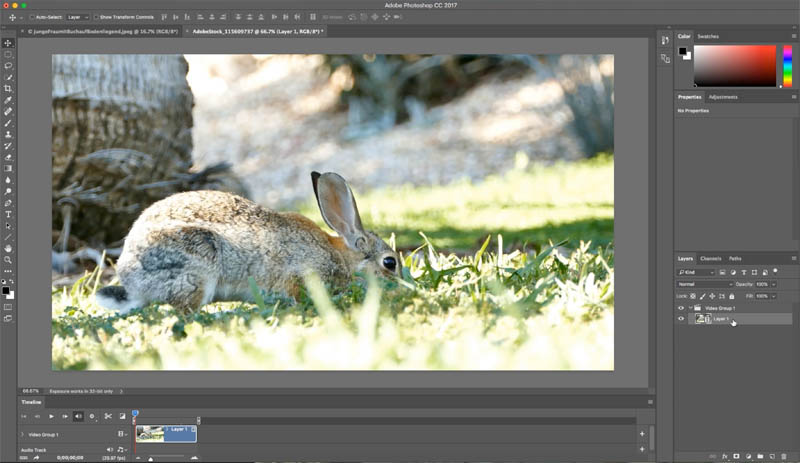
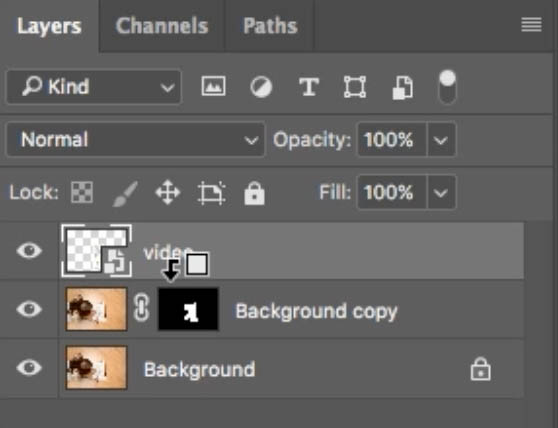
Right click on the video in the Layers Panel and we’re going to convert this to a Smart object.

Step 3
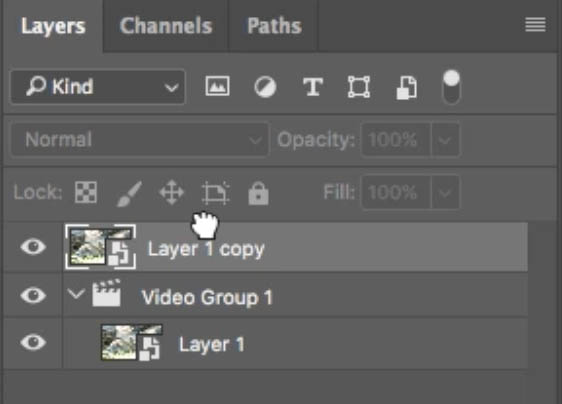
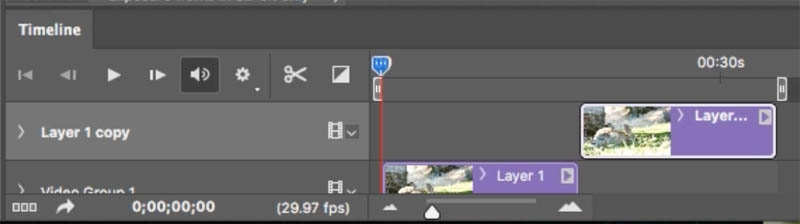
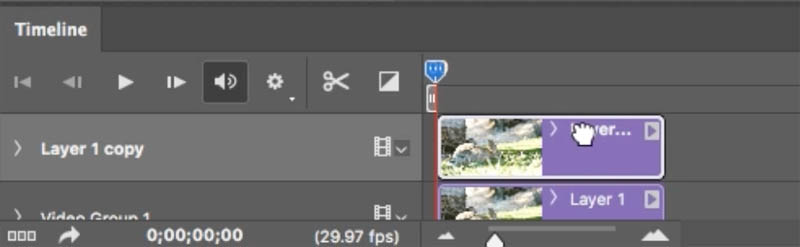
Duplicate the Smart Object (Command J or Ctrl J to duplicate), and notice we’ve got two clips–one after the other on the timeline

Step 4
We need to change it so the clips are are on top of each other.
Drag the duplicated smart object out of the video group in the Layers panel. Pull it up until you see the line at the top, release it. Now you’ve got one above the other and we just need to select it in the timeline here and drag it over, so now we’ve got the two stacked above each other.

Step 5
Let’s make the cartoon effect, which is really simple with video.
On the top layer go to go to the Blend Mode and change it to Divide. You should see white.

Step 6
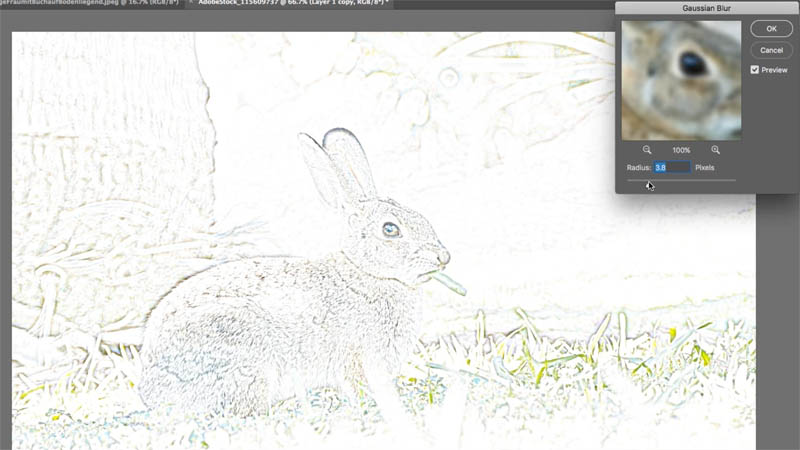
Let’s apply a filter. Now, this is the reason we’ve created a smart object, because we could apply a filter to the video and it will affect it per frame. With a Smart Object it will affect the entire video. So we’re going to choose a Filter>Blur>Gaussian Blur.
Change the blur amount until we get the effect we want. So, as you can see, we can go all the way up here and down a little bit. If we want more of it sketched, we go a little bit lower. So just find the effect that you’re looking for and press OK.
Step 7
If we hit the Spacebar, we can see the video moving and we’ve created a sketch effect with the video where it’s moving, which is awesome. If all you wanted was that part, you are done (skip to the end to see how to render the vdeo).

You can also apply a curves adjstment layer to increase the effect if you like (Optional)

If you want to put it into a coloring book, keep reading here (or watch the video, which I encourage anyway after reading the instructions).
video cartoonStep 8: Put the video in the Coloring book
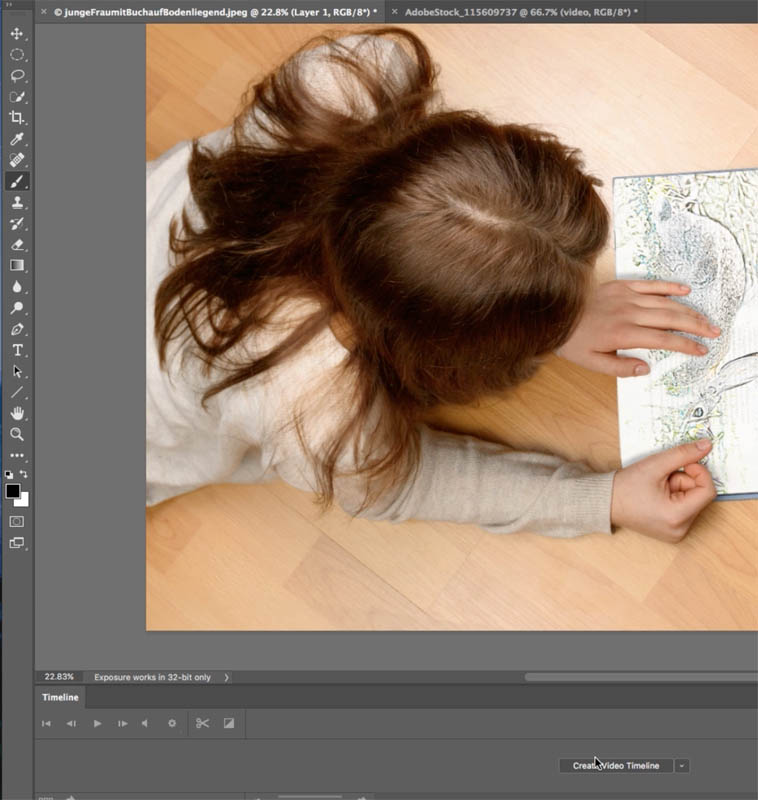
Open the destination image in Photoshop.

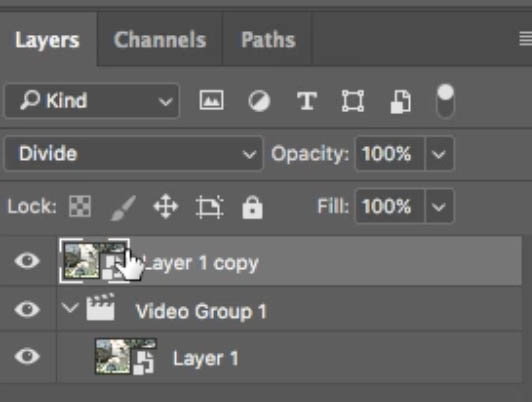
Go back to your video and select all the layers in the Layers panel. Right click and choose Convert To Smart Object. You now have the entire animation contained inside one smart Object. Lets move it into the image and combine them.
Step 9
Select the Smart Object in the Layers Panel (in the video document) and drag it up into the tab for the destination image. Wait for the image window to open, drag to the middle of the document window and release it. We’ve brought that video smart object into the image. (You can alternatively choose Window>Tile and show multiple windows. Here you can drag the smart object directly from the video document into the image document window.)

Step 10 select the book
Hide the video for a second.

We need to select the book or the area here that we are going to replace. Grab our Quick Select Tool and drag it over the book a little bit to select those areas. (Tutorial on using the Quick select tool)
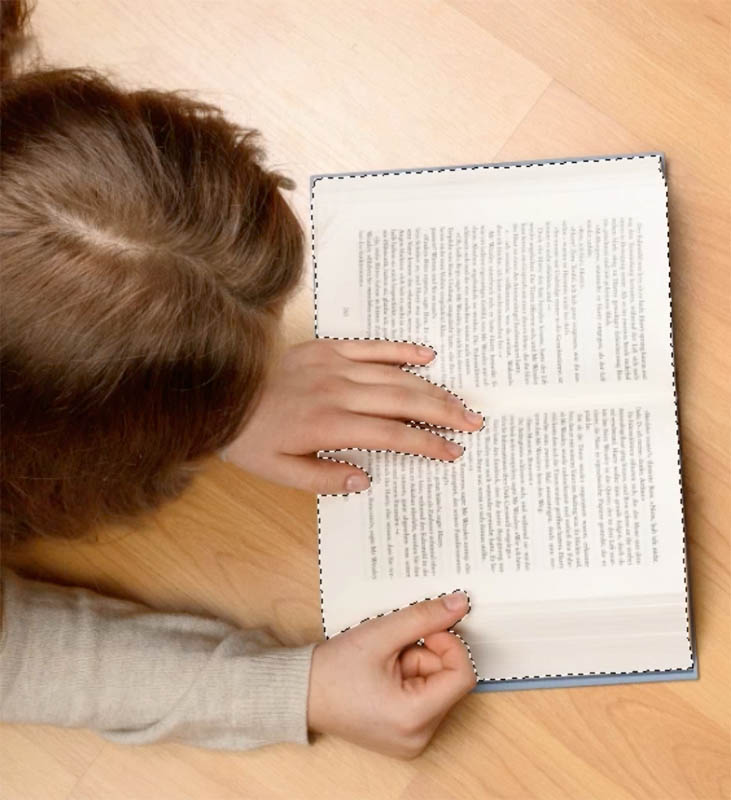
Lets clean up the selection: Choose Select>Select and Mask, now if we want to we could hold Shift and choose Select Mask and that will bring up the old Refine Edge or we can choose Select and Mask.


Give it a little bit of radius to smoothen it out. Check the selection with white and with black.

For output choose “New layer with a layer mask” and we’re going to click OK.

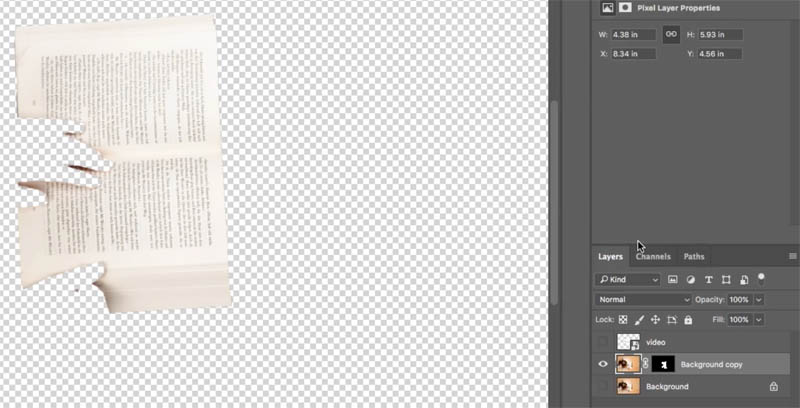
Step 11: the animated book
You will see our book on a new layer. Turn back on our background layer (select mask hides it).
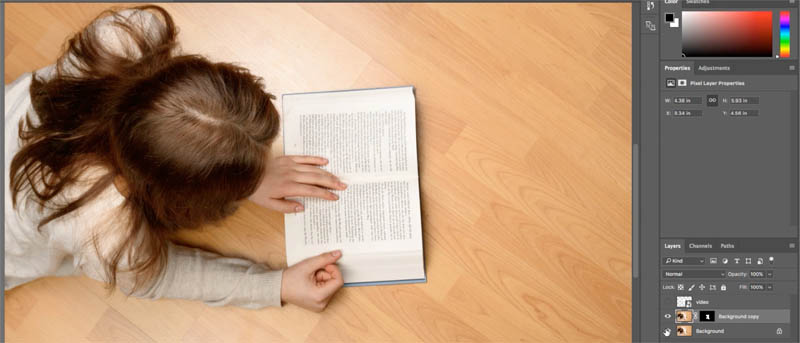
Turn on the video layer visibility

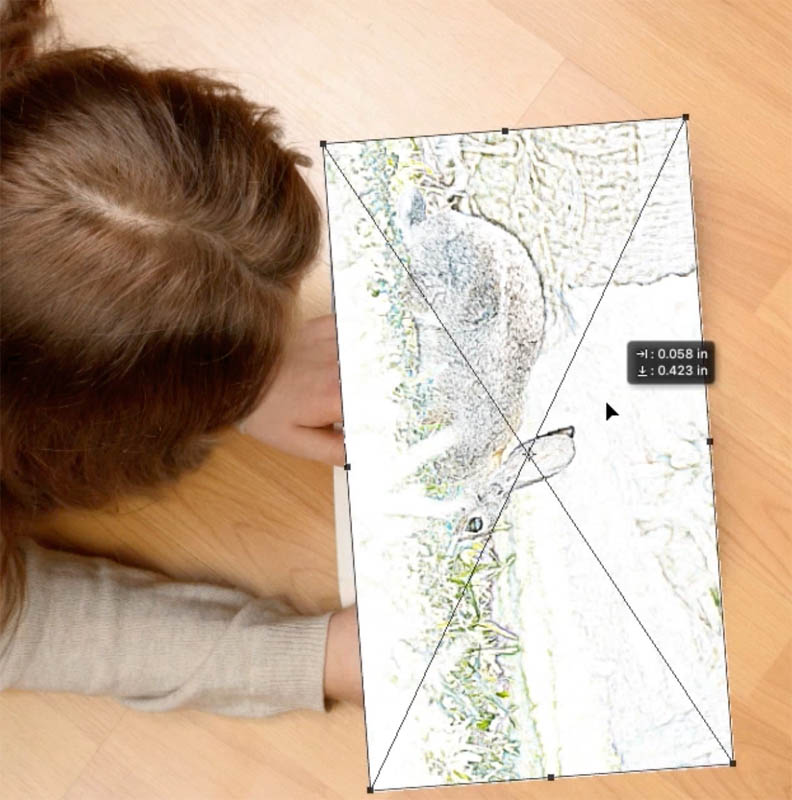
Select that smart object with the video, press Ctrl T / Cmd T for Free Transform. Drag outside a corner to rotate it into position. Hold Shift and drag a corner to scale it and we can put that rabbit where we want.
Step 12
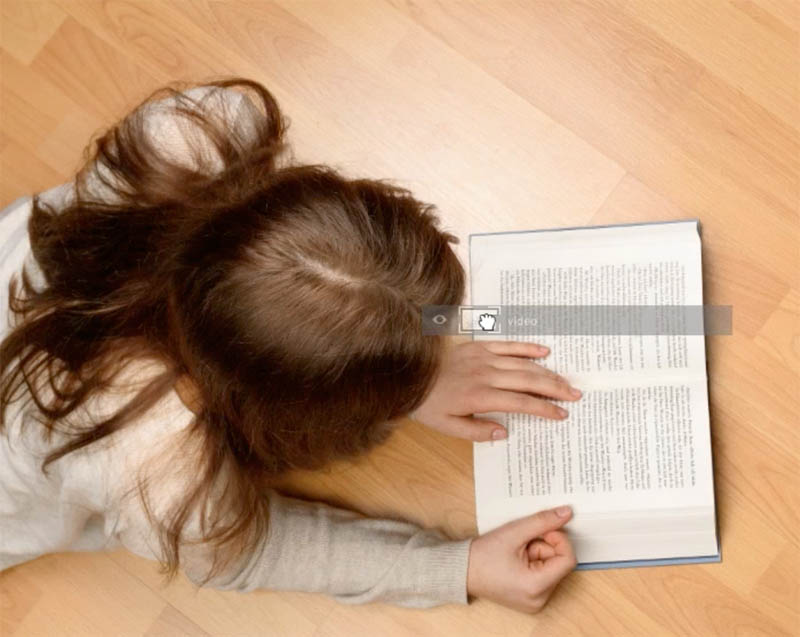
Lets put the video inside the book
We are going to clip it to the mask. Choose the book layer and move your pointer between that and the video layer (the area between the 2 layers) Hold down the Alt /Option key and you’ll notice, you see that little arrow with a square on it.
When we click, that will clip it to the transparency of the layer underneath and place the video inside the book.


Step 13 adding a drop shadow (optional)
We could put a little bit of a shadow, on those hands.
Create a new layer above everything.
Cmd/Ctrl Click on the books mask to turn on a selection.


Choose a soft edged brush at about 30% opacity. Paint in a little bit of a shadow on the edge of her hand on the new top layer.

Step 14 Animating the book
Now the thing we need to do is we need to make it video once again.
Convert the video timeline, and you’ll notice we’ve got our layers in the timeline.
Drag out all the layers in the timeline to make sure they all cover the full length of the animation.

Hit the Shift key and you will see it play. (If it doesn’t work, go back over the steps or watch the video to see where you went wrong)
Step 15: encoding the video
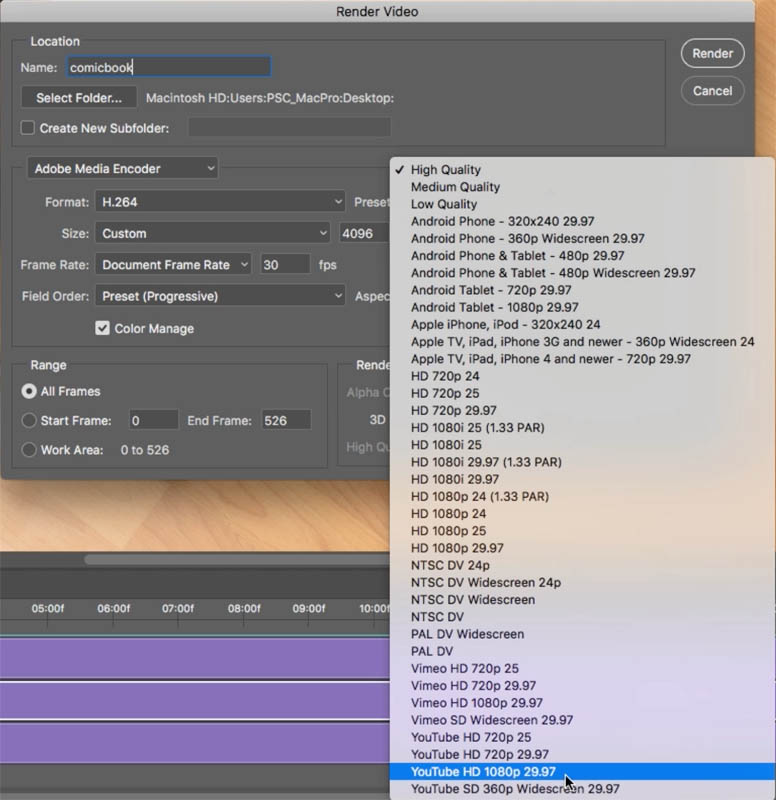
All right, we’ve created our animation, so how do we get it out of here into a video? It’s actually really simple. All we need to do is just choose File>Export>Render Video.

Give it a name

Choose default settings, which is H.264 Adobe Media Encoder, and then, just grab a preset. In this case we used YouTube 1080p. Choose the preset that best matches your needs. Click Render and Photoshop will make your video.
I hope you enjoyed this tutorial. Don’t forget, become part of the Cafe crew, hit that Subscribe button right now, become a subscriber, and then, you’re going to get a new video from me every single week.
Add a comment. What do you think about this? Do you like this kind of tutorial? What kind of tutorials would you like to see in the future, let me know, and let’s get a discussion going about working with video and animation and stuff. And if it’s something you guys want, I’d be happy to do more videos like this.
So anyway, guys, thanks for watching. Until next week, I’ll see you at the Cafe.
Colin
I have more Photoshop animation tutorials here
- How to Animate in Photoshop (animate a jet)
- Make Animated Rain
- Edit video in Photoshop
- Make Animated snow in Photoshop
- Make a Cinemagraph gif
- Make Animated Star Wars Intro
P.S I have a couple of premium courses that teach you video in Photoshop. They are
Video in Photoshop (Designer and Photographers guide) and
Making Movies in Photoshop (video with included ebook)
PS Don’t forget to follow us on Social Media for more tips.. (I've been posting some fun Instagram and Facebook Stories lately)
You can get my free Layer Blending modes ebook along with dozens of exclusive Photoshop Goodies here


6 thoughts on “Make an animated cartoon from video in Photoshop tutorial”
Leave a Reply

How to fix GoPro lens distortion in Photoshop. Even though are using video in this tutorial, this works on any...
In this Photoshop tutorial, you will learn how to fill a shape with type and how to align type to...

5 Lightroom Classic Tips you probably don’t know Lightroom Classic is the industry standard used by many photographers to manage...


At the step of making the blend mode divide, my video did NOT turn white, so nothing else worked after that.
I am using Photoshop CS5 v. 12 – is this for a different version of Photoshop?
Unfortunately, no, it says at the top “Adobe Photoshop CC and Phtotoshop CS6 extended” so it wont work on CS5, sorry. They completely redid video for CS6.
That was awesome, thanks for the vid.
Didn’t even know it was possible. 🙂
I’ll be givin this a crack at some point, love ya stuff, keep up the cool tutes.
Same here, didn’t know this was possible.
Thanks, Colin! You’re a great teacher. I just subscribed to your YouTube channel.
Thanks Colin! Hopefully you posted more article for photoshop tools.