
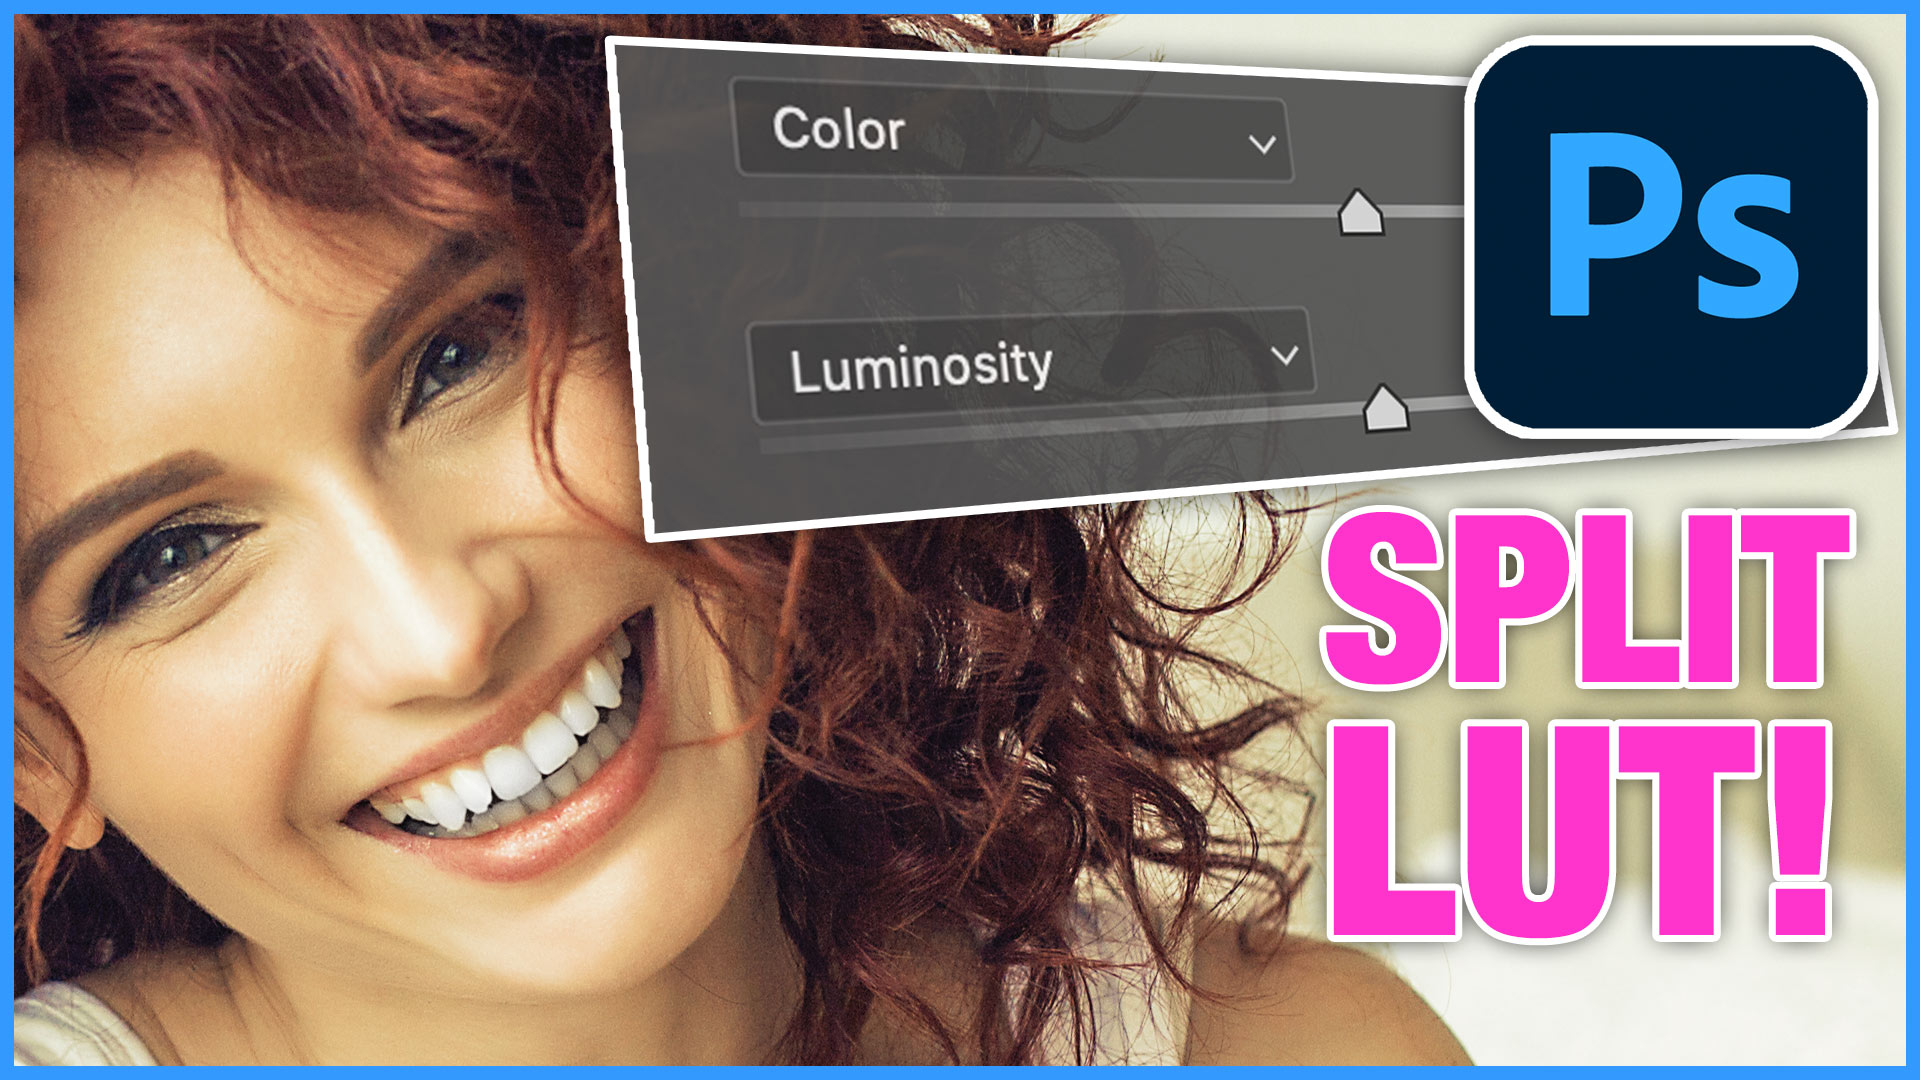
Hidden controls in LUTs to color grade photos in Photoshop. Split LUT
How to expand control in Photoshop LUTs
Right now, I’m going to show you how to have unprecedented control over color LUTs inside Photoshop.
The Split LUT effect, by Colin Smith
(How to use LUTS in Photoshop and what they are)
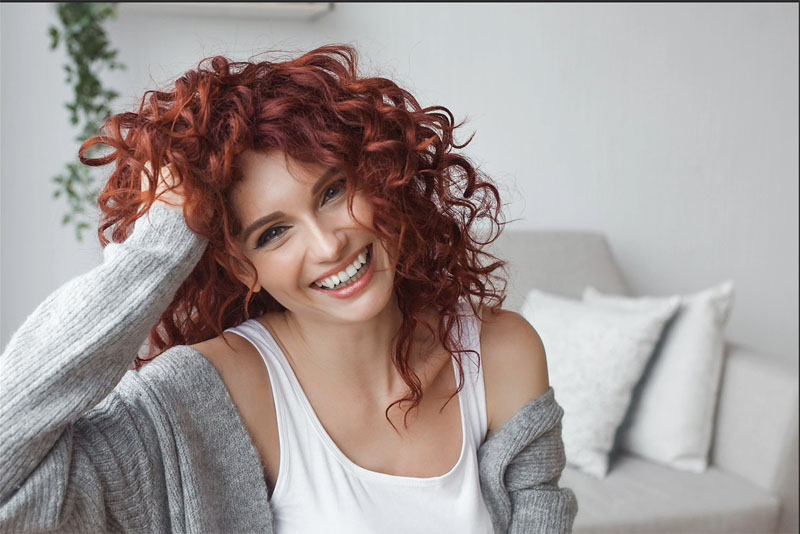
Here’s an image I grabbed from Adobe Stock.
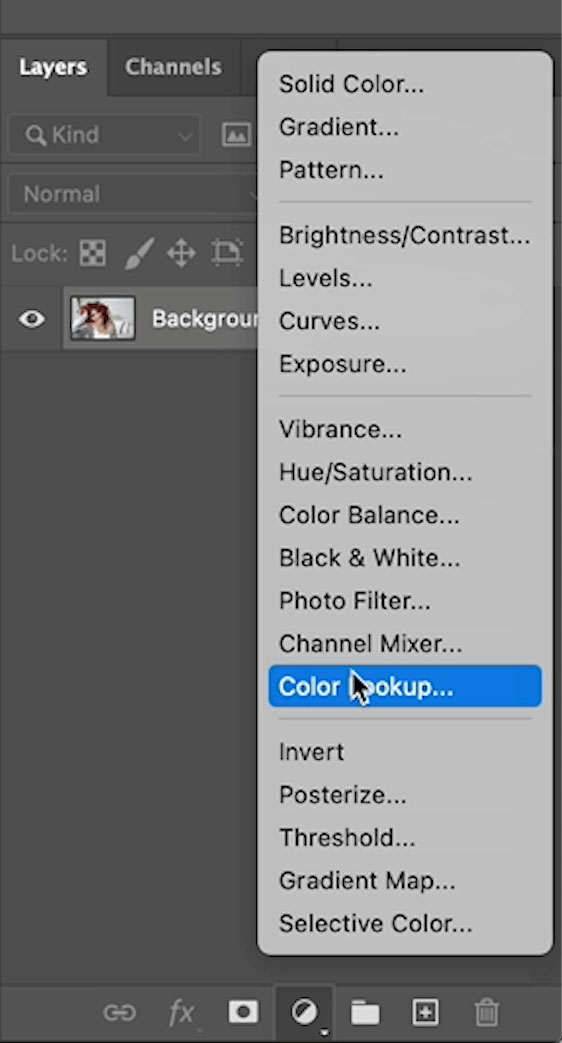
In the Layers panel, choose a new Adjustment Layer and select Color Lookup.
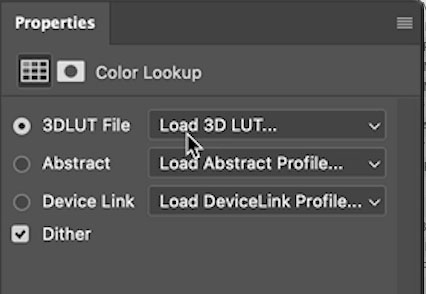
In the Properties panel, click where it says Load 3d lut,
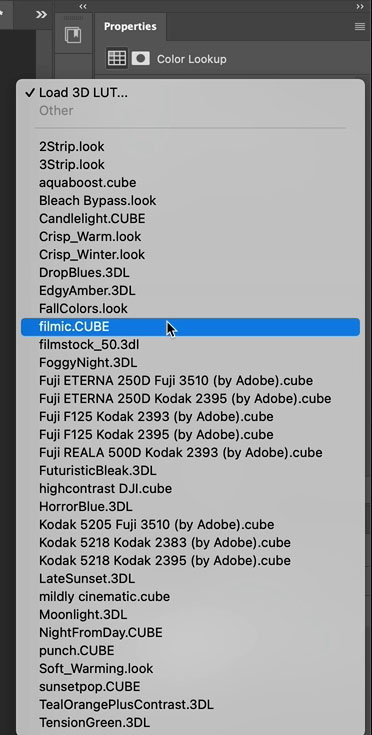
You’ll see the LUTs that come with Photoshop. I have some extras. At the end, I’ll show you how to get those.
You can use any LUT, but I’m using Filmic Cube, which is a LUT that I made. (How to make your own LUT in Photoshop)
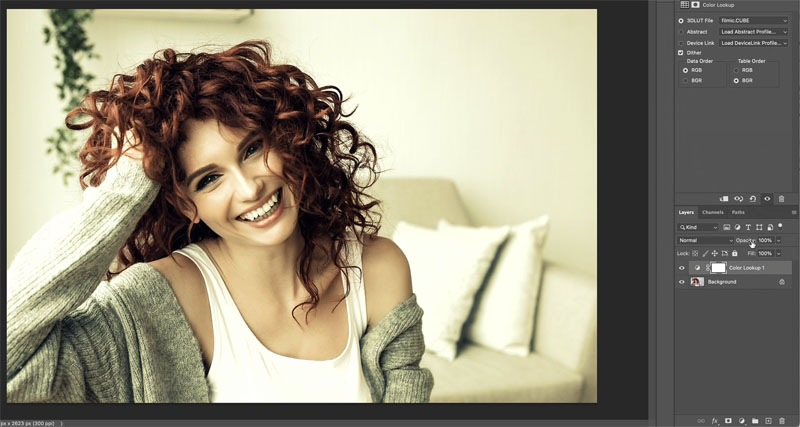
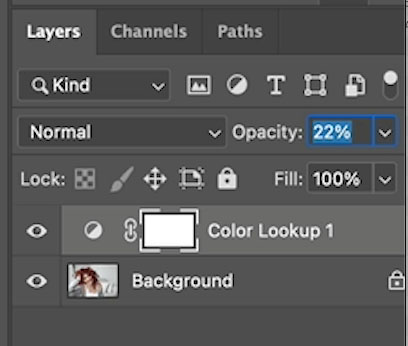
Now, here’s the problem with LUTs. If you just want to change the color or the brightness, you can’t. (I’ll show you a hack in a sec) The only adjustment I have is to change the opacity to change the strength of theLUT.
What I’m looking for is a way to control the color and the tone individually. And guess what I’ve figured out. Of course, I have. This is what I’m showing you in this tutorial. So the trick is actually quite simple. I’ve come up with a sort of frequency separation for color and tone, I call it Split LUT.
Press Ctrl/Cmd+J to duplicate the adjustment layer.
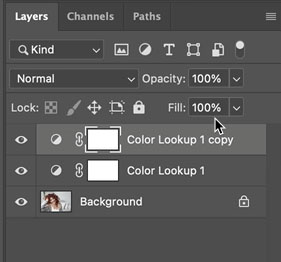
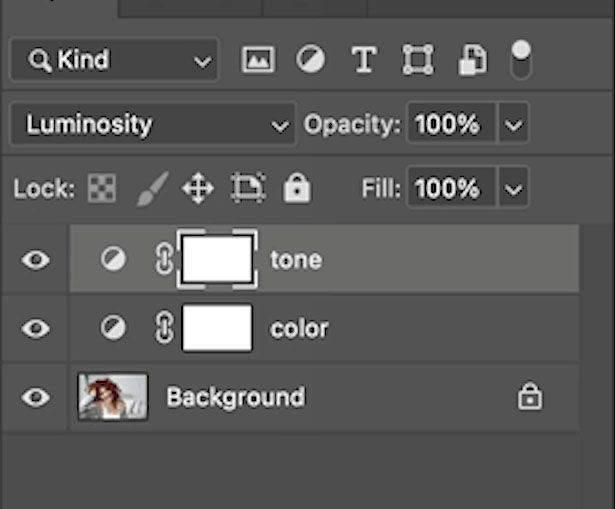
Name the top layer: tone, and then the bottom one; color. Y
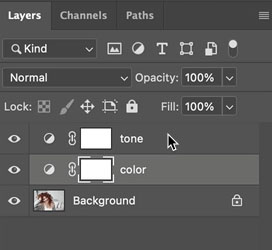
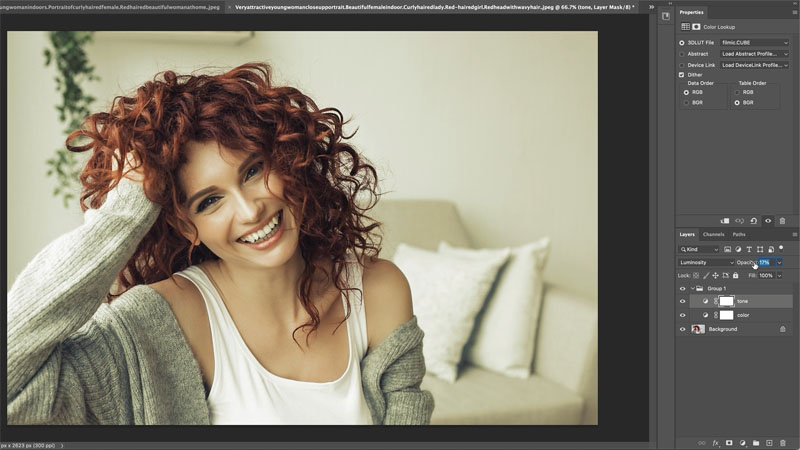
Change the blending mode of the tone layer to luminosity. (Click on “normal” and choose luminosity.)
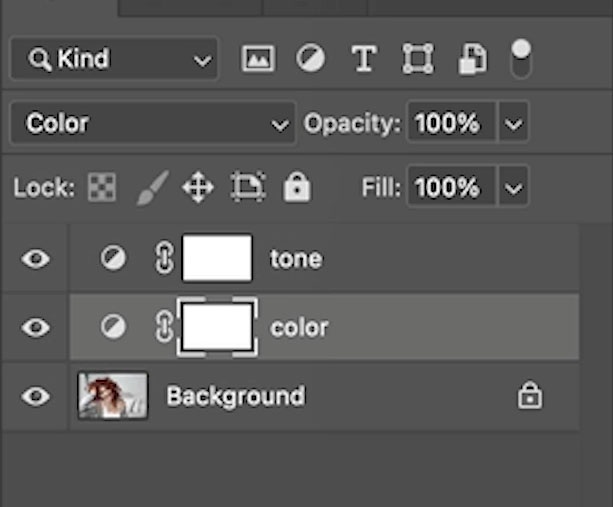
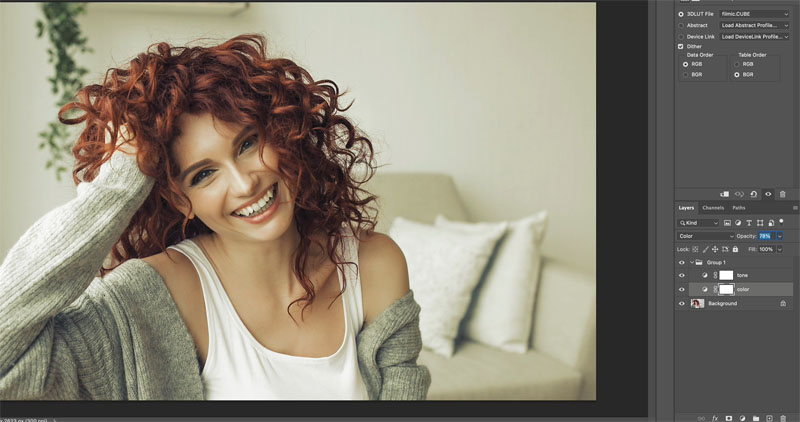
Choose the color layer, and let’s change the blend mode. Once again, click on normal, go down to color.
So what I’ve done here is essentially split that LUT into two.
The 2 layers stacked in color and luminosity mode, should look the same as the single adjustment in normal mode.
Now you can change the opacity on the color layer, to just affect the color of the LUT.
Change the Opacity of the Tone layer to only affect the tone (or luminance).
So this kind of enables us to hack in and create a separate tone and color slider. Now,
that I’ve got for you there. I also said I was going to give you some free LUTs. So if you head over to photoshopcafe.com/vault,
and until next time, I’ll see you at the CAFE.
Colin
PS Don’t forget to follow us on Social Media for more tips.. (I've been posting some fun Instagram and Facebook Stories lately)
You can get my free Layer Blending modes ebook along with dozens of exclusive Photoshop Goodies here

7 thoughts on “Hidden controls in LUTs to color grade photos in Photoshop. Split LUT”
Leave a Reply

How to set up custom workspaces, keyboard shortcuts and menus in Photoshop.
It seems that one of the most requested and under-explained things is using the pen tool in Photoshop. The pen...

How to understand and create shadows in Photoshop tutorial. The 4 things you need to know about light to create...


This is cool, Colin! I’ve tried it on a few images now & it works great…. Thx.
Simple, easy, and effective. Now that I know how to do it, how could I ever not think about it before?! 🙂
Thank you so much for sharing this!!!
Hey Colin,
Great Tutorial and information! Question! Would it be possible for you to create an Action to accomplish this! That way I don’t have to remember it. 🙂
yes, it would be very easy to make an action
There are written steps
As a veteran of more than 50 years in business, I simply have to say that i quite enjoy your tutorials and especially as they are not long drawn out affairs. Some of these have inspired me to continue to explore the passion of making images. Thank you
Fantastic! This is going to save me a LOT of time trying to find just the right LUT! Is there a way to see previews of the LUT effects as you scroll down the list of them, like when you scroll down profiles or when you scroll through presets in Lightroom, instead of having to go back to the list and click on each one in turn to see what it does? Thank you for all your great tutorials, they make me feel like it’s actually possible for me to get better at this!