
Clarity and Dehaze adjustment layers in Photoshop
New Clarity and Dehaze adjustment layers in Photoshop
Adobe has added some new Adjustment layers in Photoshop. The most significant are Clarity and Dehaze. These features were in beta, but now they are in the main version of Photoshop. See all the new features in Photoshop 2026 January release here.
Clarity and Dehaze have been in Lightroom and Camera Raw for quite some time already. There are some advantages to having them as adjustment layers in Photoshop. Depending on your usage, it’s great to have this option now.
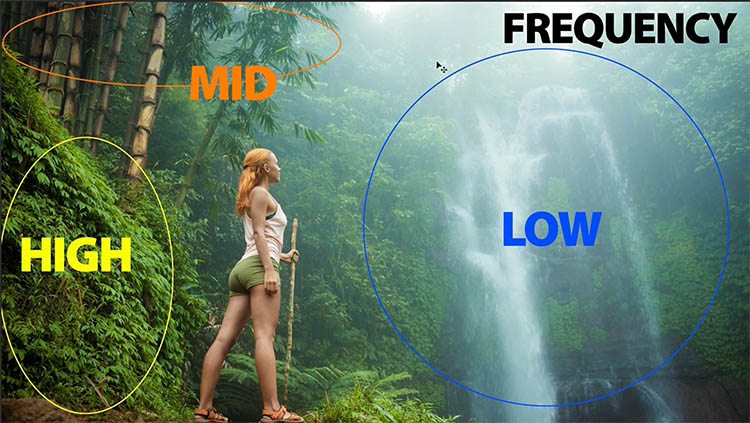
To better understand what Clarity and Dehaze do, it’s important to understand Frequency. Think of frequency as another word for detail. High frequency is fine detail like textures. Mid Frequency is objects and low frequency is areas of light or dark.
In reality they all overlap to some degree, but this tut will help you understand what the sliders do and how to use them as well as when to use them.
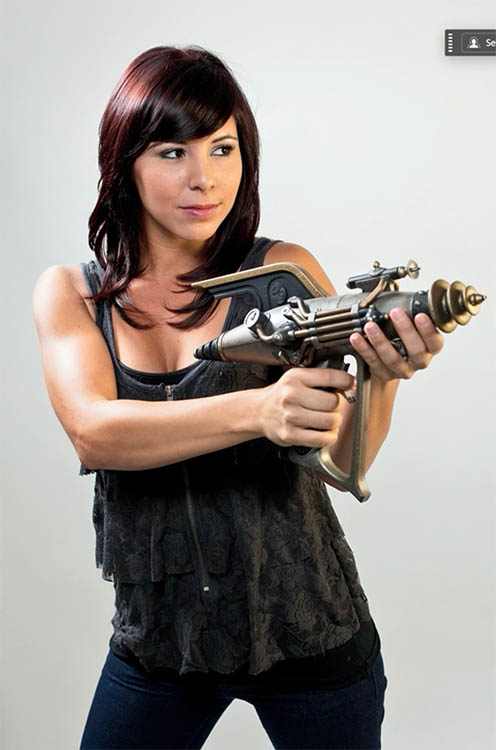
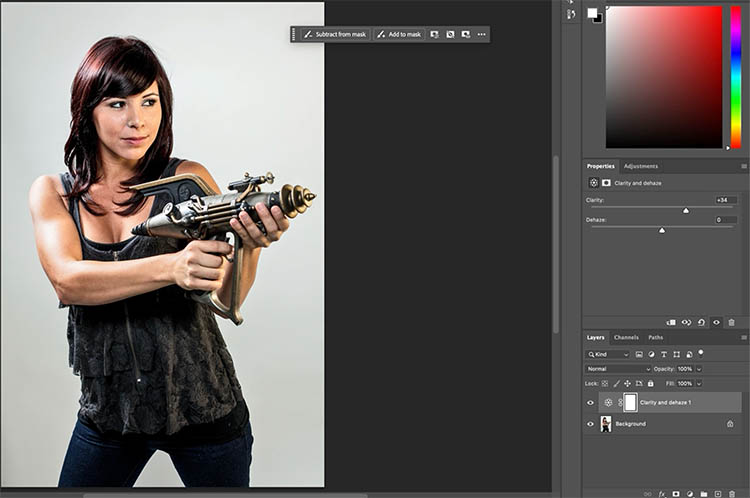
Let’s start with a photo I shot of our model, Crystal. There is a lot of detail in her clothing, but it’s being lost.
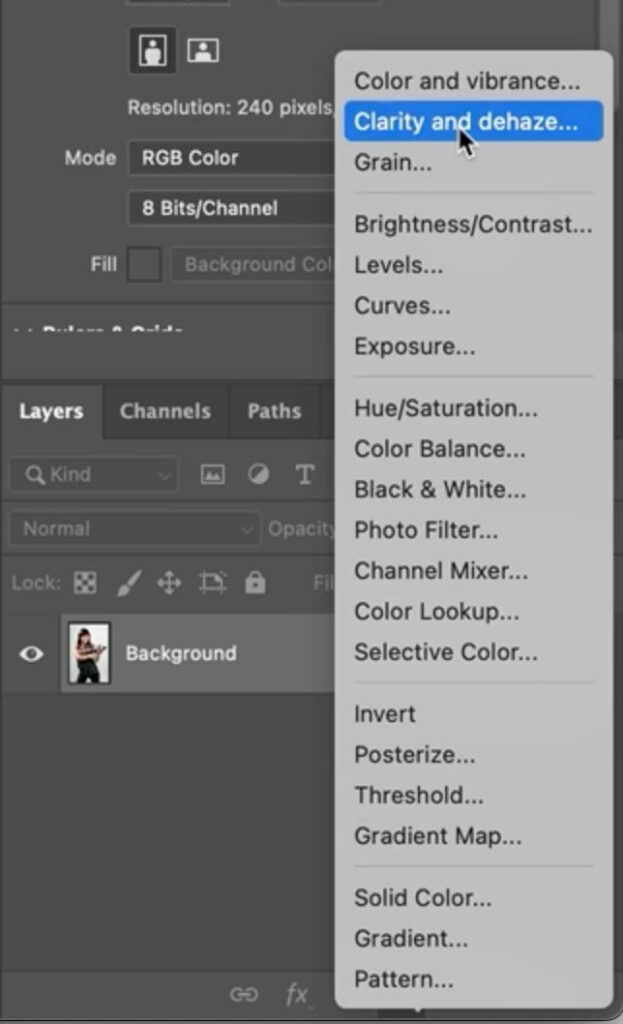
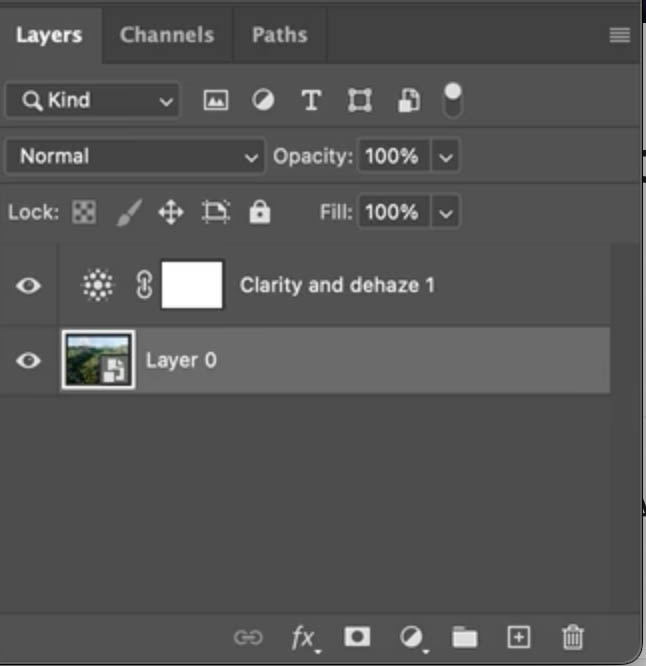
Choose the adjustment layers in the Layers panel.
When you click the menu, you’ll see Clarity and Dehaze.
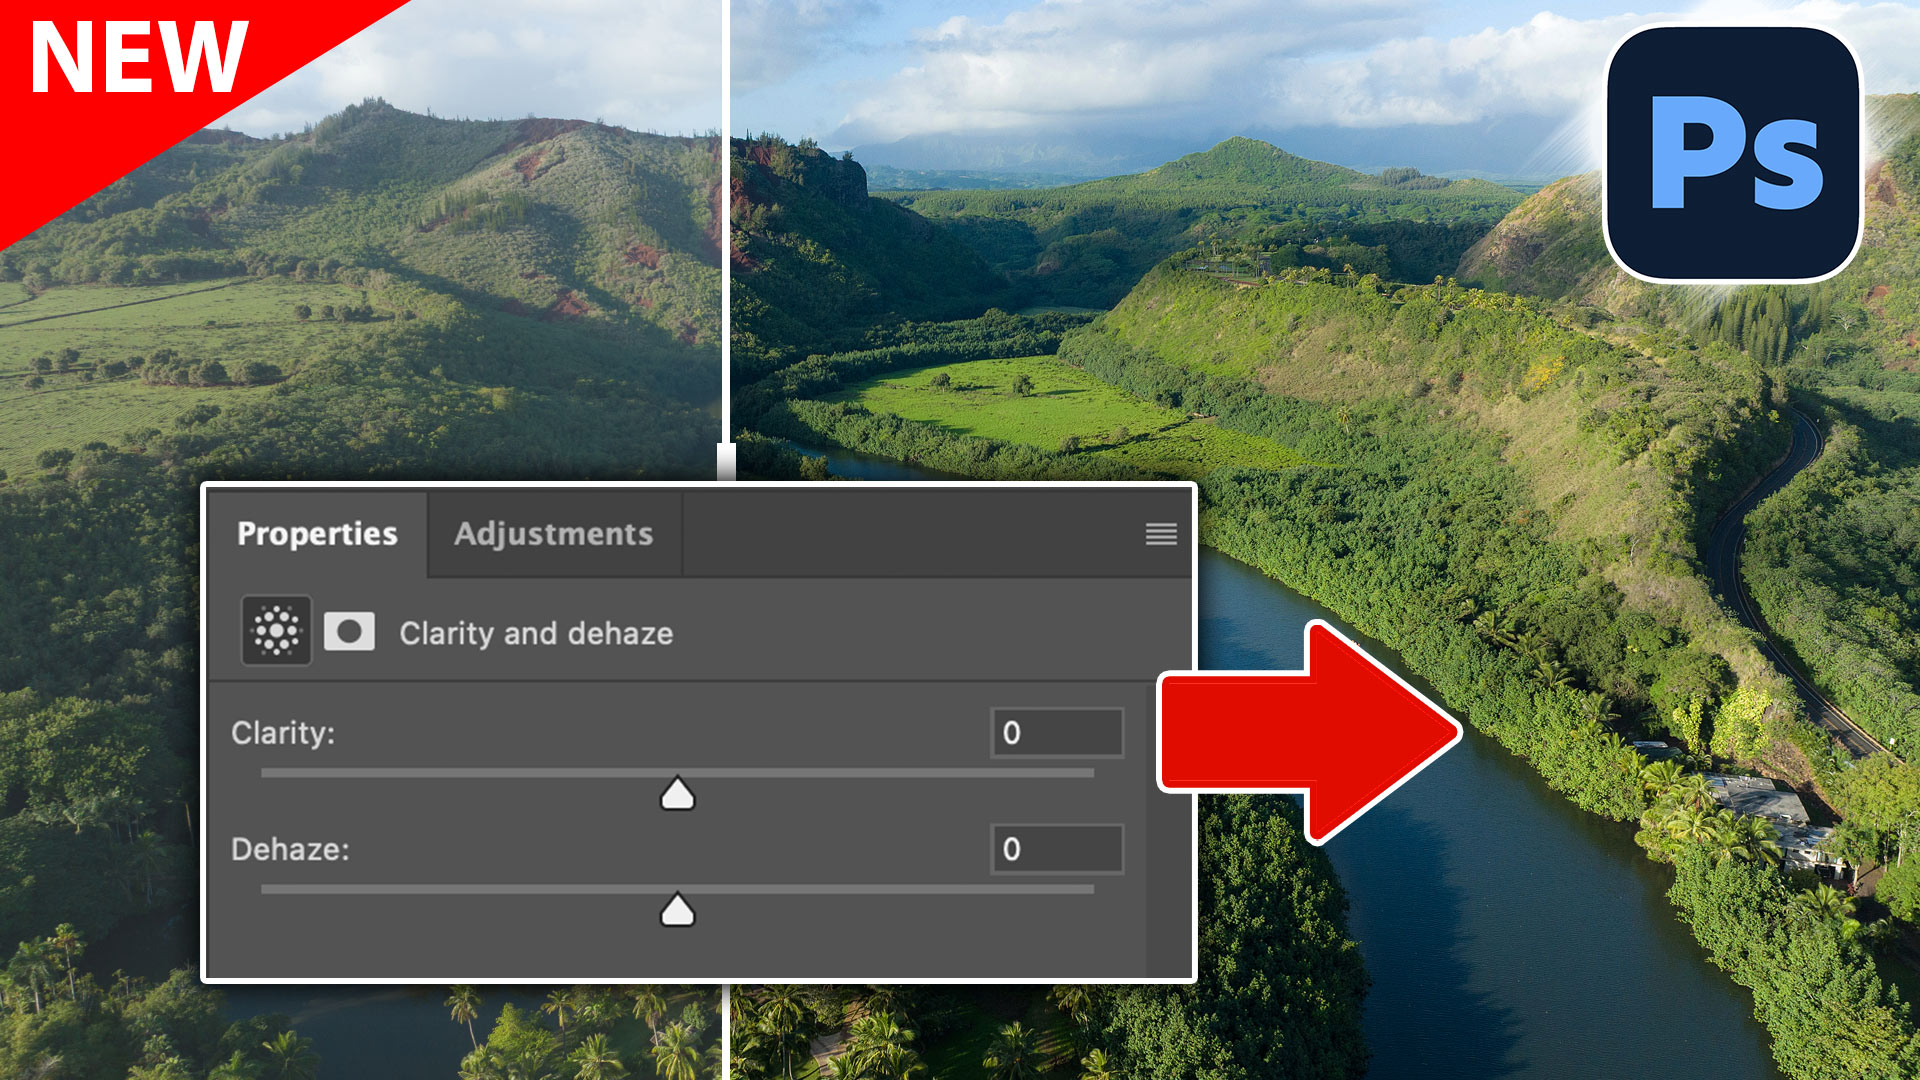
Once you choose the Adjustment layer, it’s added as a Layer. You change the settings in the Properties panel.
![]()
Add Clarity by sliding to the right.
Notice everything seems more detailed. This is because Clarity adds more contrast in the mid-tones of your image. It mainly works on mid-Frequency areas of the photo.
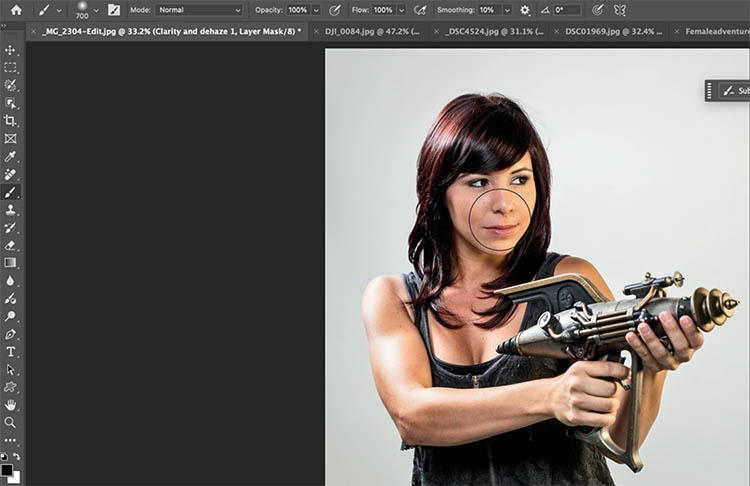
Usually clarity doesn’t look good on skin.
To remove clarity from the skin..
Choose a brush (B)
Select Black as the foreground color
Make sure the white box to the right of the adjustment layer icon is selected. (This is the Mask).
Paint over the face and areas that you want to remove the effect. Painting on the mask with black, hides the adjustment in those areas.
Now you can have the adjustment exactly where you want it and nowhere else. This is easy with an adjustment layer.
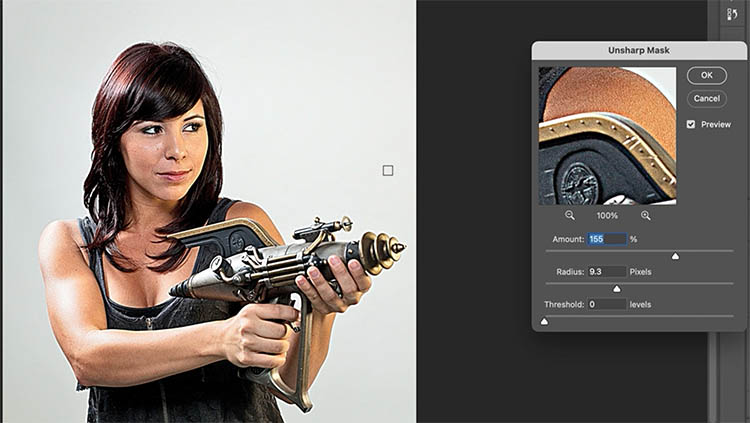
Note: If you look at the Unsharp Mask, you will notice it works similar to Clarity, and produces a similar result at high settings. It’s obviously not exactly the same and clarity produces better results for this kind of task. This is also a warning, be careful not to use too much clarity. It’s easy to go too far with this tool and make your photo look unrealistic. (unless that’s the grungy look that you are after).
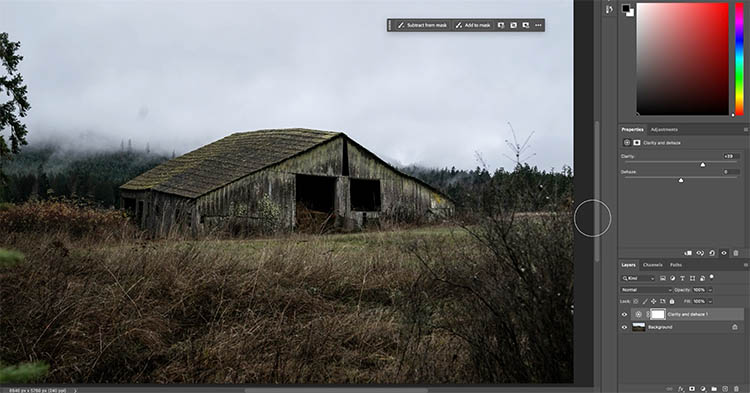
Clarity works really well on landscape photos too.
Check out this over 100 year old barn.
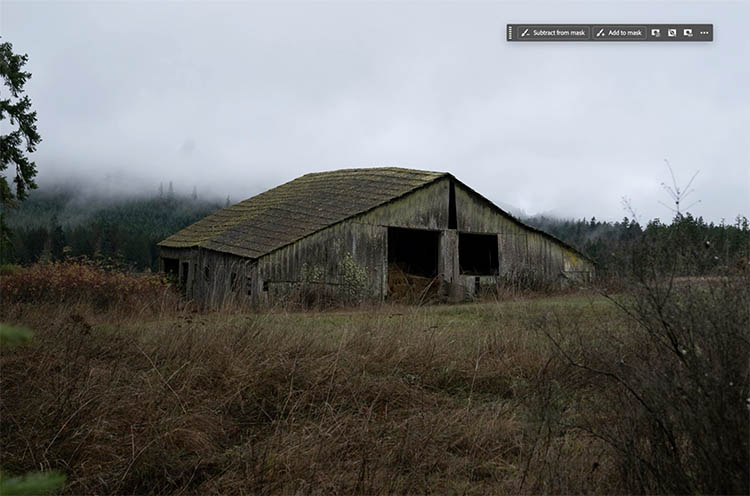
Adding Clarity can really help bring out the details.
Let’s look at the 2nd slider, Dehaze.
Dehaze started life as a Sneek at Adobe Max. I remember teaching at MAX that year and was in the audience when it was first shown off. The purpose is to cut through glare and haze and make a photo look clear. It has other uses too.
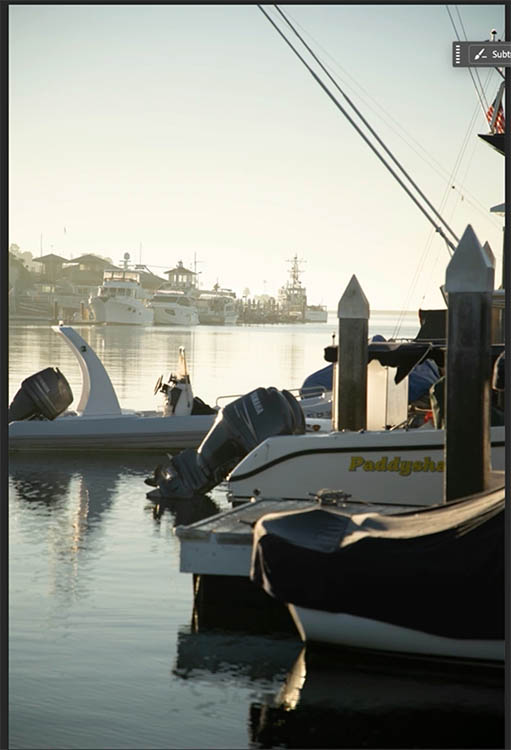
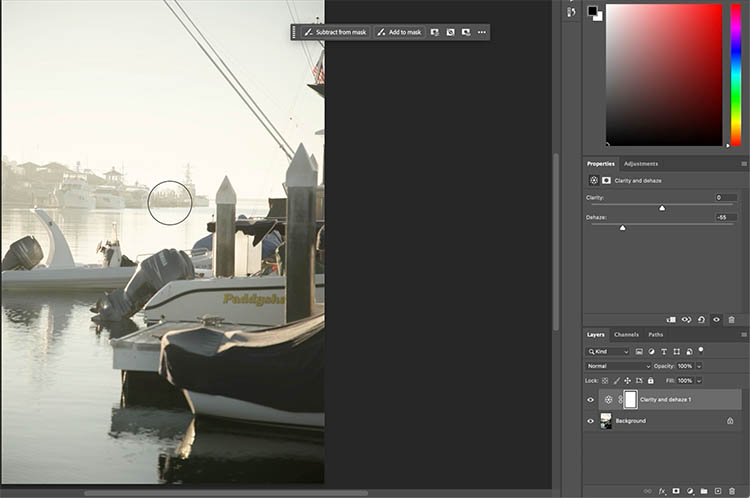
Here;s our starting photo. It’s a lovely morning at Newport harbor, but there’s a little haze in the air. (I actually like the haze, but I want to demonstrate how this tool works).
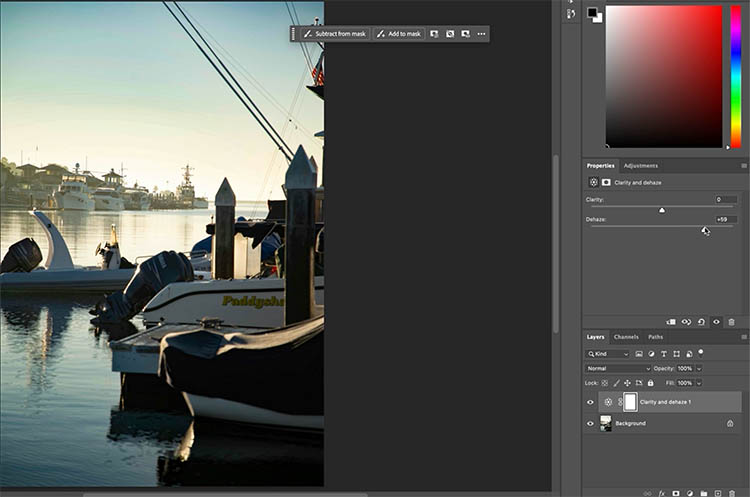
Move the slider to the right and it cuts through haze like a warm knife through butter. Be aware it also darkens the shadows and boosts the color saturation of the entire image. This tool mainly works in low frequency areas.
If we go the opposite way to the left, we can add fog.
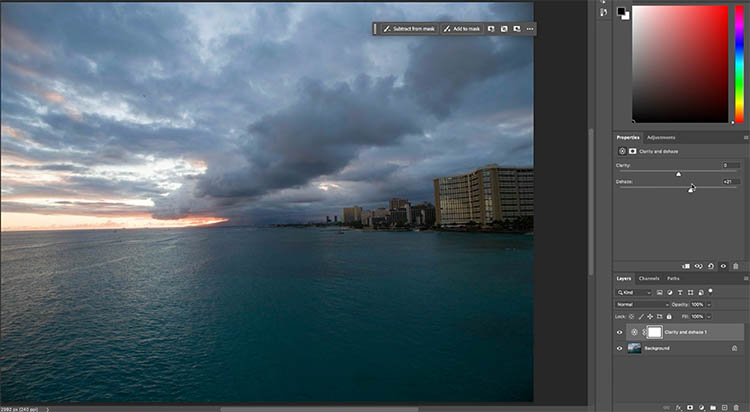
A great place to use Dehaze is in skies. Dehaze really brings out the detail and texture in clouds.
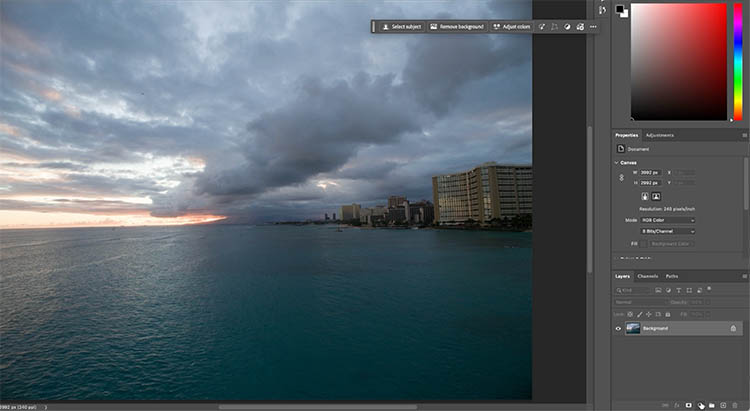
As we increase Dehaze, you can see how it affects the sky. Notice, I only added little bit here, it can go very strong.
Bringing Clarity and Dehaze together, along with a little extra.
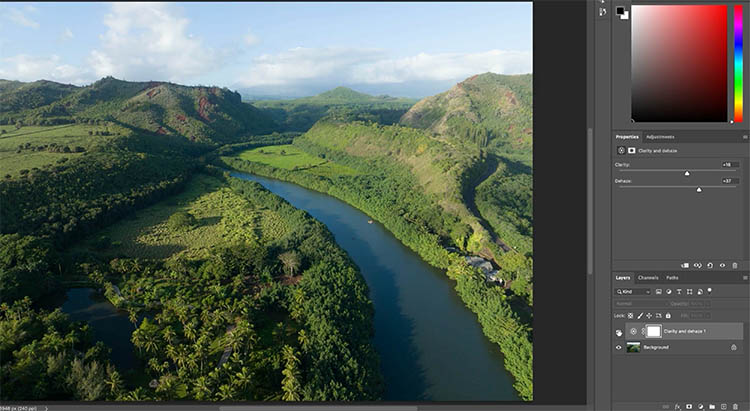
Here’s a drone shot I made in Hawaii. It has a little haze in the distance.
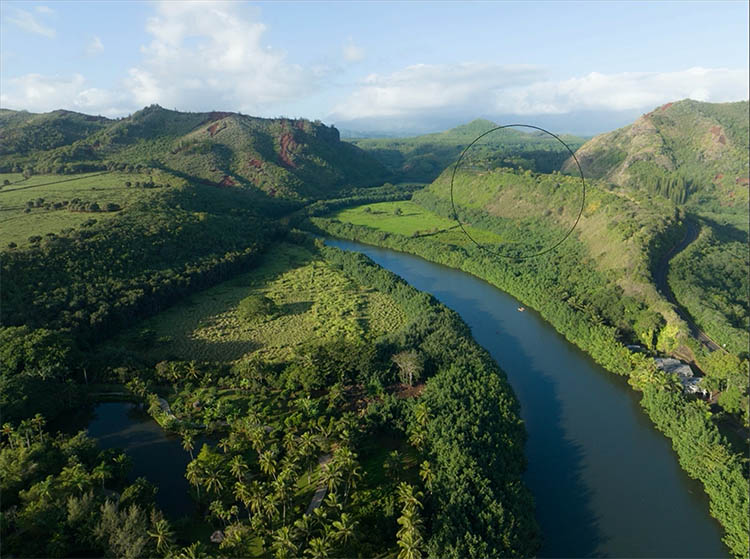
Notice how Clarity and Dehaze together can really add definition to this photograph and still keep it looking natural. I haven’t made any other adjustments for reference. (In a real edit, I might make other adjustments too).
Before
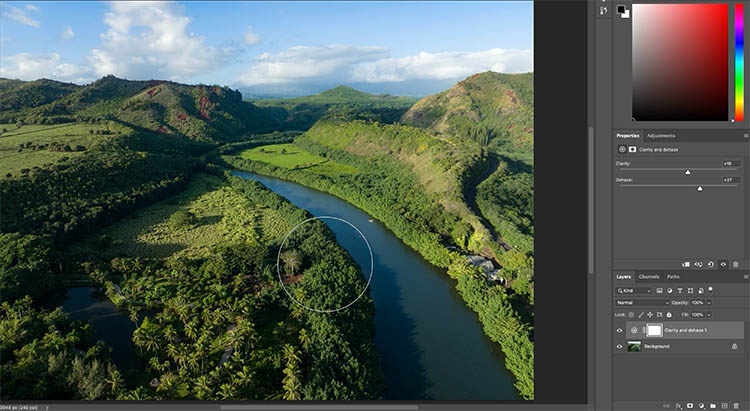
After
It’s added a lot of definition, but still it’s missing something. The fine details are largely unchanged.
Convert the layer to a Smart Object for flexibility. (Right click on the layer and choose Convert to Smart Object
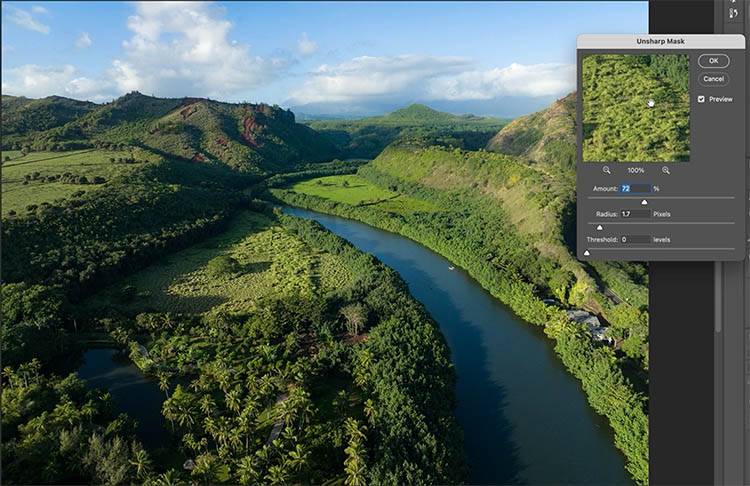
A third part of the equation is Unsharp Mask, This is a great way to hit the fine details.
Filter>Sharpen>Unsharp Mask (or use smart sharpen).
Keep the Radius low, under 2 for most images. And notice how it nicely hits the fine detail to complete our definition boost of the image.
Check out the video above to see each of these steps in action and get a more detailed explanation.
I have a more detailed tutorial that shows the difference between Clarity, Dehaze and Texture in Lightroom and Camera Raw here.
I hope you enjoyed this tutorial. Let me know in the comments if this is a tool you have been using in ACR or Lightroom and if your happy it’s in Photoshop.
Great to see you here at the CAFE
Colin
PS Don’t forget to follow us on Social Media for more tips..
(I've been posting some fun Instagram and Facebook Stories lately)
You can get my free Layer Blending modes ebook along with dozens of exclusive Photoshop Goodies here

8 thoughts on “Clarity and Dehaze adjustment layers in Photoshop”
Leave a Reply

How to use new Dynamic Text in Photoshop to automatically format text to beautiful typography blocks.

By David Blatner et. all Time stoppeth for no man… or InDesign user, apparently, as Adobe today rolls out their...

How to wrap text around images in Photoshop, Photoshop text wrap tutorial


Thank you Colin, Very useful as usual!
Thank you for sharing your experience and knowledge, Colin.
I would have loved to view the accompanying video but, unfortunately, I’m receiving the message:
“Sign in to confirm that you’re not a bot
This helps protect our community. Learn more”
I am obviously already signed in. 😉
It might be asking you to log into YouTube where the video is hosted?
Your explanation of the difference between clarity, dehaze, and unsharp mask was phenomenal! You are such a great teacher. I am an intermediate user and just learned this. Thank you.
So glad to be able to help 🙂
I can only agree with Marina.
thanks as always! Always enjoy ur tutorials and updates. Keep up the great work…Happy and Healthy New Year as well!
Thanks Dieter!