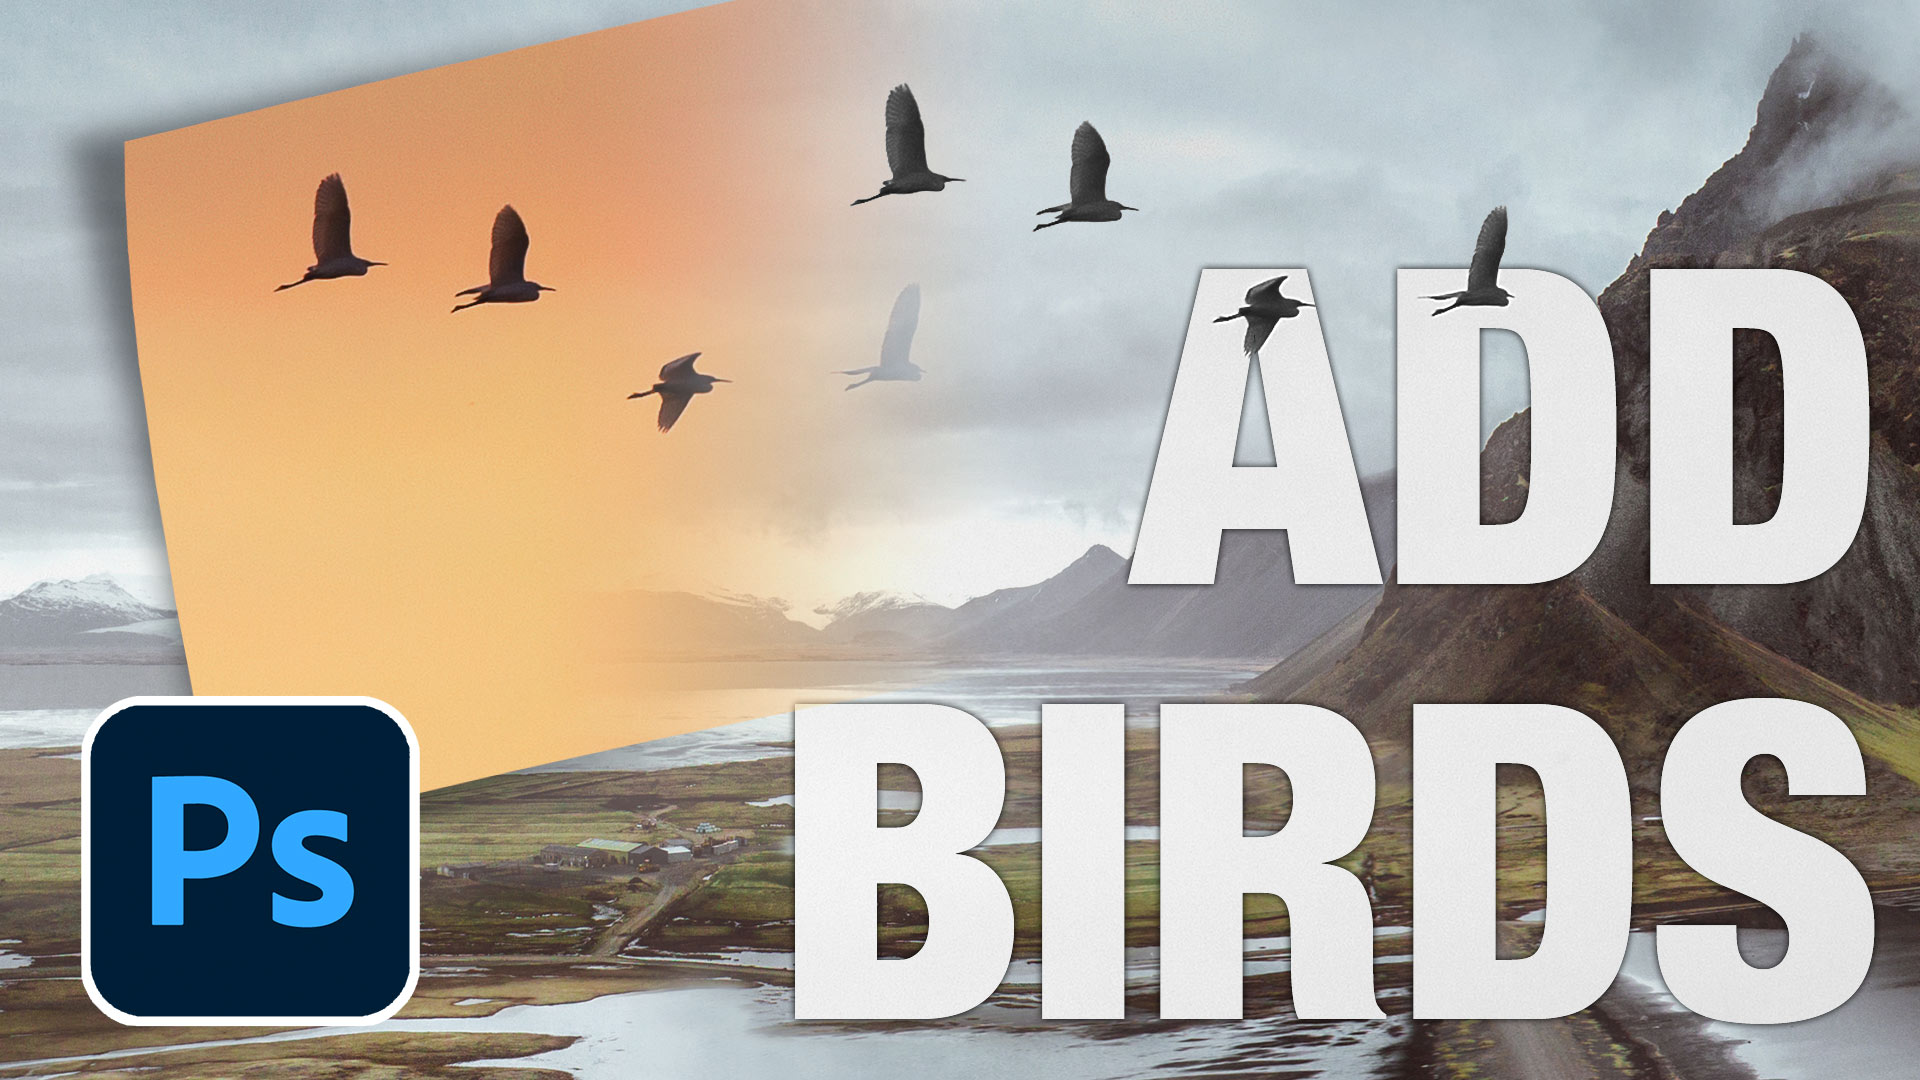
Add birds to a photo in Photoshop, make background transparent
Add birds to photos in Photoshop, combine pictures and make transparent background.
This is a fun tutorial. When you have a great landscape photo, you can really add life to it by adding a flock of birds. You don’t have to worry about cutting out each bird either, this tutorial shows you how to easily hide the background and let the silhouette show through.
First up, you will need a background photo and a photo or 2 of birds. I like to carry a camera and I’m very often shooting birds and textures to build up my library.
Both of these Photos are from Envato Elements. First is an image of iceland. Obviously, you’ll be using your own image.
Choose File>open to open both images in Photoshop)

Here is an image of birds in the sky.
Choose the Rectangular marquee tool.
Drag a selection around the birds you want to use.

Choose the move tool (v).
Drag the selection of the birds up to the tab of the other image to move them to. Wait for the image to open and then release the mouse in the new window,
The video above shows this step (how to combine images in Photoshop)

You will see your selection of birds appear on the new document.

I purposely chose a more difficult image to work with, often your sky will be gray, white or blue.
If there is color in your sky, press Ctrl+Shift+U / Cmd+Shift+U on mac (Image>adjustments>desaturate.
This will remove the color from the selected layer.

How to make the background transparent
Now, we need to hide the background and just show the birds against transparency.
There are lots of ways to do this and I show you other ways in other tutorials, but here is the best way for this type of image.
In the Layer’s panel. where it says Normal, click and choose Darken from the menu. This changes to Darken blending mode, which hides white.

If your sky is white, it will now be invisible.
If it’s gray, do this to make the sky transparent.
Press Ctrl/Cmd+L for Levels.

Slide the white triangle to the left until the bright pixels (sky) disappears.
Click ok, its that easy!

With the move tool, (v). Hold Down the Alt (windows)/Option (Mac) key and drag out copies of the birds if you want.

I hope you enjoyed this quick little tutorial. Its always fun to do these types of tutorials.
See you at the CAFE
Colin
PS Don’t forget to follow us on Social Media for more tips.. (I've been posting some fun Instagram and Facebook Stories lately)
You can get my free Layer Blending modes ebook along with dozens of exclusive Photoshop Goodies here

14 thoughts on “Add birds to a photo in Photoshop, make background transparent”
Leave a Reply
How to make Collages in Photoshop by blending photos with Layer Masks, Tons of layer mask and selection tips
Real difference between Dehaze, Clarity and Texture in Lightroom and ACR. When to use them. Ultimate guide.
How to use the Pen tool in Photoshop. This Photoshop tutorial shows you exactly how to get started using the...


Thank you for this excellent tutorial. Please e-mail me the PDF file of this tutorial. Many thanks
Please e-mail me the PDF file for this tutorial. Many thanks
I don’t have one, sorry.
Thanks for this tutorial. No, I did not know about doing it this way, but I will definitely give it a try with some of my own birds and other objects. Thanks again!
Thank you for again an informative and very helpful tip.
I really did not know how to do it this way and am so glad I have learnt. Once again have “Booked Marked” your tutorial. Thankyou’
I did know how to select and copy over to another photo, but desaturating and Levels are new to me. Thanks for this tutorial!!
Dennis
That was so very useful – especially how to make the background transparent – so many other uses. Please email me PDF for this tutorial.
It is the simple things like this that come up often. Knew about the blend modes but the addition of the level slider is a nice added bonus. Thanks!
Great video, thanks so much. I really enjoy your videos and learn so many tricks and short cuts.
I’ve always used brushes, this seems to keep detail in birds and colour
I happened to know about and use blend modes+adjustments …nevertheless still nice simple trick and explained well. There is so much power in simple blend modes.
Always a great fast tip , thanks Colin
I’d never given the levels a thought before now.